to ou
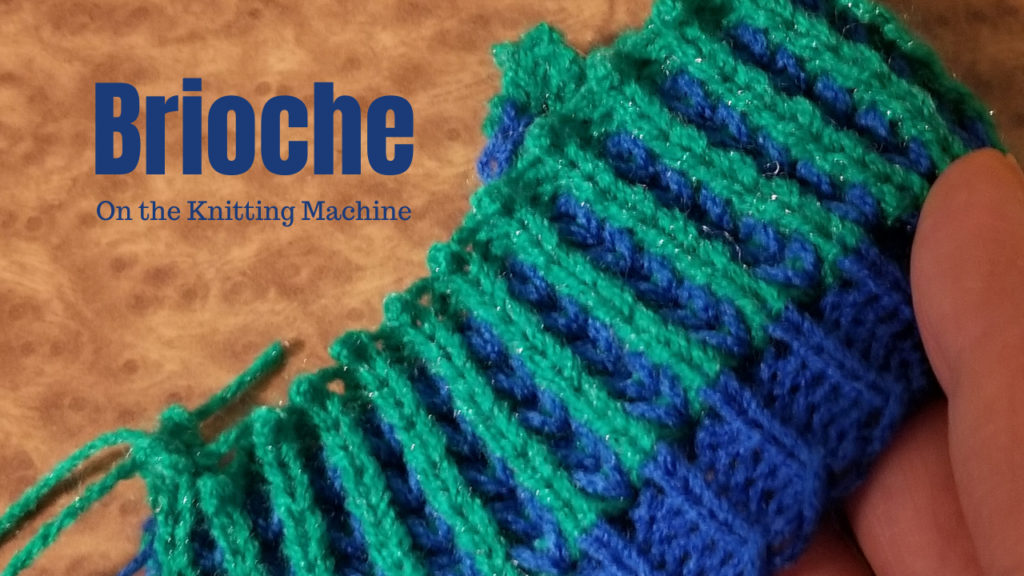
Two color brioche on the knitting machine is basically a two color fisherman’s rib. I will show you how it’s done on the Singer knitting machine.
But it’s important to first think about what you’re asking your machine to do. If you know what the machine is doing or what you want it to do, it won’t matter which brand of machine you’re using. You’ll be able to look in your manual and figure out how to do it.
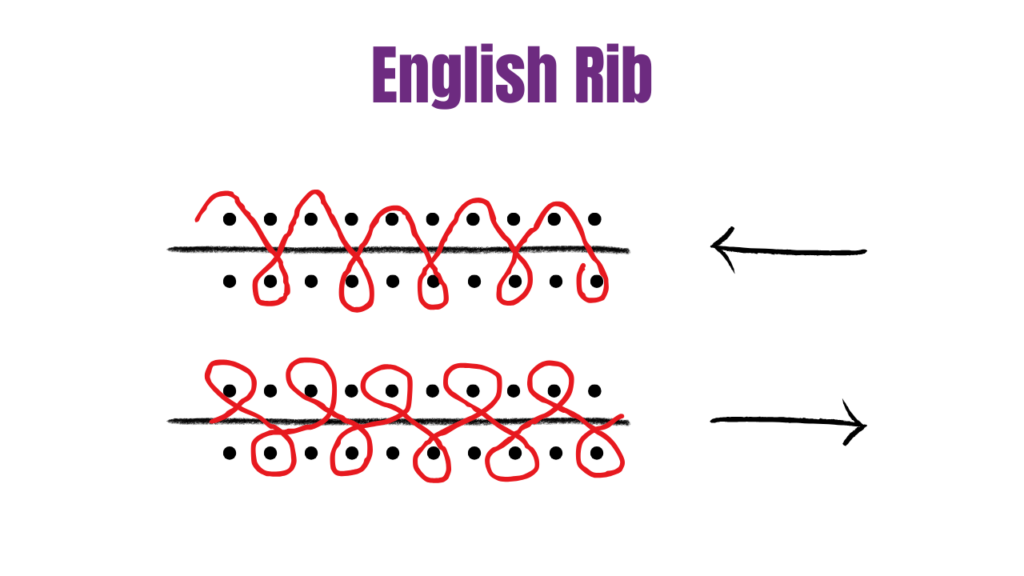
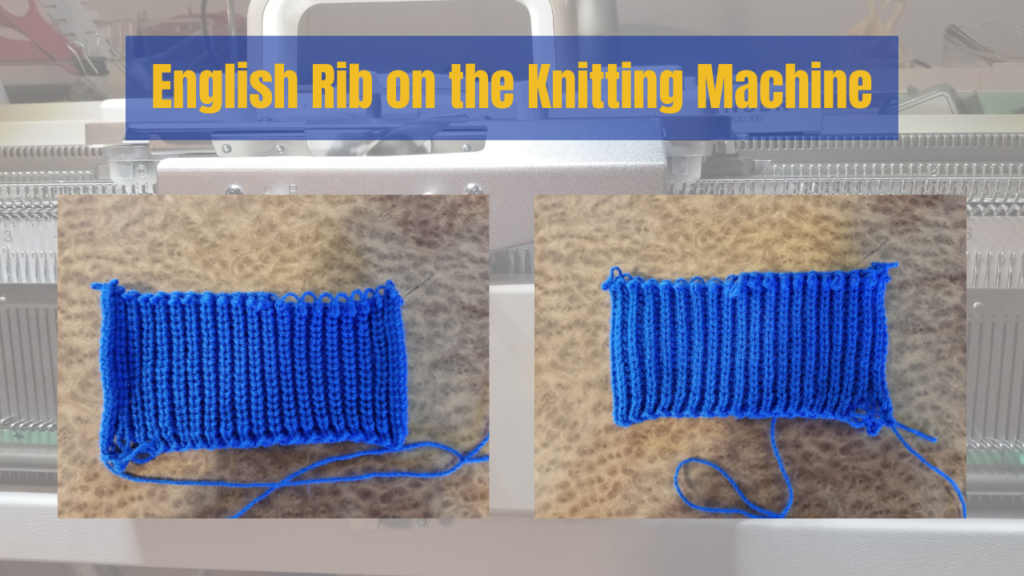
Consider English Rib
When we knit English Rib, we are asking the machine to tuck on the main bed and knit on the ribber bed for the first pass. Then knit both beds on the second pass.
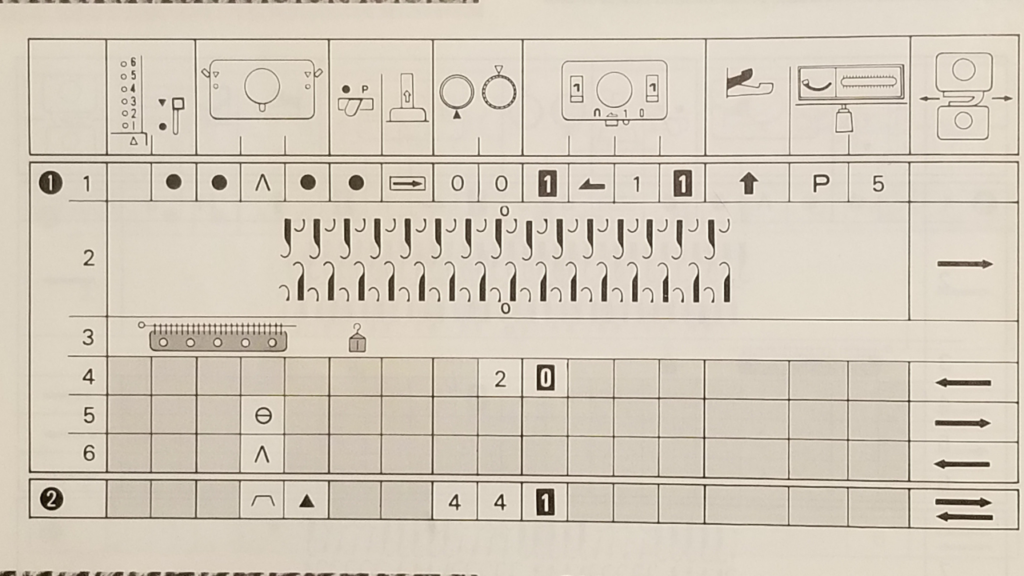
 Our operation table looks like this:
We set the cam lever to tuck, but then set the right side lever to the triangle so the carriage still knits when traveling to the right but tucks when traveling to the left.
For Fisherman’s Rib
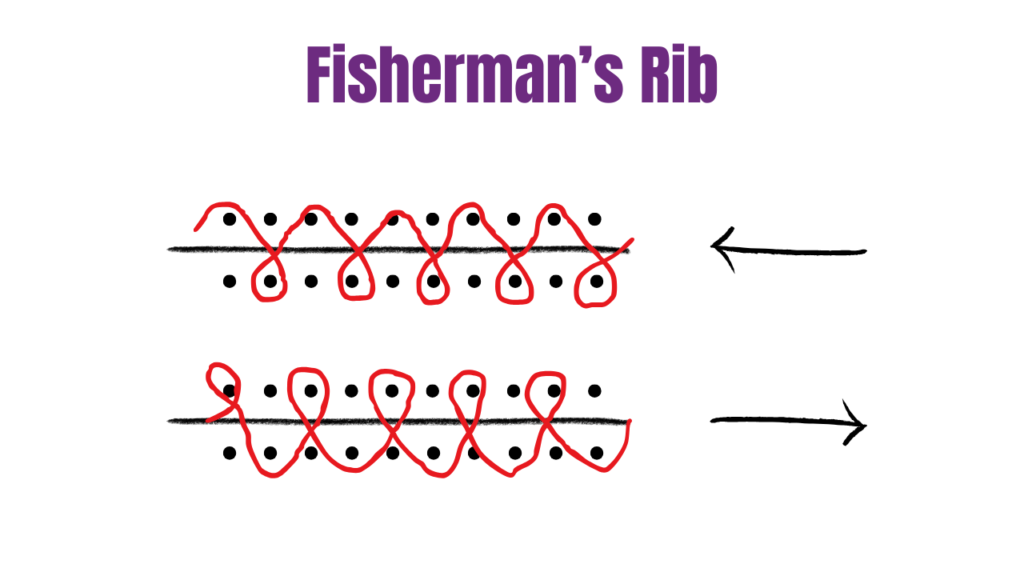
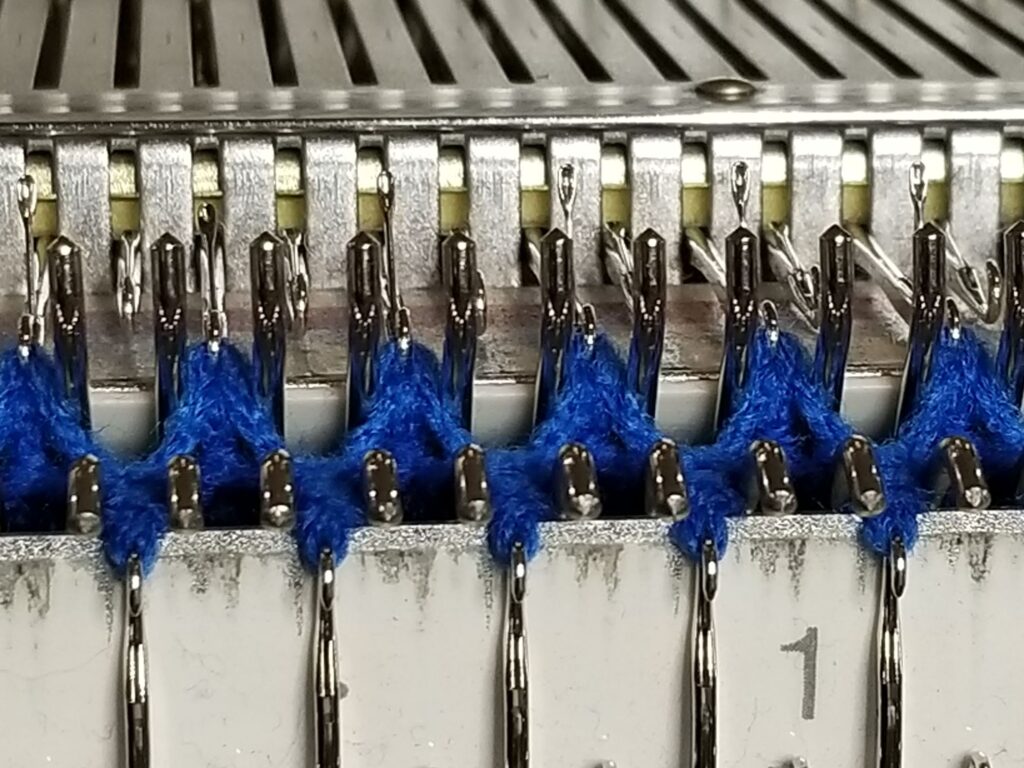
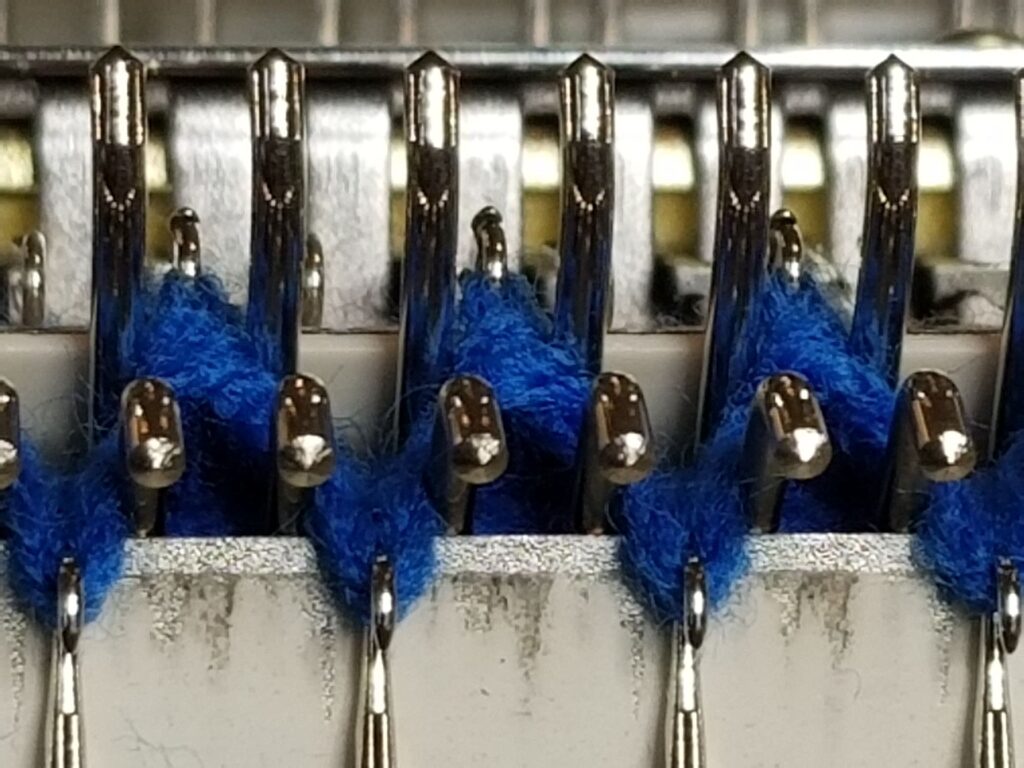
On the right to left pass, we knit the ribber and tuck the main bed. Then on the left to right pass, we tuck the ribber and knit the main bed.
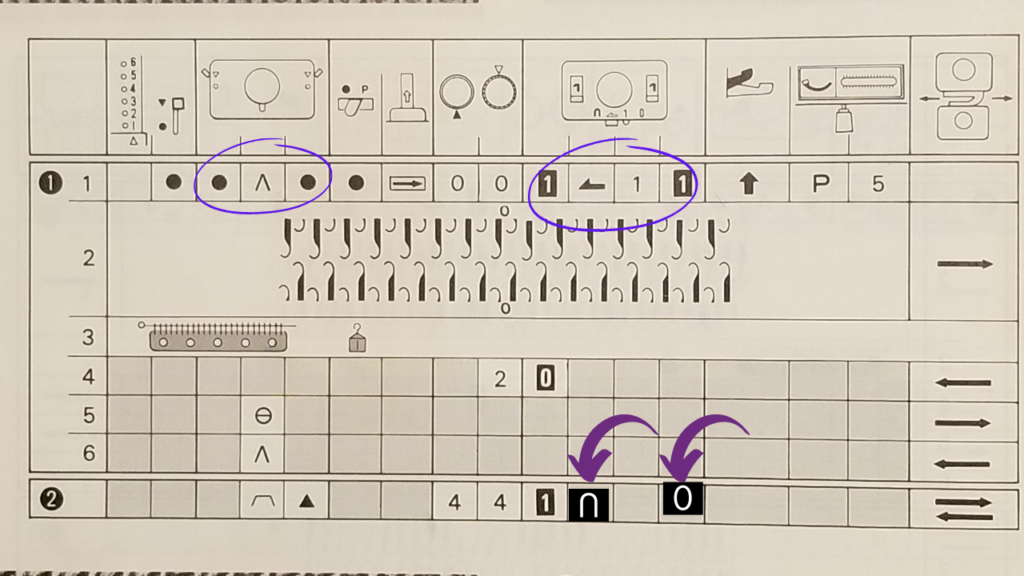
Now our operation table looks like this. We set each carriage to tuck in only one direction. The main carriage in the direction the side lever is set to the circle and on the ribber carriage in the direction the set lever is set to ‘0’.
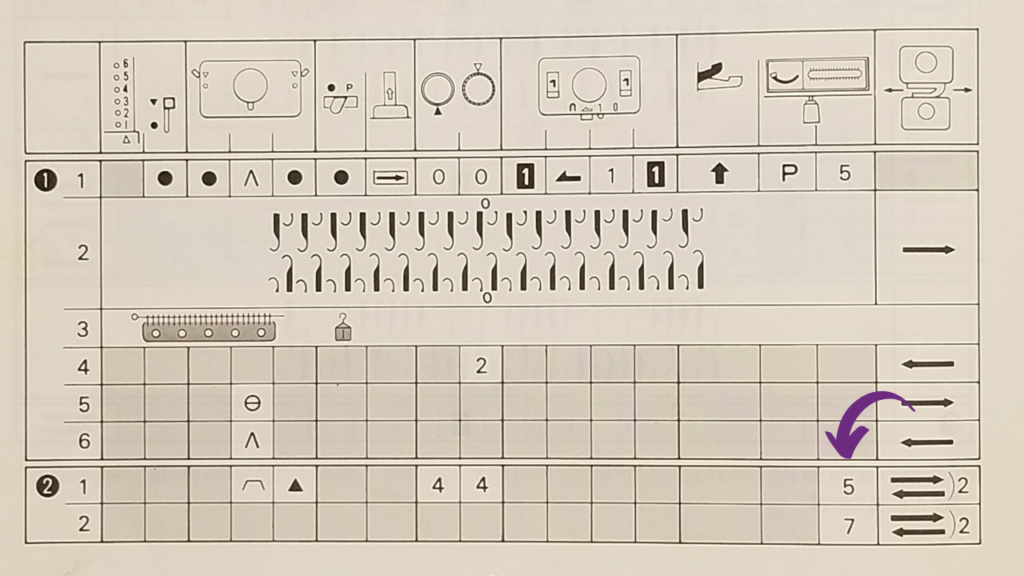
So now we look at Two Color Brioche
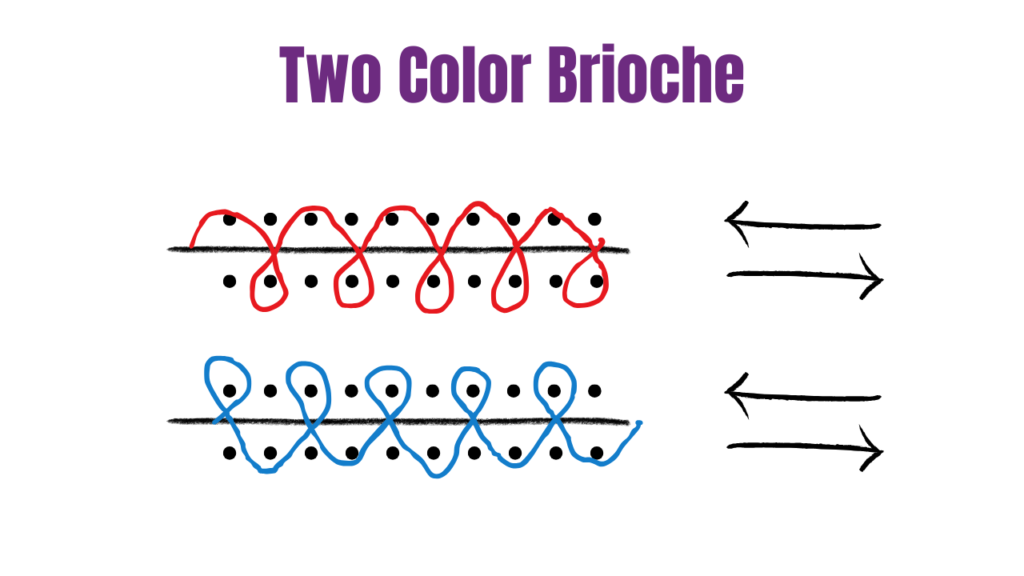
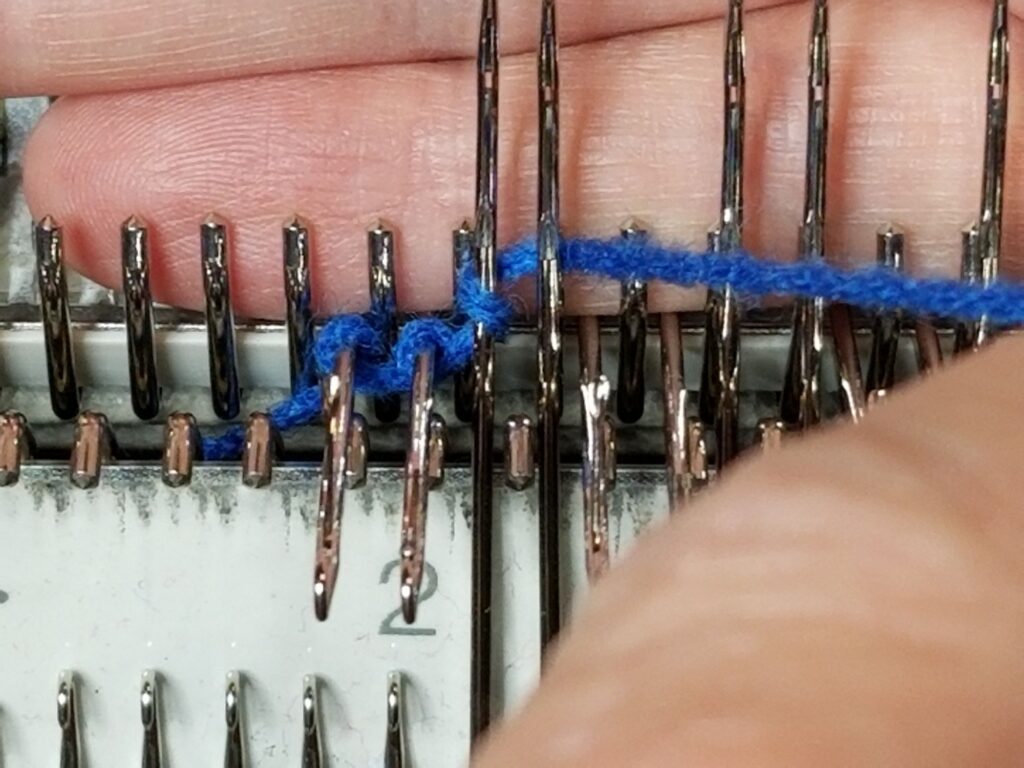
Beginning with the carriage on the left this time and using our first color, we want the carriage to tuck the main bed and knit the ribber – in both directions. Then we want our carriage to knit the contrast color on the main bed and tuck the ribber – again in both directions.
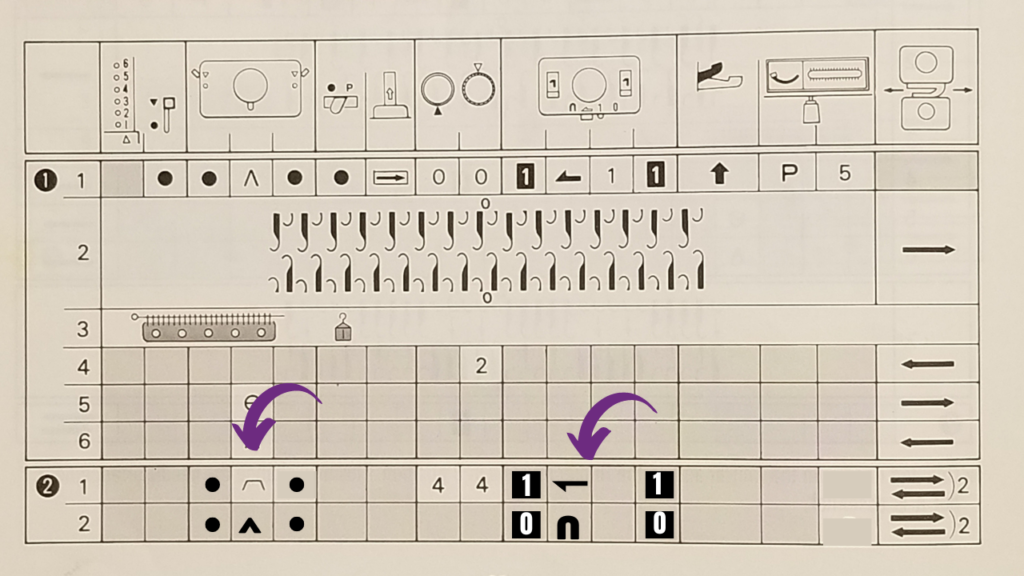
Our operation table if there were one, would look something like this.
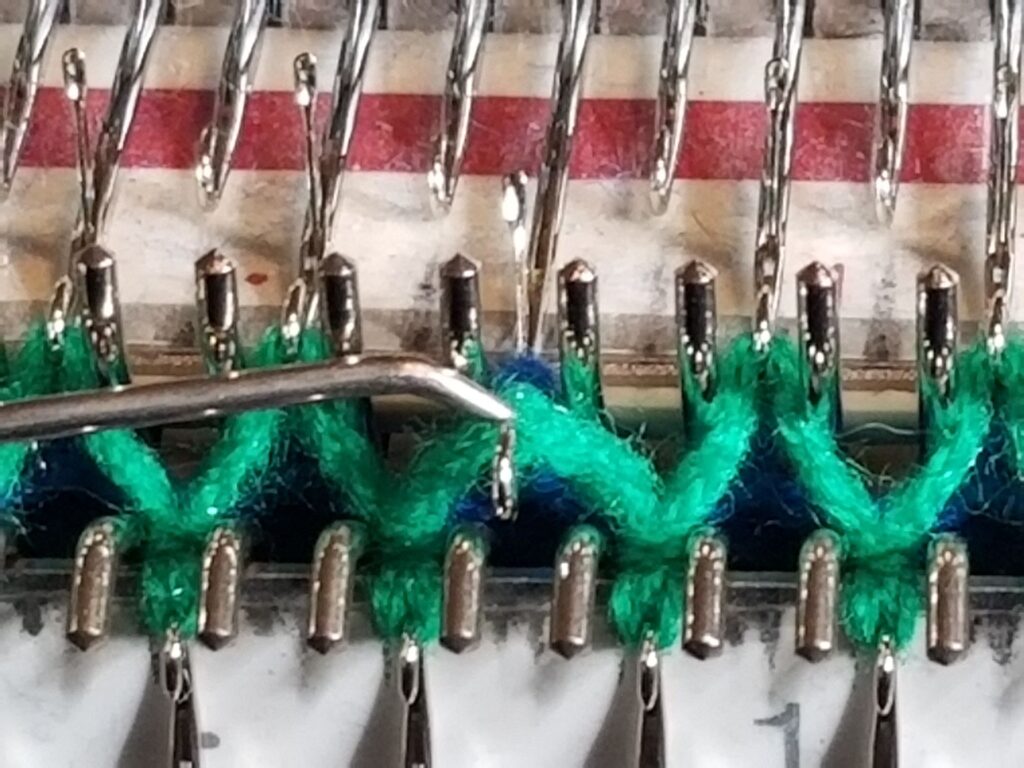
So in our first step we set the knit carriage to tuck, leave the ribber on knit and run the carriage to the right and back again.
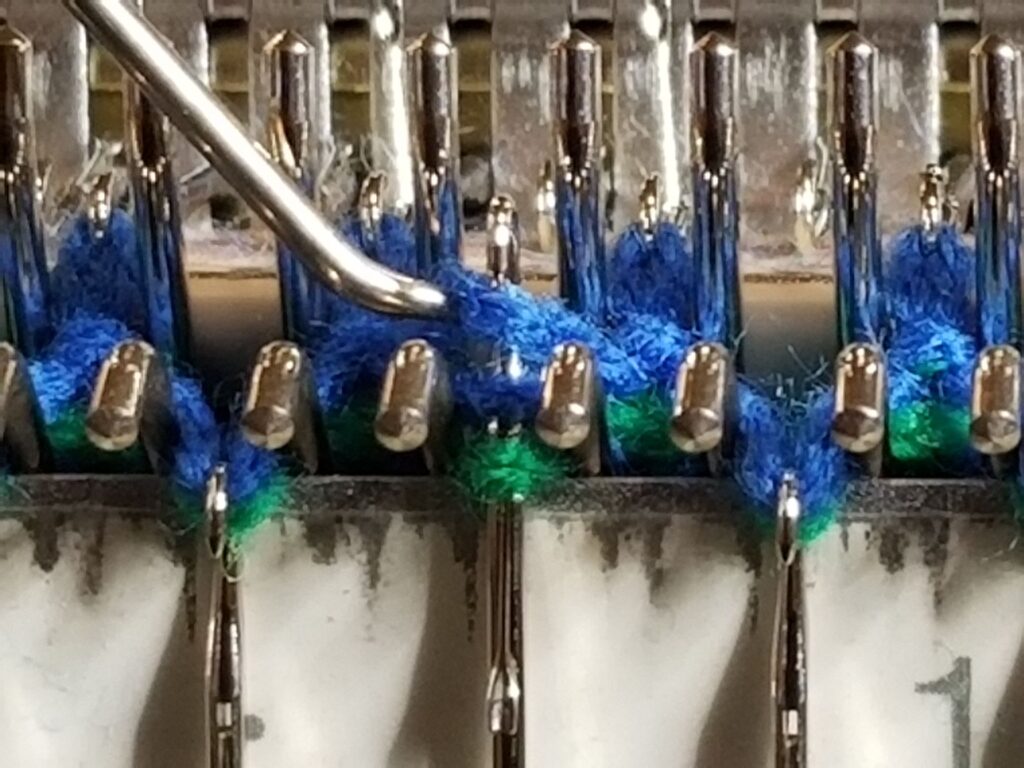
While our carriage is on the left, we change to our second color. With the knit carriage set to stockinette and the ribber to tuck, we knit to the right and back again.
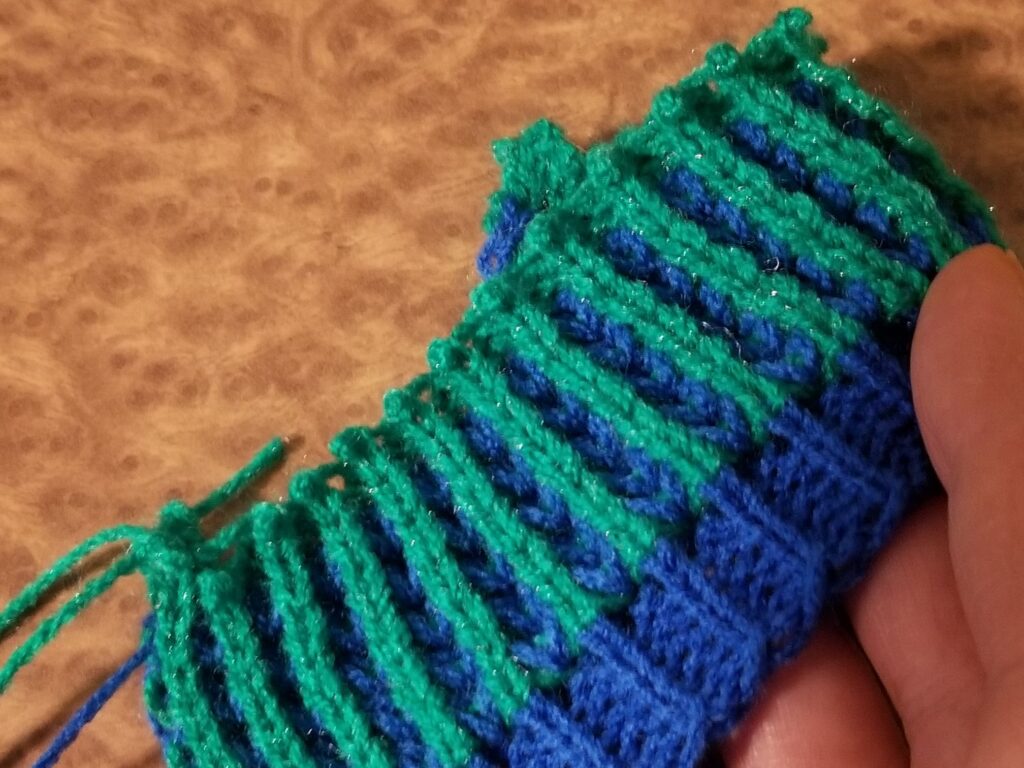
We continue along to our desired length – changing yarn and settings every time the carriages are on the left. The result is ribs in one color and purls in the other and the reverse on the other side.
I have a tutorial up on YouTube as well, if you find it helpful please subscribe while you’re there.
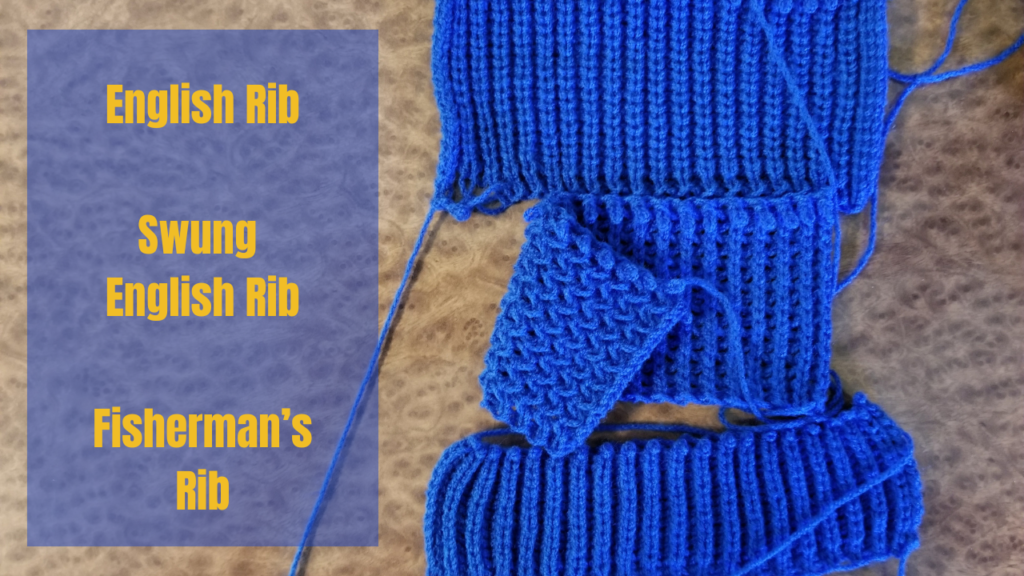 Full fisherman’s rib, also apparently known as full cardigan rib, can be knit on any machine with a ribber.
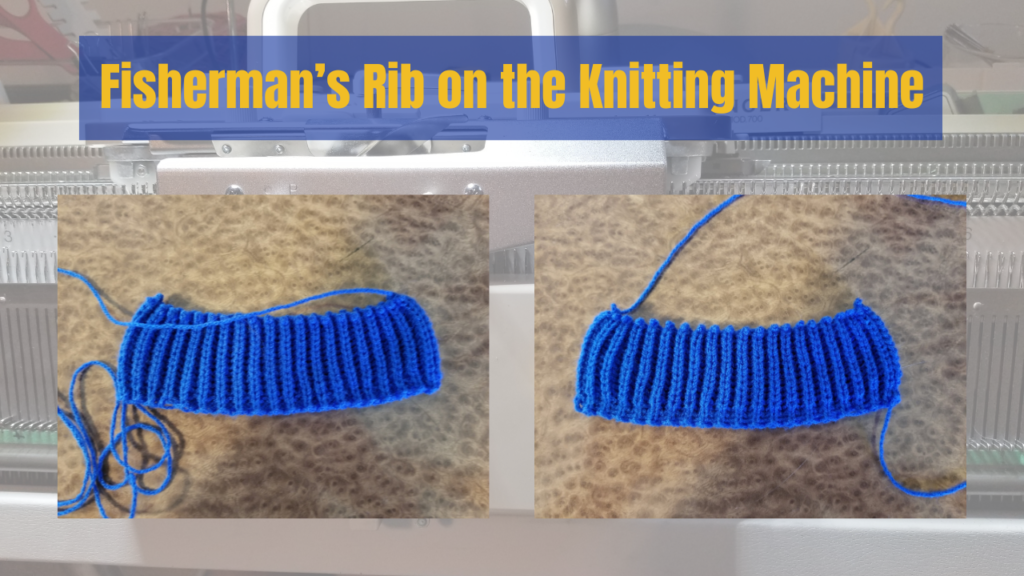
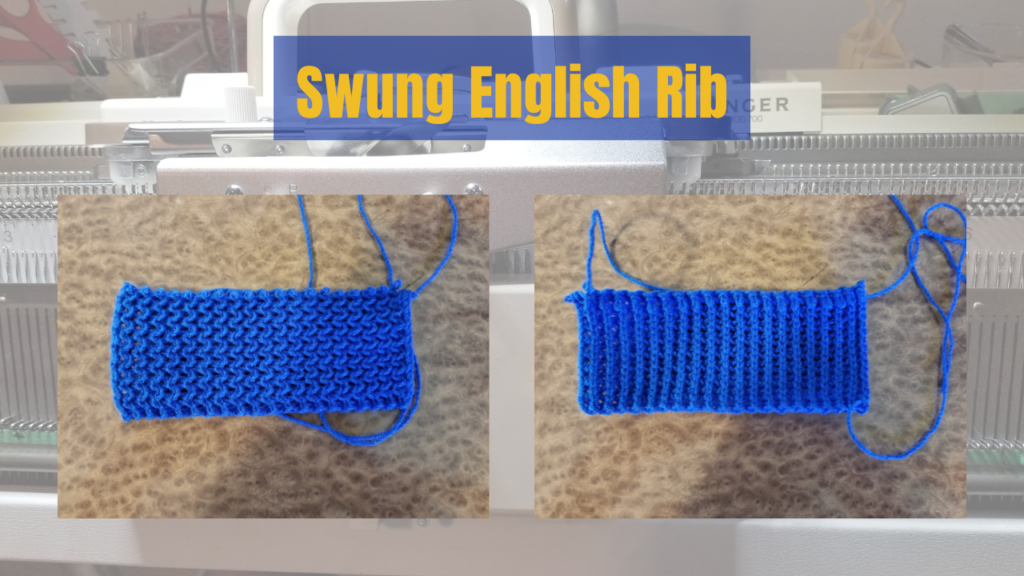
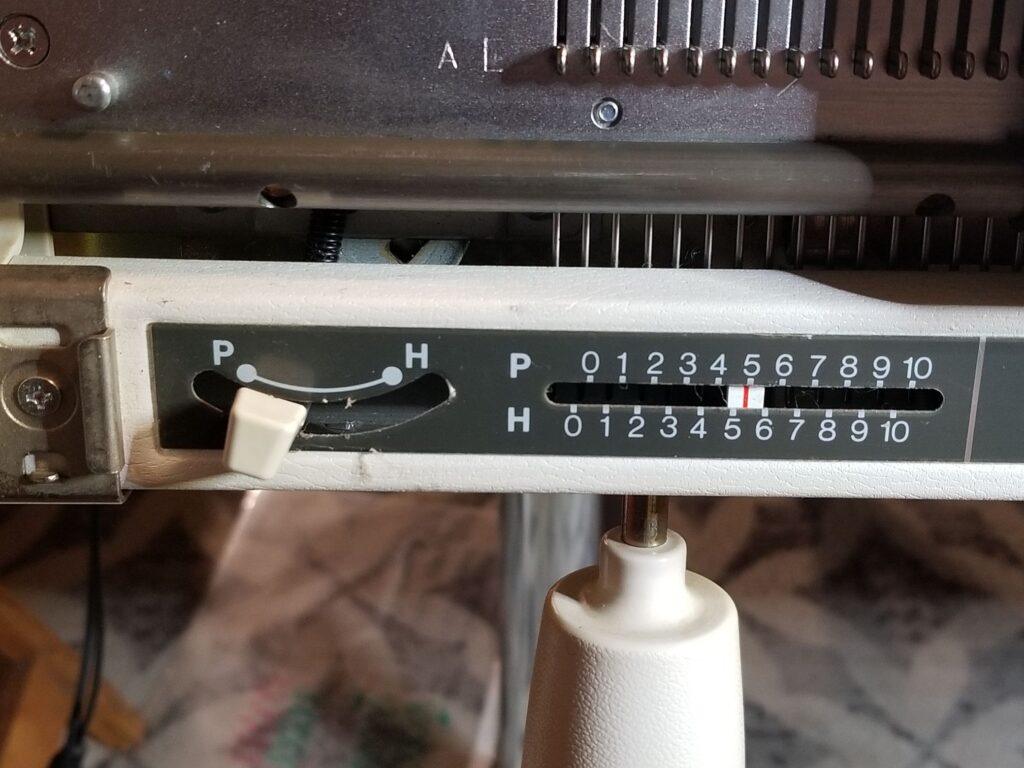 We knit two rows with our swing set to 5. Pitch stays on the ‘P’.
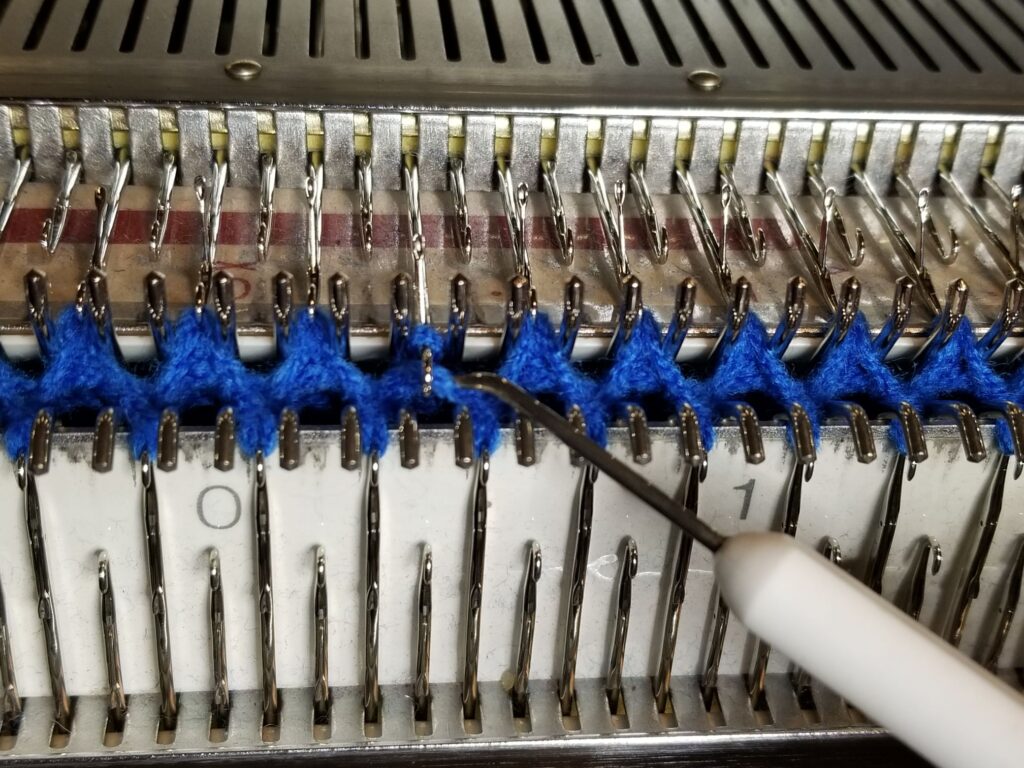 As we knit from left to right both the ribber and main bed knit. On the right to left carriage pass, the ribber knits but the carriage only lays the yarn in the needles on the main bed.
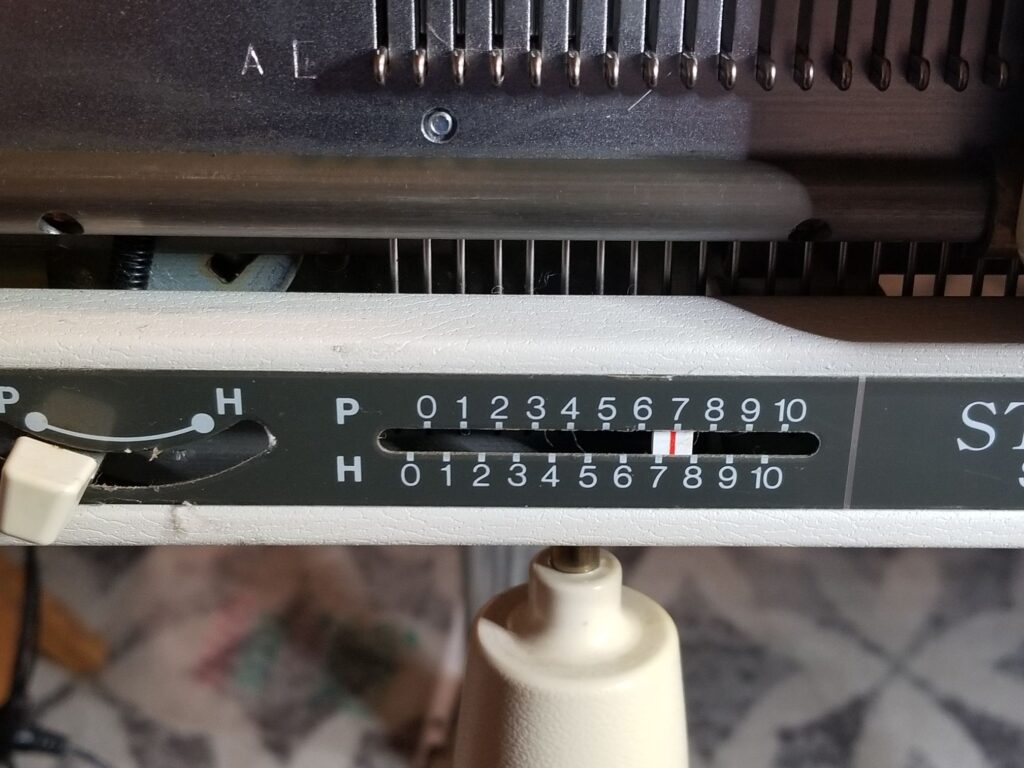 Then we change our swing to ‘7’
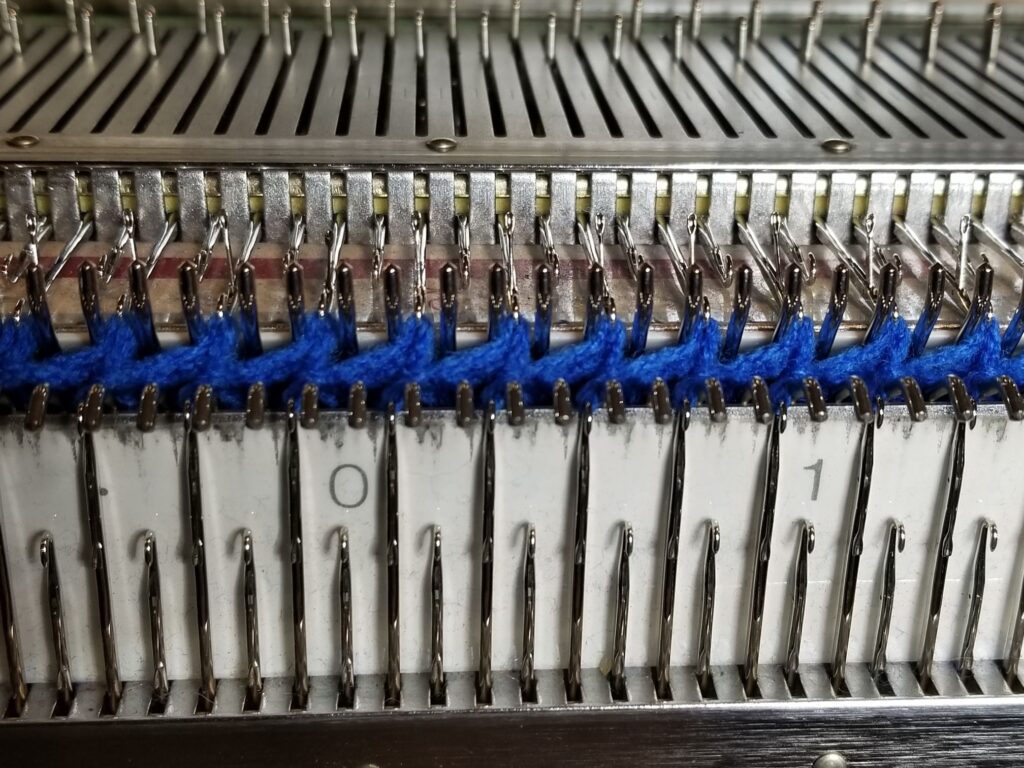
 We knit left to right and then back to the left.
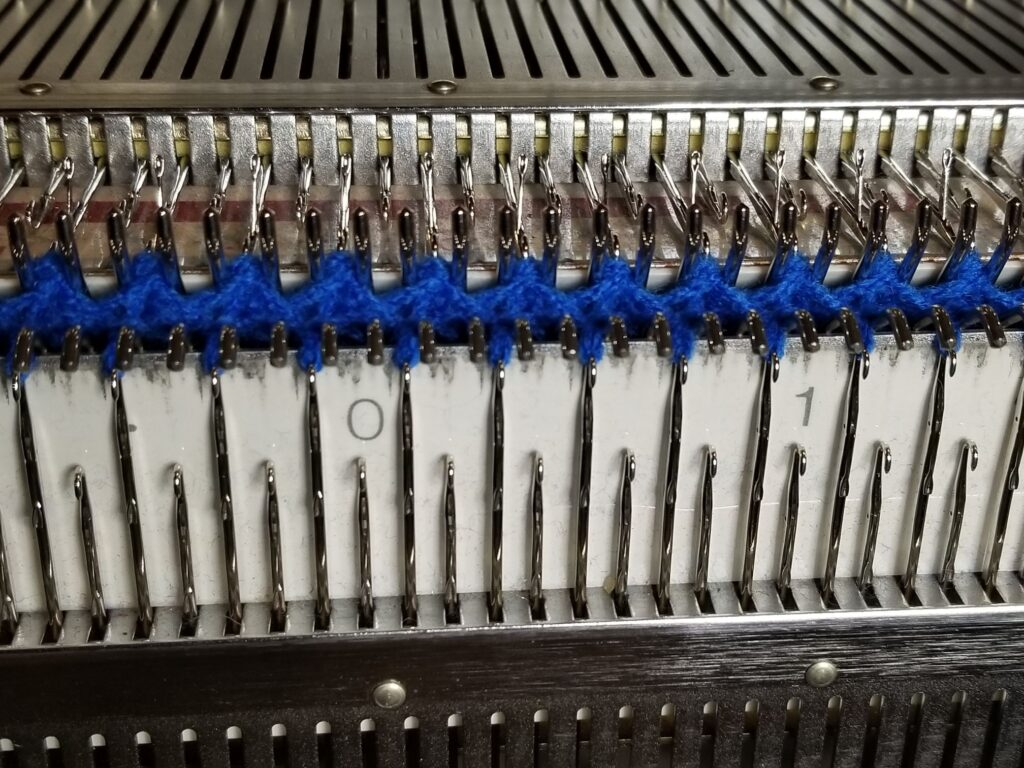
 To knit English Rib on a Singer machine, we start by casting on as we would for a 1 x 1 rib.
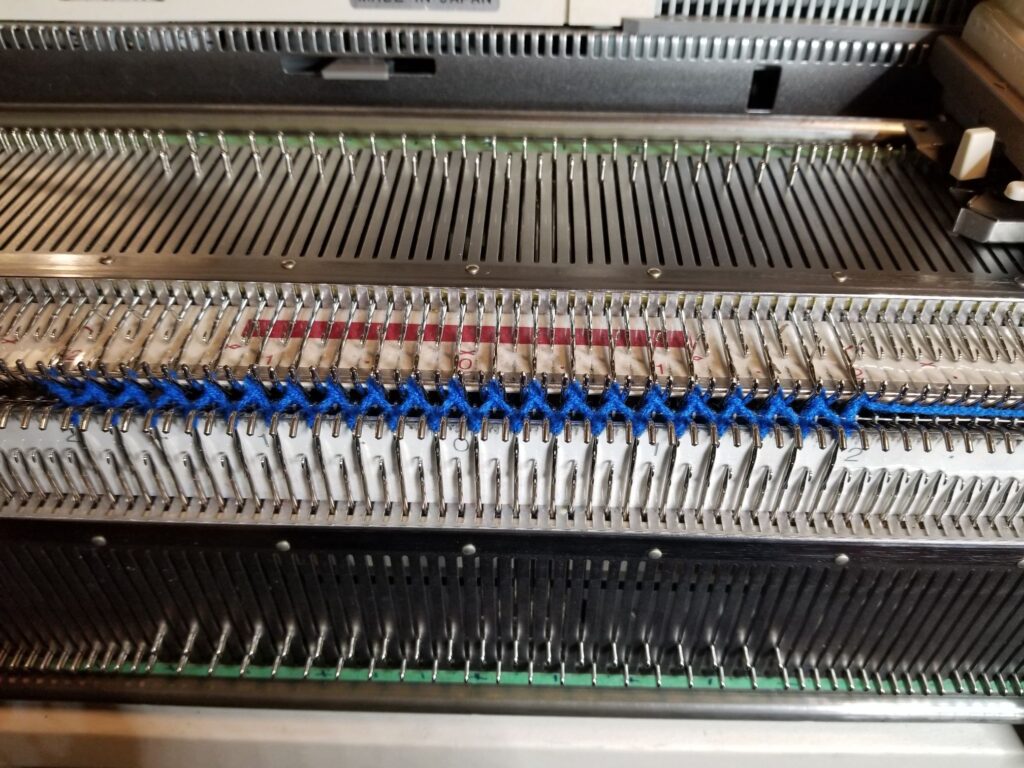
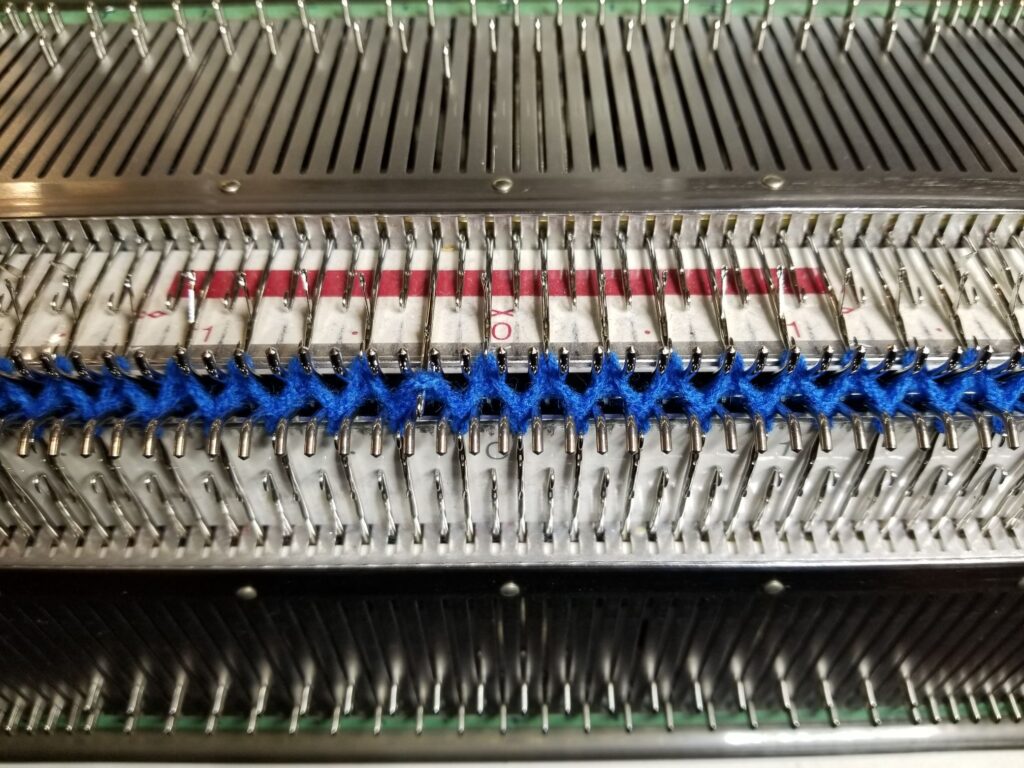
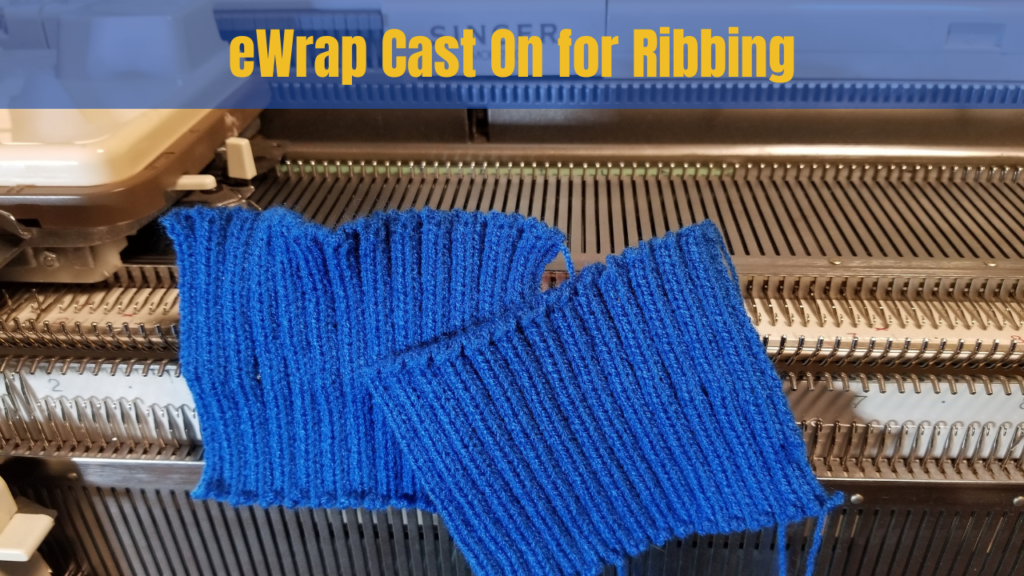 I prefer the eWrap cast on in all situations including when I’m casting on ribbing.
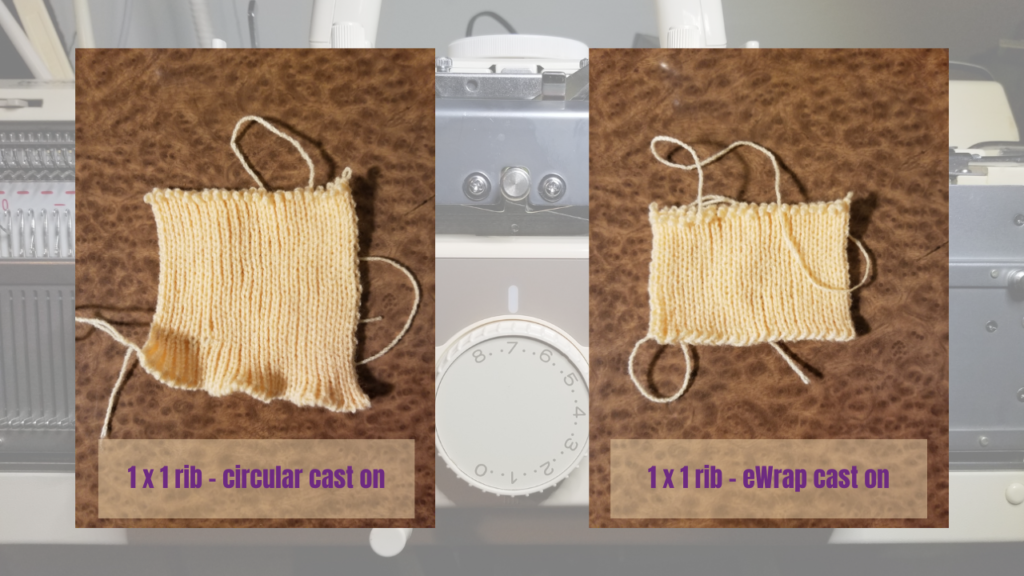
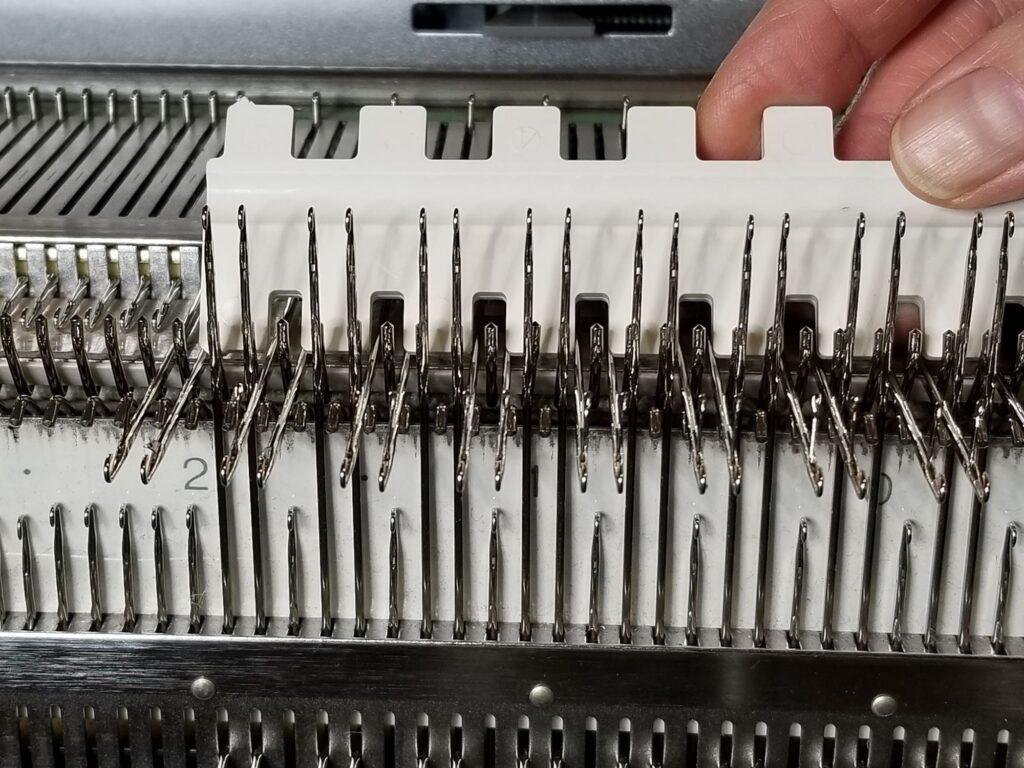
 For a 1 x 1 rib, we set the pitch on our ribber to ‘P’ and the swing to 5. Using our 1 x 1 needle pusher we pull our desired number of needles from the main bed and the alternating needles of the ribber bed with our carriages on the right (COR).
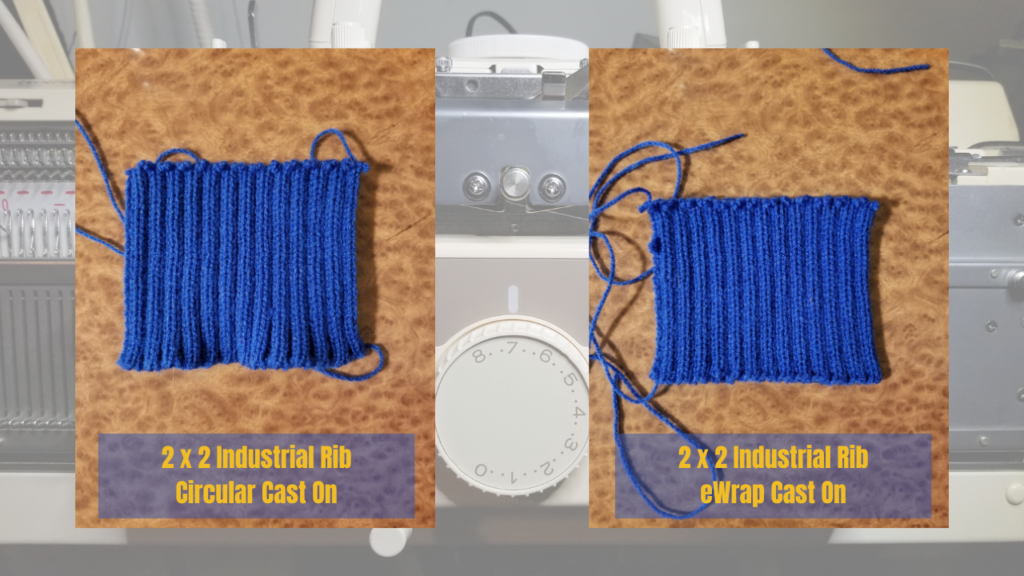
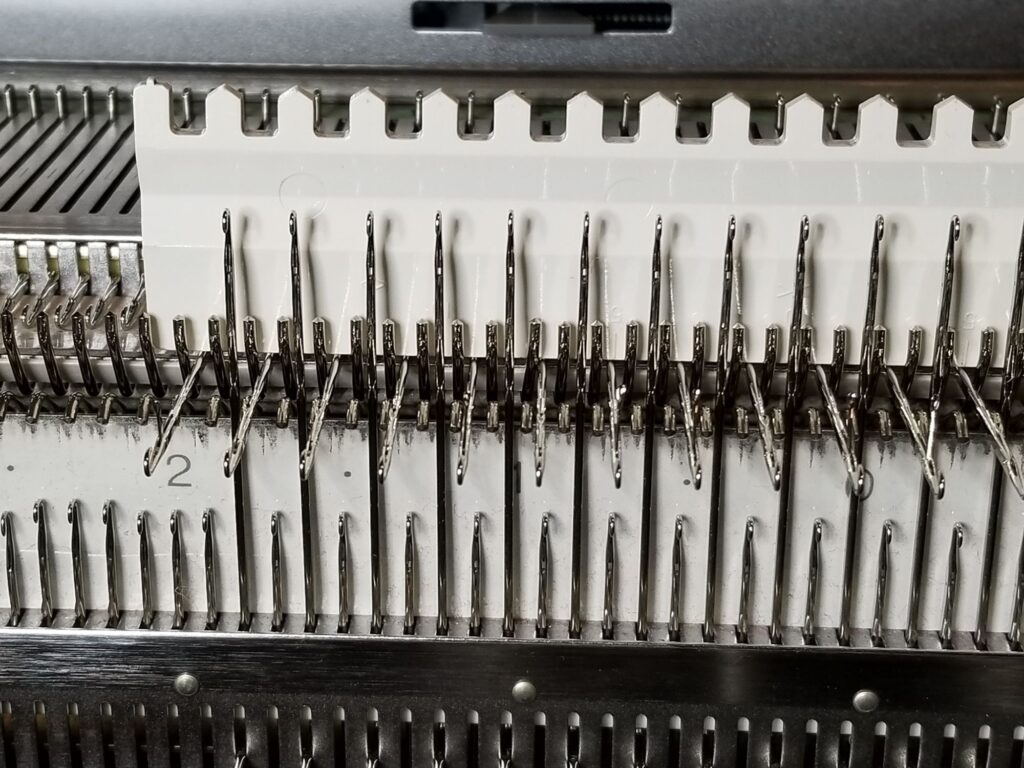
 For 2 x 2 Industrial Rib, we set our pitch to ‘H’ or half pitch. Swing is set to 5. With our carriage on the right (COR) and using our 1×2 needle pusher, we pull needles on the main bed and ribber bed so they look as above.