
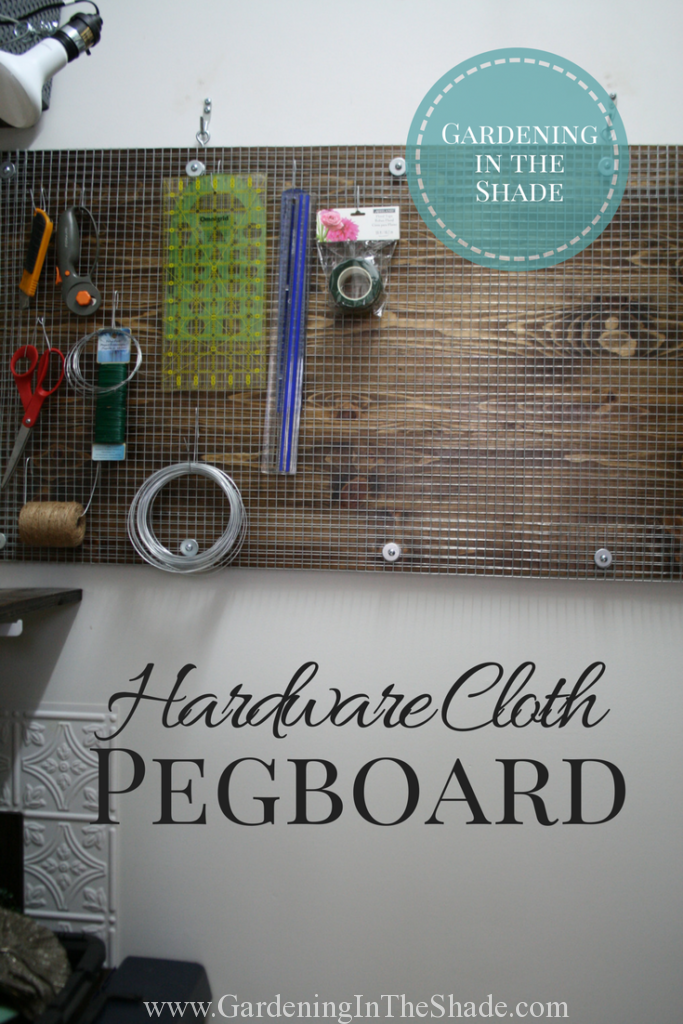
Pegboards are amazing for small spaces but I’ve just never liked the look of them. It’s all those holes, they make me think of dust and wonder if there spiders hiding in them. So when I was looking for a different storage solution for my craft supplies – like that damn rotary cutter I can never find – I had to get creative.
DIY Pegboard Materials & Equipment:
- Wood for backing. I used two 12″ x 4′ pine shelves but you could easily use reclaimed wood instead.
- Hardware cloth with 1/2″ x 1/2″ openings. Do not buy the prepackaged rolls. They are rolled too tightly and impossible to work with. Have it cut to length at the Hardware Store.
- Washers & bolts for spacers.
- Screws long enough to go through spacers into wood.
- Clamp or two.
- Long straight edge.
- Drill.
Making the Pegboard:
I stained and sealed both shelf boards before starting. I thought about using a tea stain for a rustic look, but decided I wanted a deeper color. Once dry, I used two mending straps in the back to join the two shelves. I could have used pieces of wood instead, but it was cold and windy outside and I didn’t want to drag my saw out of the shed.
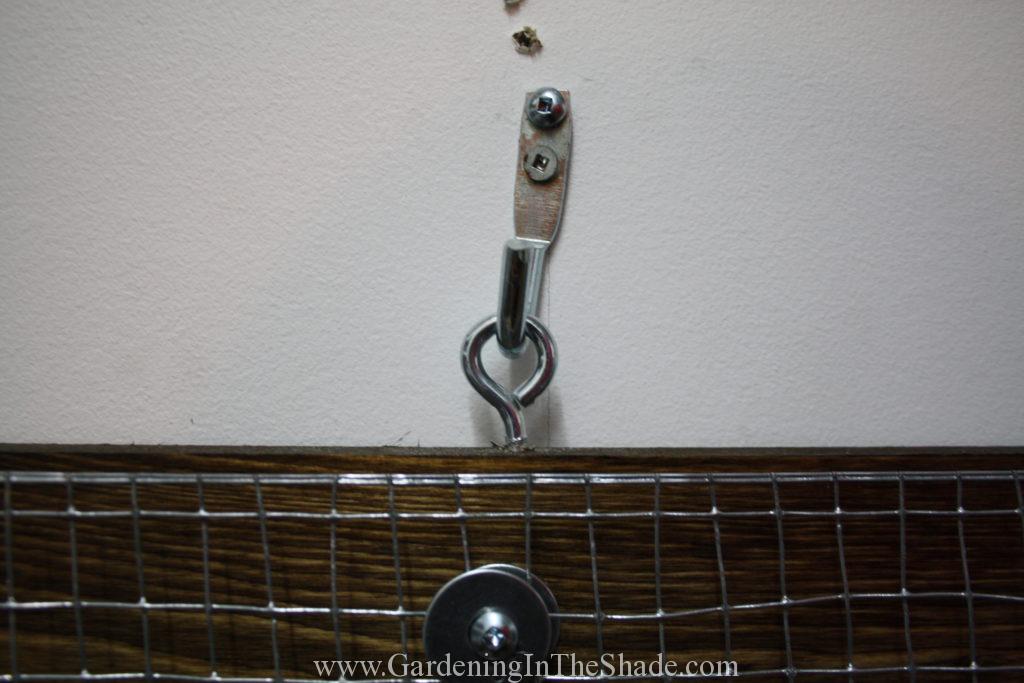
I started by drilling pilot holes in the top edge of my wood backing and then screwing in the eye bolts. We won’t even discuss those extra holes for the hooks in my recently patched, freshly painted wall.
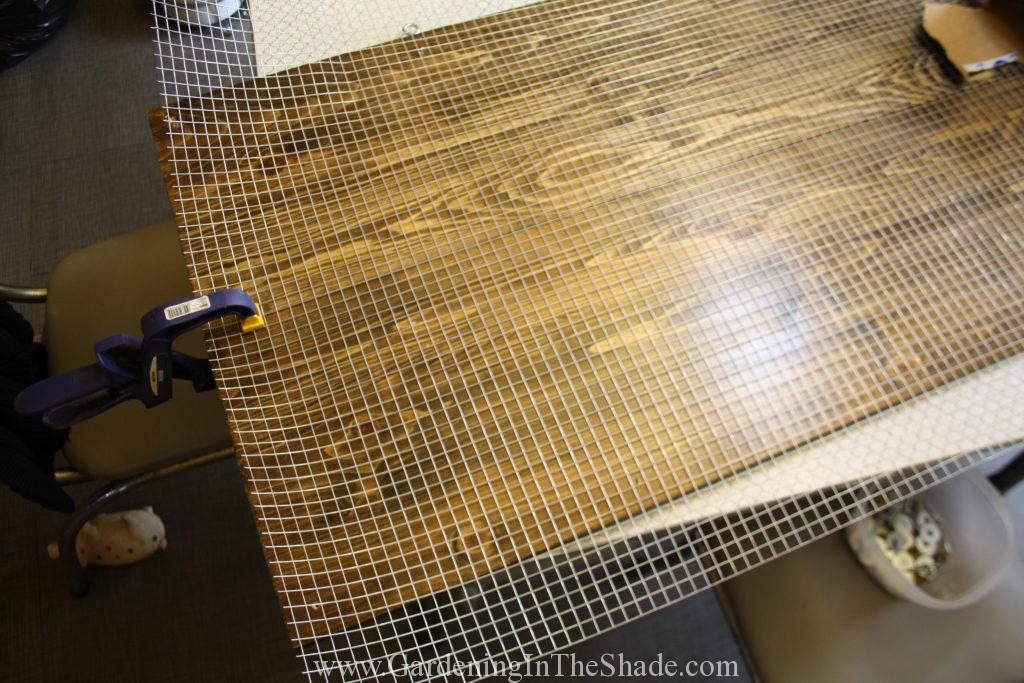
Clamp the mesh to your work surface at each end with the curl facing up.
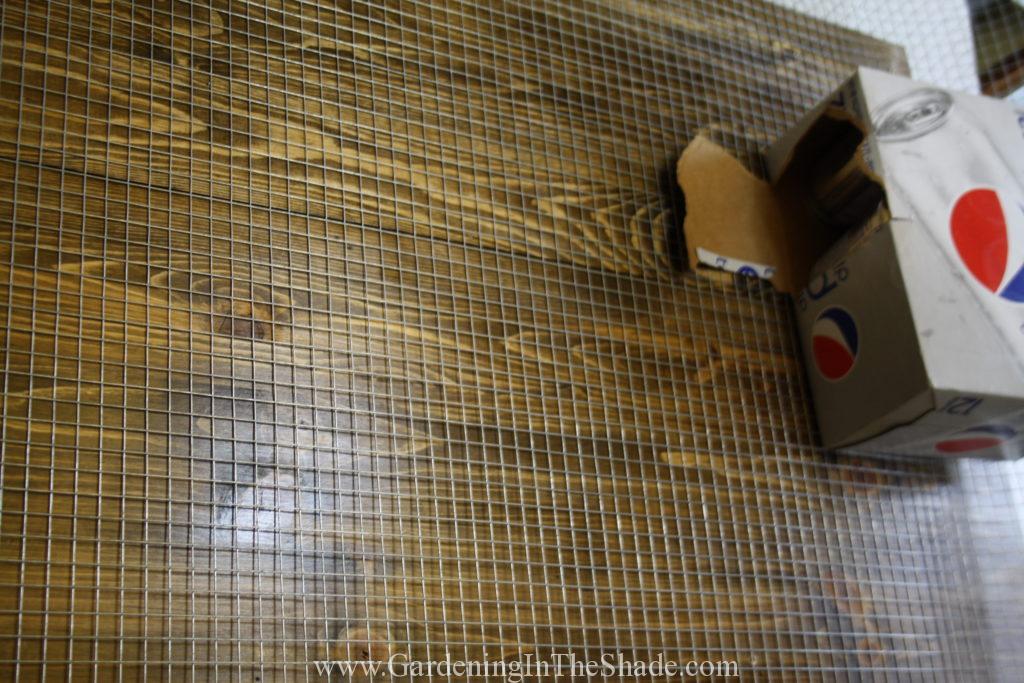
I only had one clamp, so I used a case of pop to weight the other end to keep the mesh from curling back up.
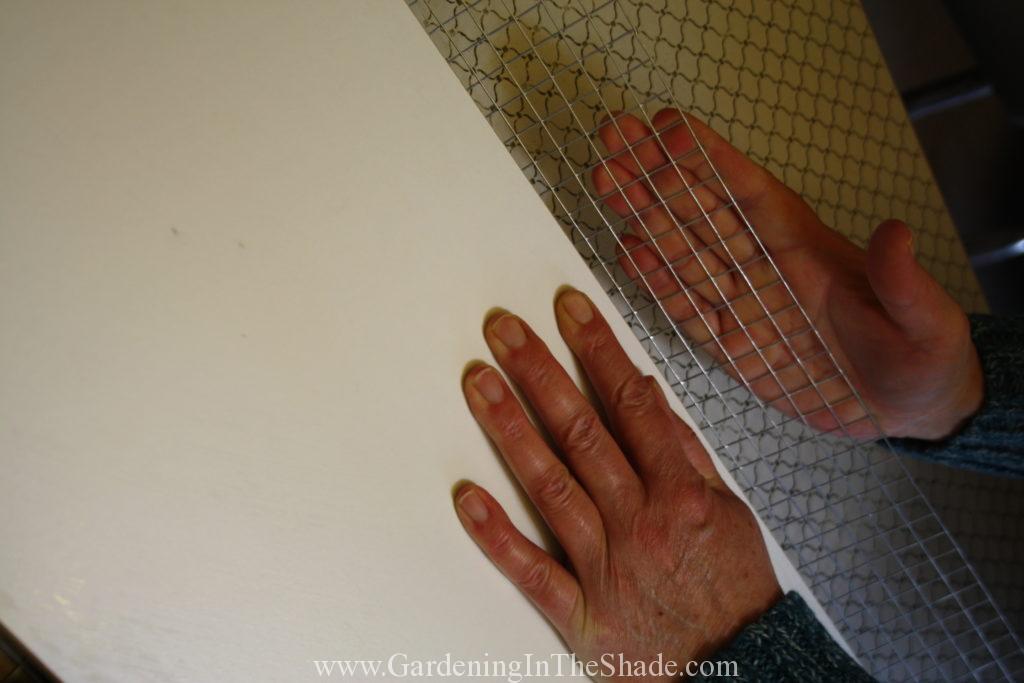
Using your long straight edge, start folding the cloth. I did my long edges first, it helps to straighten the mesh. Work your way up and down the fold line, gradually folding it inwards.
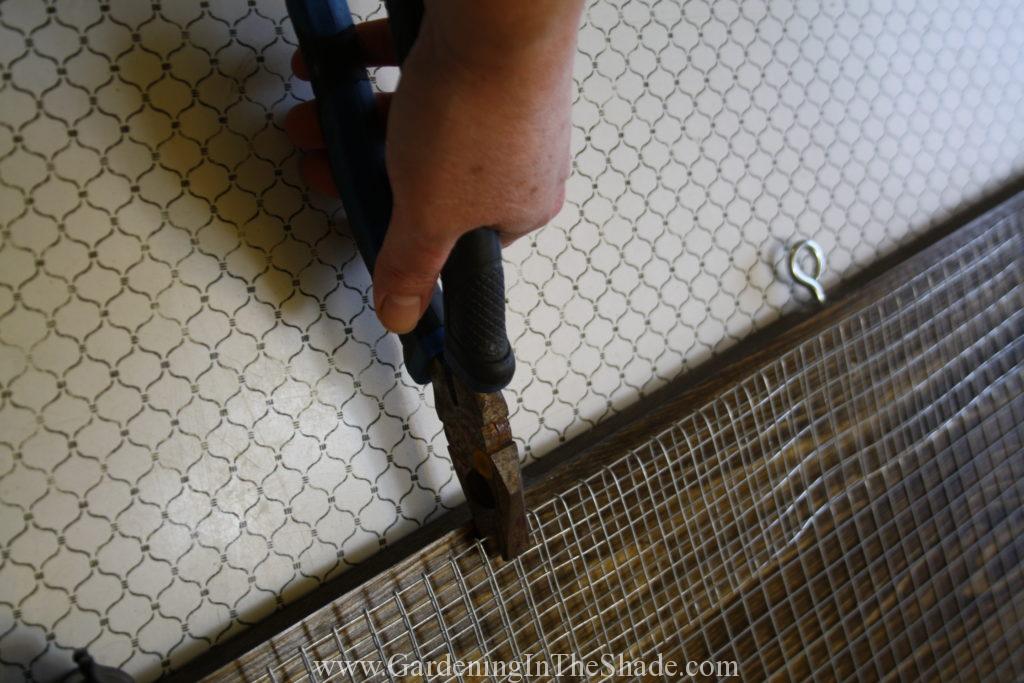
When you’ve completed the fold, crimp it tightly with pliers.
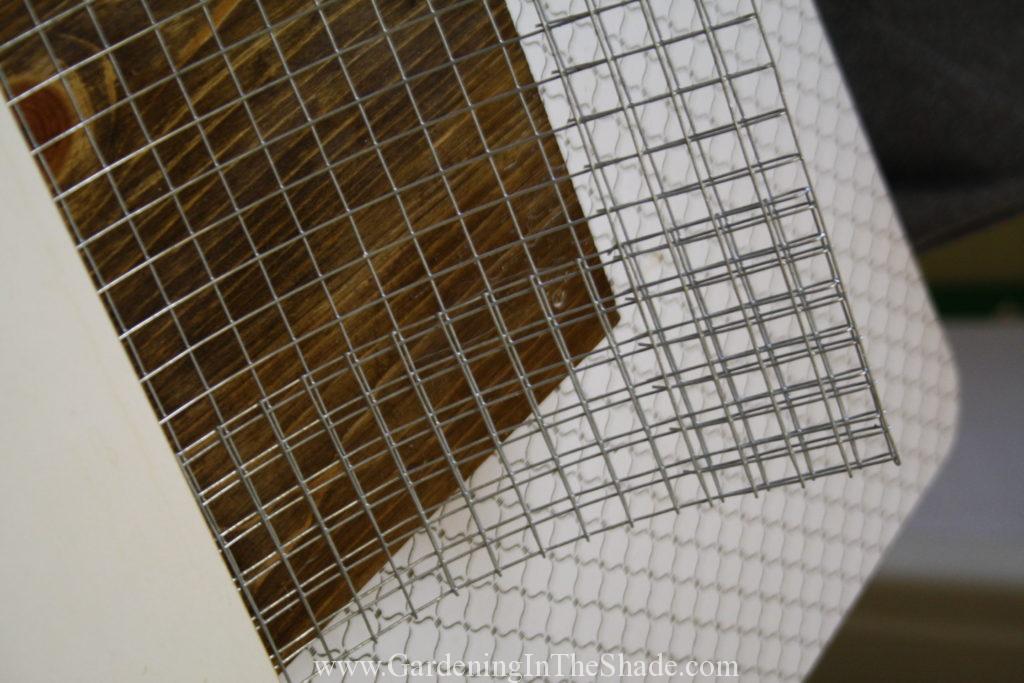
Repeat for all four sides then flip it over so the curl faces down, otherwise your mesh will sit right on the backing and leave no space between the mesh and backing for hooks.
Fasten the mesh, top and bottom every 12″ or so. Mark your screw placement, but only drill one pilot hole at a time. The openings in the mesh won’t always be where you expect them.
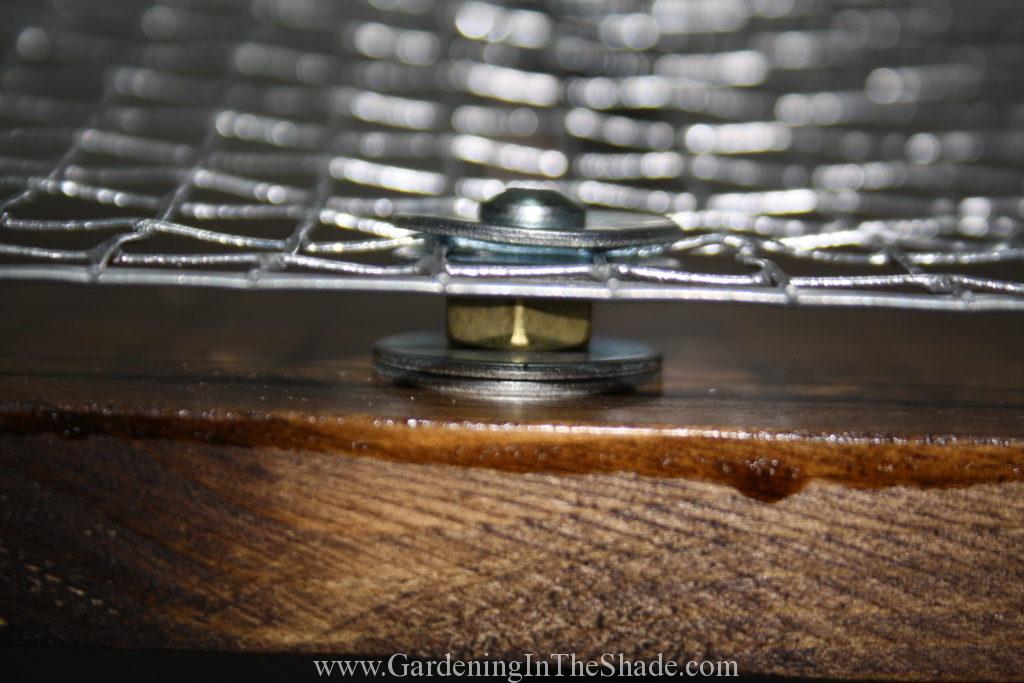
For each screw, it’s washer, mesh, washer, nut or spacer, washer, and then finally into the wood. Leave some play until all the screws are in.
That’s it!
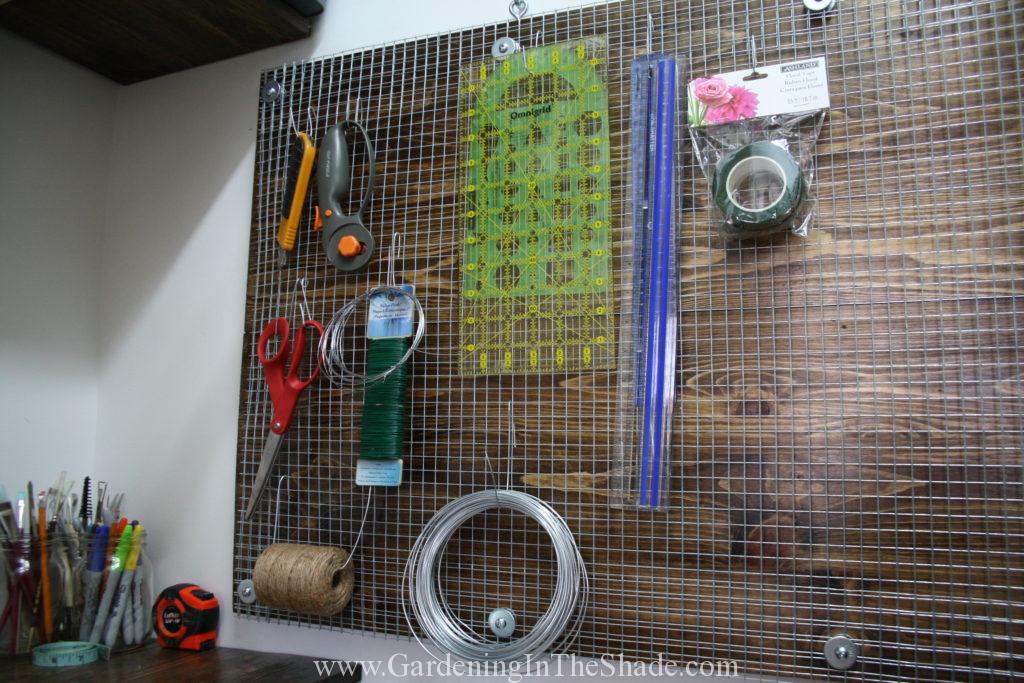
Mount it on the wall and start hanging up your tools and supplies.
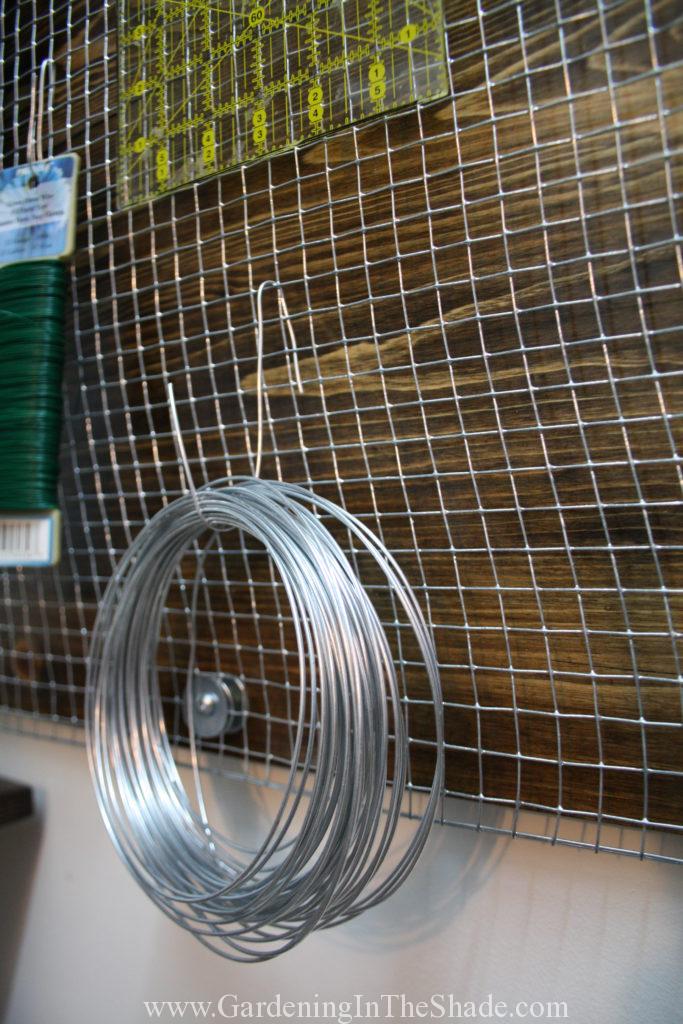
I just bend pieces of wire into hooks but you could buy S-hooks also.
A word about cost:
Unless you are using salvaged wood as your backing, and maybe not even then, just buying a piece of pegboard is cheaper. With the two pine shelves for backing (2@$18.49 ea – $36.98), stain ($8.99), and sealer ($6.99), plus the roll of hardware cloth ($1.99/foot), screws and washers the final cost was $100 – $120.
If you enjoyed this post, don’t forget to share it with your friends! For more just like it follow me on Pinterest, Facebook and Twitter or sign up for regular updates by email.
If you have ever thought about starting a garden or craft blog of your own see how easy it is >>here<<.
Hi Vanessa! This is a smart project. I like that you can hang different sized items and change it around at any time because of the wire mesh. Smart! Pinned too 🙂
Thanks Wendy! I have been slowly organizing my craft supplies and I am loving that board! It’s working exactly as I wanted it too. I just wish the mesh had not been twisted, but at least with more things hanging from it I can’t see the crooked wires.