Chicken Wire Allium

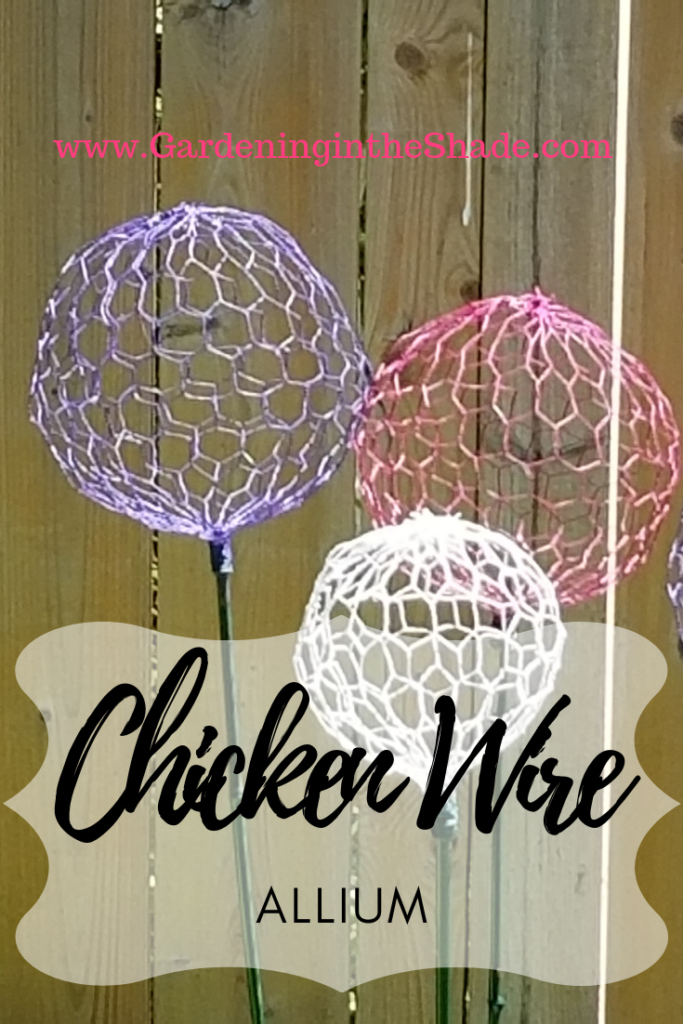
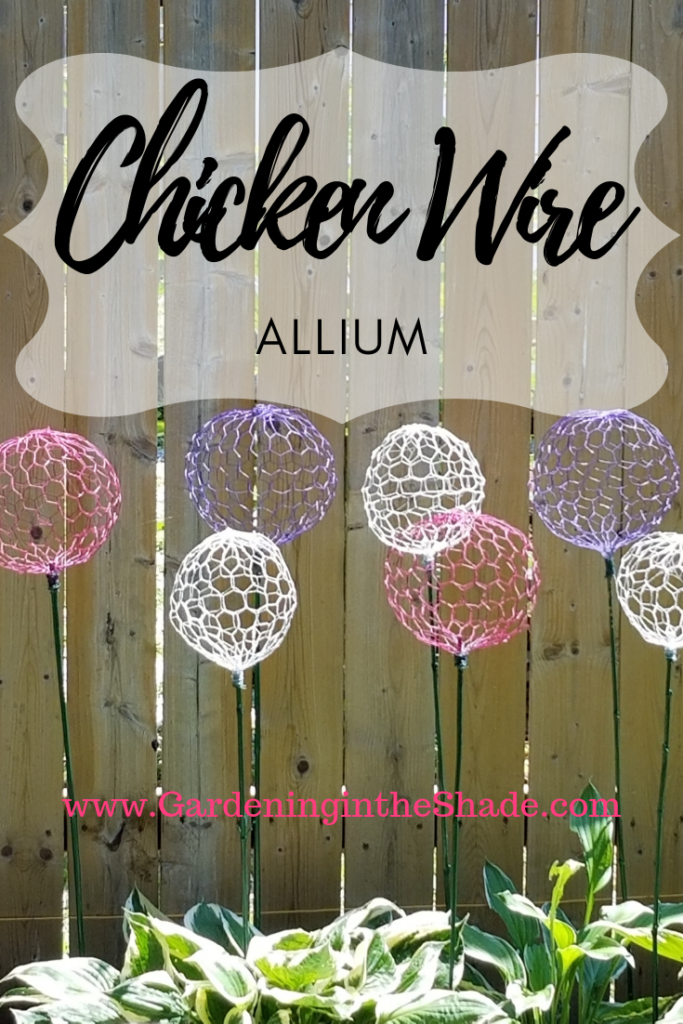
Chicken Wire Allium are one of those things that keeps popping up on my Pinterest feed. Every time I see them, I want them because Allium are such a cool looking flower. They’re like giant lolly pops in the garden. So as much as I try to come up with my own unique ideas here I just knew I had to replicate those allium.

Chicken Wire Allium

After a little bit of trial and error, these were pretty easy to make. With no power tools needed, it was something I could work on in the morning without disturbing the neighbors at the ridiculously early time I wake up every day.

Chicken Wire is a bit bitey so I suggest long sleeves if possible. It also tends to tangle up in itself and what not, so it’s not really a good project for when you’re feeling irritable or impatient. As you unroll the wire, run if over the edge of your workbench to straighten it out so it doesn’t keep rolling back up on you.

Materials for Chicken Wire Allium

I’ve provided some links to the materials you will need, they are affiliate links.

How To Make Allium

Prep the Chicken Wire

Prep for Chicken Wire Allium
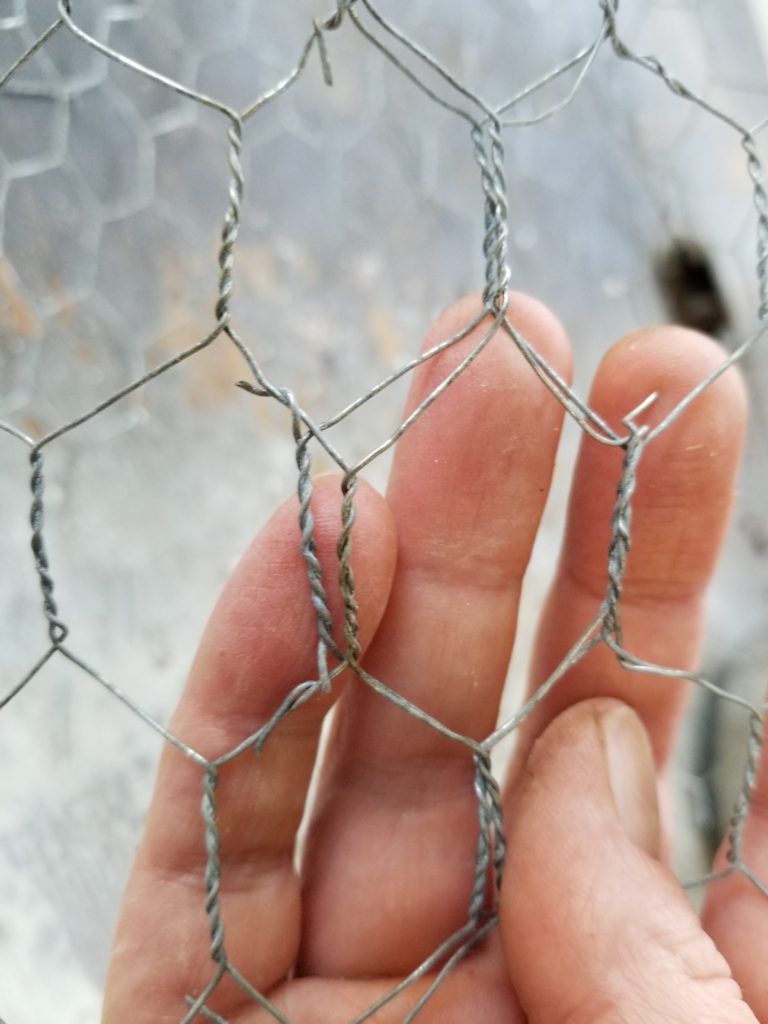
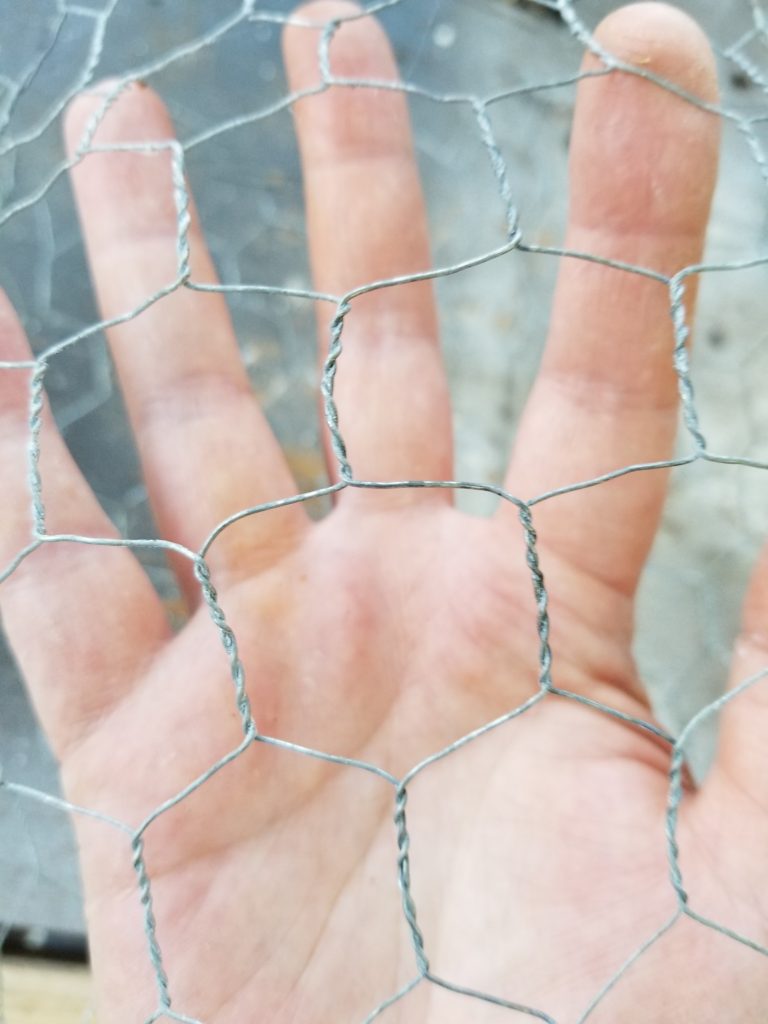
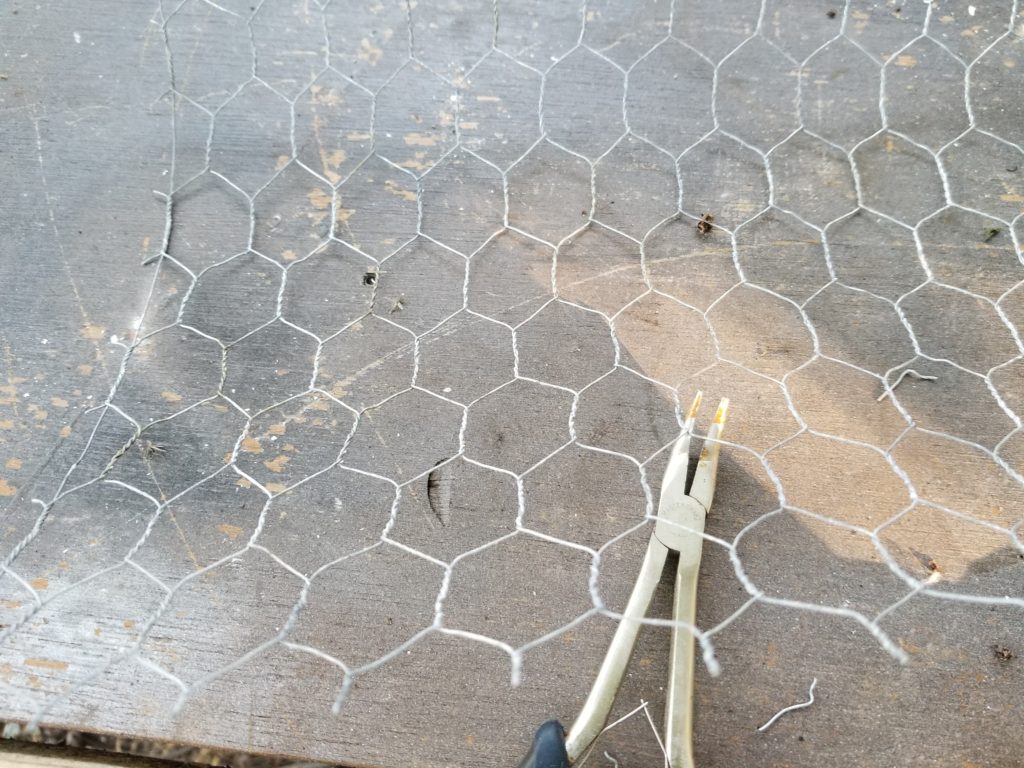
After some trial and error, I found I got the best results with the chicken wire oriented as above. The twisty parts need to be running up and down.

Usually on the edges of chicken wire there’s an extra wire added for stability – that needs to be trimmed off. If there are any running through the middle of your wire, trim out of the middle of each hexagon. If you leave them in it will prevent the mesh from stretching as it needs to. Cut a rectangle of chicken wire for each allium as below.

  • Large Allium – 14″ high x 21″ wide
  • Small Allium – 12″ high x 20″ wide
Shape the Chicken Wire

Shape your chicken wire into a tube, overlapping one row of hexagons as above. Twist your wire ends around to attach.

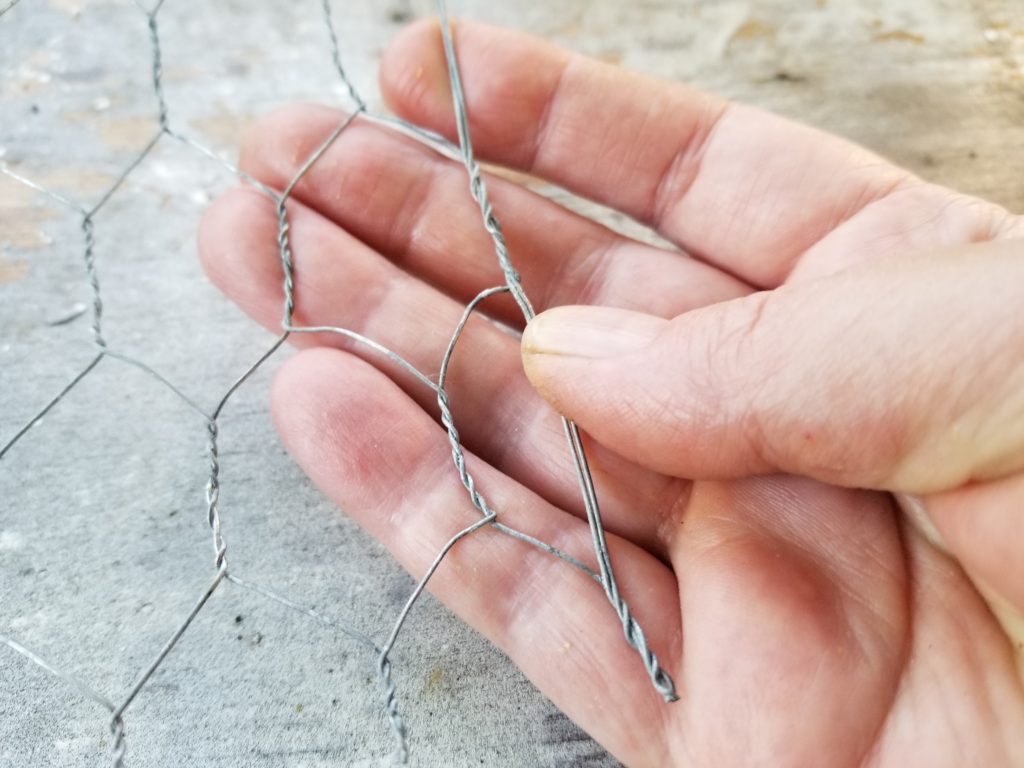
Half way between the top and bottom of your tube, stretch the hexagons all the way around the tube – they should almost look square. This makes the wire belly out to start your curve.

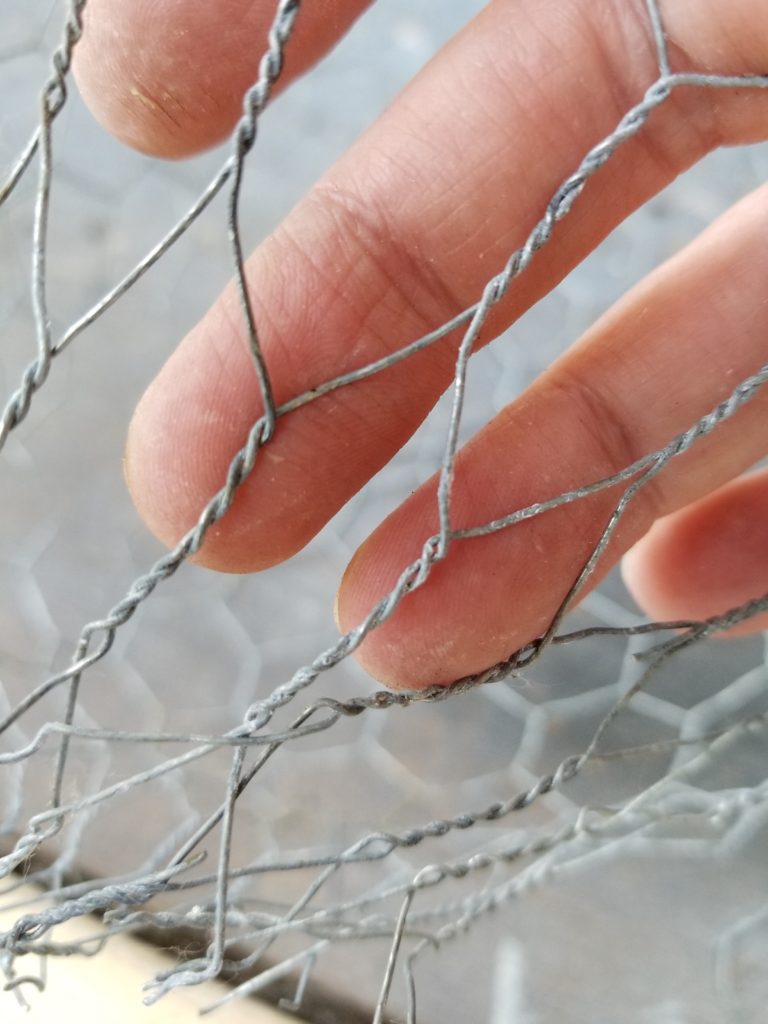
A row or two above that, start pulling the hexagons to stretch them vertically – this creates the top of your curve. Bring all of the wire ends together at the top and twist together as best you can. I made a dozen of these and never came up with a nice neat way to do this part.

Repeat the same on the bottom half of your tube, but leave the ends open to attach to your stake. Don’t worry too much about perfecting your shape yet. It’s much easier to make adjustments once it’s on a stake.

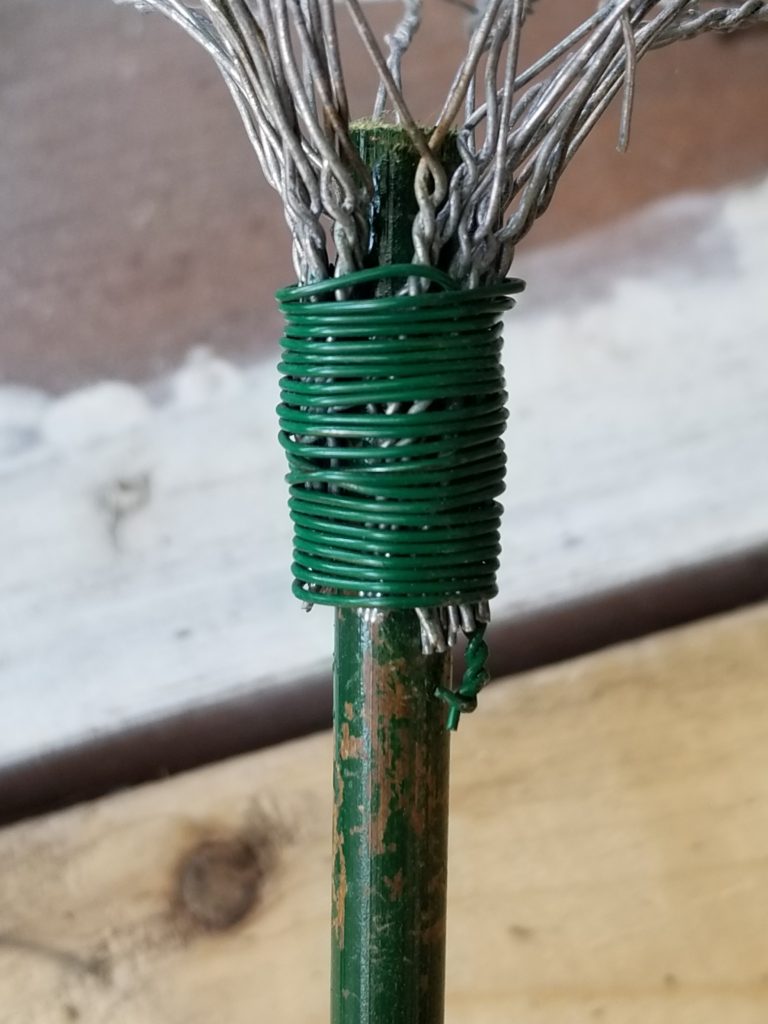
Grab a length of florist wire and wrap around the bottom of the chicken wire and stake as above. Once you have it on the stake it’s easy to tweak your shape to get a more rounded ball shape.

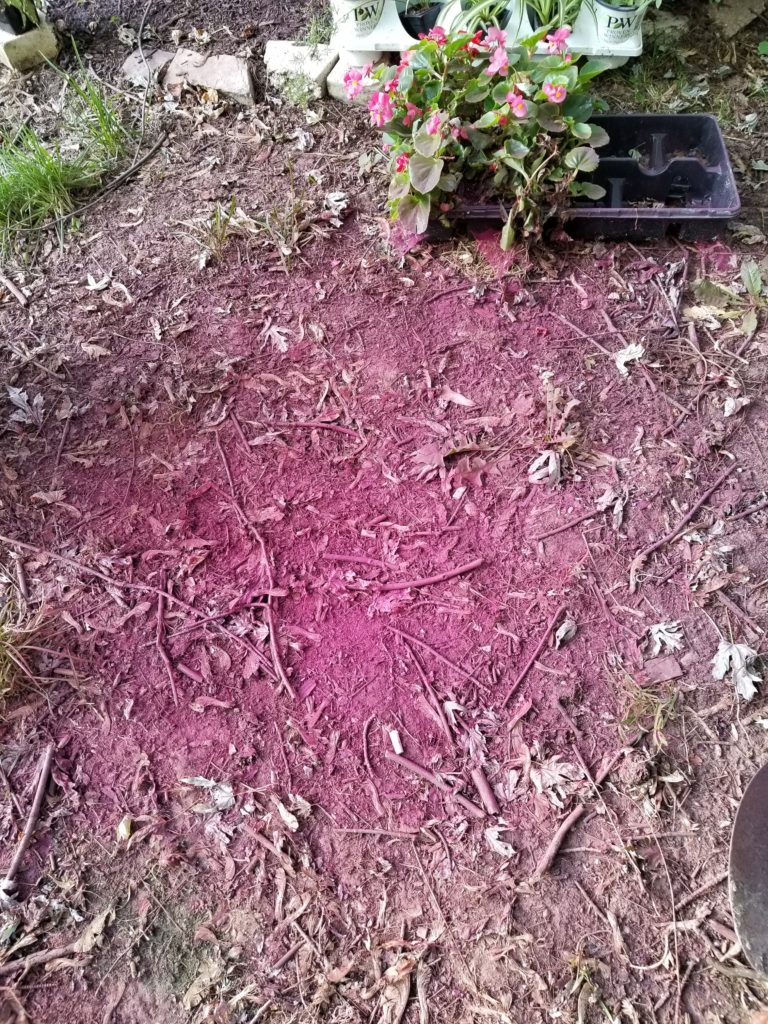
Hit them with a couple of coats of spray paint, make sure you get good coverage on the inside and outside. As you can see I now have a patch of fuchsia colored dirt, so make sure you don’t paint near anything important to you.

Pick a spot and shove the stakes in the ground to arrange your Chicken Wire Allium any way that makes you happy!

So what do you think? Would you plant a bunch of chicken wire Allium or would you rather buy some bulbs and plant the real thing?

Mini Hosta Tool Box Planter

Have I convinced you that Mini Hosta are just as cool as succulents yet? If I haven’t made you a fan yet, maybe my mini Hosta Tool Box will do it.

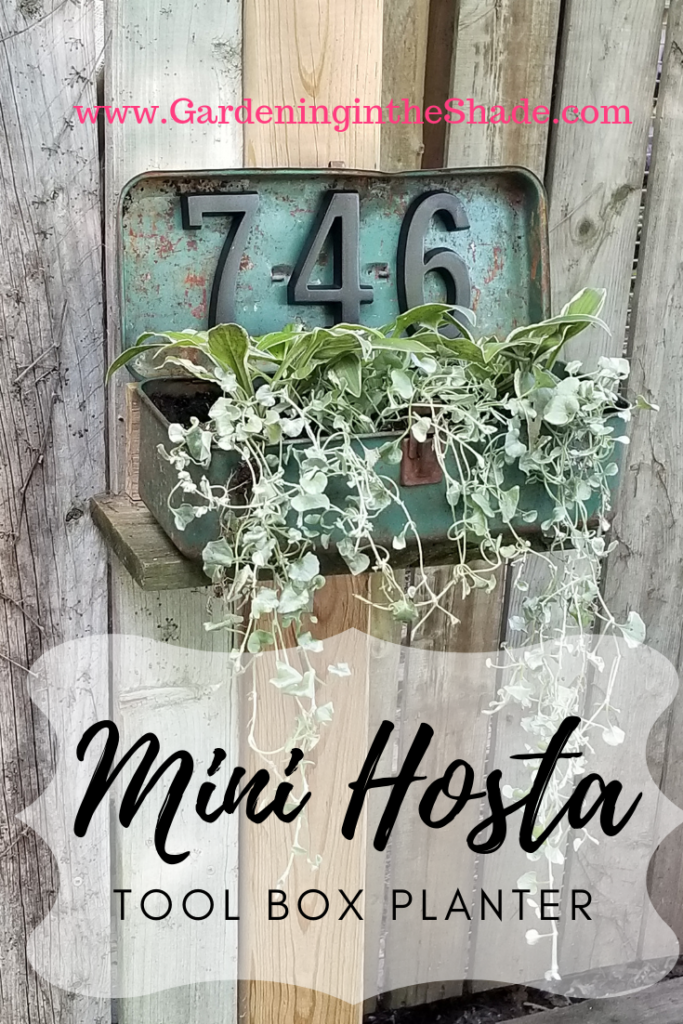
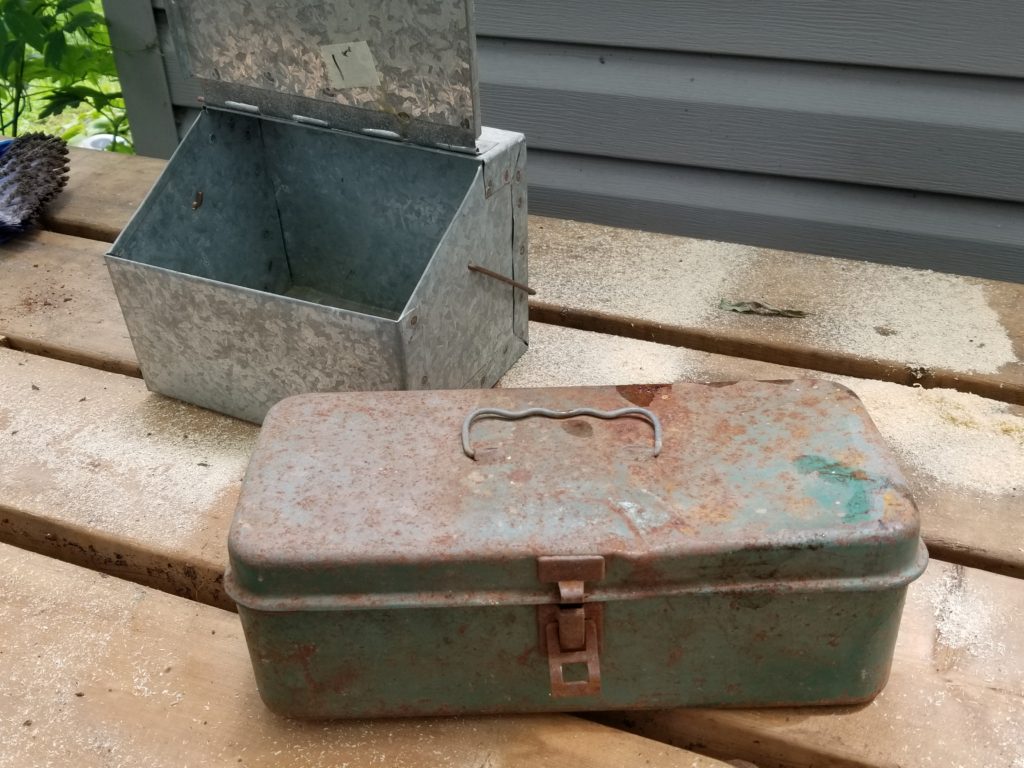
I mentioned a trip to Picker’s Pig Pen in my last post, what I didn’t mention was this fabulous old tool box. It was exactly what I was hoping to find. It has just the right amount of rust and it’s perfectly battered. One of the cutest succulent planters I’ve seen on Pinterest is an assortment of succulents in an old tool box. I needed a tool box so I could reproduce that planter with mini Hosta!

I only paid $20 for everything I got Saturday and honestly the table base was worth that easily! So these two boxes were pretty much free. Even the bit of tool box rubble was free! Old drill bits and miscellaneous screws. You know the stuff!

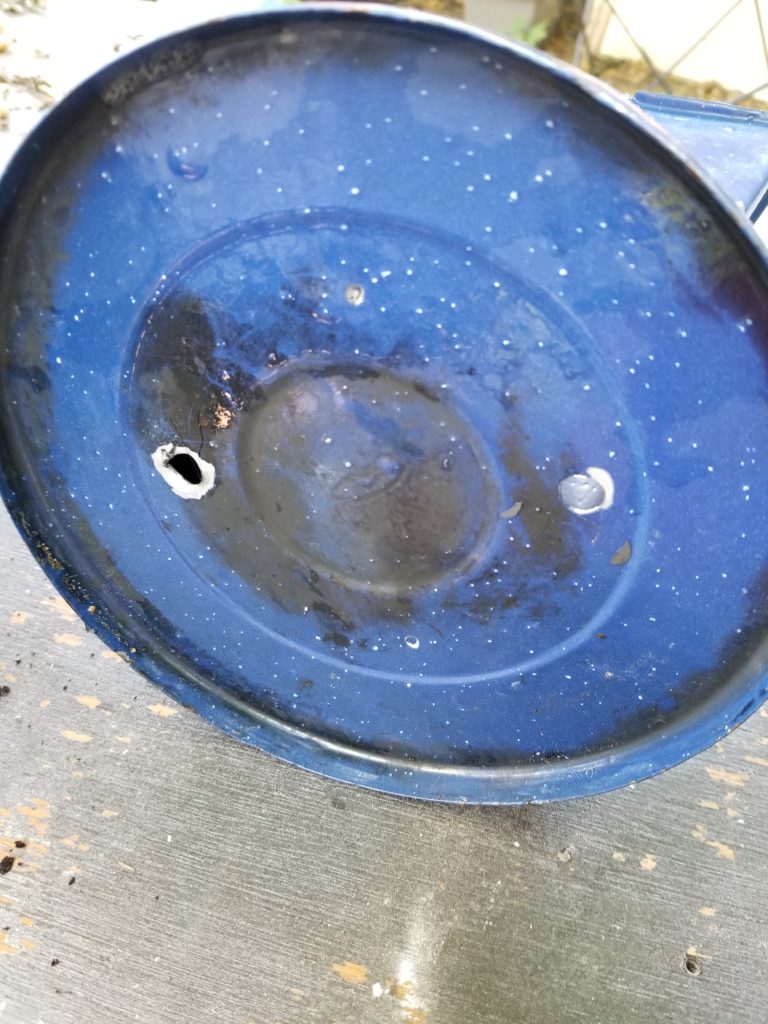
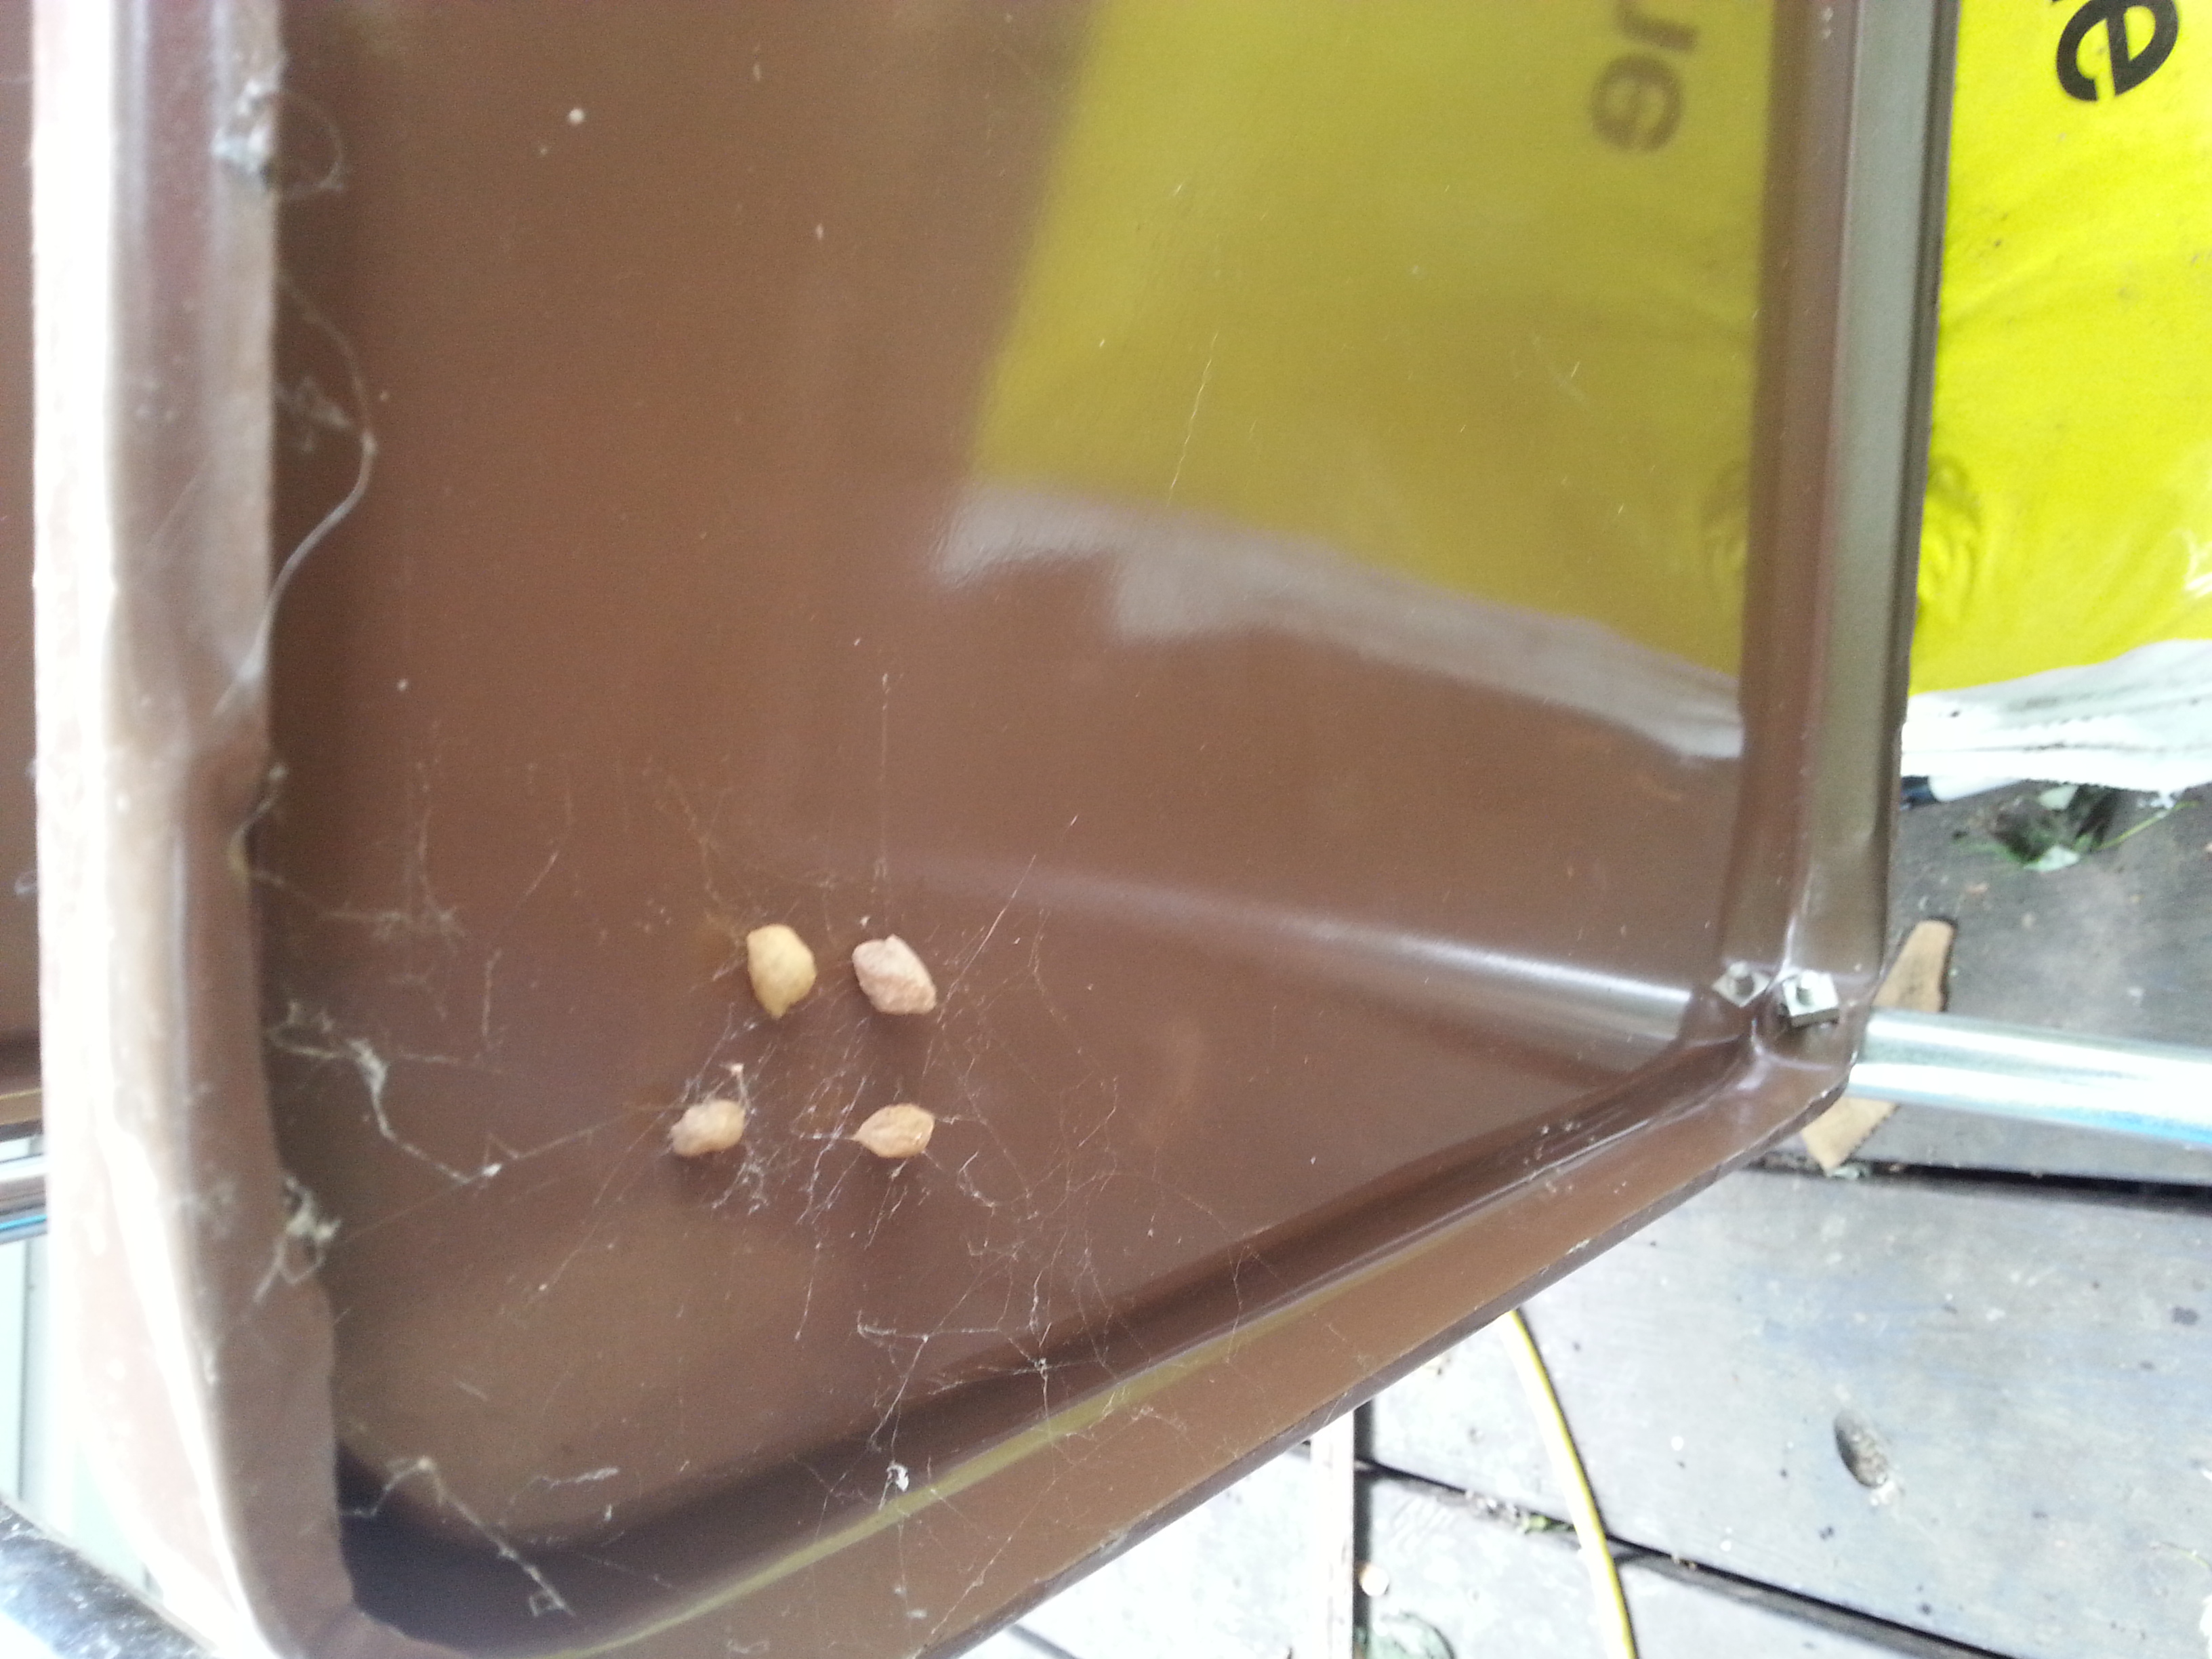
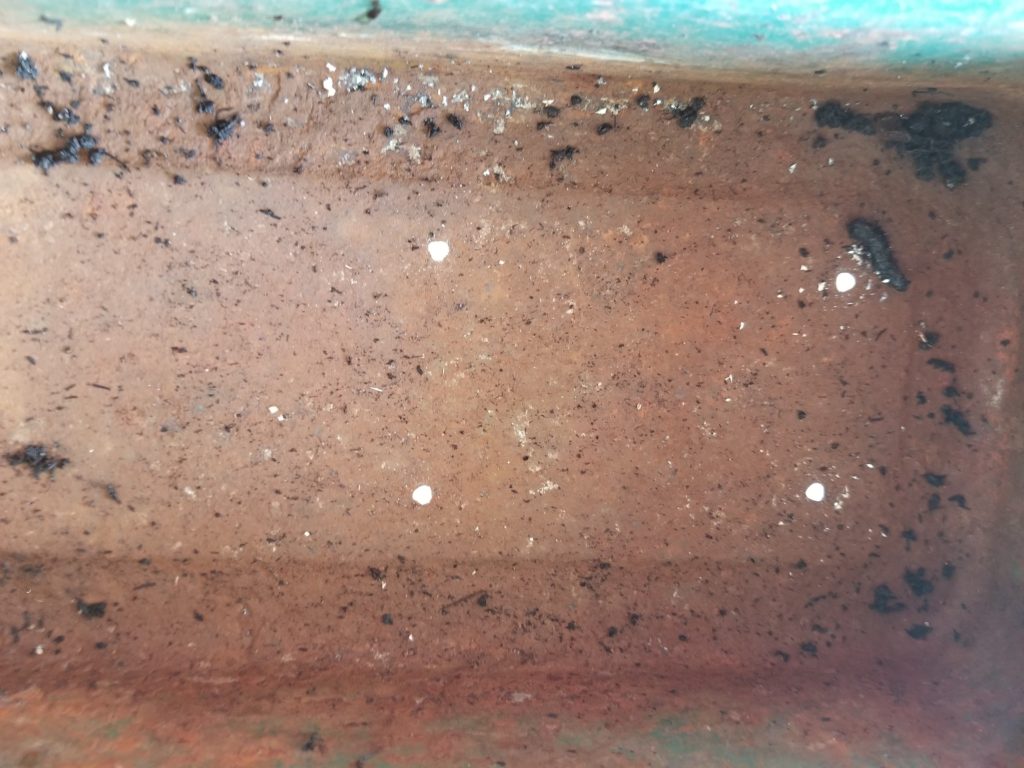
Both metal boxes were cleaned up and I drilled drainage holes in them with a drill bit meant for metal. When you are drilling in metal it helps to have some wood underneath that you don’t mind drilling into. There still might be some burrs, but the holes turn out much neater.

The Tin Box

I planted the galvanized box with creeping jenny and a Hosta ‘Waterslide’. Waterslide isn’t a true mini, but it is a small hosta. Mine is even smaller than it should be because I almost killed it a couple of years ago so it’s coming along.

The Tool Box

I planted the tool box with a green and white mini Hosta and some Dichondra ‘Silver Falls’. But I didn’t stop there…

I spray painted some brushed nickel house numbers to attach to the lid of the toolbox.

Mini Hosta Tool Box Planter

So have I convinced you that Mini Hosta are cool yet or do you need more proof?

I’m still on the lookout for an old bird cage and a metal chair so I can replicate those looks too. I’ll make a convert of you guys yet.

Mini Hosta Kettle Planter

Sure succulents are cool, but have you tried Mini Hosta yet?

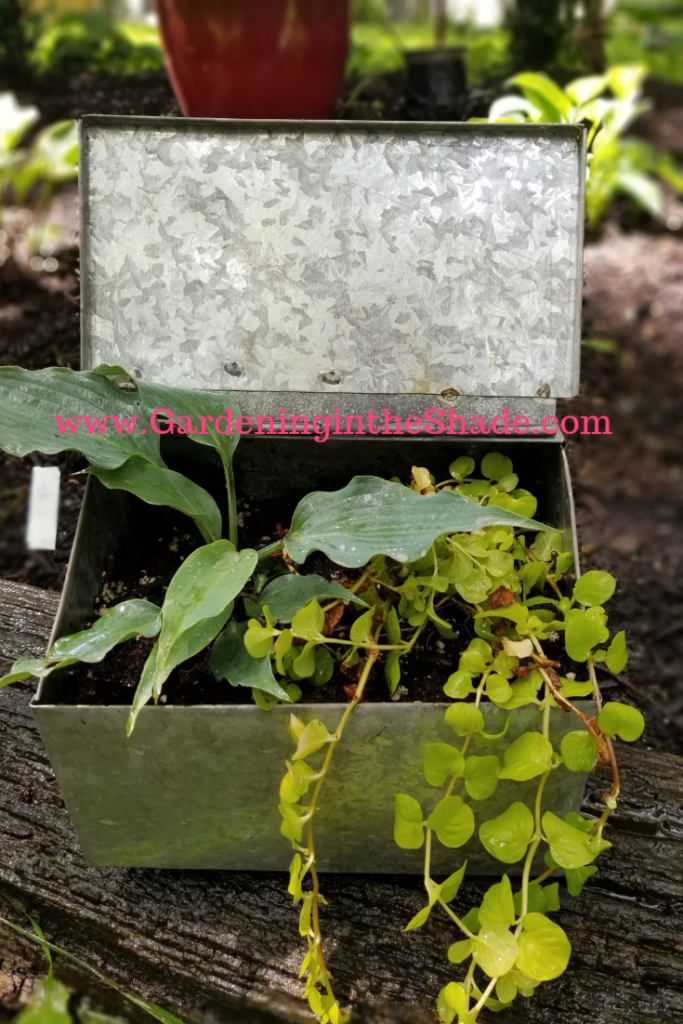
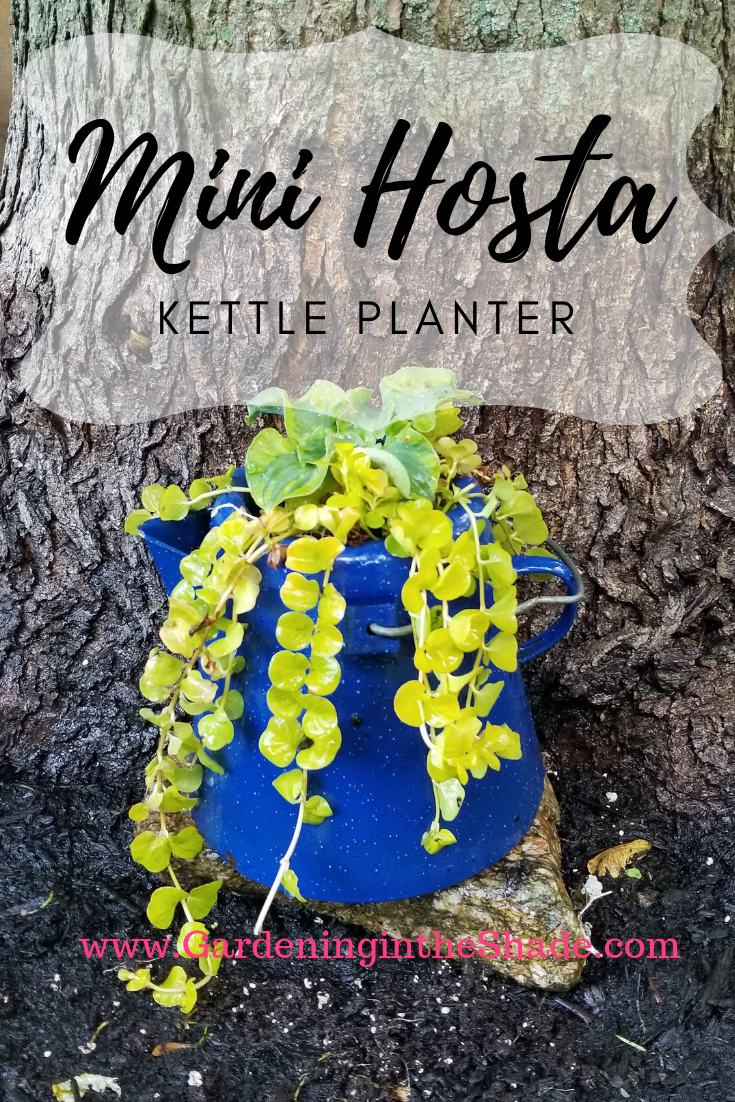
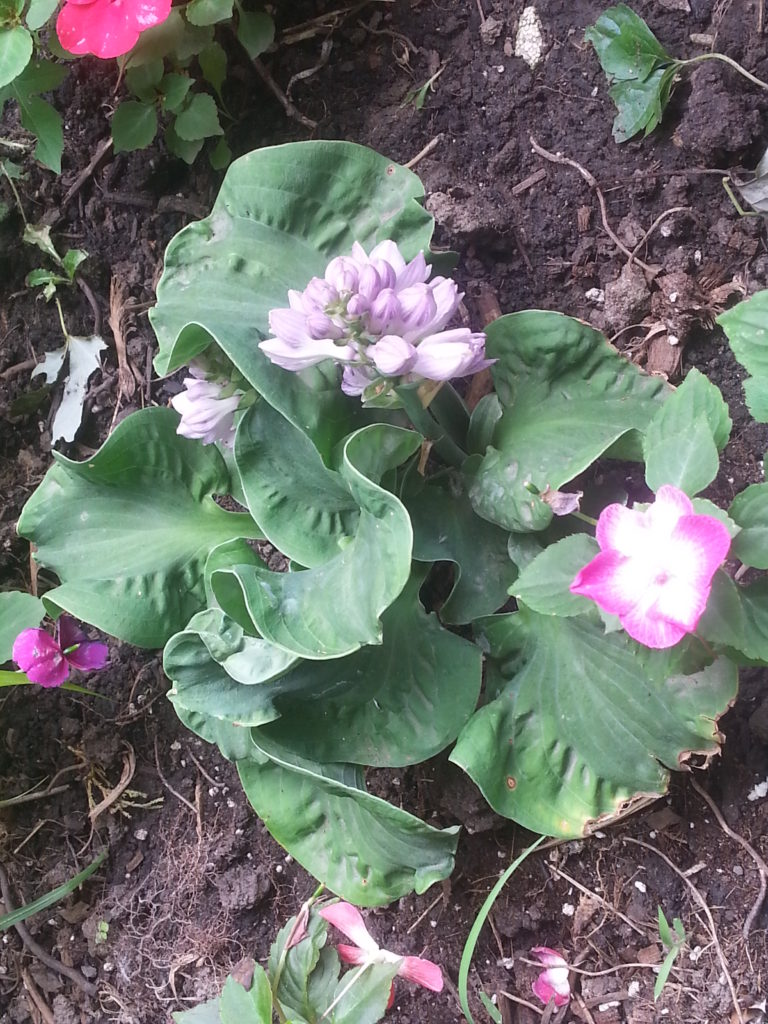
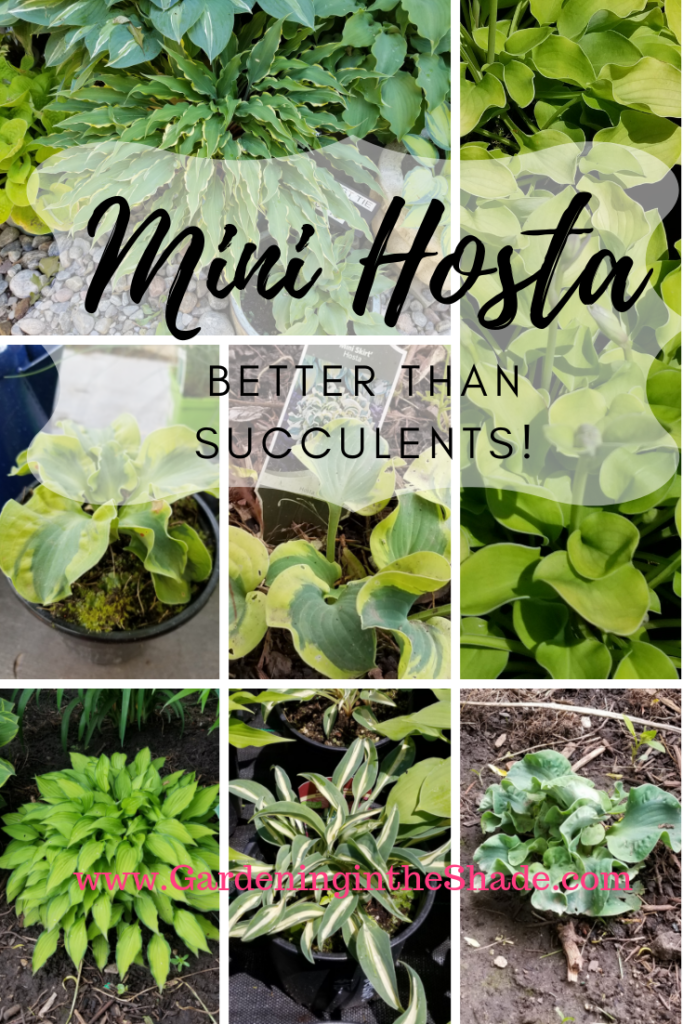
They come in blue, green, yellow, and all kinds of variegated combinations. Some are really tiny and some are just small, leaves might be long and narrow or short and round.

Miniature Hosta are just as collectible as succulents. Well really, all hosta are collectible, but miniatures have nearly as many adorable planting options as succulents. Check out my up-cycled enamel kettle planter!

Mini Hosta Planter

I found this blue enamel kettle at Value Village and decided it would be perfect for a small planter. Most of the time I prefer large planters, but for a miniature, this is a large planter.

Hosta are a perennial but they do very well in planters. Some people have hosta that are in the same planter for years, they just store it in an unheated building over the winter and bring them out when the pips are ready to emerge.

Benefits of Hosta in Pots

  • you can control the moisture more easily in a planter.
  • they’re portable, you can move them where you like without touching a shovel.
  • perfect for tenants who want a lovely garden but don’t want to leave behind their collection if they move.
  • if you worry about HVX, pots and planters are effective quarantine for new plants.

The Mini Hosta Kettle

This kettle won’t be used to make tea ever again after I drilled a couple of drainage holes in the bottom.

Mini Hosta 'School Mouse'

Hosta ‘School Mouse’ is the star of this planter. See the green stuff growing on the top of the soil? That’s something that happens sometimes in greenhouses, scrape that off before transplanting.

Mini Hosta 'Church Mouse'
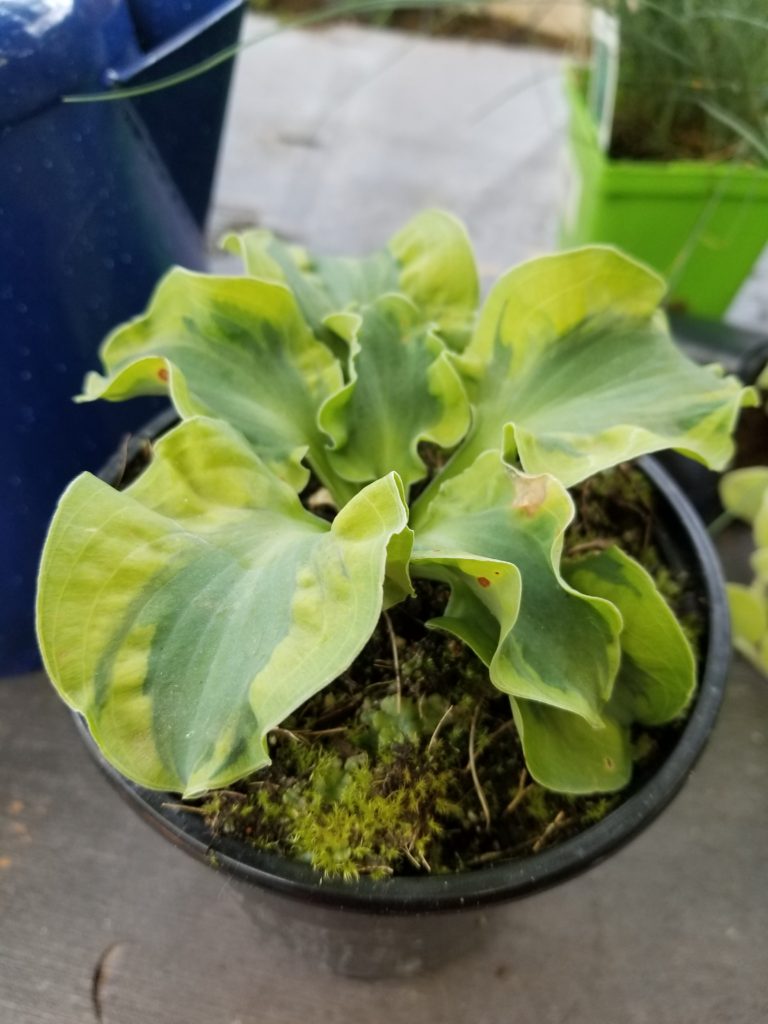
School Mouse was an impulse buy, but notice how similar it is to ‘Church Mouse’? I love those ruffled twisty leaves.

Mini Hosta Kettle Planter

I added some creeping jenny (Lysimachia) as a trailer and there it is – a planter that is just as adorable as a succulent. Still don’t believe me? Take a look at the Hosta Turtle I made last week.

So what do you think? Could you get hooked on Mini Hosta?

Hummingbird Feeder from a Spice Jar!

What do you do when you want to have a hummingbird feeder for every hummingbird, but you’re a little bit cheap? You get out your glue gun and DIY some feeders!

I’ve had my hummingbird feeders out since early April because I was determined to not miss their arrival like I have every other year. They showed up on May 1st and have been busy sipping nectar and chasing each other away ever since. I have 3 feeders out already plus the oriole feeder, but I wanted a couple more to really spread them around the yard. This is how I made my DIY spice jar hummingbird feeder.

Materials for Hummingbird Feeder:

Hummingbird Feeder Supplies
  • Spice Jars – I got mine at the dollar store, three for $2.00
  • Twine
  • Silk Flowers – Try for red or deep pink
  • Ribbon Trim
  • Yellow paint
  • Glue Gun
  • Drill & Drill Bit – I used a 3/16 bit
  • Hole Punch

Make the Hummingbird Feeder

Step One:

DIY Feeder - Drill Holes

Tighten the lids onto the jars and mark the location for the holes. I placed mine so that when the jar is tilted it would be towards the bottom. Next drill the holes in the lids. The center part is a brittle clear plastic, so go slow or it will crack.

Step Two:

Pull your silk flowers apart, removing the plastic centers. Glue all the layers together with your hot glue gun.

Step Three:

Glue your ribbon trim around the lid.

Step Four:

Punch a hole through the silk flowers.

Then glue the flower to the lid, lining up the hole in the flower with the hole in the lid.

Step Five:

Paint the center of the flower yellow.

Spice Jar Hummingbird Feeder

And there’s your Hummingbird Feeder finished! Now to make the macrame hanger.

Make the hanger for your Hummingbird Feeder

Step One:

Making a macrame hanger for hummingbird feeder

To start you will need 8 lengths of twine 72″ or 6′ long.

Fold them in half to find the center.

Make a knot as shown. This is the top of your hanger. You should now have 16 strands of twine.

Step Two:

Section out 4 strands of twine. We will only be using square knots for this hanger.

Cross the left strand over the center two strands and under the right strand.

Then cross the right strand under the center two, and pull it up through the loop you made with the first strand.

Next pass the left strand under the center two and over the right strand.

Bring the right strand over the center two, and through the loop on the left. That’s your first square knot.

Repeat until you have 6 knots on this section of 4 strands. Do the same for the remaining 3 sections.

Step Three

For the next step, you will take a center and an outside from two adjacent sections.

Using those 4 strands, make a single square knot 6″ down. Repeat for the remaining 3 sets.

These instructions will make a hanger that measures approximately 12″ from the hanging loop to the bottom of the hummingbird feeder and an 8″ tassel at the bottom. If you prefer a longer hanger, you would add the length in this step. For each inch you add to the length, you will need to add 2″ to the length you cut your twine at.

Step Four:

It is easier to work the rest of the hanger if you can hang it on something while you are working. Then next knots are 2″ below the last ones. You will need to use a center strand and outside strand from 2 adjacent groups again.

Repeat for the remaining 3 groups. You should start to see the netting form.

Step Five:

The last set of knots are 1″ down. Switch up your groups again as you did in the previous steps.

Step Six:

Test fit the hummingird feeder

Gather all the strands together and knot. Test fit your Spice Jar Hummingbird Feeder to make sure it’s secure. Once everything is good, trim your tassel to the length you want and you’re done.

Fill your Hummingbird feeder!

Spice Jar Hummingbird Feeder

Fill your feeder with nectar to the rim as shown. You can make your own nectar with 1 part white sugar to 4 parts water. Use only white sugar, anything else can make hummingbirds sick. There’s no need to add color, the flower should catch their attention – hopefully.

Vintage Metal Cart Makeover

vintage metal cart

Vintage Metal Cart – The Before!

Earlier this summer I came across this vintage metal cart at Picker’s Pig Pen. I’ve mentioned Picker’s Pig Pen before in this space. It’s a place I can go when I’m looking for inspiration or a new project. I had spotted one of these shelves there last year, but I didn’t take it at the time and the next time I went it was gone.

So when I spotted this one I was thrilled. The shelves were a little rough, but the casters and chrome were in great shape.

vintage metal cart - gunky shelf

I have no idea what the spill on the bottom shelf was, but it ate into the paint.

On the top shelf, someone had repainted it with a brown that did not match the original.

Vintage Metal Shelf

The Makeover!

I gave it a good scrubbing to remove all the dead bugs and spider egg casings, then I stripped the paint off. Then I got stuck, how was I going to make-over this cart.

There’s a certain pressure that comes from having a blog and following a lot of truly creative blogs. The pressure to do more and be more so ‘your’ project will stand out in the crowd. I kept thinking of the vintage metal cart makeover Marie at Interior Frugalista (I’ll add the link as soon as I find it) had done and wondering how I could make mine as lovely.

And then I stopped, because at the end of the day, I’m not selling or giving away the things I make. They have to live in my home, not on my blog. So knowing my vintage cart was most likely going in my bedroom it needed to be either blue or gray. Since gray felt too much like commercial filing cabinets, blue it was.

Forgive the lack of after photos, it spent a little over a month out beside my BBQ – very handy in its own way.

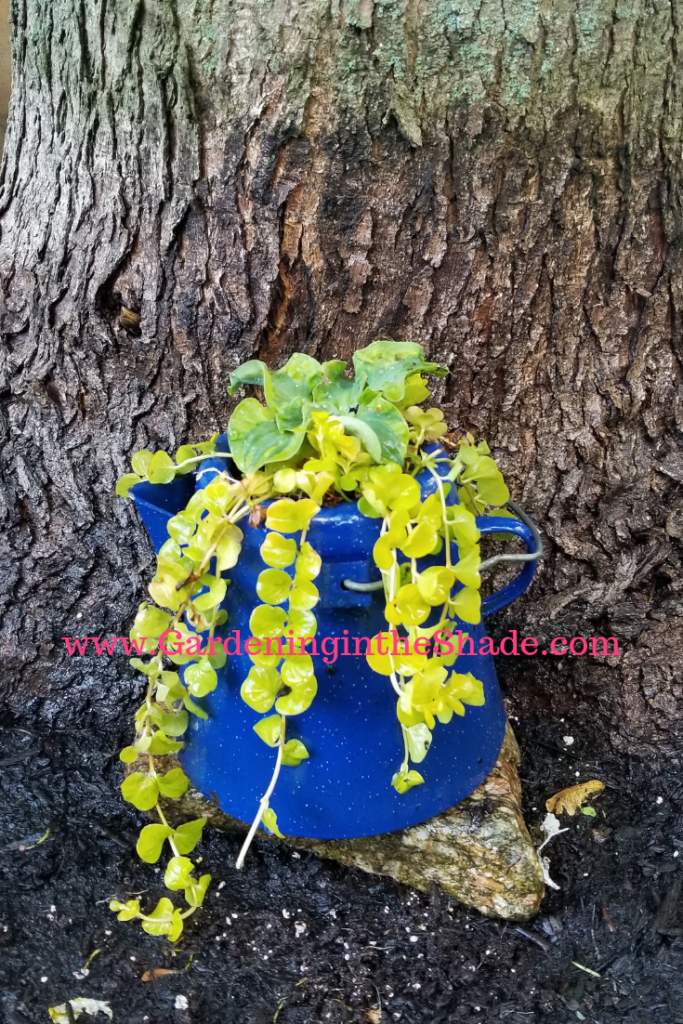
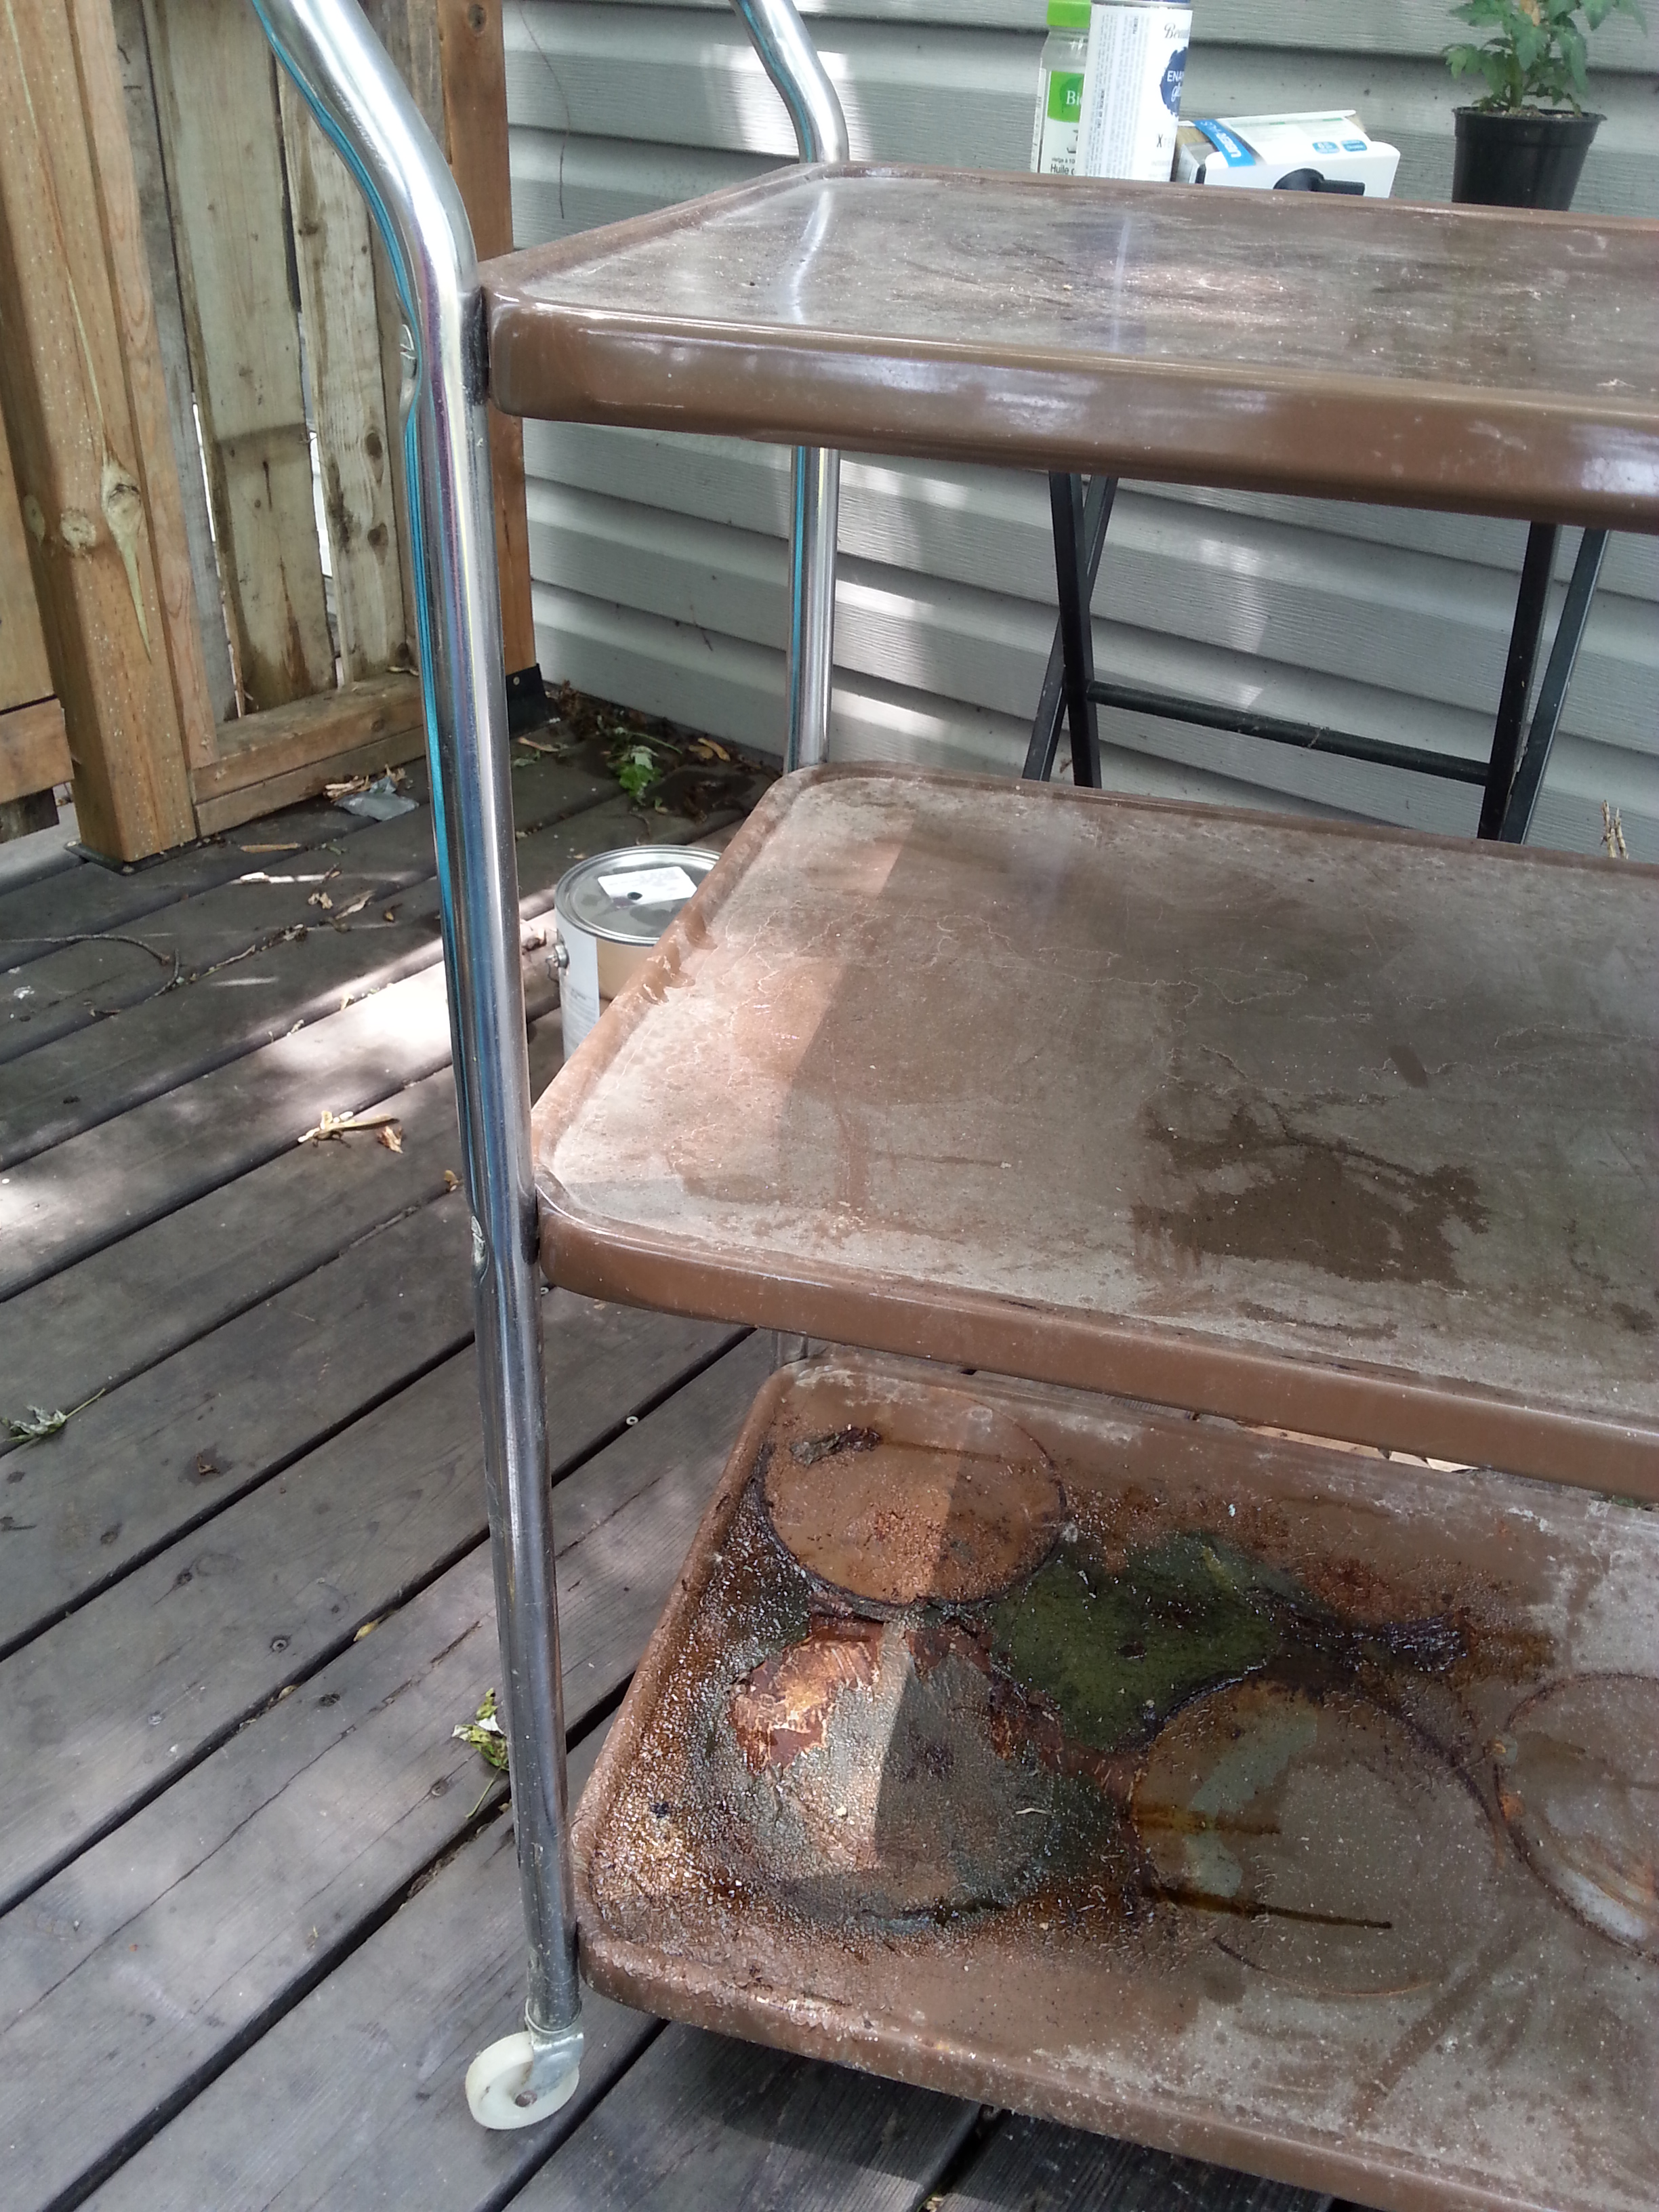
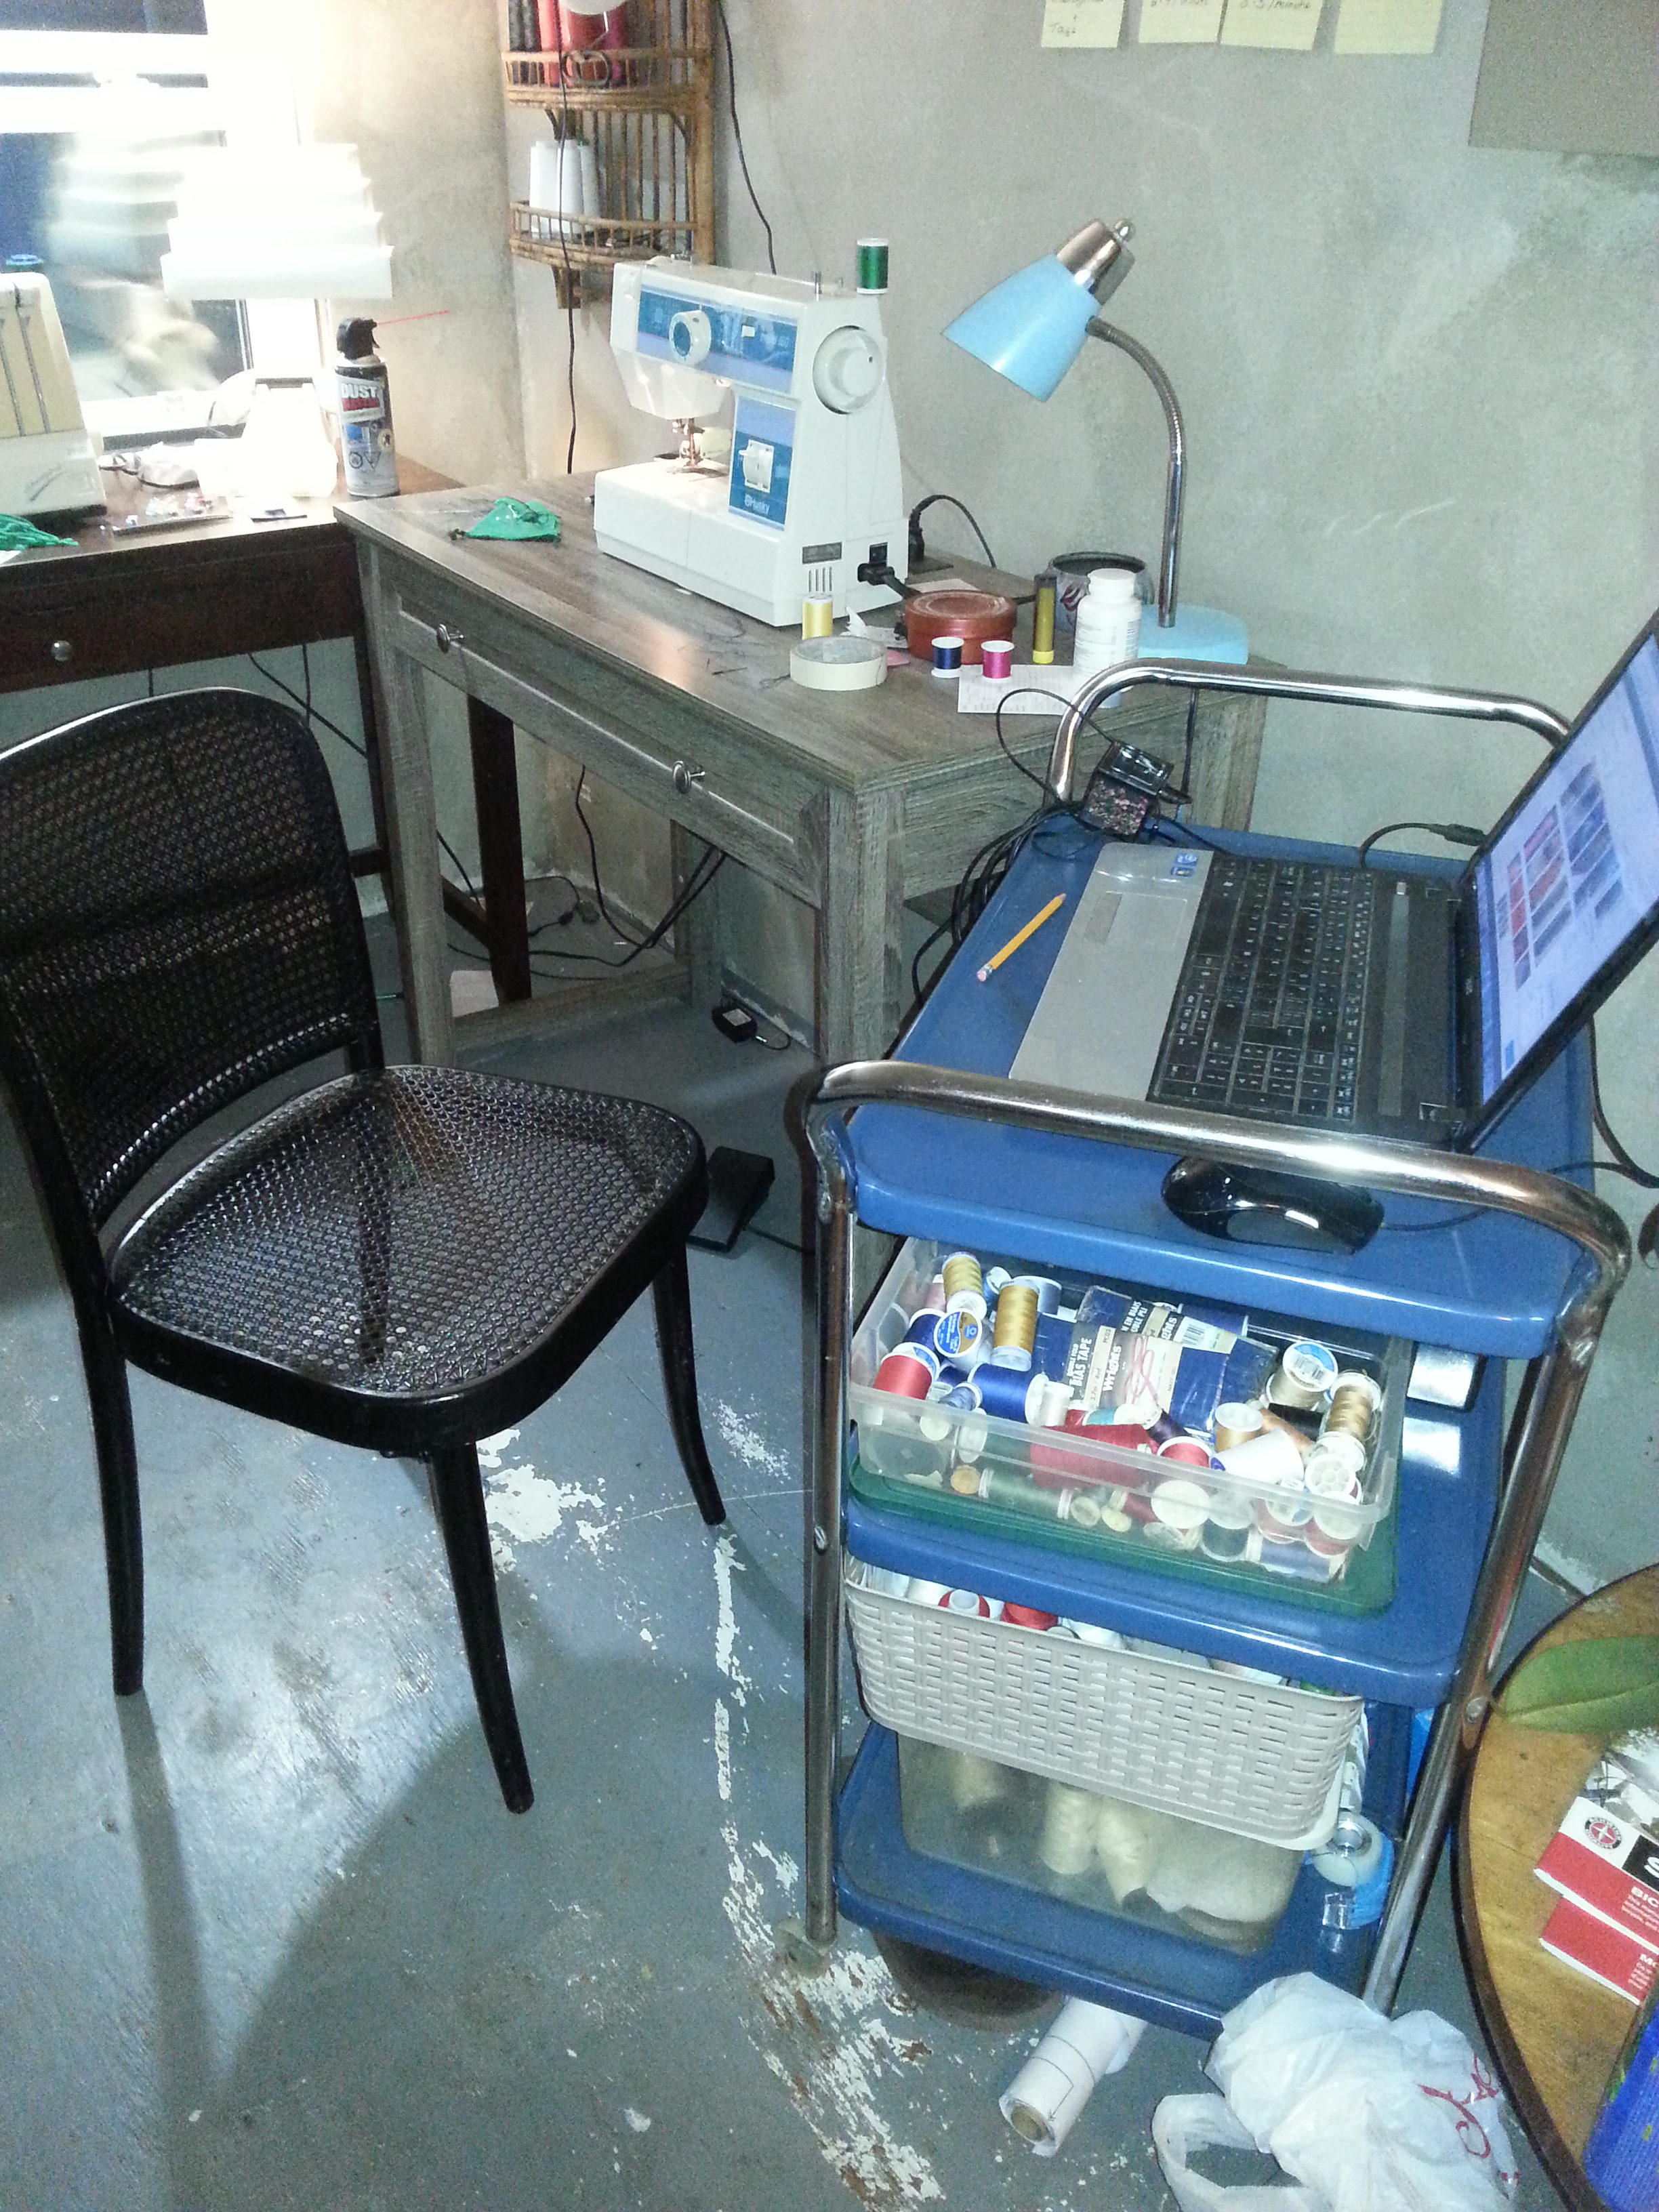
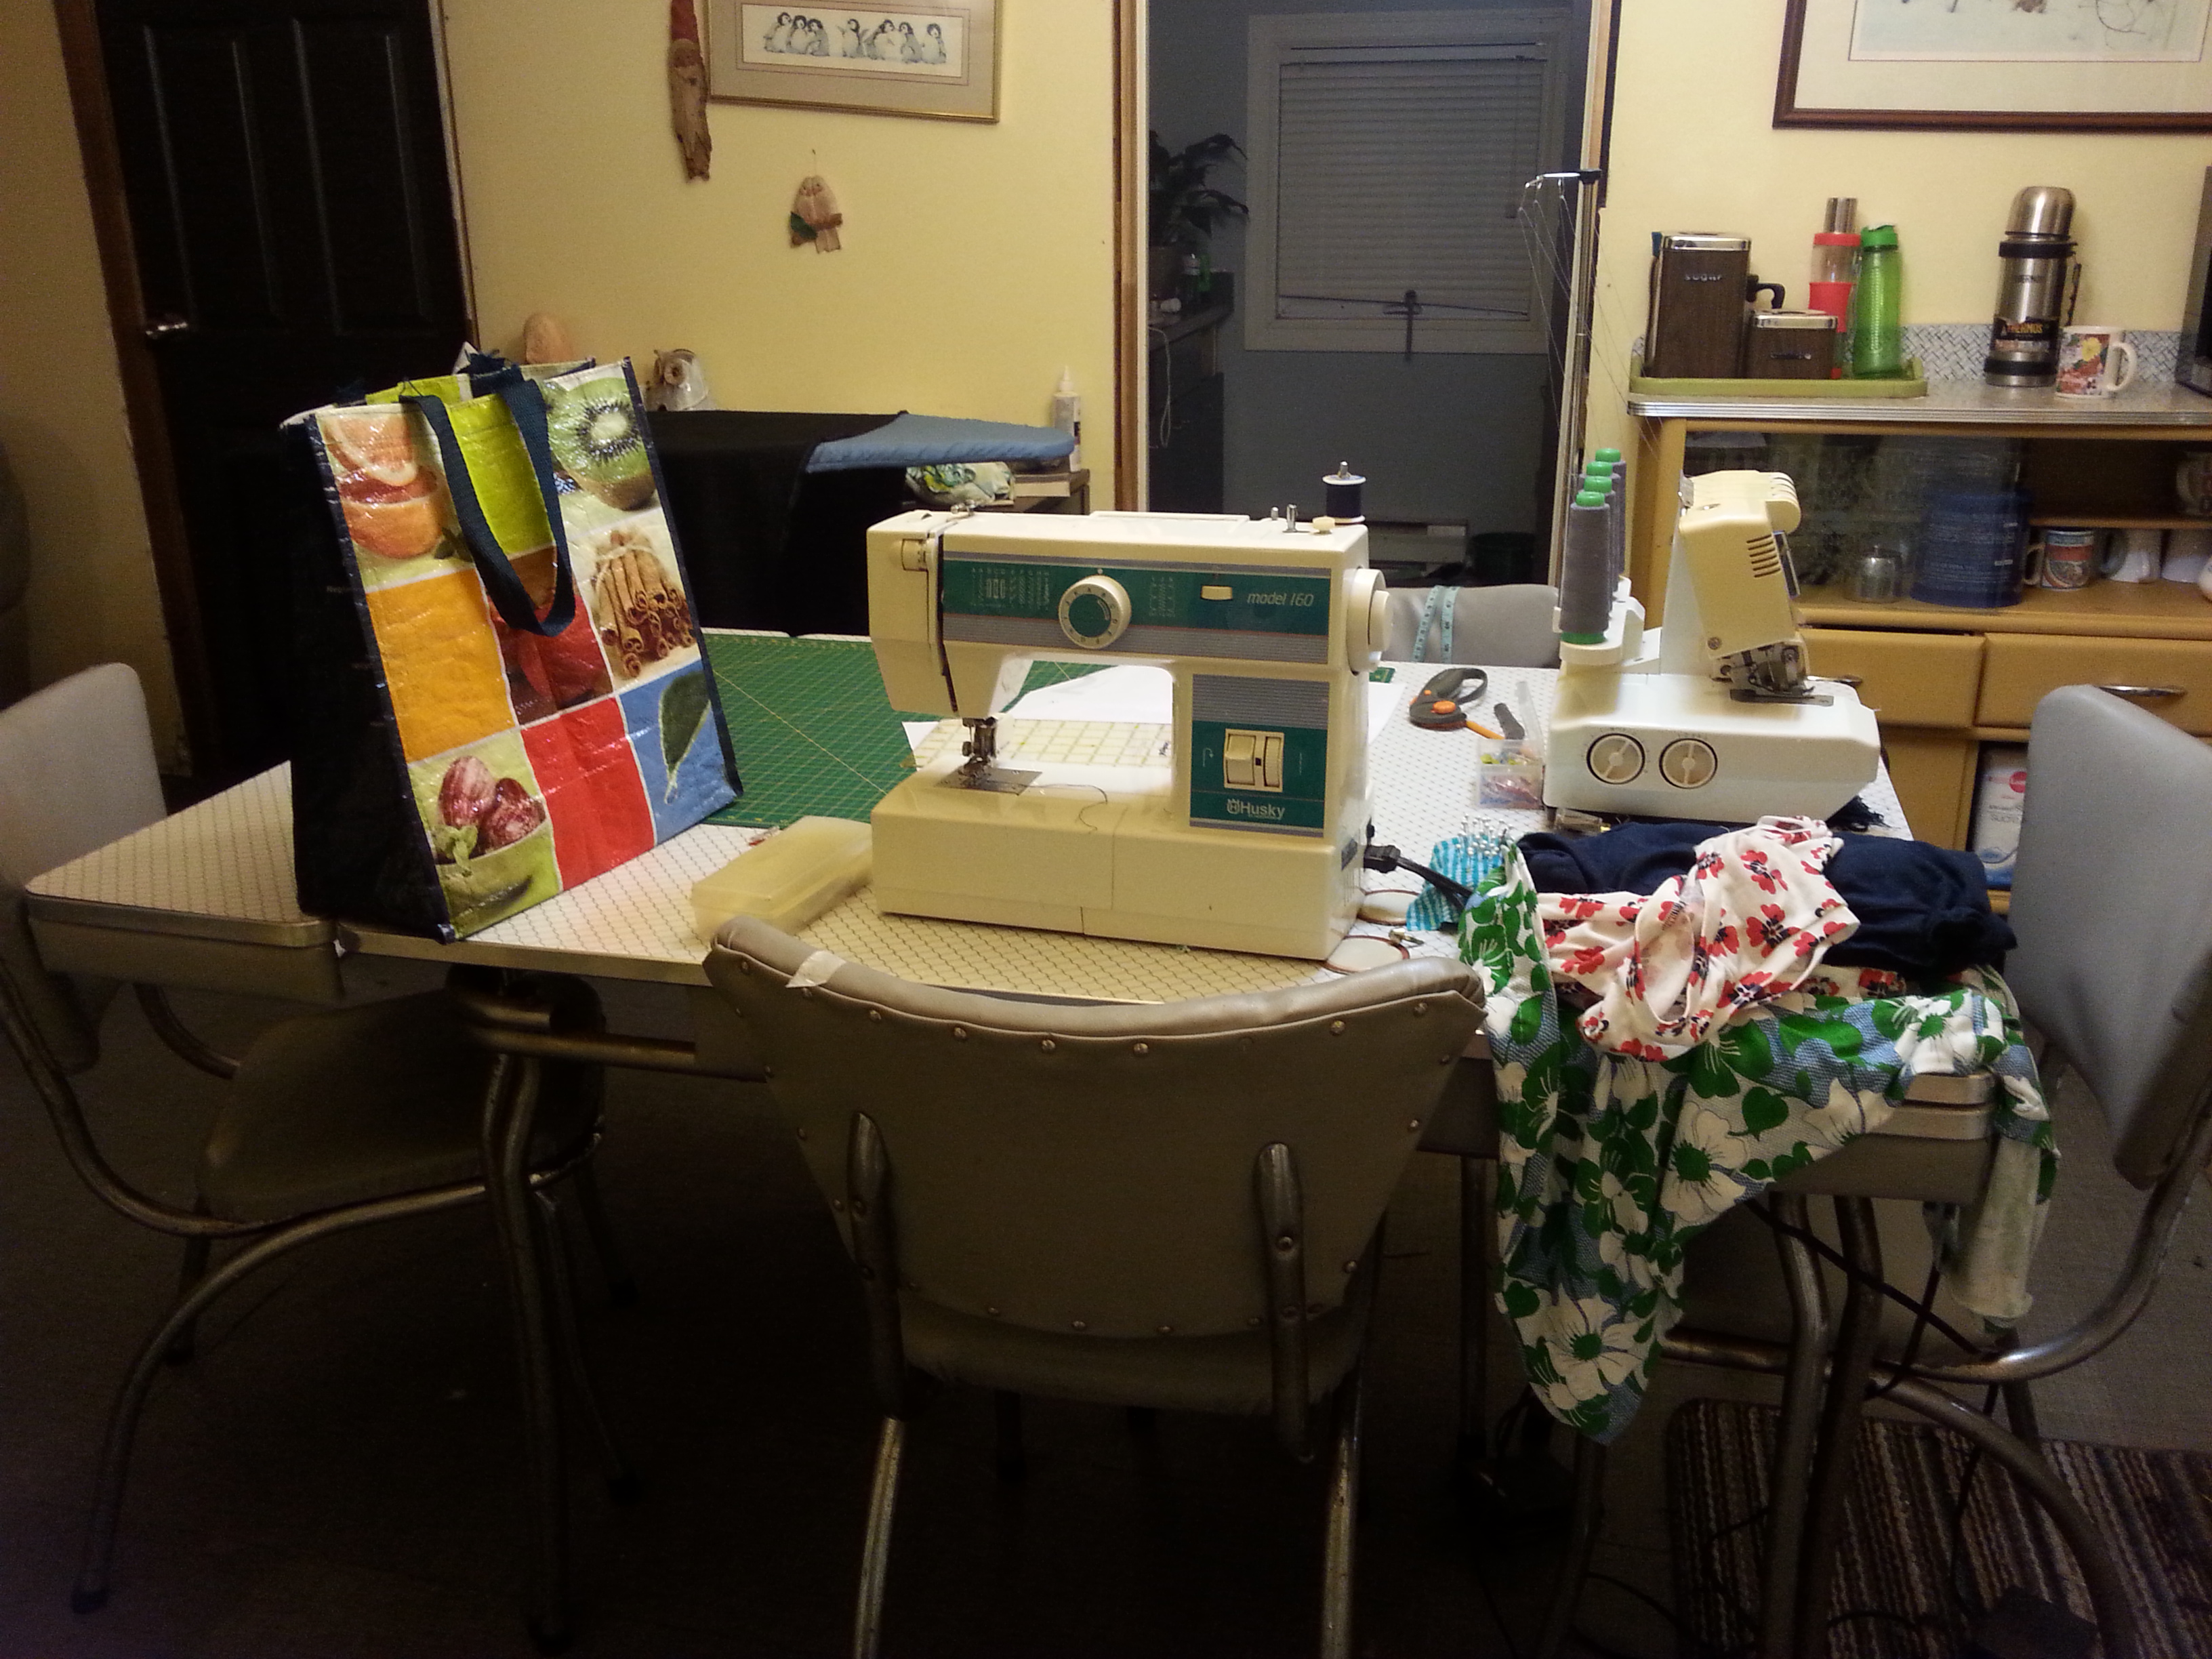
Then I started sewing again, and after 2 weeks of my sewing living in my kitchen, I decided it was time to move it out of shared living spaces and set up a dedicated area.

And this is where it lives now, keeping my sewing supplies contained and somewhat organized.