Attracting Hummingbirds

I’ve tried before to attract hummingbirds to my yard, putting out feeders and diligently changing the nectar for a little while. They never came and eventually I lost interest. Every few years I would try again but it always went exactly the same, until last year. So here is everything I know about attracting hummingbirds and what finally worked for me.

The Feeder:

If you are trying to attract hummingbirds for the first time, a novelty feeder will not do. I know, I know, just a week or two ago I showed you how to make a novelty feeder from a glass spice jar. But you still need at least one feeder in your yard that we’ve already taught hummingbirds to look for.

The best style of feeder to start with is the one below (affiliate link) and I have a couple of reasons I prefer this type.

It’s familiar to Hummingbirds. From their winter homes all the way along their migratory route to their summer breeding grounds, people put out feeders and it is most often one that looks like this.


It’s easy to clean. Being made of glass and having a neck wide enough to fit a bottle brush makes this type the easiest to clean.


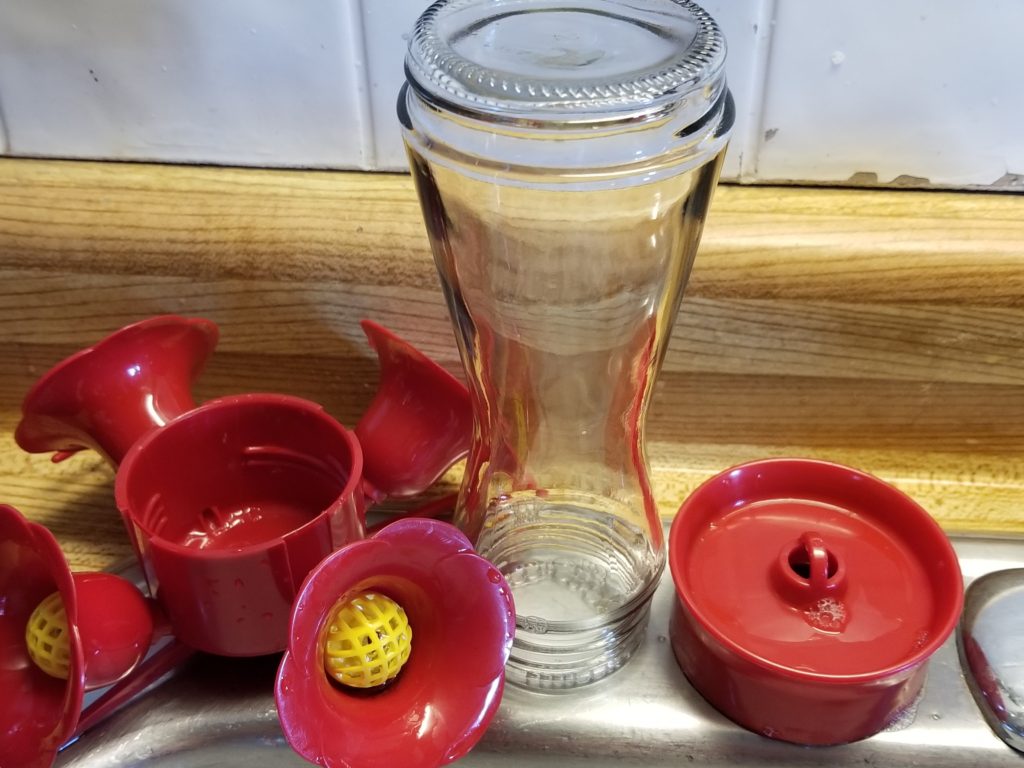
It has the bee guards, the ant moat, but the main thing I like is that it is small. Last year I cleaned and replaced the nectar ever week for a long time before I ever saw a hummingbird at the feeder. 8oz is not a huge amount to throw away.

Planting to attract hummingbirds.

Last year was a bit of an epiphany for me. I realized that my parents, who always have tons of hummingbirds squabbling at their feeders, also have tons of flowers in bloom throughout the season. Seriously, my mothers gardens are lovely and extensive. So I started looking at plants to add that would draw the tiny birds.


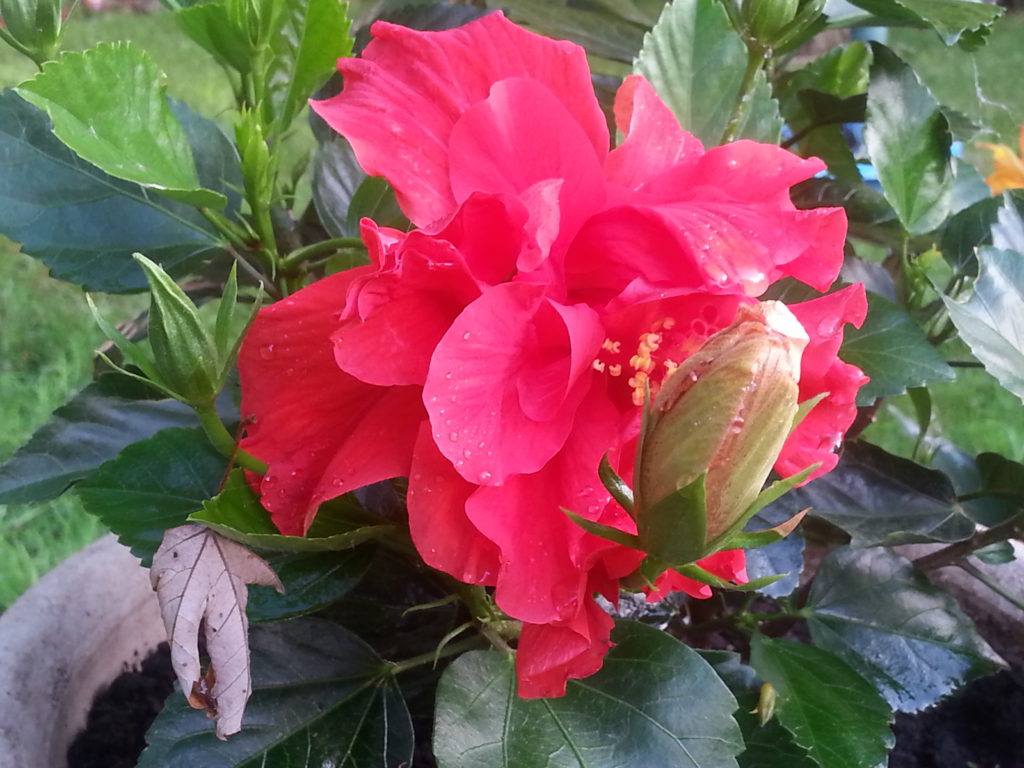
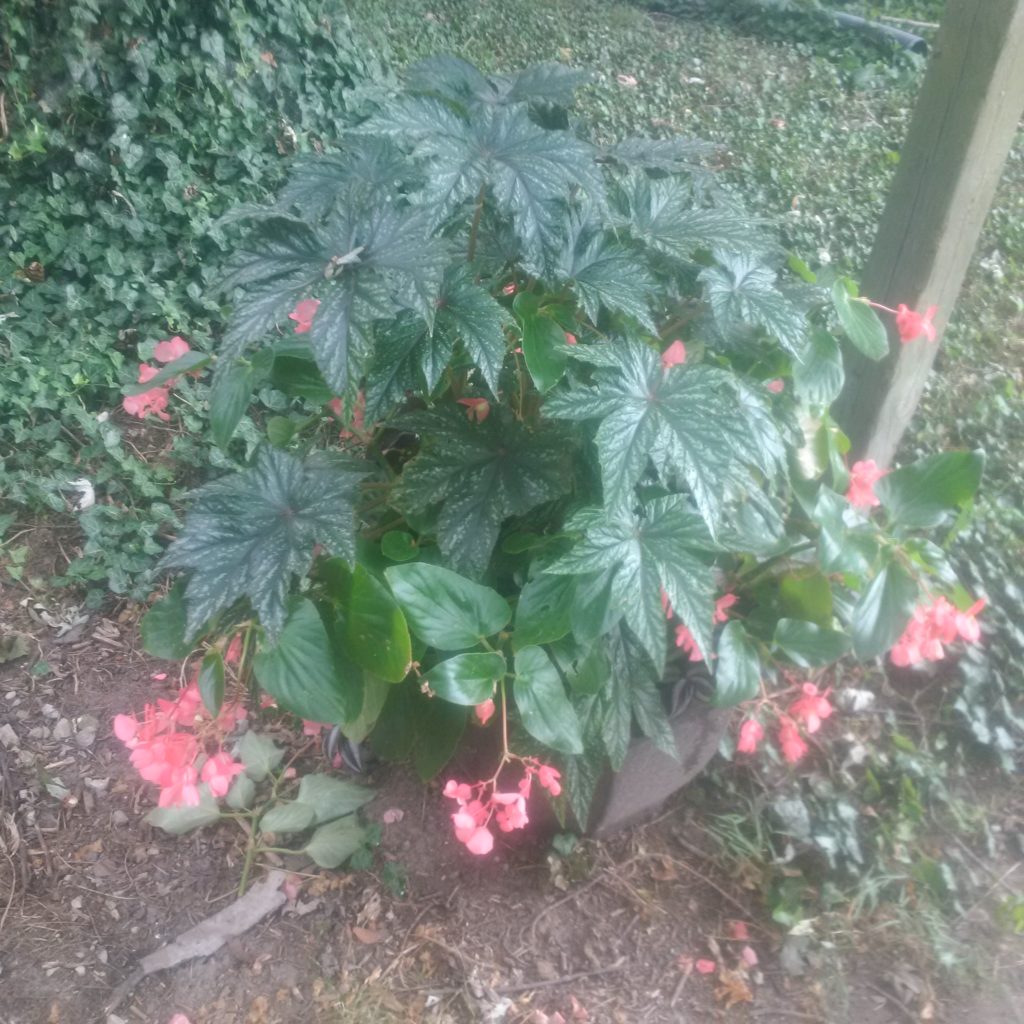
If it was red and the right shape for Hummingbirds, I bought it and planted it. Red Mandevilla, Cannas, Red Hibiscus, Red Nicotiana, I tried it all.

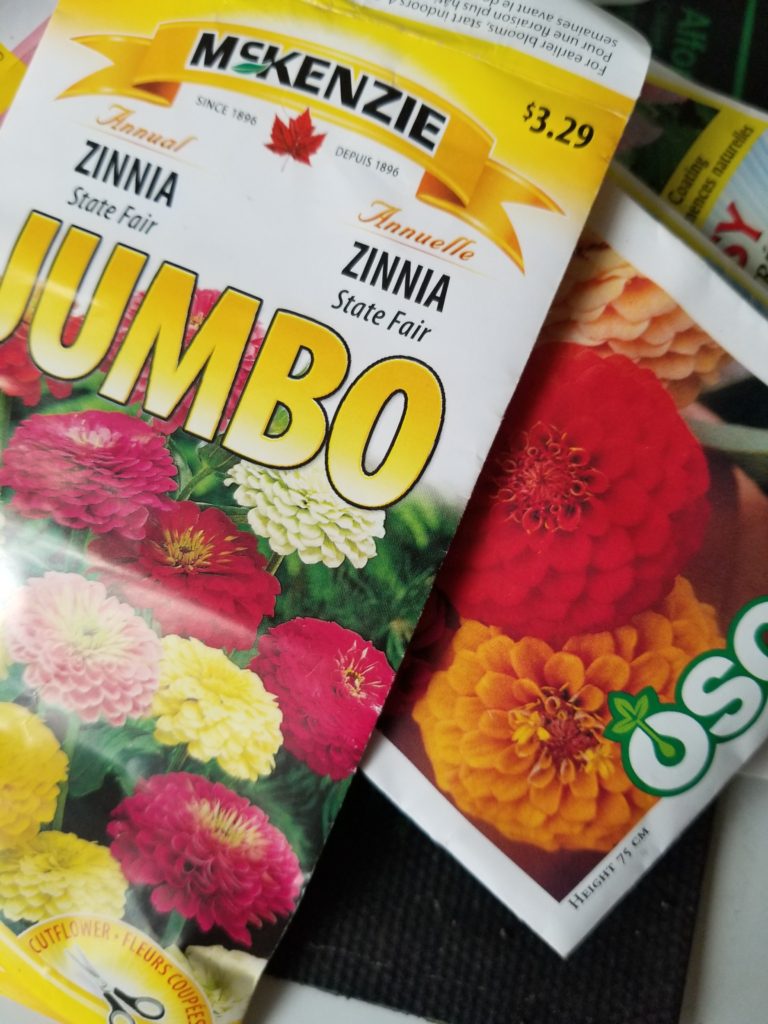
I also threw down a packet of zinnia seeds for other pollinators. Hummingbirds never came for any of it, until that packet of zinnia seed started to flower. Thanks to a packet of zinnia seed, I had hummingbirds until they made their fall migration. And if you have hummingbirds in the fall, they will check your yard out the following spring.

This spring I had my feeders out and ready – way before they were expected to arrive. And I started walking around looking at what I could add for early spring flower.

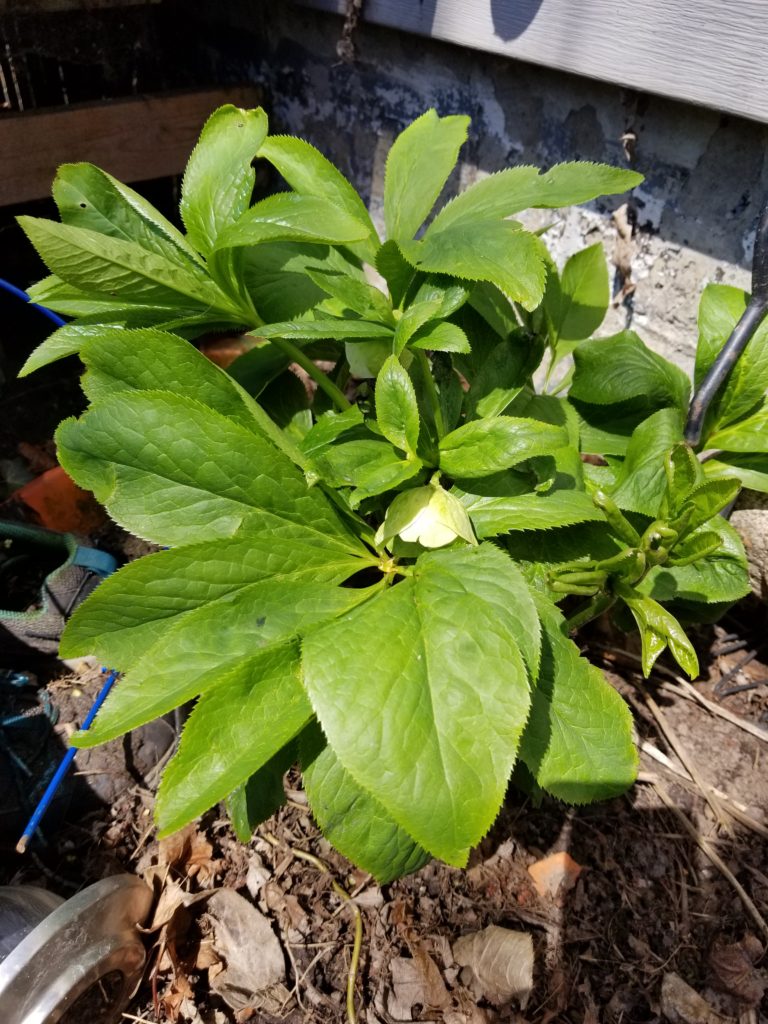
I had a few things already like Hellebore. I’ve seen it associated with Hummingbirds but I am a skeptical. It is pretty though and usually in flower around the same time as the daffodils. 

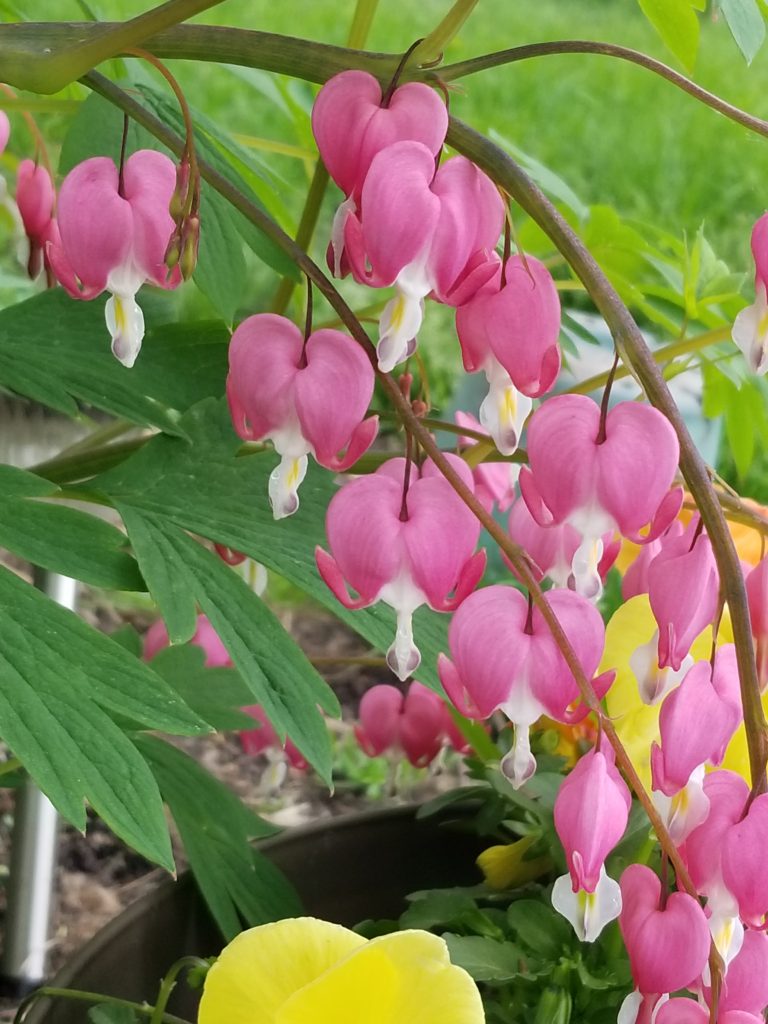
What shade garden would be complete without Bleeding Heart? Bonus, hummingbird like them.

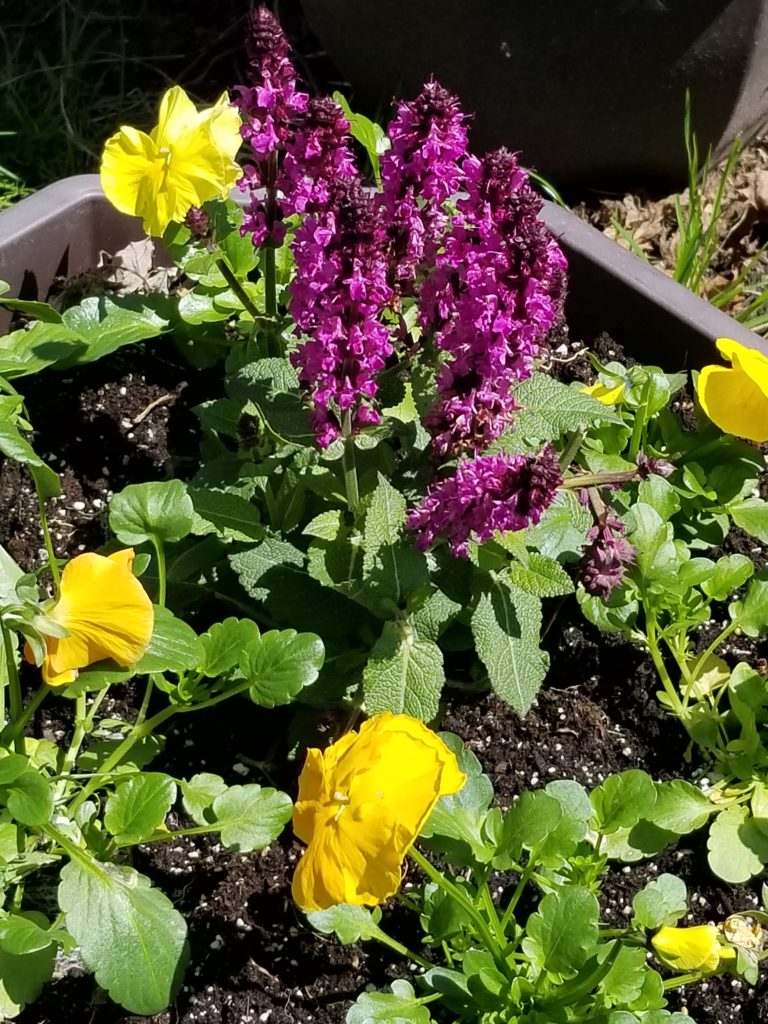
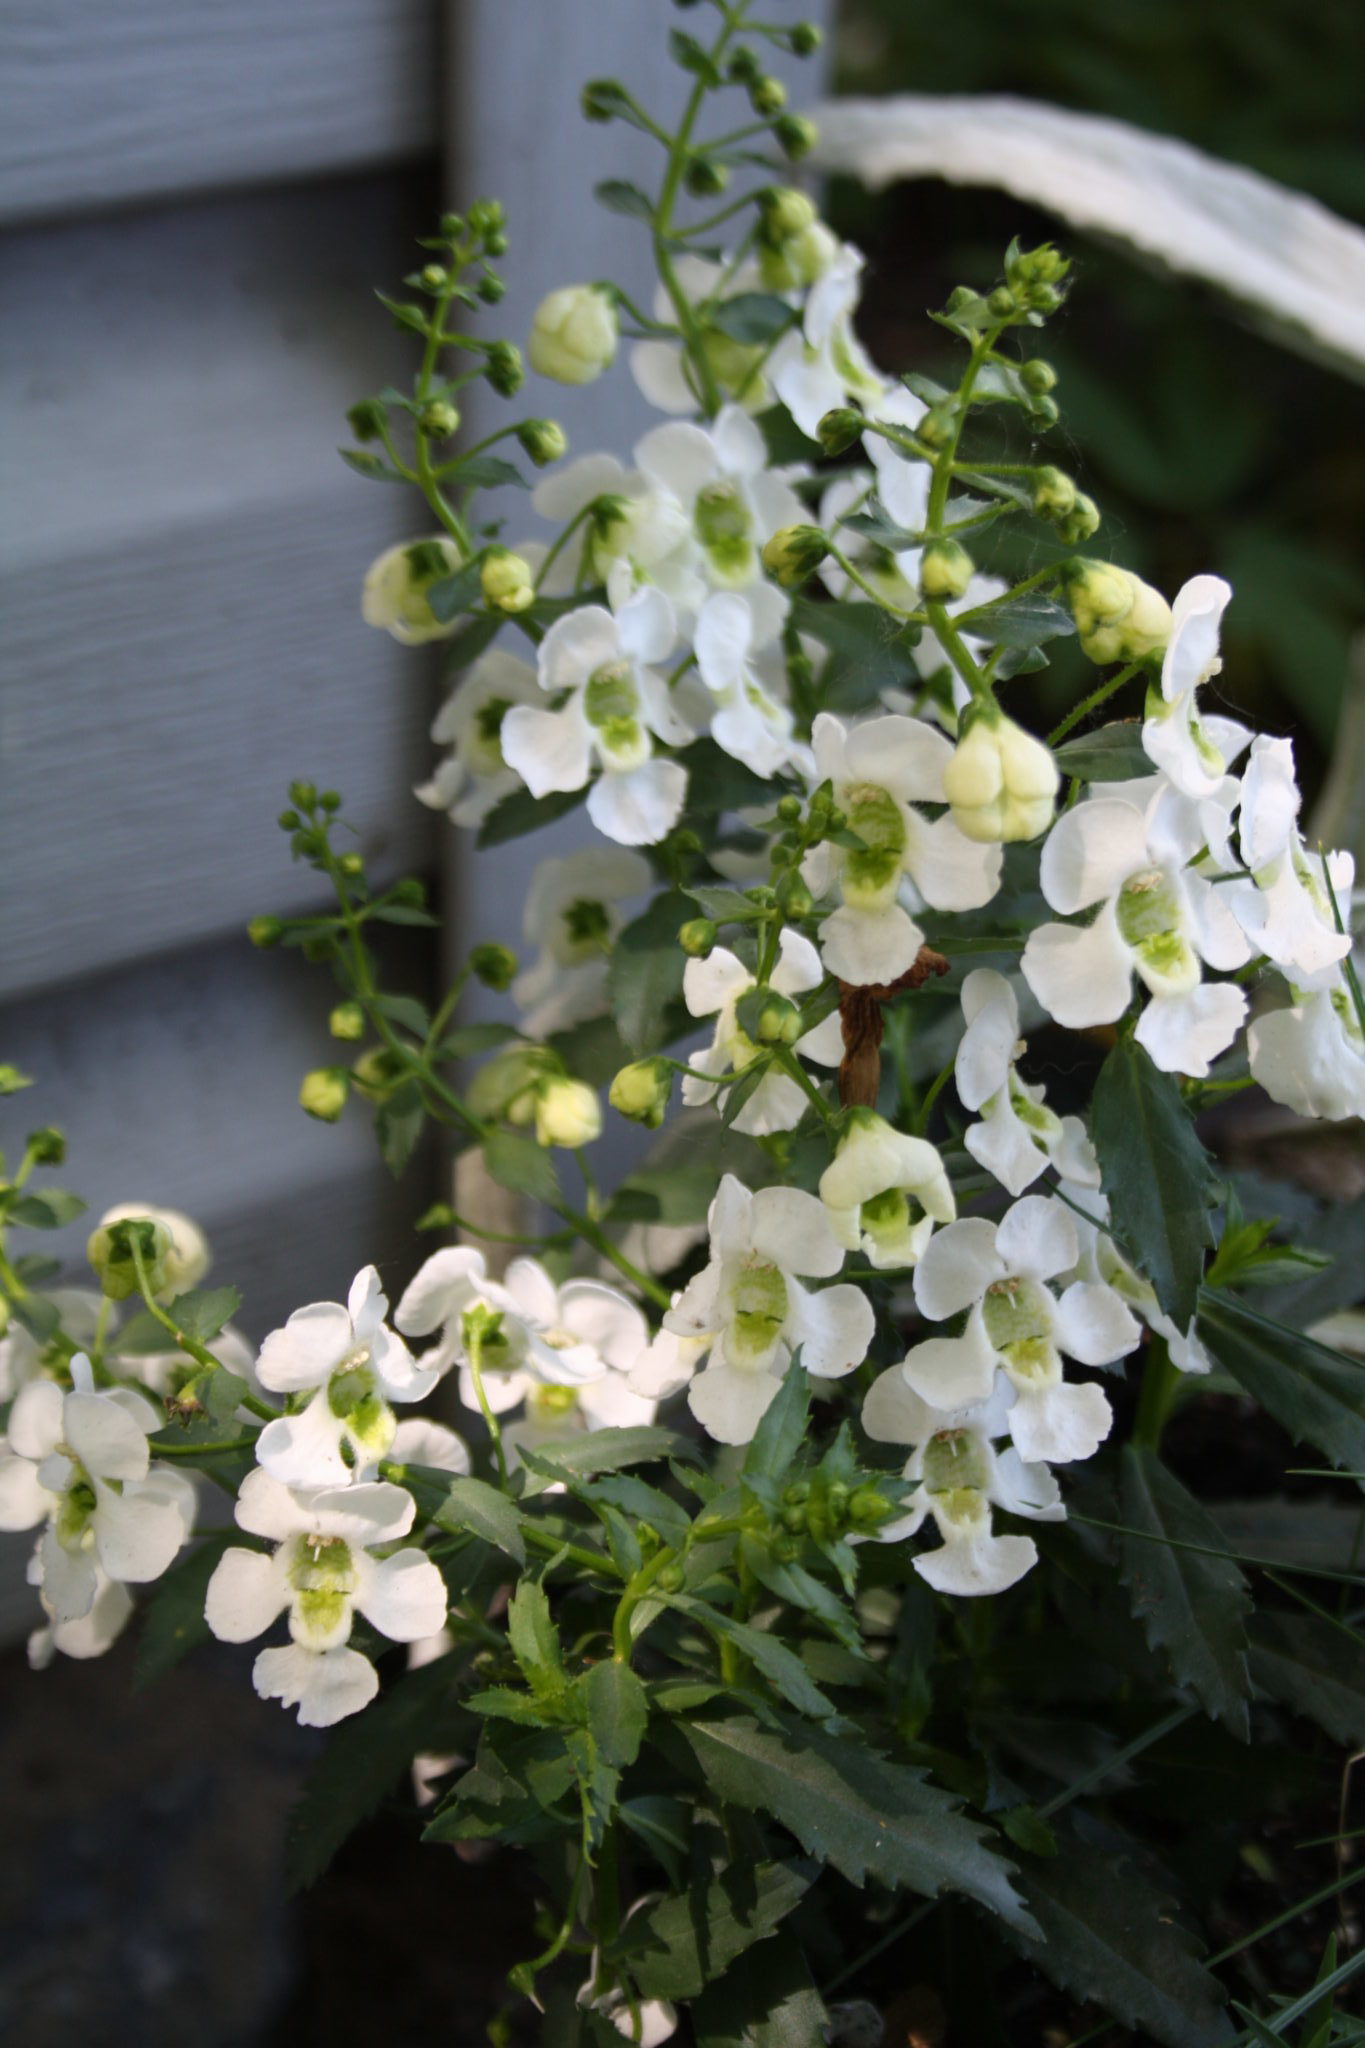
So from there, I added some Perennial Sage ‘Rose Marvel’ and pansies. Pansies do nothing for hummingbirds but I like them. The Salvia on the other hand has been getting plenty of action from the hummers. I suspect it would normally flower later, this one came from a greenhouse and may have been forced to flower just a bit earlier than normal.

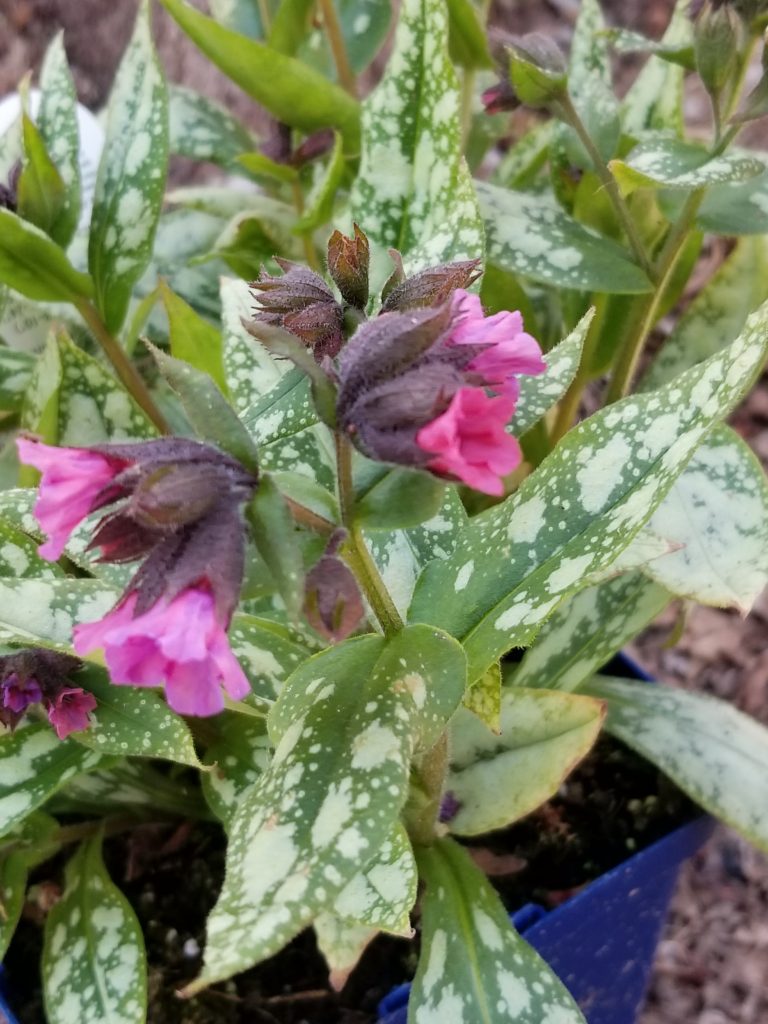
I’ve also added this plant – Lungwort is the common name. Pulmonaria ‘Silver Bouquet’ if you are looking for the proper name. There are some other cultivars that look very eye catching like Shrimps on the Barbie.

I also have some Bergenia Cordifolia to plant along with some Phlox subulata (creeping phlox). I should be well set for some early color next year to attract hummingbirds. And of course for this year, I have some zinnia to plant.

Hosta Virus X, What you need to know

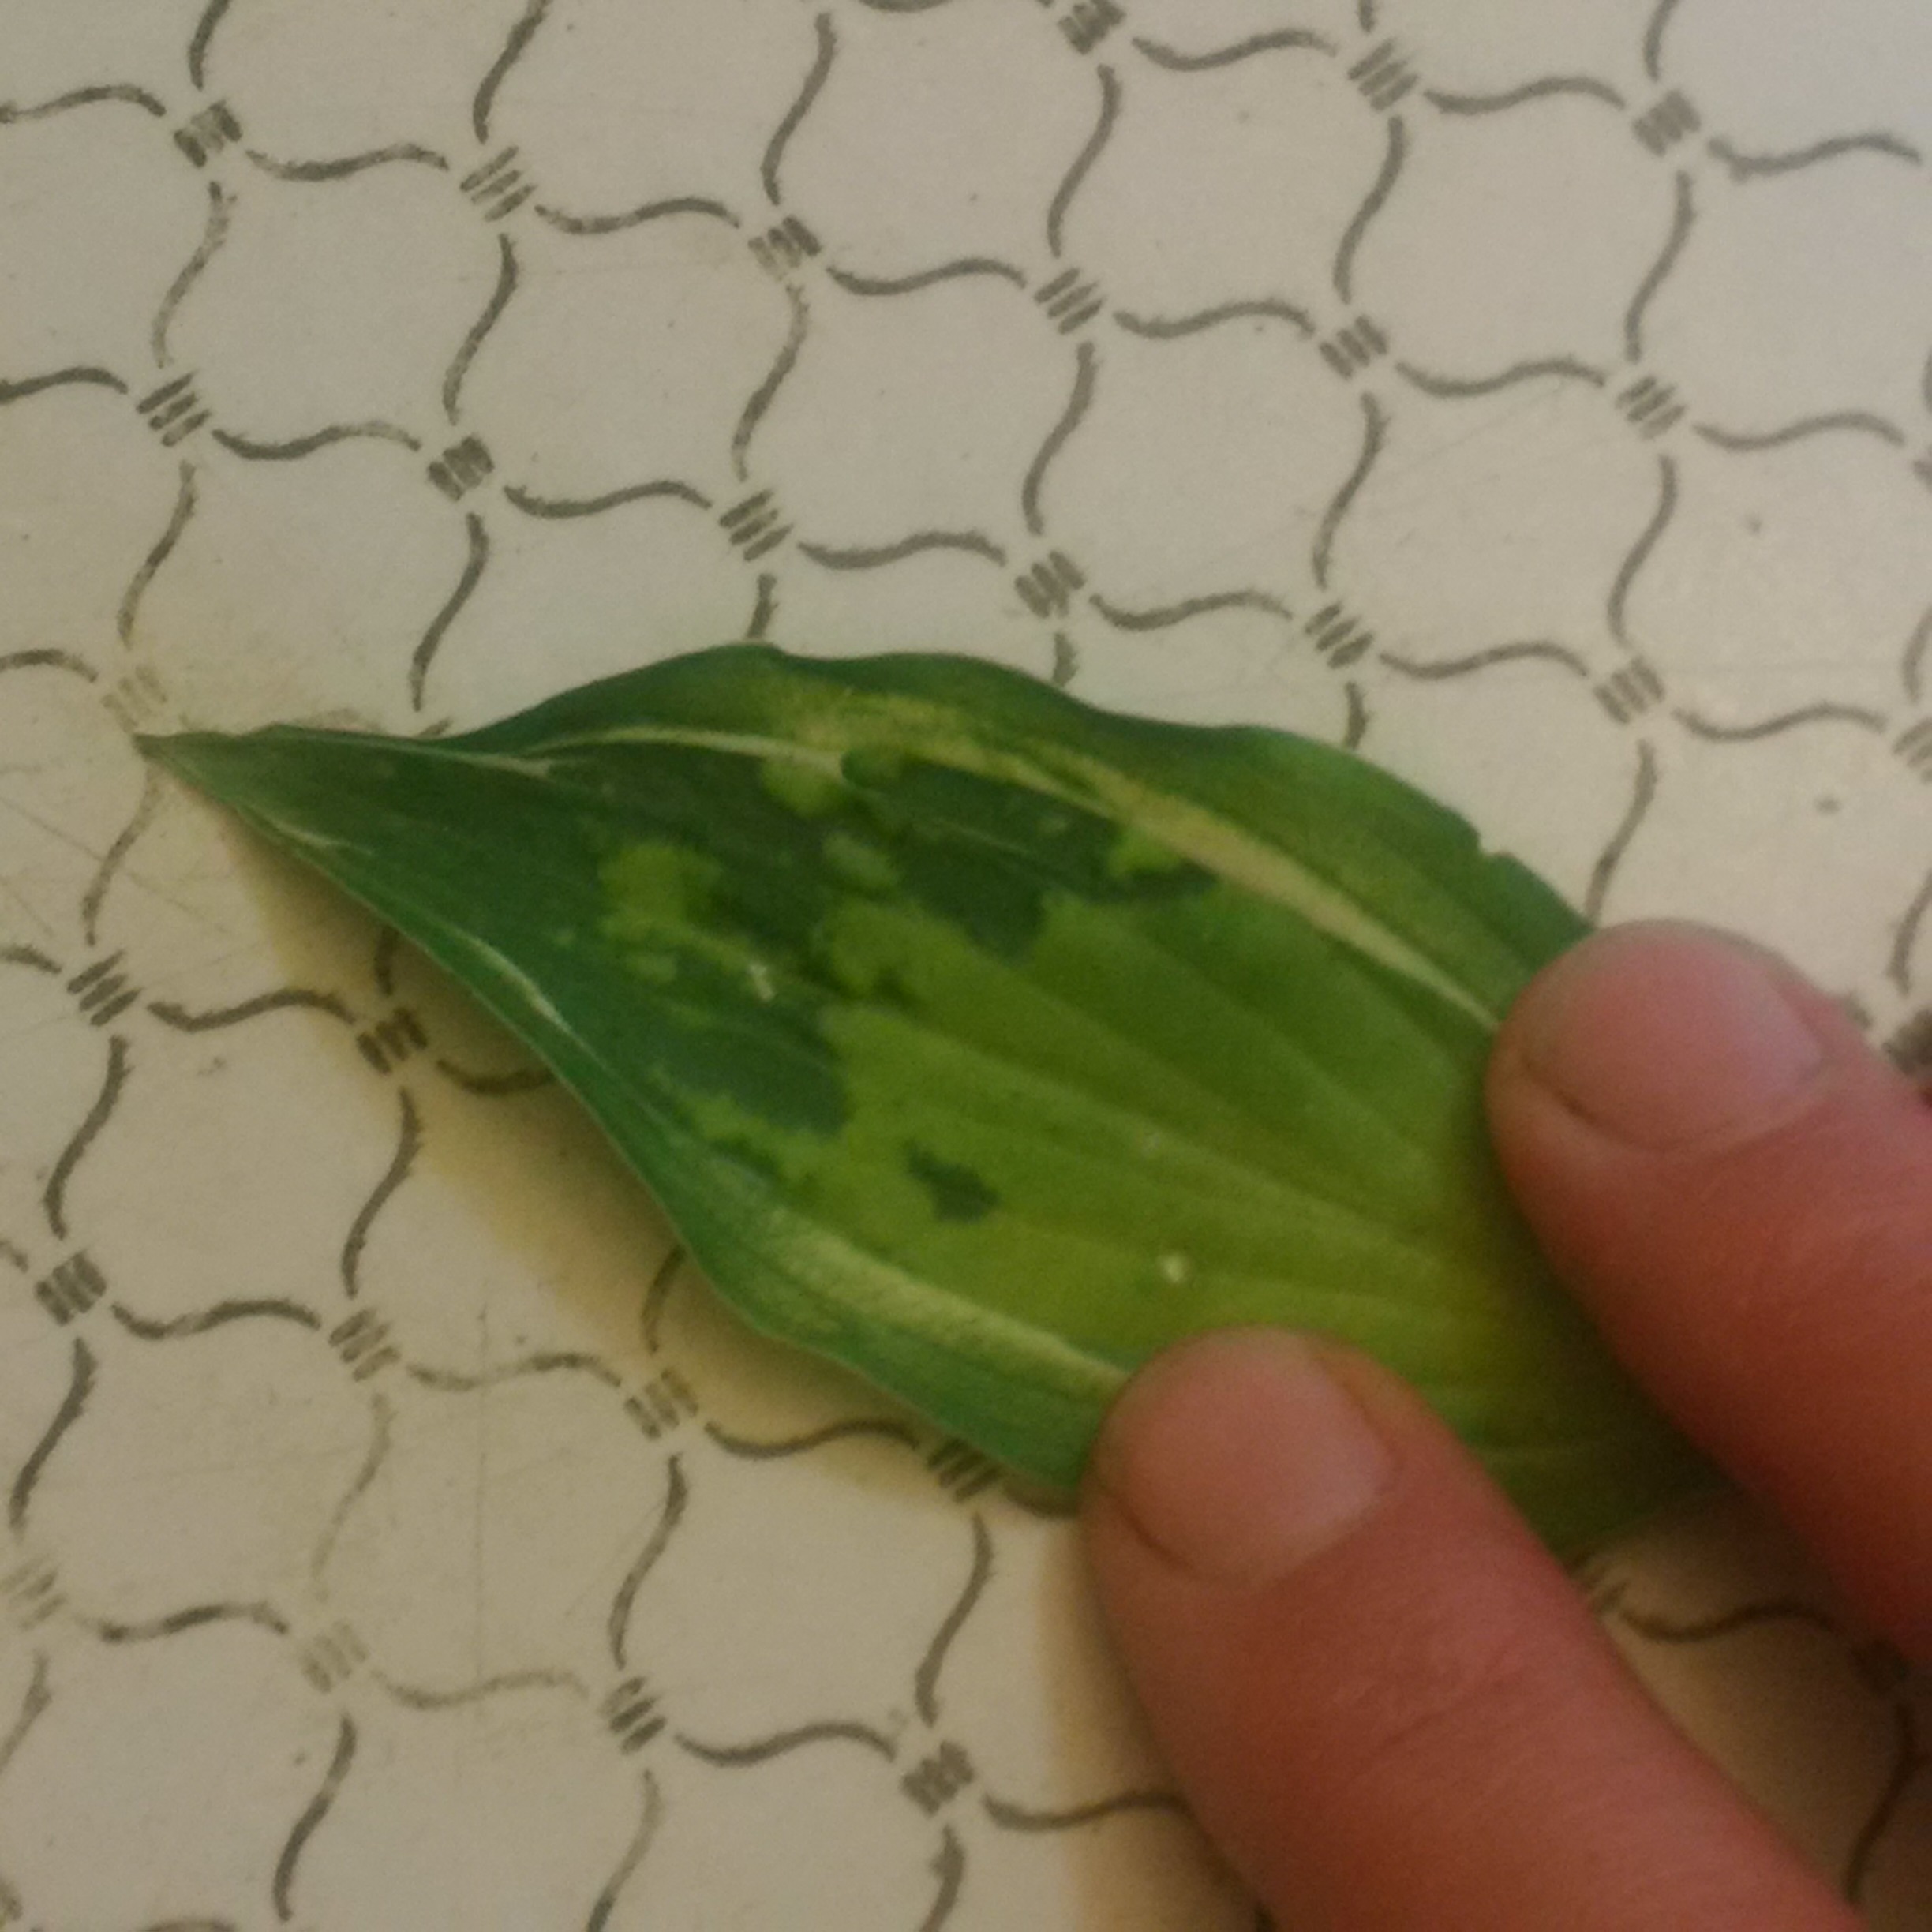
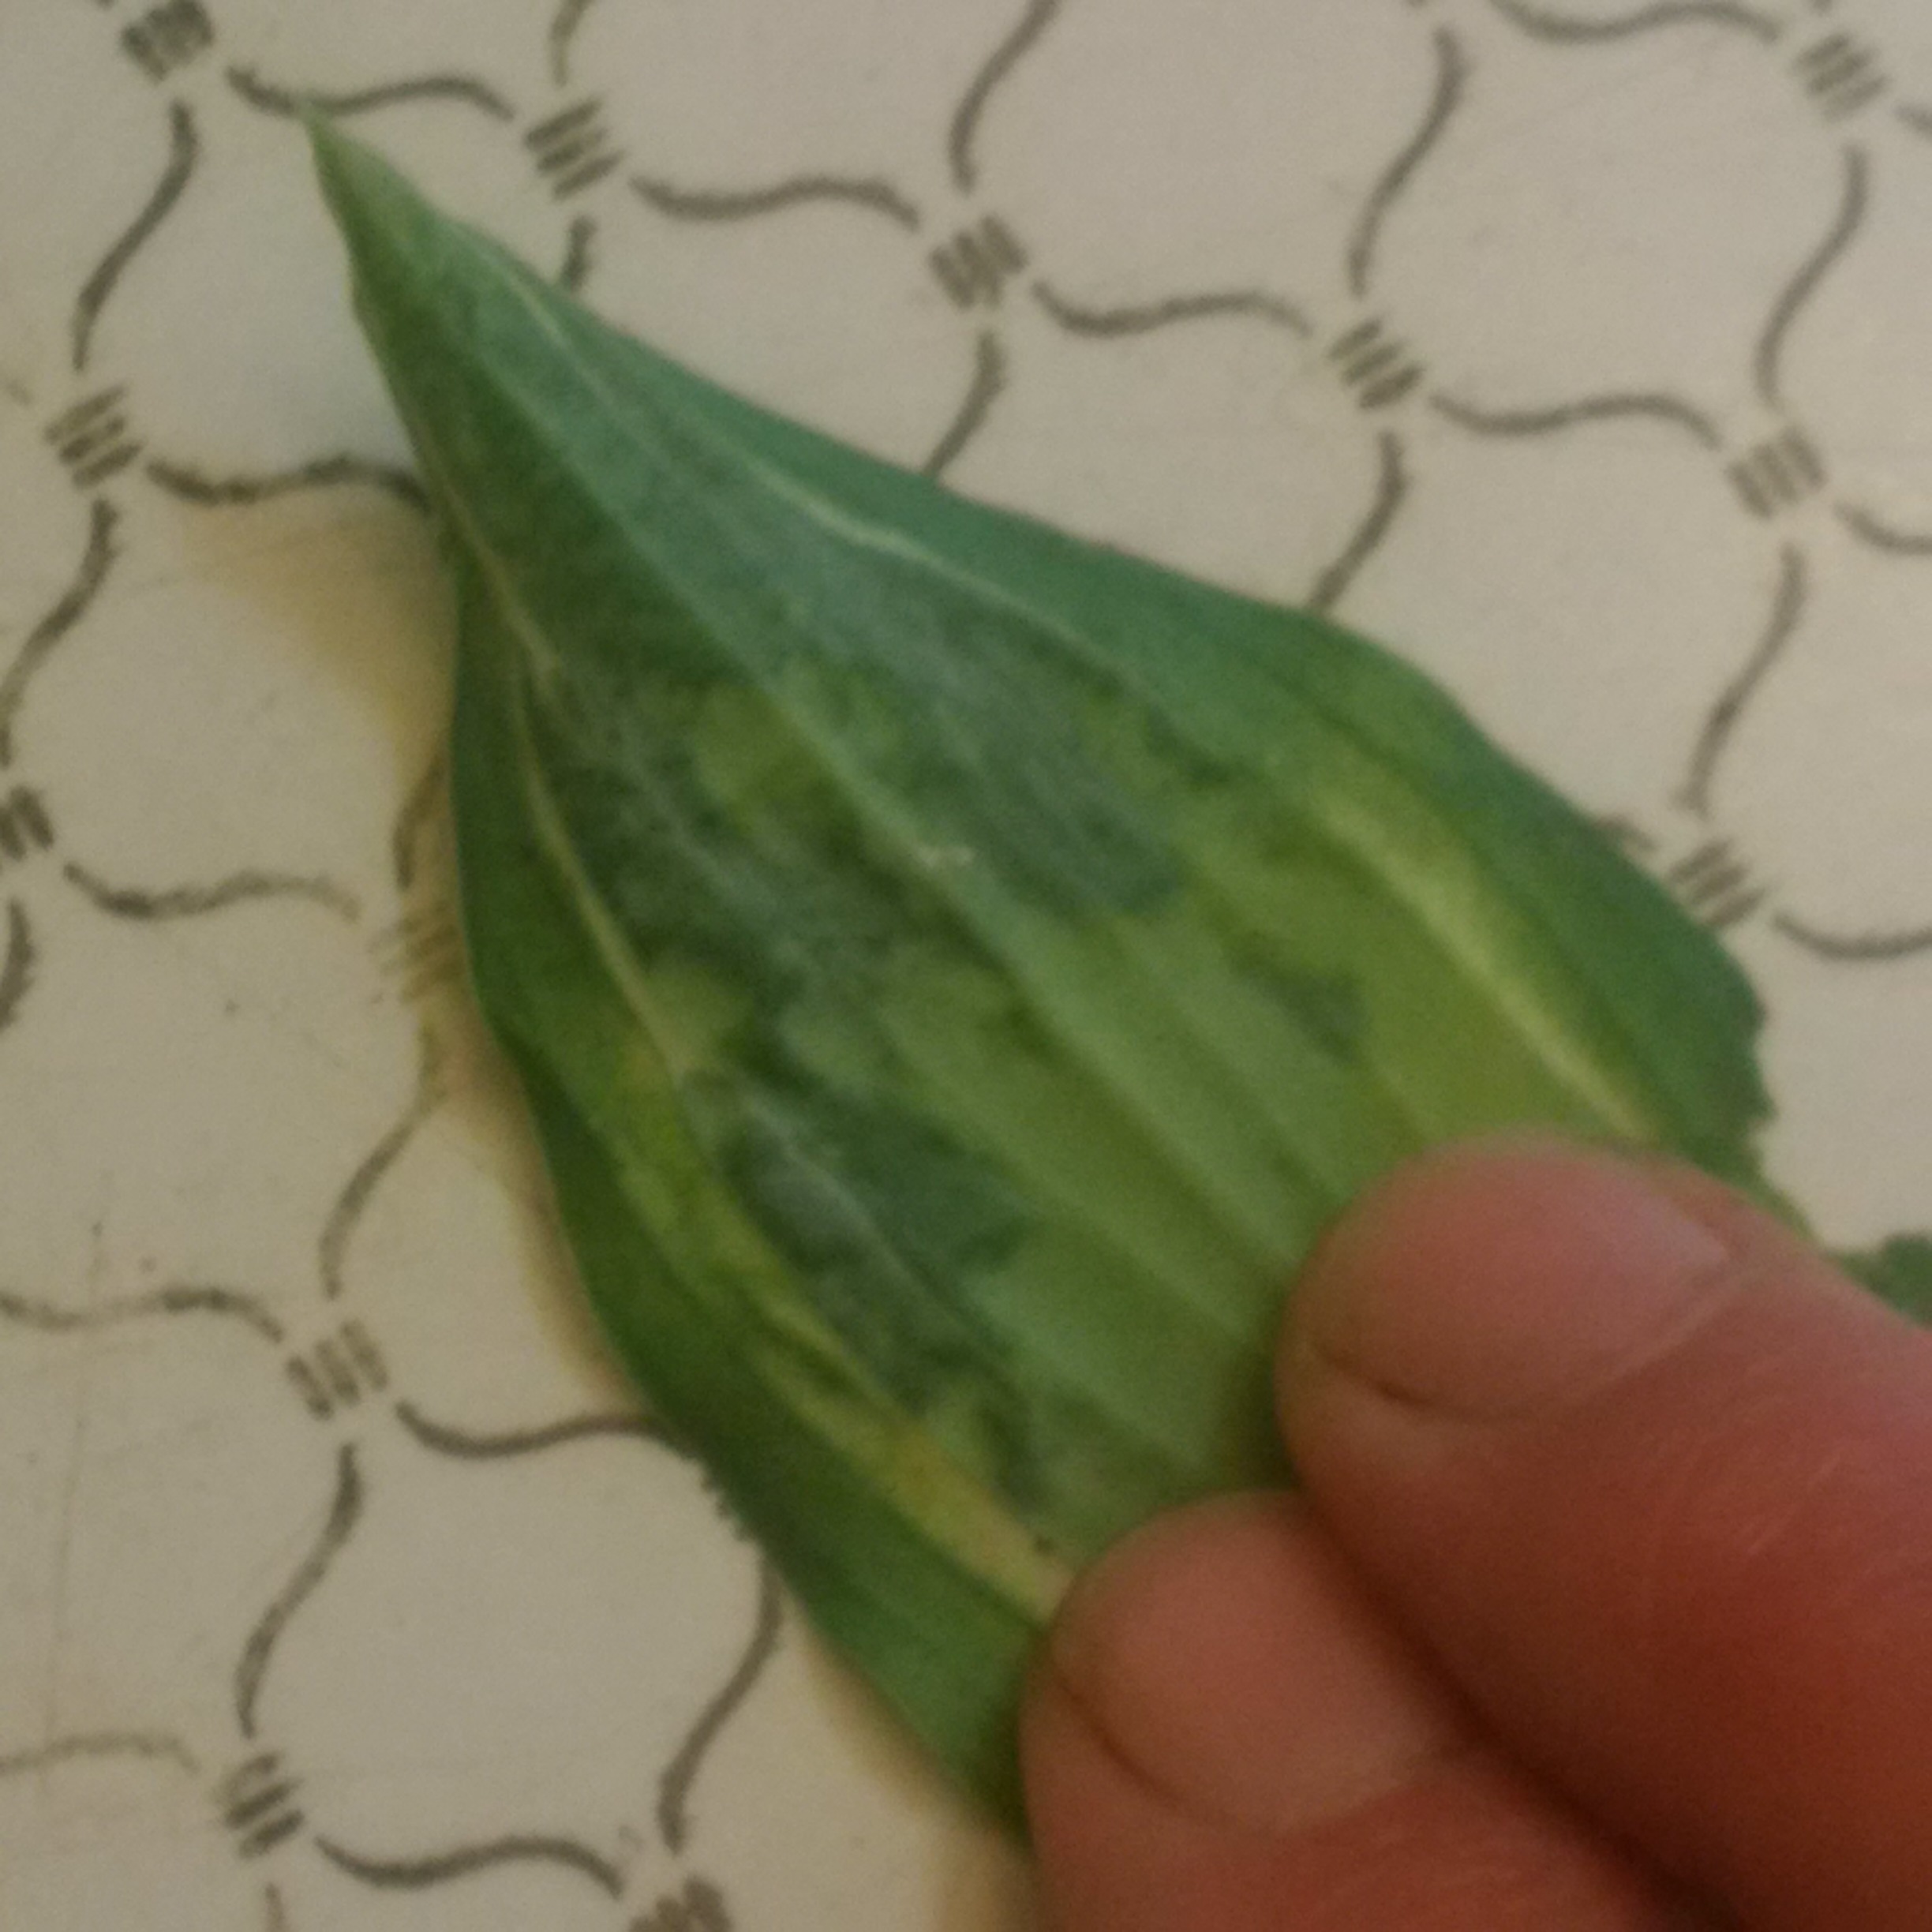
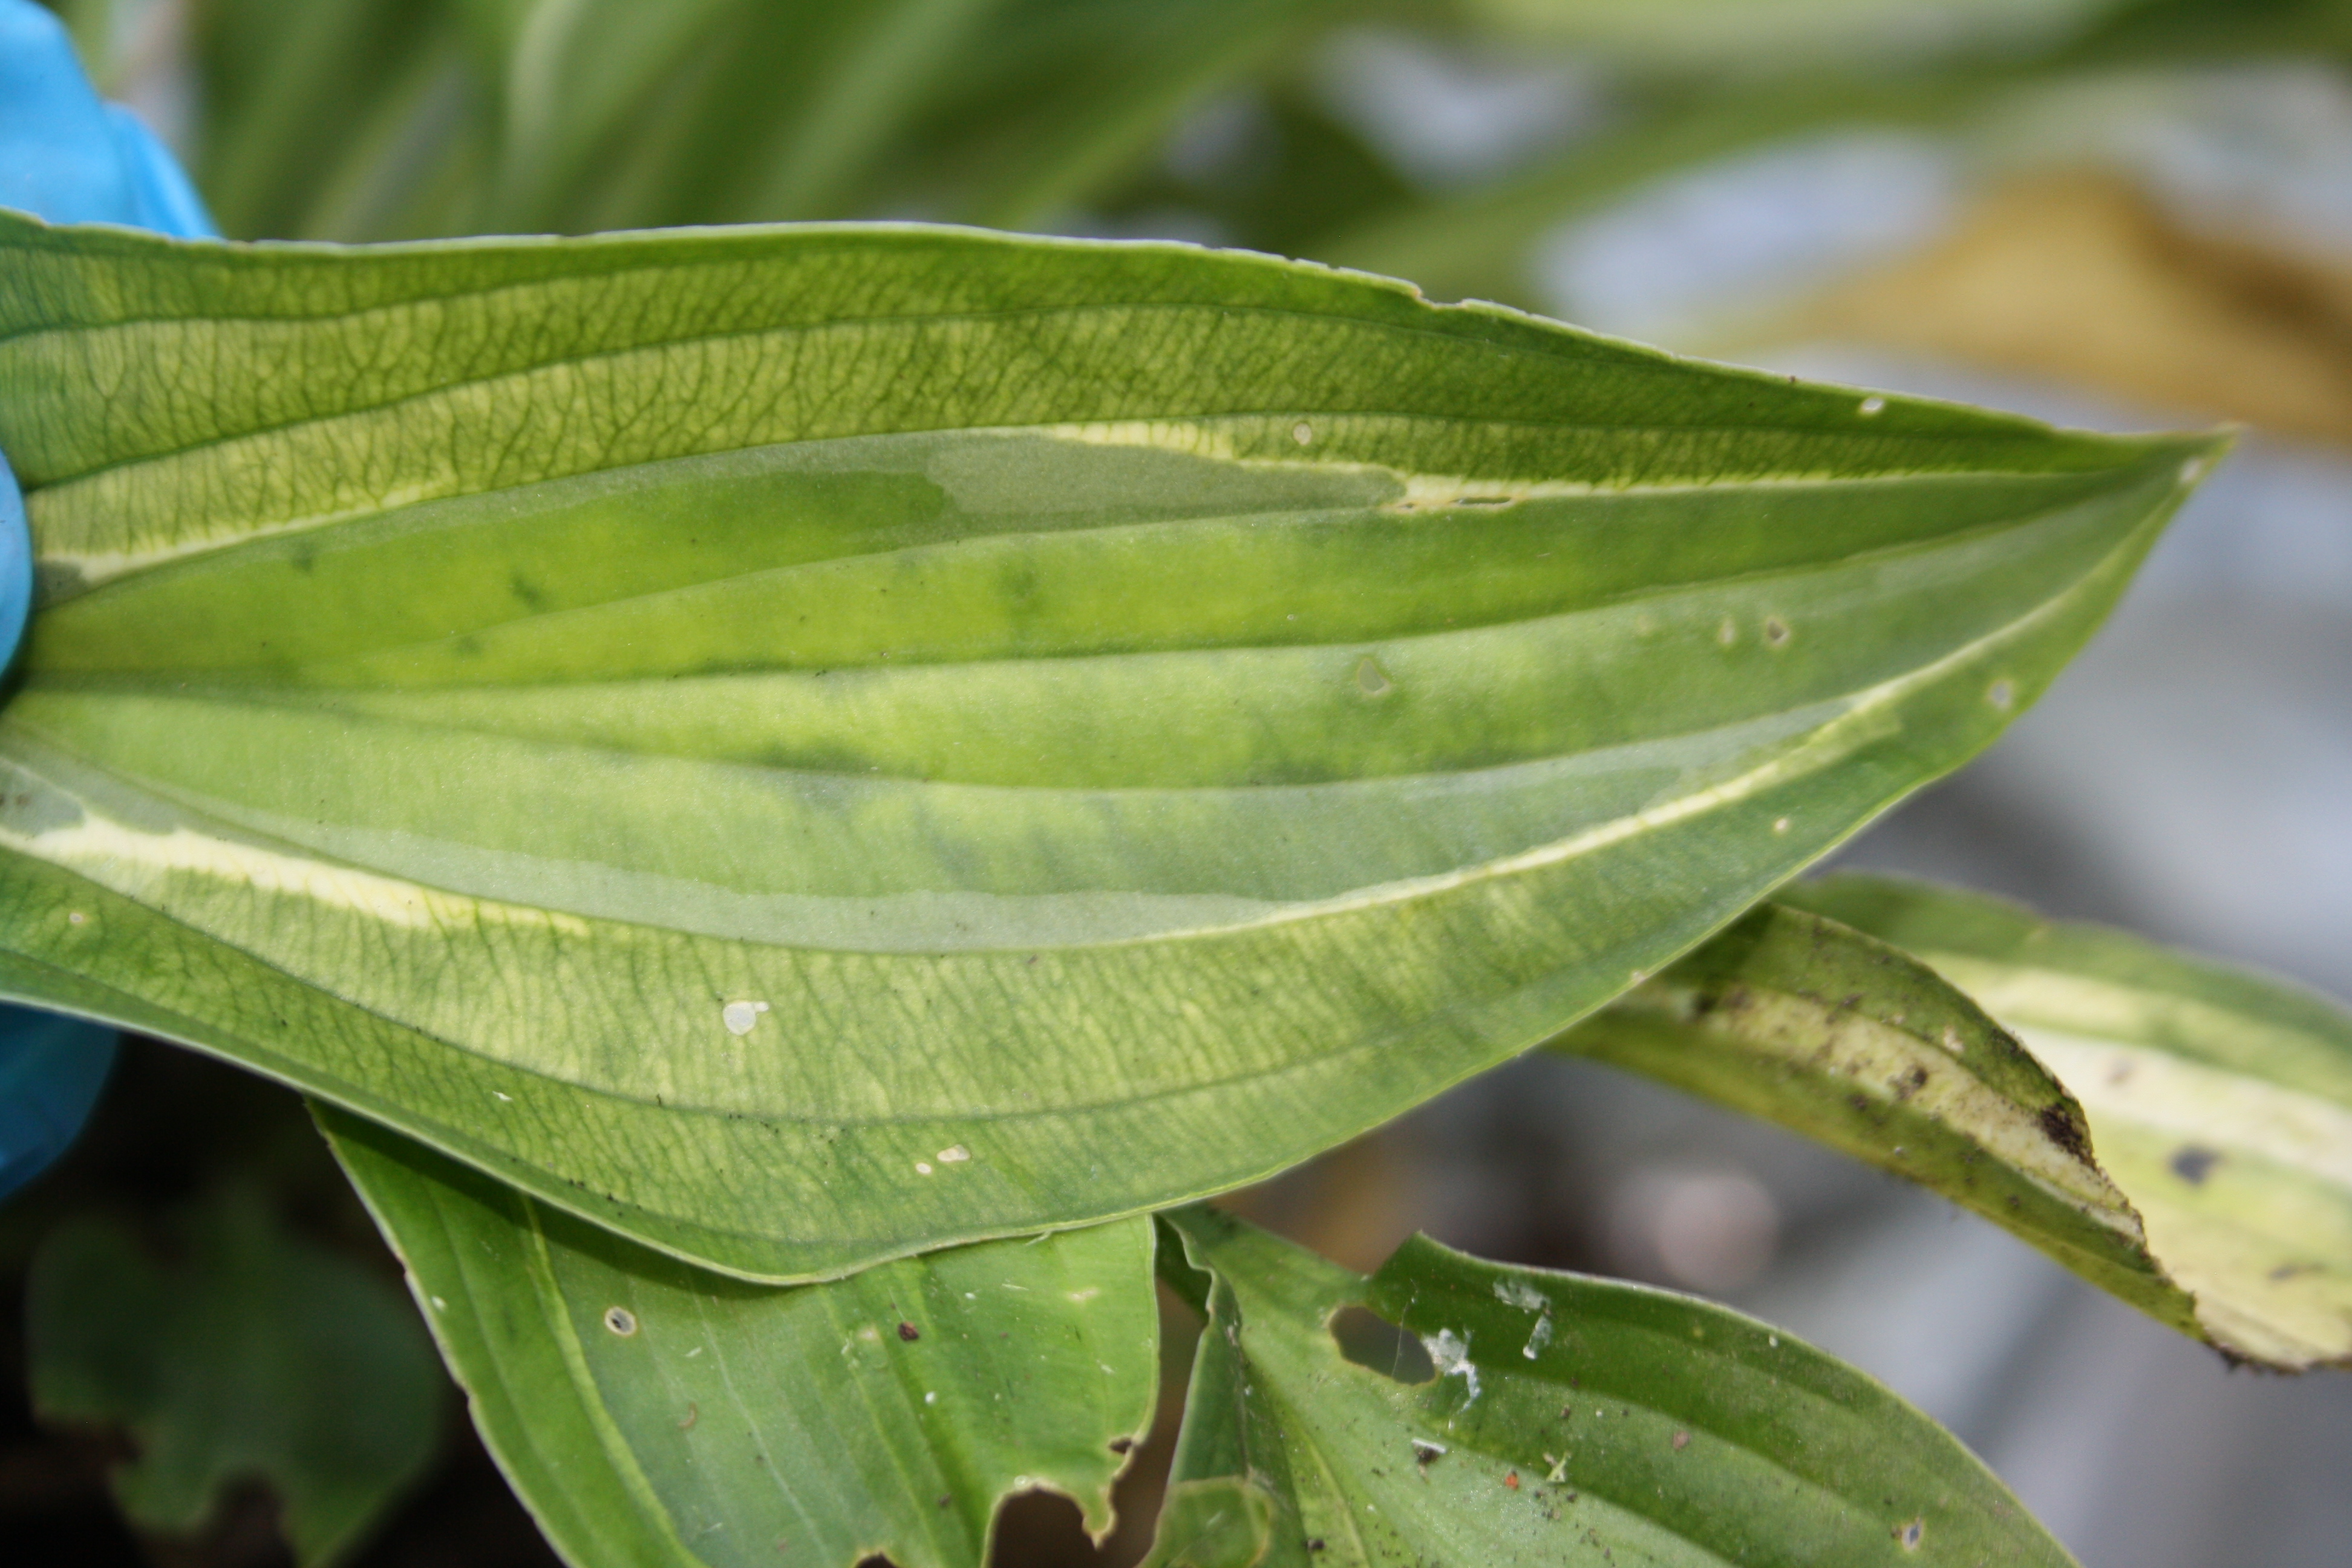
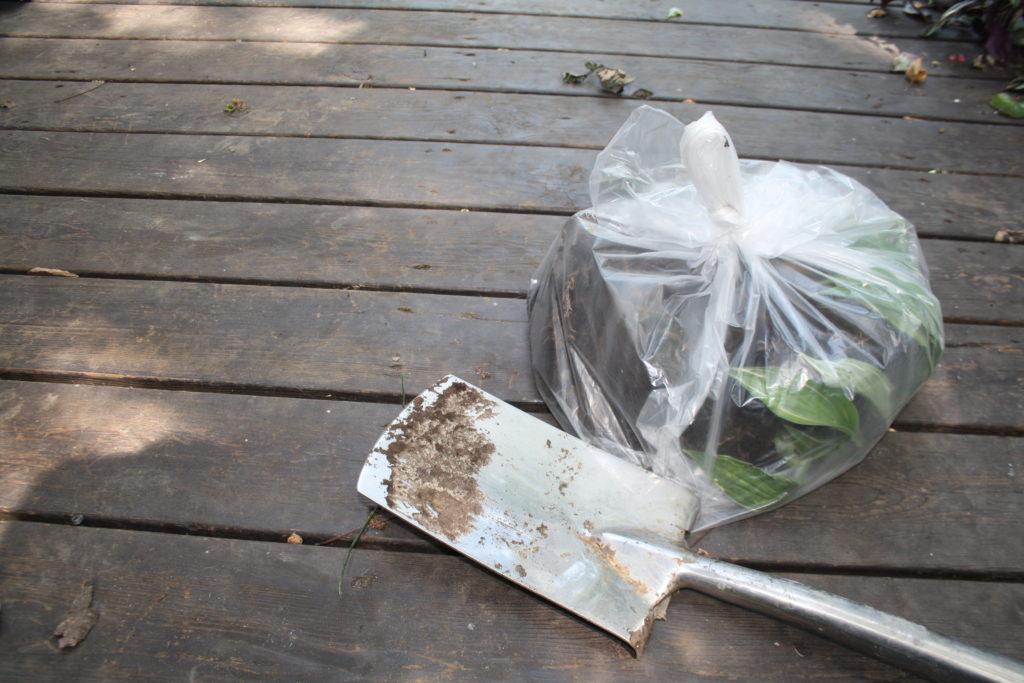
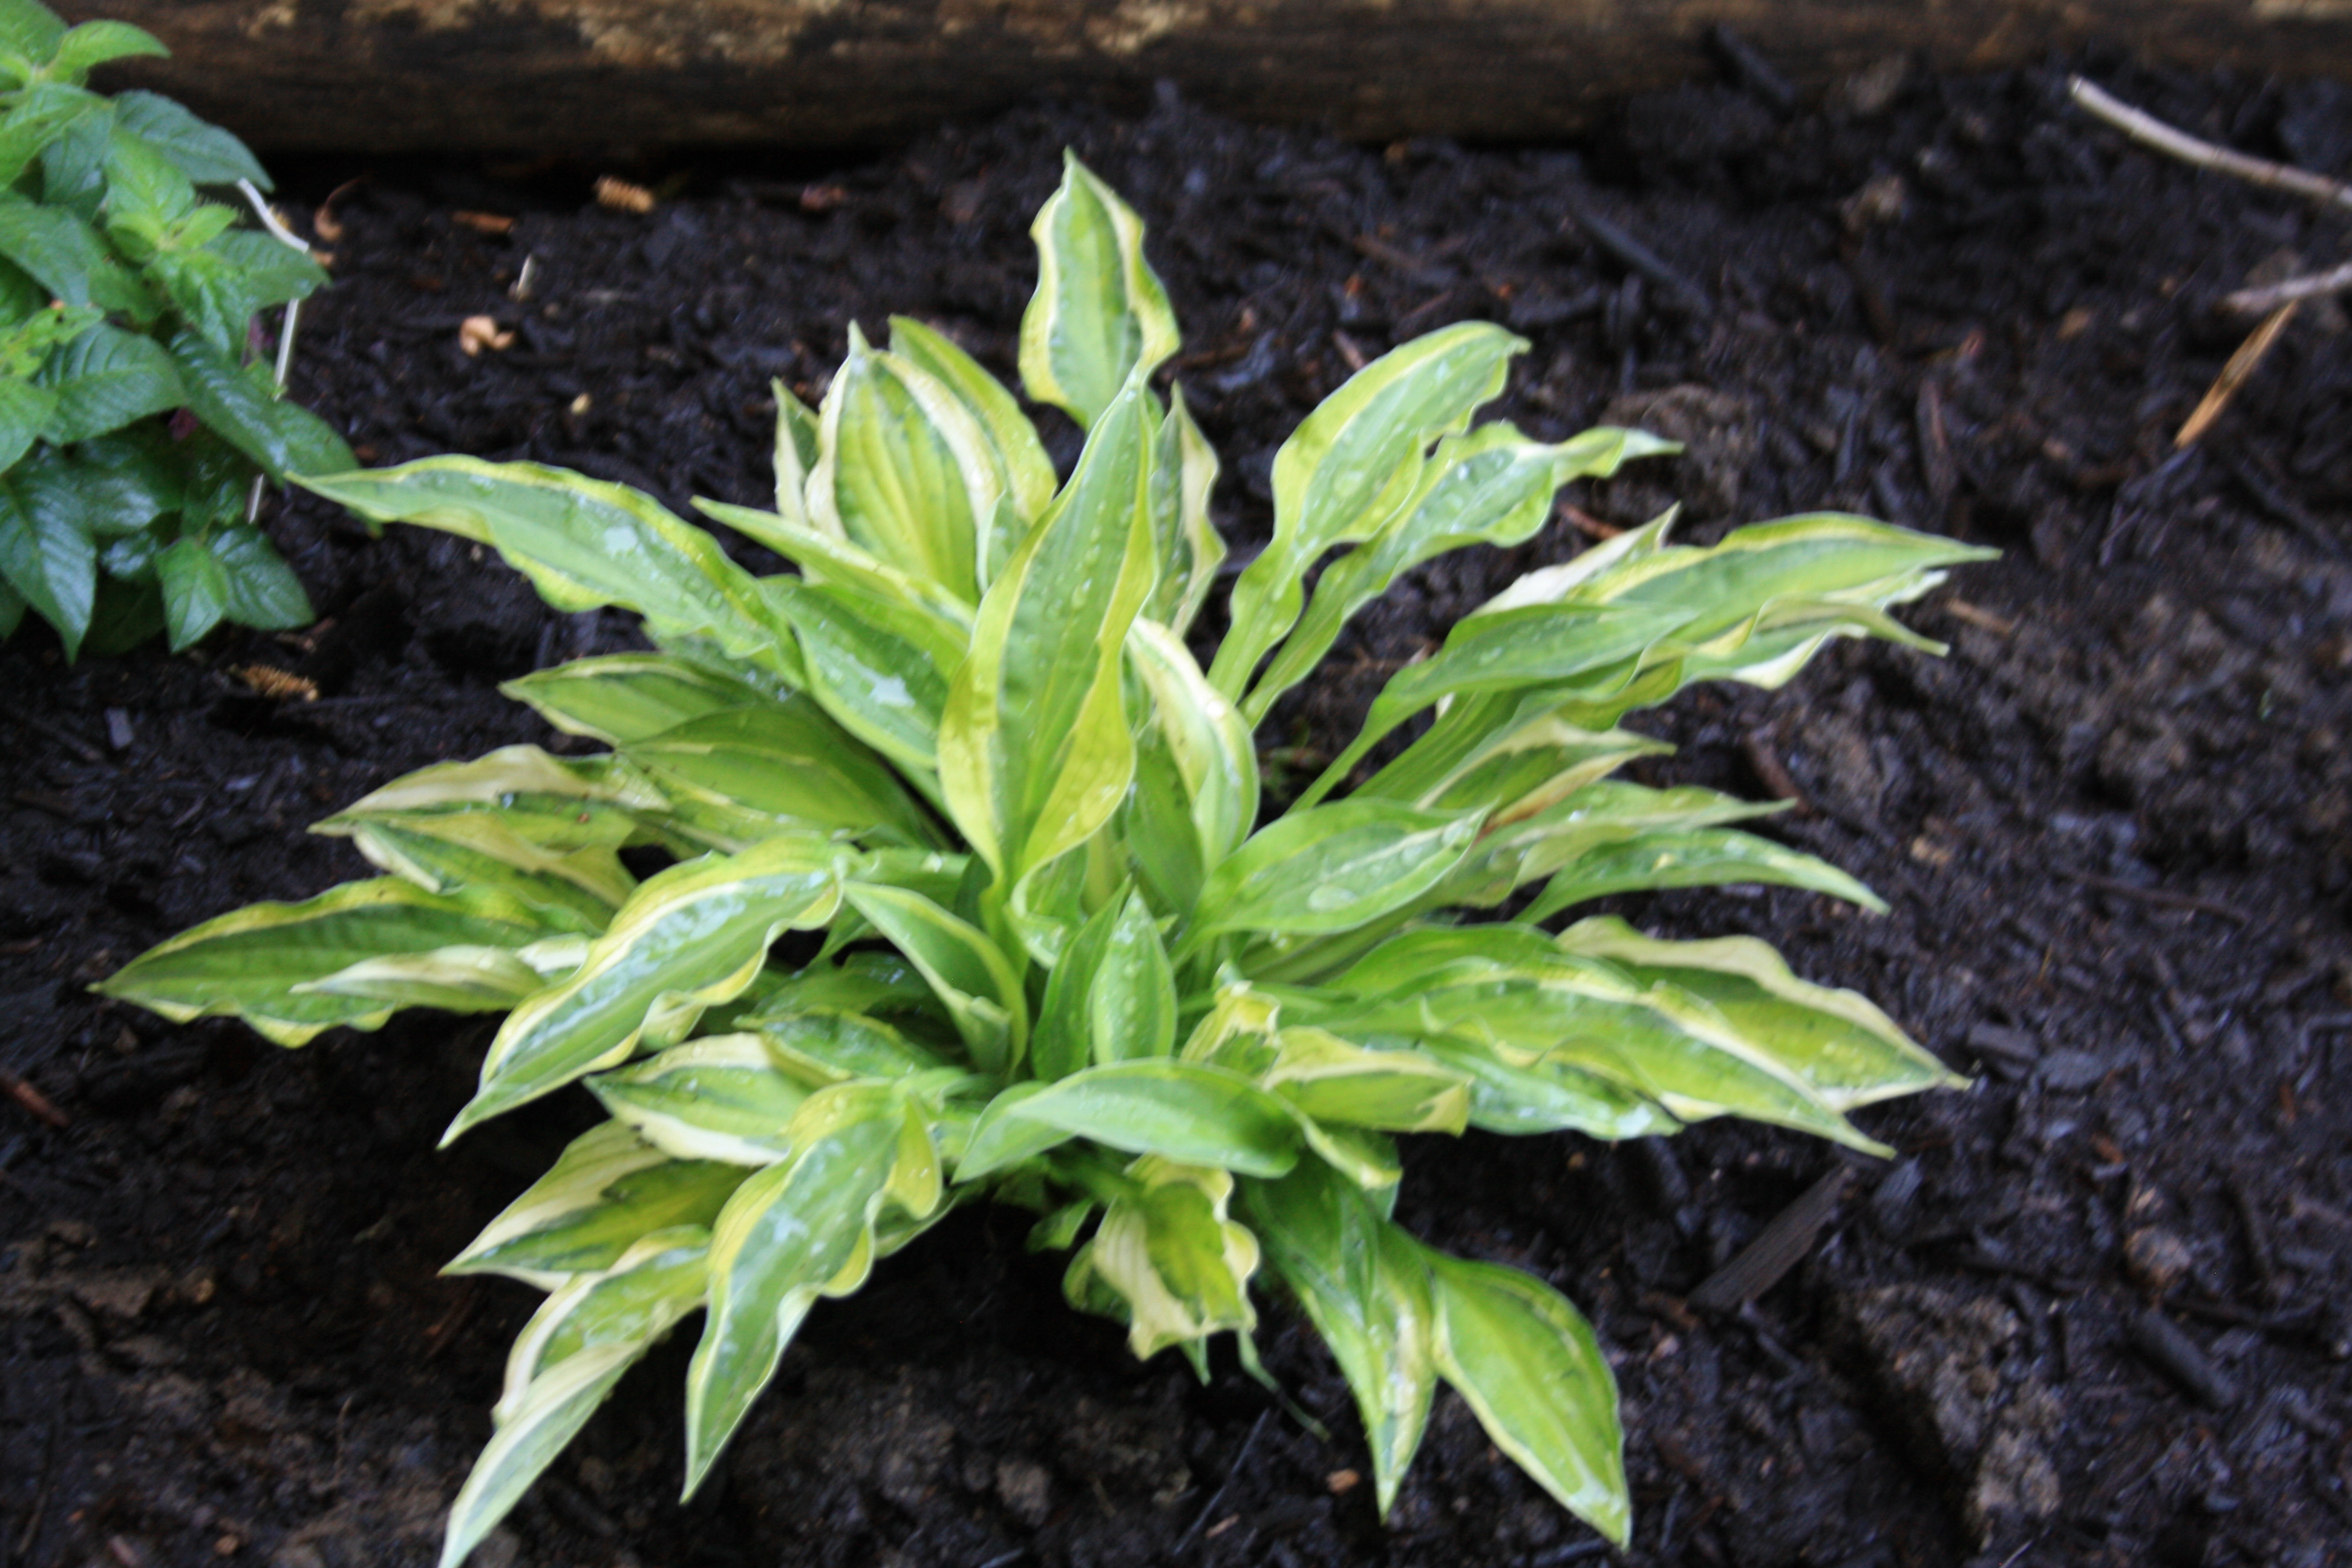
If you’ve got shade, more than likely you’ve also got Hosta. And if you’ve got Hosta you need to know about Hosta virus X, or HVX.

What is Hosta Virus X?

HVX is a virus and infected Hosta eventually develop streaked and or mottled leaves. HVX was first identified in 1996 and now affects Hosta globally. It’s believed that initially Hosta aficionados contributed to the spread of the disease, thinking they had a new and interesting plant. Many ‘new’ cultivars were in fact infected plants showing the effects of the virus.  The virus will not kill the Hosta, but there is no cure.

Signs of Hosta Virus X

It is important to remember that a plant can be infected with the disease for many years before showing any symptoms, but when they appear symptoms present in three distinctive ways.

Inkbleed

This is not the best photo to show inkbleed, but what you will see is a leaf that appears to have dark variegation along the veins of the leaf. While some cultivars do have streaked leaves on healthy plants, leaves with inkbleed look different. For more and better images please click here.

Tissue Collapse

It’s difficult to see in photos, but on this Hanky Panky leaf, the dark spots are dimpled. Sometimes it will give leaves a crinkly appearance. Again this is a characteristic in some cultivars, but the leaves affected by HVX will look different.

Here is the back side of the same leaf. While it may not show well in pictures, it is very distinctive when seen in person. The leaf tissue collapses and thinner than the rest of the leaf.

Leaf Mottling

Treating the disease

There is no cure for Hosta Virus X. Let me repeat myself here – there is no cure for HVX. Just last night I saw a gentleman on a Hosta Facebook group insisting that it could be cured with a home-made spray of tea tree oil and Russian comfrey or some such balderdash.

If you believe that, I’ve got some Rainbow Tomato seeds to sell you – no really they look just like gumballs.

If you find signs of HVX on one of your Hosta, it’s important to remove the infected plant. While HVX is only spread through the sap of the plant and cannot infect anything other than Hosta, it is possible to spread the disease within your own yard – or to the garden of a friend. There are plenty of opportunities during regular gardening activities to transfer sap from an infected plant to healthy plants. Activities such as transplanting, edge trimming the lawn, dead-heading flowers, etc. can all potentially transfer sap from one Hosta to another.

Dispose of the infected hosta in your regular household trash – NOT the composter or a community composting program.

Once you’ve disposed of the diseased hosta, you must scrub and disinfect any garden tools that have come into contact with the plant. It’s not enough to just disinfect – thoroughly scrub the tool first and then dip it in a bleach solution.

Some other considerations

Once you’ve removed the plant, do not plant Hosta there again. It used to be assumed that as long as all root material was gone it was safe to replant in that location. This is no longer the thinking. You can plant Heuchera or Hellebore or any other shade-loving plant in that location, HVX will not affect them, but no Hosta.

Because the virus is found more often in certain varieties, some people might think only those varieties can have it. This is simply not true. HVX can infect any variety of Hosta.

Another issue is that some gardeners think the infected plant looks unique or attractive and will keep it in their garden. If you see a plant in a friends garden that looks suspicious don’t take any plants from them – even if the plant they are sharing looks healthy.

If you’re truly a Hosta lover, buy your plants at a place that specializes in Hosta. They’ll know about the disease and take steps to ensure their plants are free of the disease.

Shade Planter Ideas

I’m pretty pleased with my shade planters this year, although I would be even more pleased if the crazed squirrels would stop burying their treasure in them and knocking out my plants. I went for a more colorful tropical feel than I have in other years.

Tropical Shade Planter
Croton, New Guinea Impatiens, Asparagus Fern and Creeping Jenny

Container recipe,

Fairly simple, each planter has a croton for the center, 3 bright rose New Guinea Impatiens, 3 Asparagus Sprengerii, and 3 gold Lysimachia/Creeping Jenny. In the fall, I’ll bring the croton indoors and leave the Creeping Jenny to overwinter in the pots.

The second planter is the same – this one sits by my mailbox. It would look much nicer if I could keep those damn squirrels out. This time of year it’s worth it to do a daily check for plants the tailed rodents have dug out satisfying their relentless urge to hide food.

Heat Performance

Squirrels aside, I feel confident this is a shade planter that will look sharp until the end of the summer. On Father’s Day weekend, we had temperatures in the high 90’s and all the plants in these containers sailed through it. Had I used Lobelia it would be a crispy dead thing. Bacopa, the other plant that seems to show up in nearly every planter I see, would have completely stopped flowering in those temperatures. By using Creeping Jenny with tropical Asparagus Fern and Crotons, I’ve avoided all that disappointment.

Elegant shade planters

Elegant Shade Planter
Pegasus Begonia, Dragon Wing Begonia

If you were looking for a more elegant shade planter, Begonia Pegasus is always a winner. These were last year’s arrangements, 1 Pegasus in the center, 3 Dragon Wing Begonia in either Pink or Red, and Tradescantia for the spiller. The picture above was shortly after planting.

Not the best photo, but here you can see how lovely it was well into the season.

Bonus Shade Planter Idea

Caladium Shade Planter
Caladium, New Guinea Impatiens, and Coleus

This is one from my mom’s garden last year. Another easy arrangement for shade, it’s just a caladium, a New Guinea and some coleus. She may have occasionally needed to pinch the coleus but other than that it’s another season long planter.


Bello Grigio, Fairest of Them All

Bello Grigio
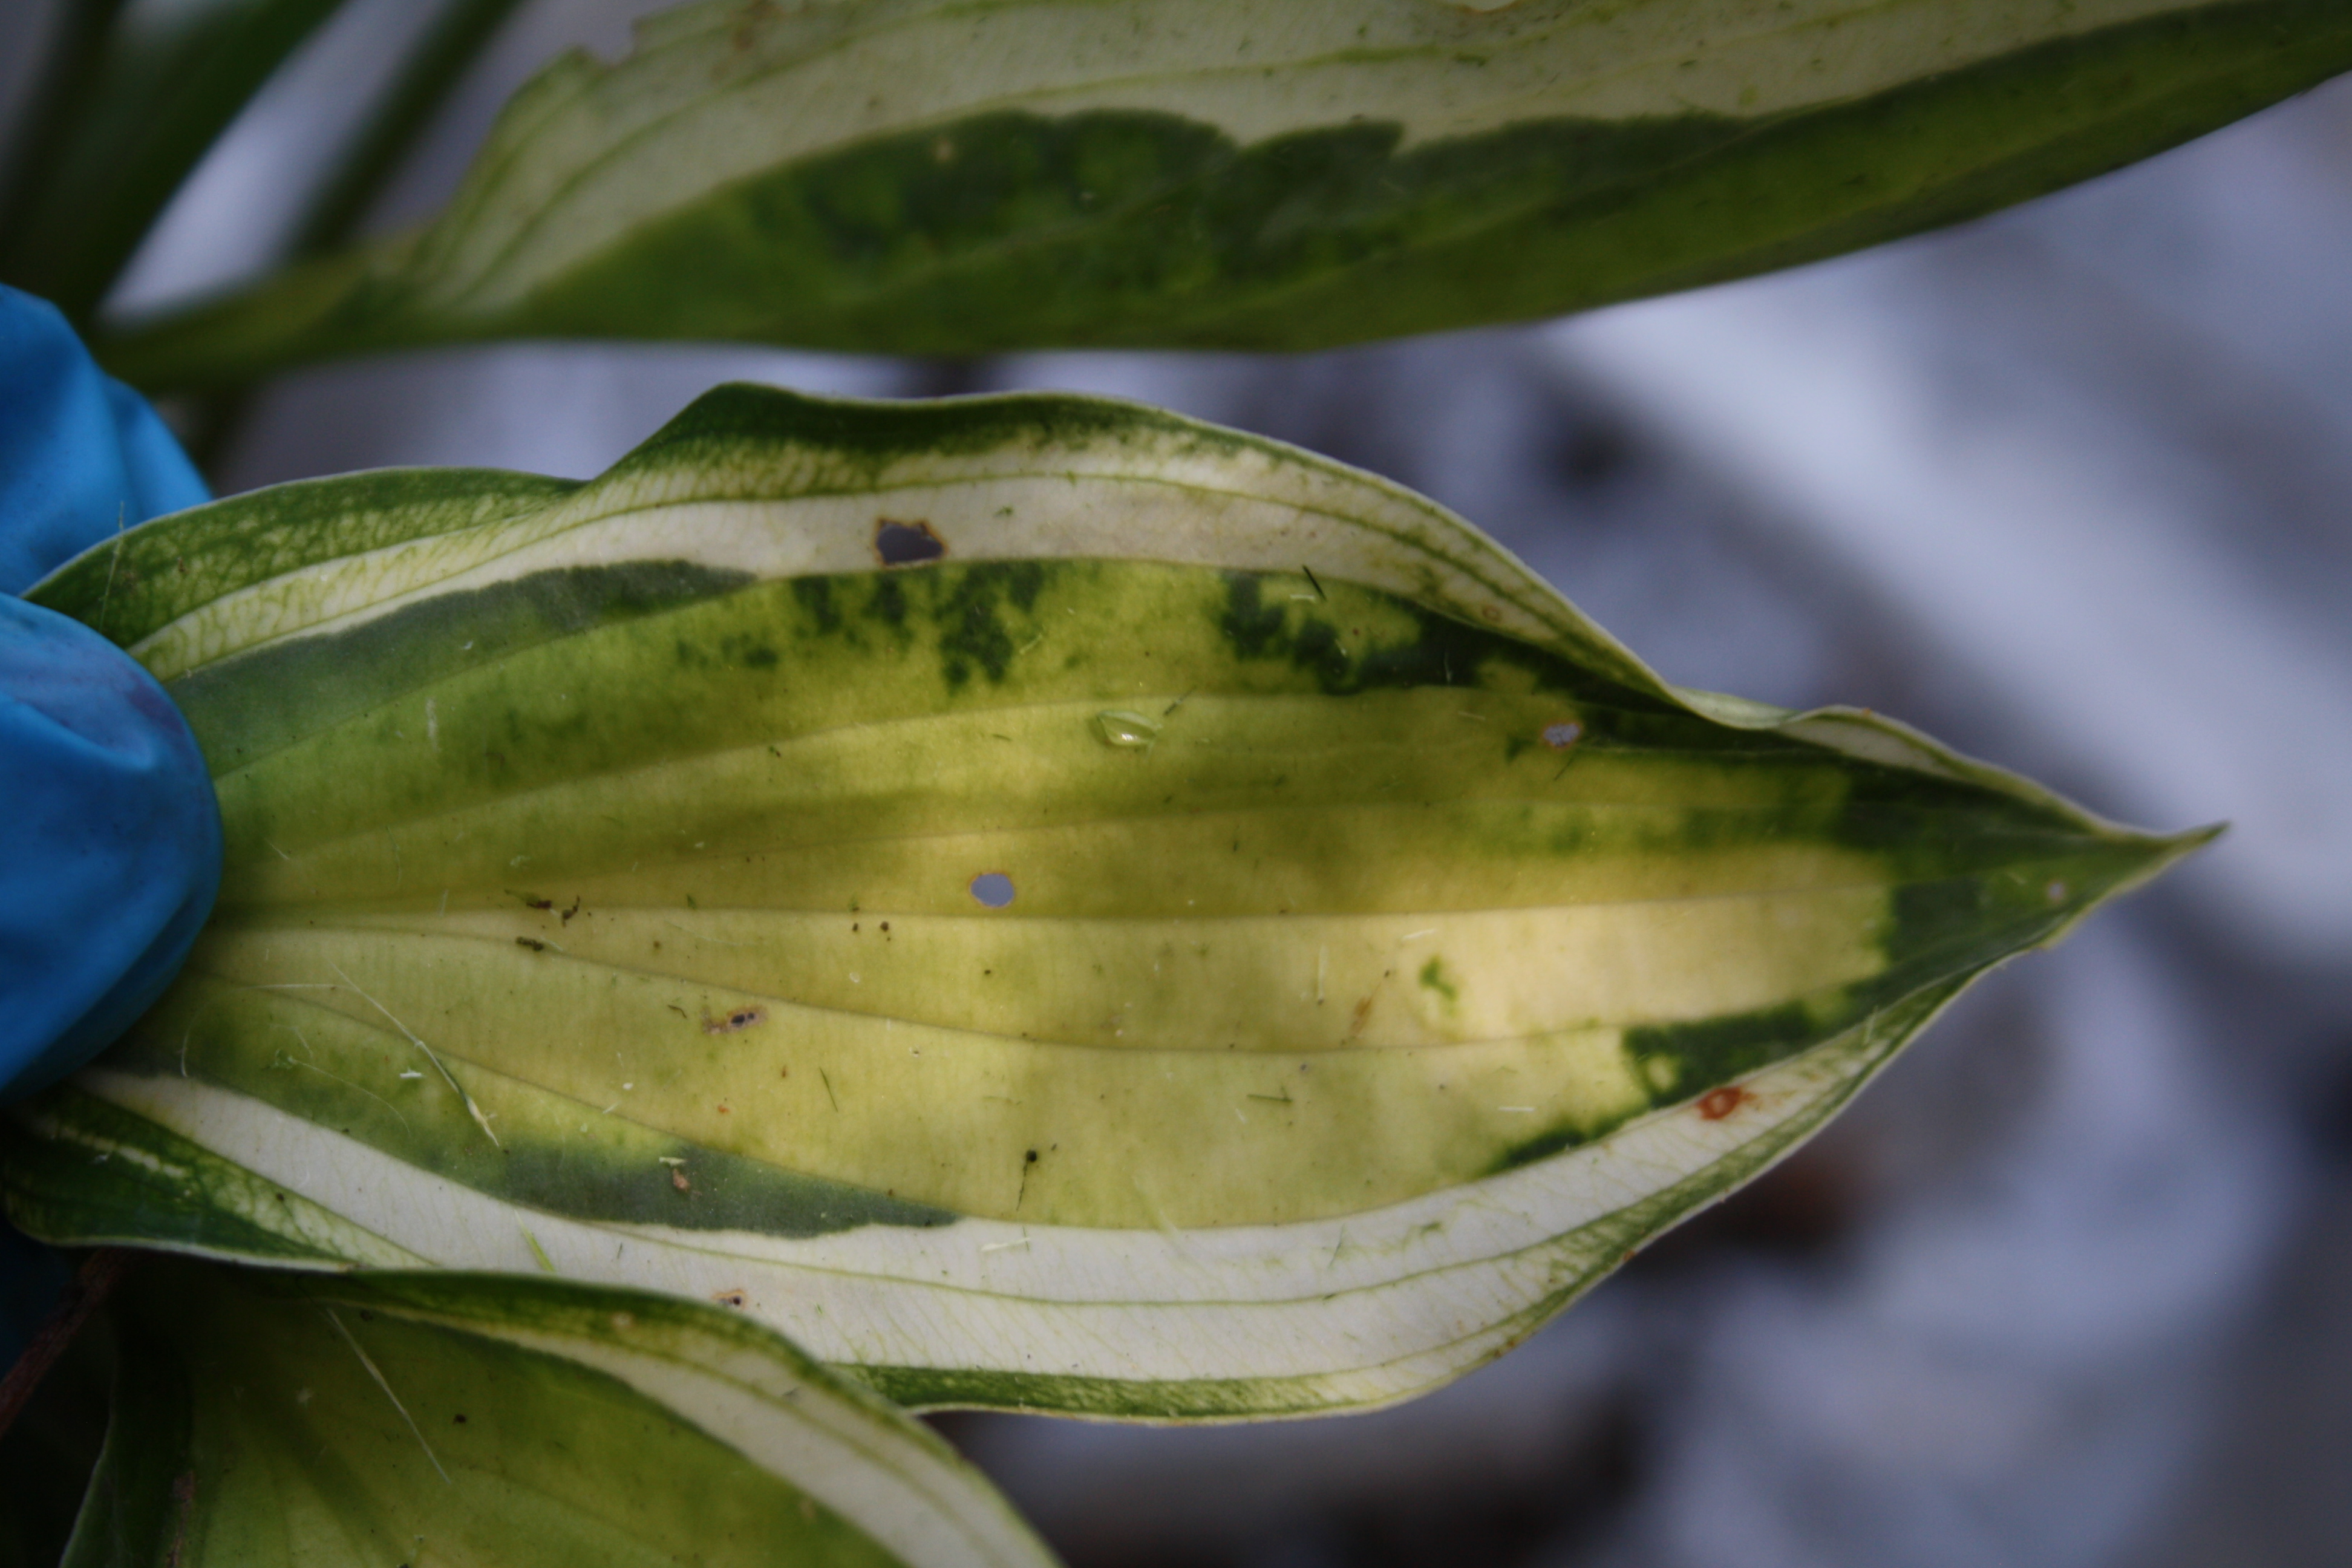
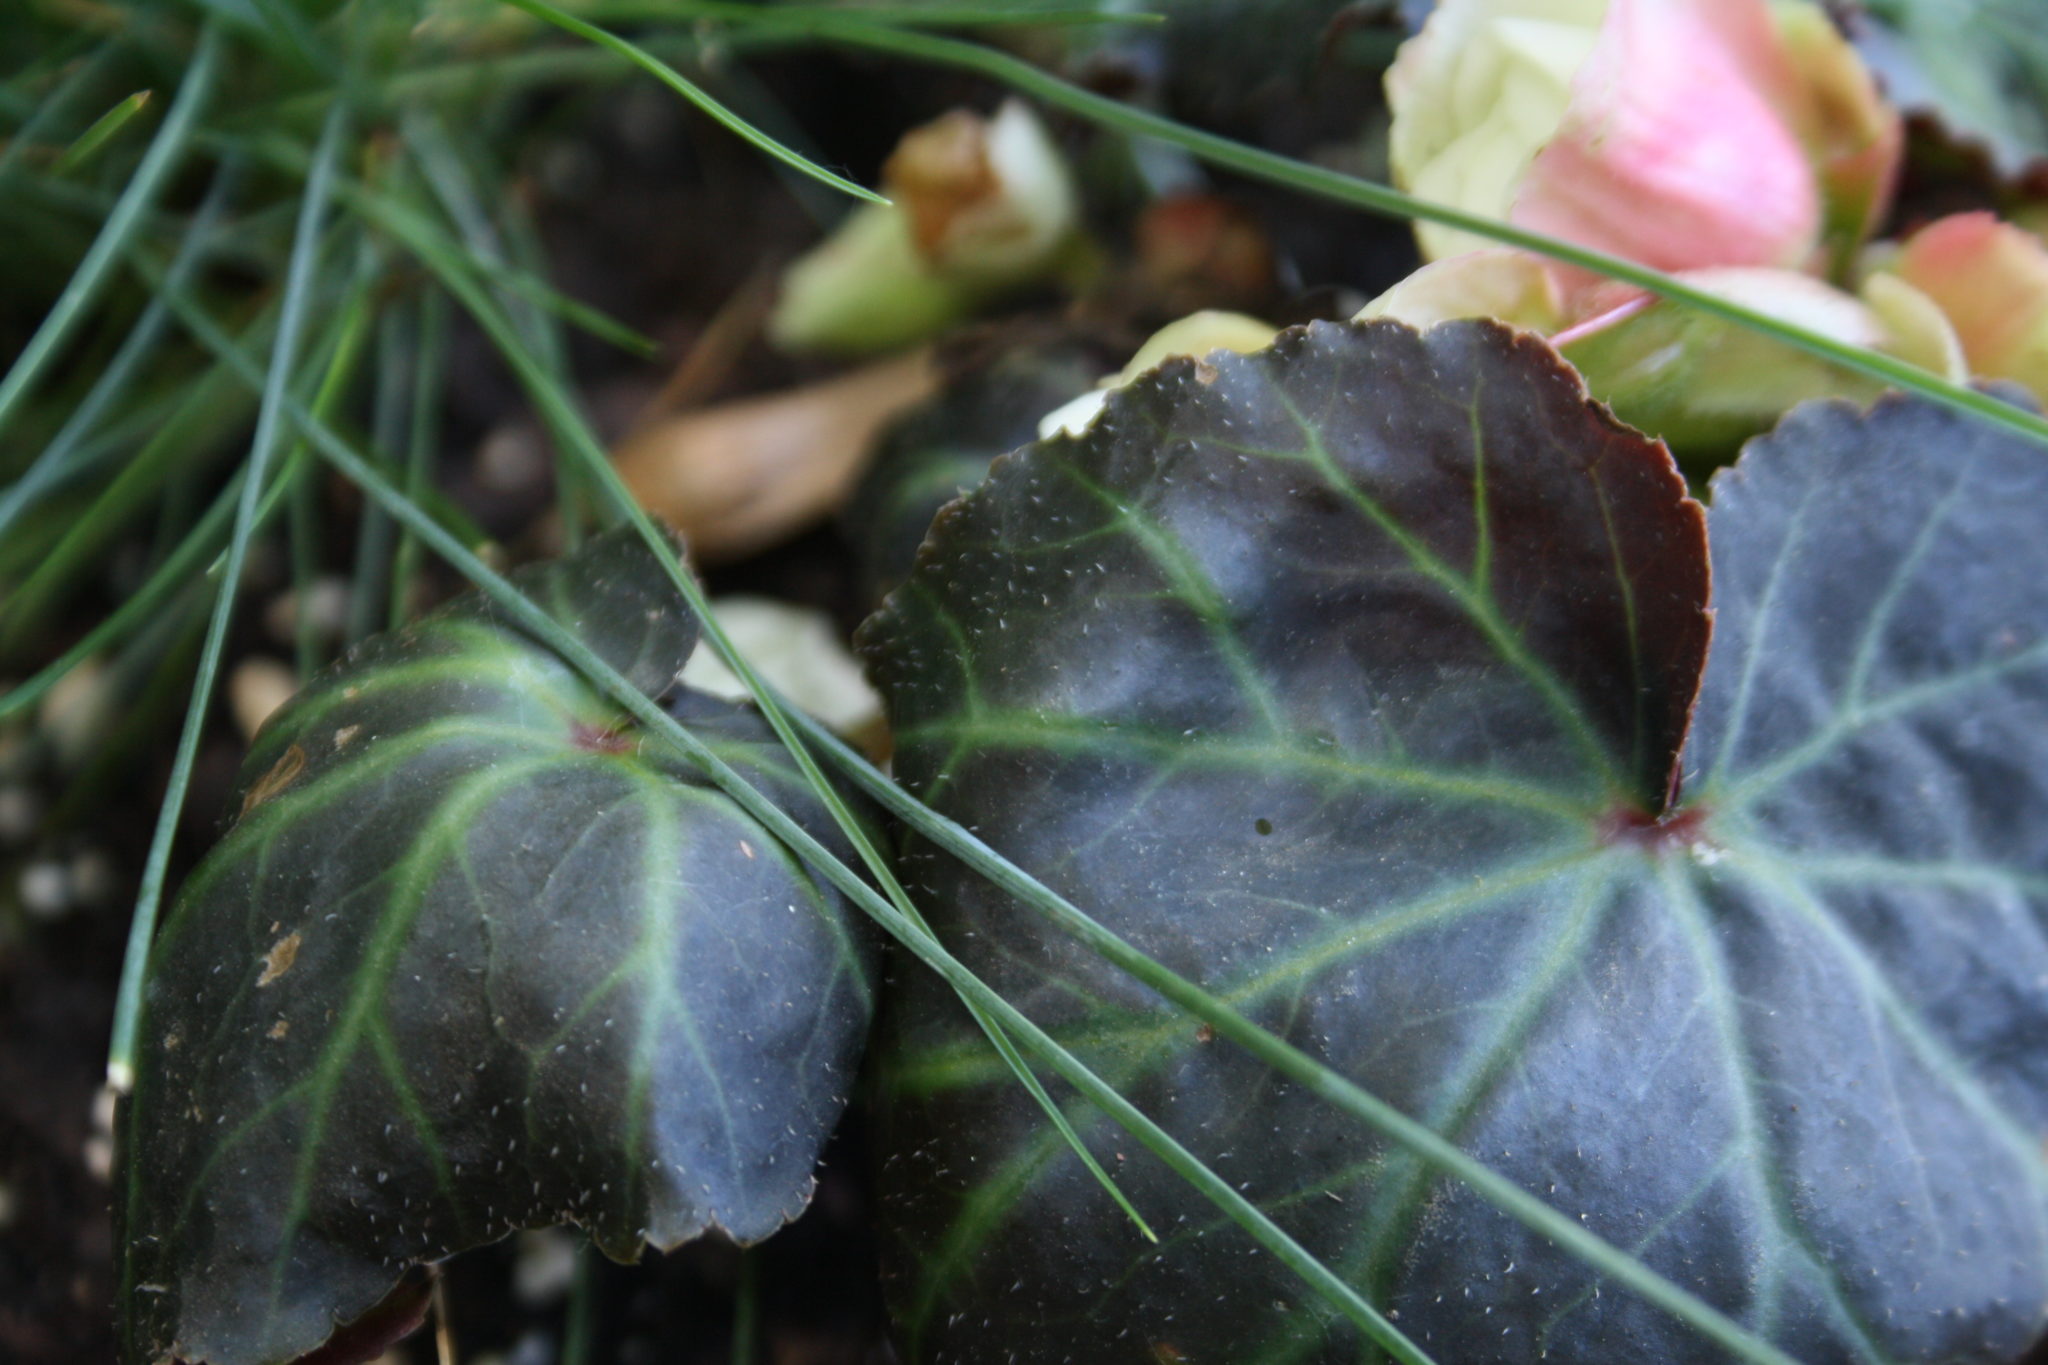
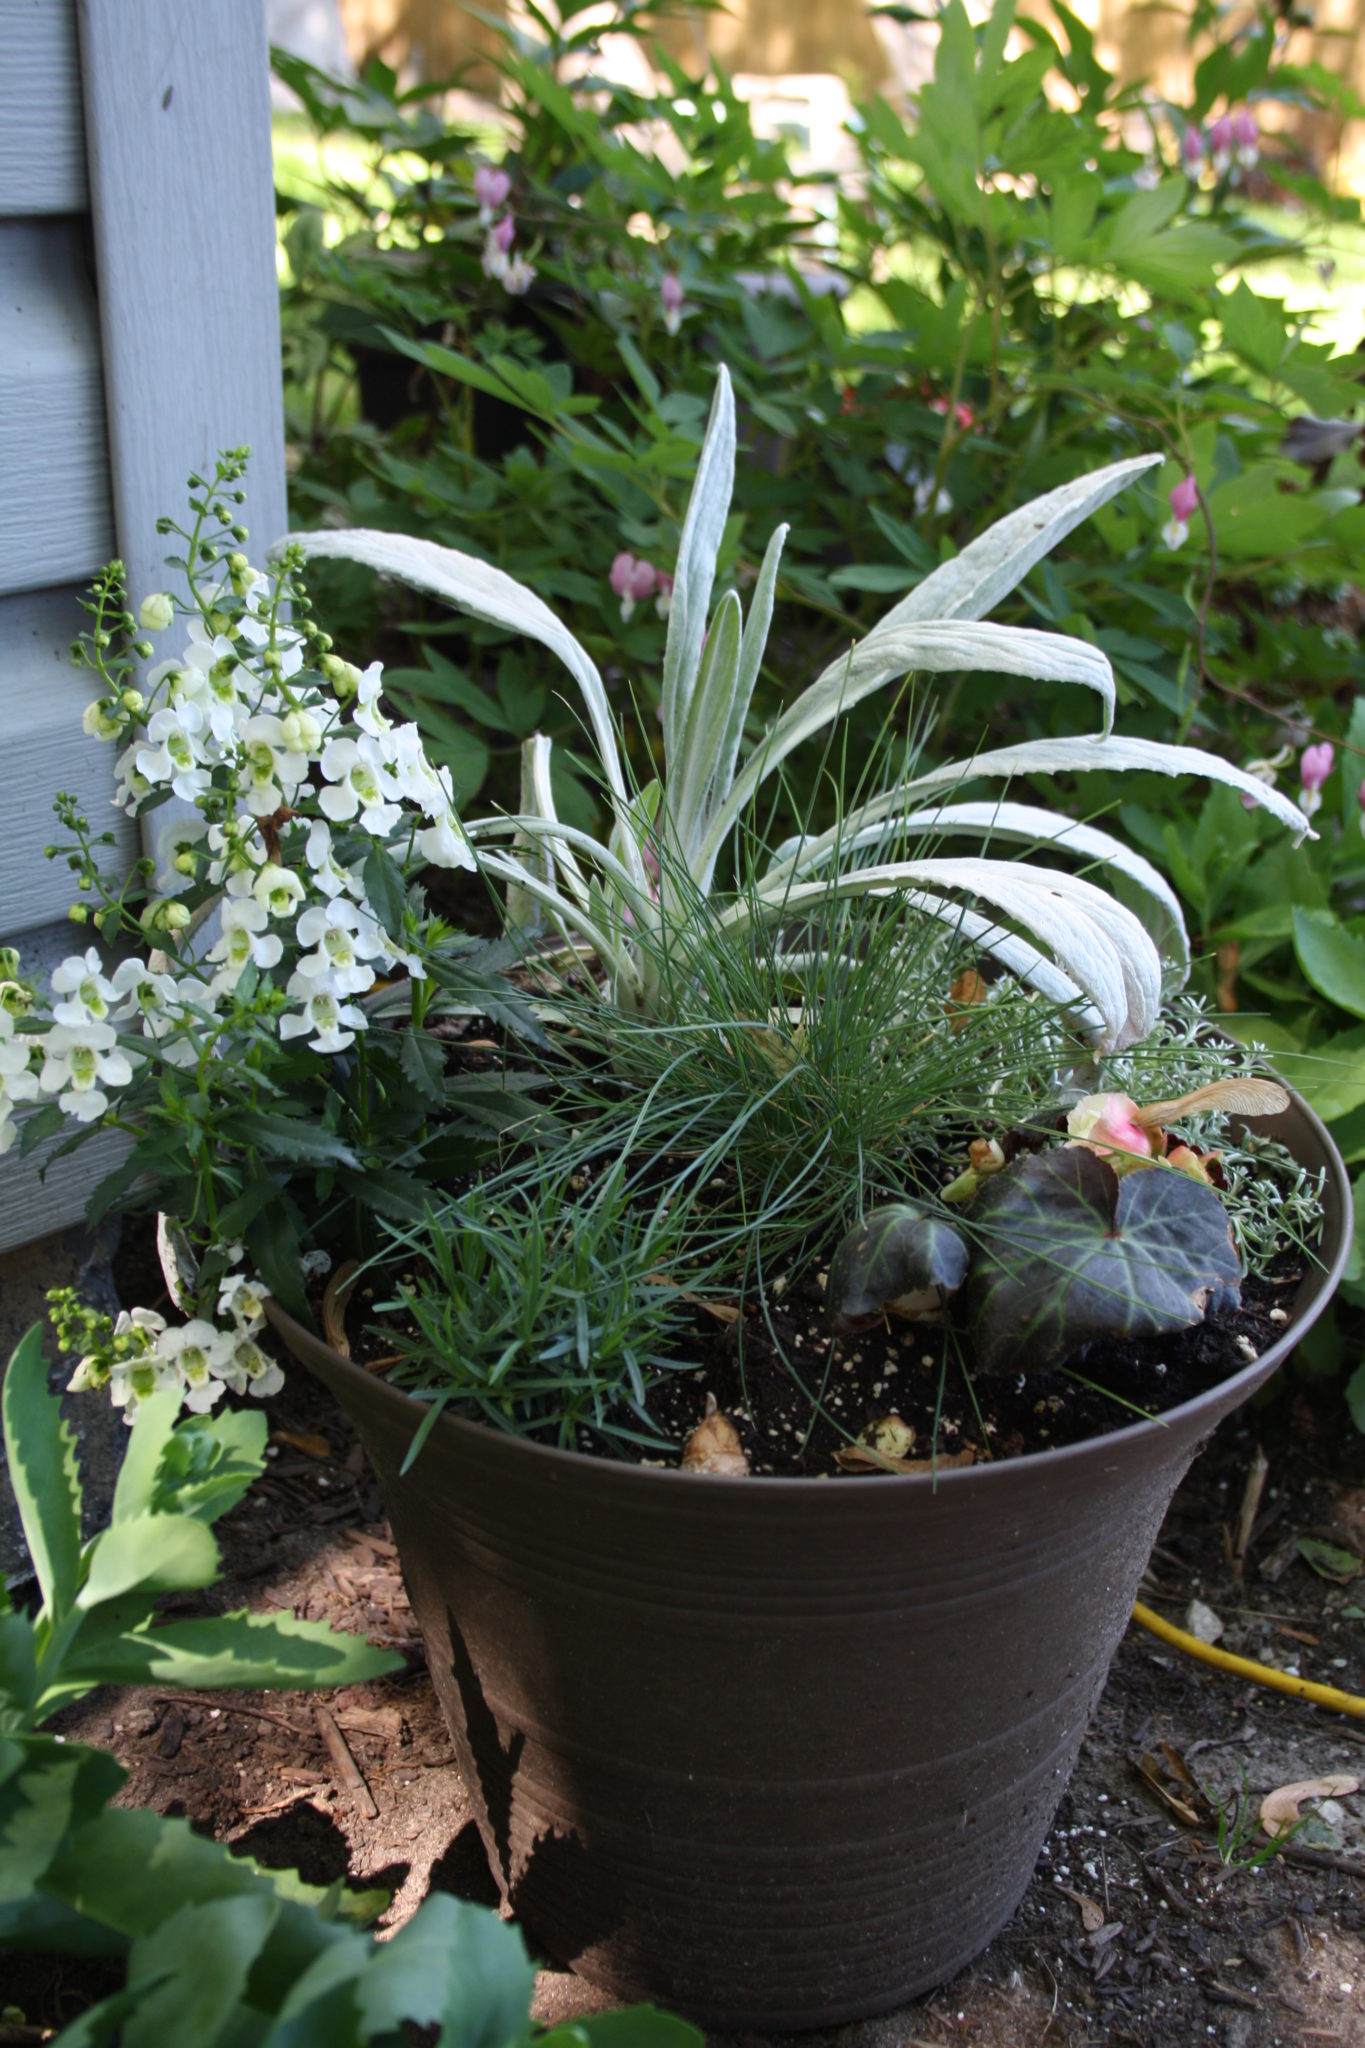
I first encountered Stachys Bello Grigio a year ago in California. The common name for Stachys is Lambs Ears, which is a pretty apt description of the soft furry leaves of these plants, but none of them are as crisply white as Bello Grigio.

Bello Grigio Leaf
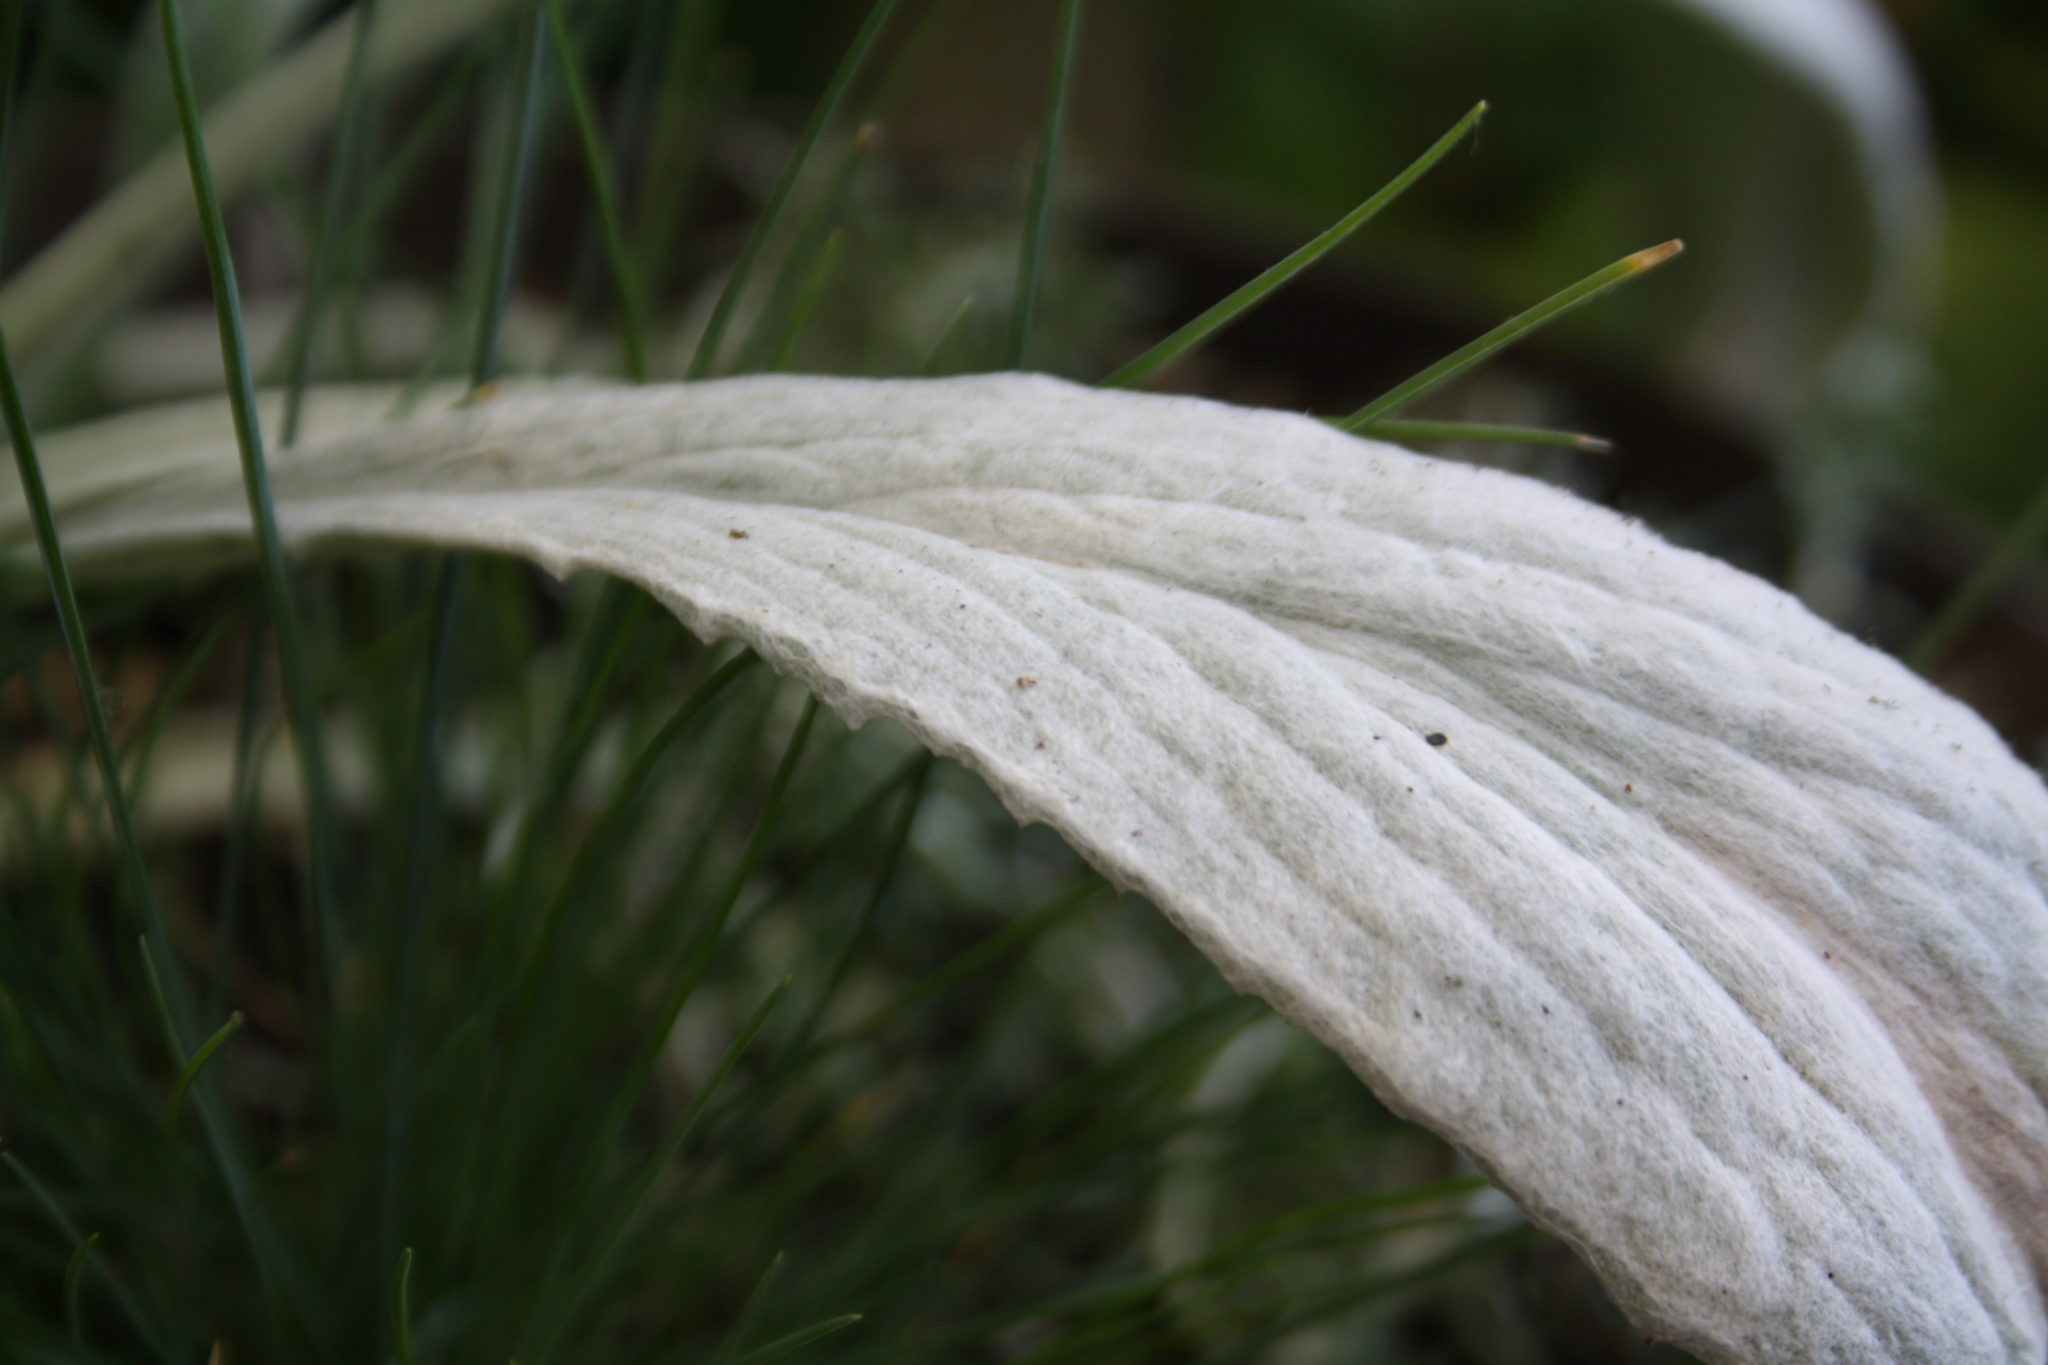
Bello Grigio immediately became my must have plant for the year. Except it was nearly unheard of – even on Google. This year I got lucky and managed to get two. I gave one to my mother and kept the other one.

My Bello Grigio

Rumored to be hardy in zones 7-9, I decided to play it safe by planting in a pot. It also calls for part to full sun and since I’m still battling Chameleon weed in my limited part-sun locations a pot prevents any accidental contact with herbicides.

Initially I thought it would be a good mate for the striking but tricky to showcase Heuchera ‘Black Pearl‘, and tried to make that arrangement work in one of my dark brown pots from last year. I included some other plants with both dark foliage (Non Stop Mocca White Begonia) and silvery foliage (Calocephalus Bed Head) but it just did not look right. So last weekend I started over. I’ll show you later what I did with Black Pearl.

Non Stop Joy Mocca White

I kept the Non Stop Mocca White begonia.

Calocephalus 'Bed Head'

And the Calocephalus ‘Bed Head’.

I added Dianthus Paint the Town Magenta and Festuca Blue Whiskers.

I also added a white Angelonia, and put it all in a more neutral toned pot.

Bello Grigio Planter

This planter is almost as pretty at night as it is during the day time.

Stachys Bello Grigio at a glance:

Still relatively new, there is not a lot of information about this plant yet. Produced from tissue culture, if you are lucky enough to find it expect your wallet to take a hit.

Exposure:

Sun to part-sun

Moisture:

Drought tolerant once established

Height:

10-12″ (25-30 cm)

Spread:

12-18″ (30-45 cm)

If you enjoyed this post, don’t forget to share it with your friends! For more just like it, follow me on Pinterest, Facebook and Twitter or sign up for regular updates by email.

Save

Save

How to Mount an Orchid

Lately, I’ve been seeing mounted Staghorn Ferns trending a bit. Staghorn Ferns aren’t always easy to find, but Orchids can be mounted too. And since it’s something I’ve wanted to try for a long time, I’m going to show you how to mount an Orchid.

Mounting Orchids

Last year, my oldest started building a shed. When he was digging the post holes, he pulled out some really cool looking bits of tree root. I decided to use one of them to mount my orchid.

how to mount orchids

I mounted an orchid on one of them. Many orchids are epiphytes, meaning they would normally grow on trees.

Materials to mount an orchid:

  • Orchid – most grocery store orchids are phalaenopsis which are perfect for this. If you purchase a different type just make sure it’s one that likes growing in trees.
  • Bark. You can purchase cork bark in pet stores where it’s used by reptile enthusiasts, or you can purchase from Amazon using my affiliate link here.
  • Sphagnum moss
  • Thread or clear fishing line.

I started by cleaning all the existing growing media from the orchids roots. And then I forgot to take any more pictures until after I finished.

Thankfully I made a video of the process. I sincerely apologize – I had no idea I breathe that loud!

how to mount an orchid

I am so happy with how my mounted orchid looks! It isn’t quite as cool as a mounted Staghorn fern, but it’s still pretty neat looking!

how to mount an orchid

Have you ever grown mounted orchids?

Save