Two Mini Hosta in Hypertufa Planters

I have one last Mini Hosta planting to share, for this year at least, and it’s actually two. Two or three years ago I made a couple of hypertufa using the bottom of a trash can for the mold. I had seen a relatively squat planter with straight up and down sidewalls that I wanted to replicate. This year I planted mini hosta in those hypertufa.

Both planters feature hosta purchased last year. I had them planted under my Japanese Maple and neither seemed to be doing very much. I also wanted to have them in the new back garden where I could see them from the house.
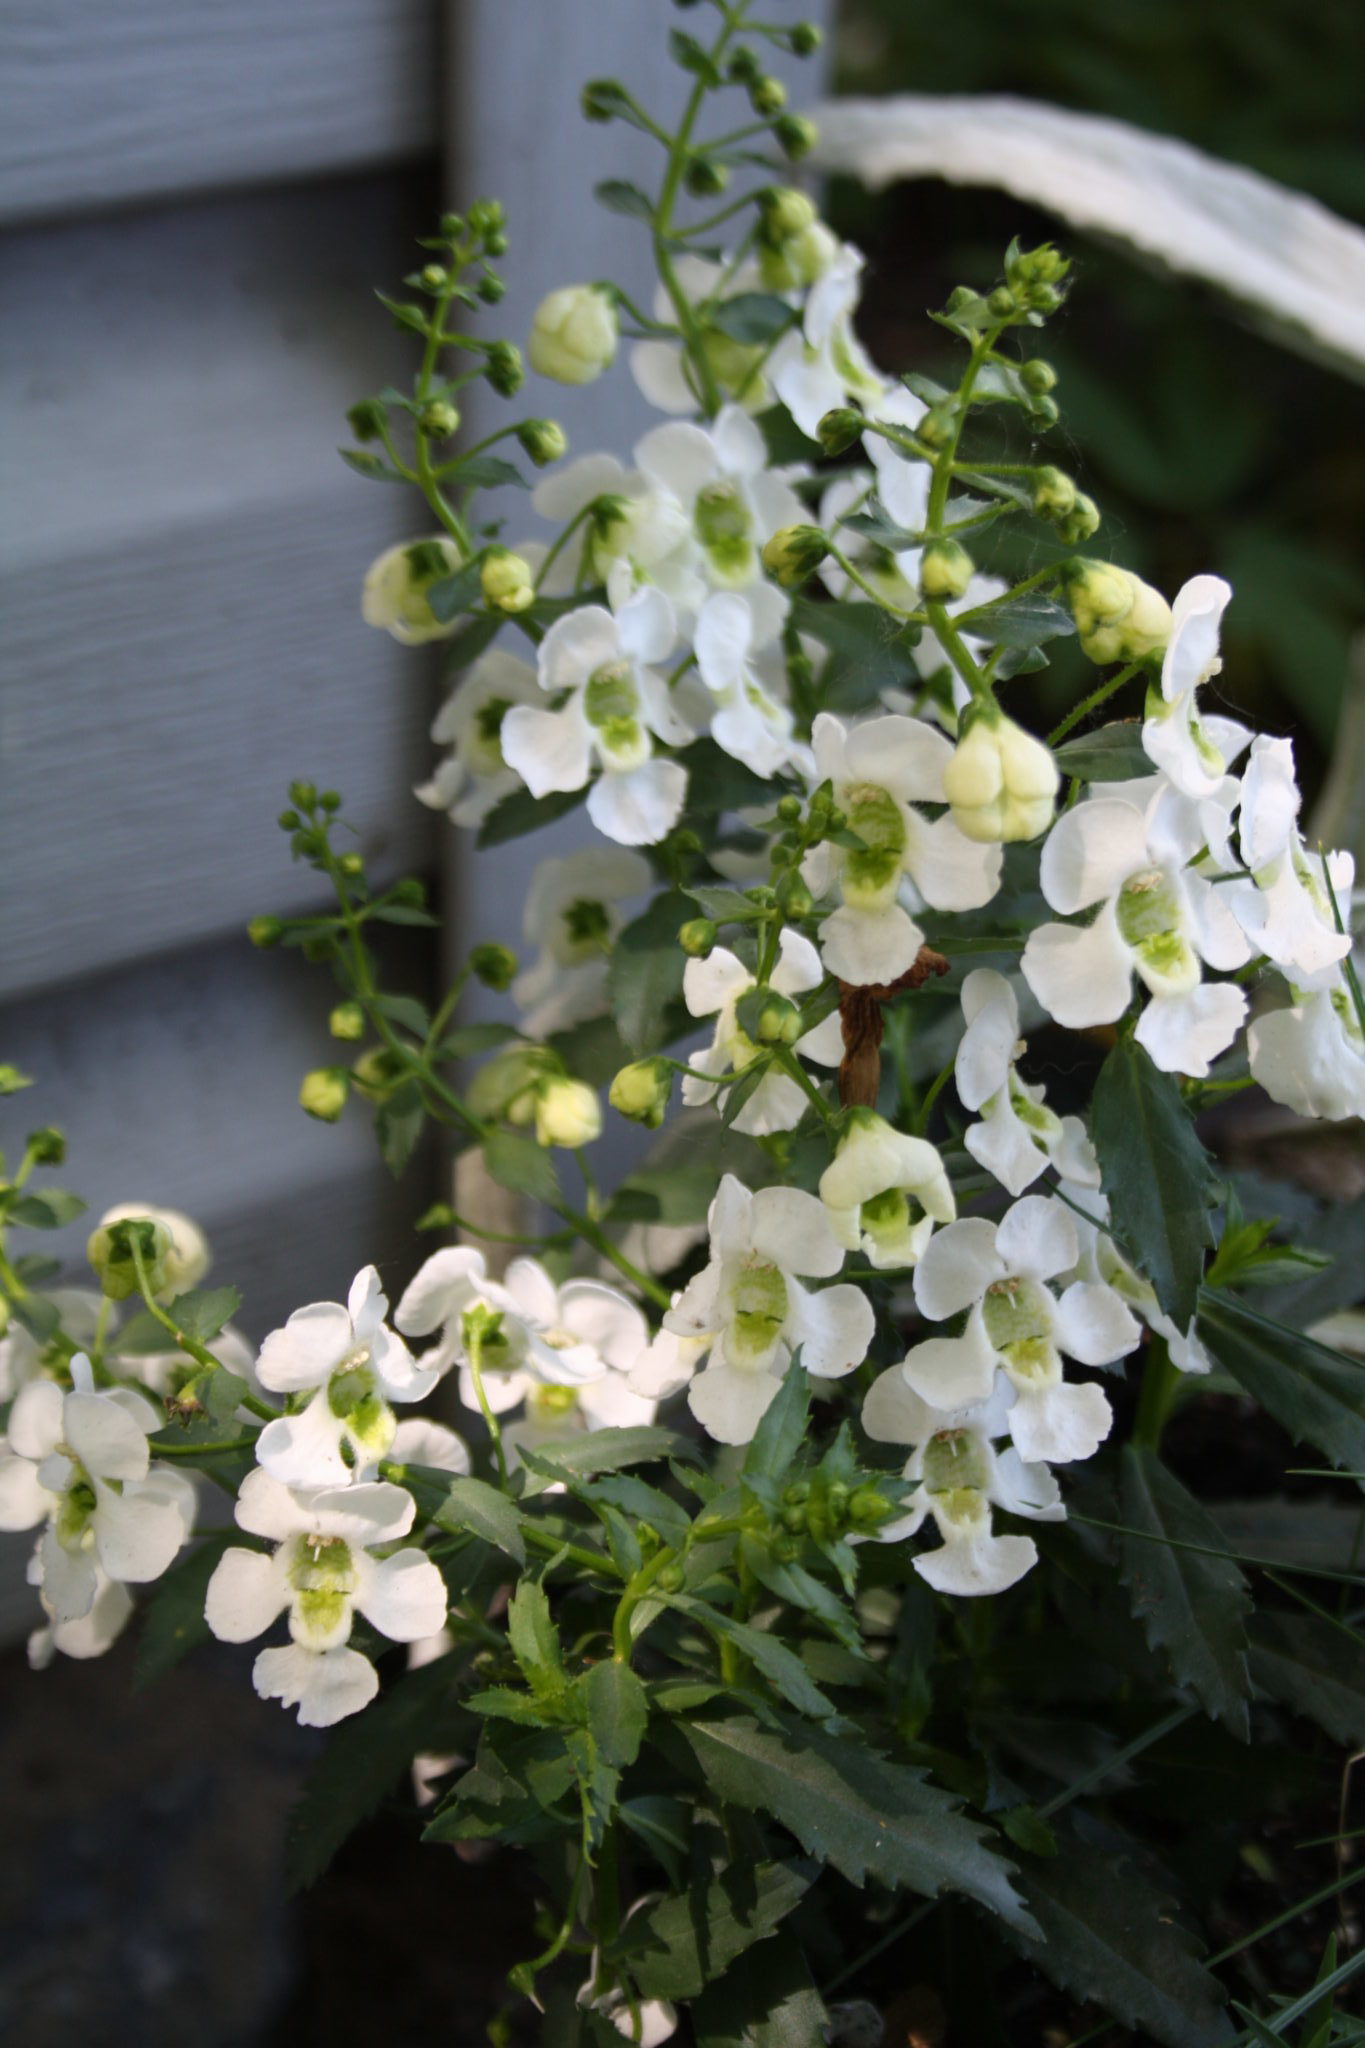
Hosta ‘Mini Skirt’

Mini Hosta in Hypertufa

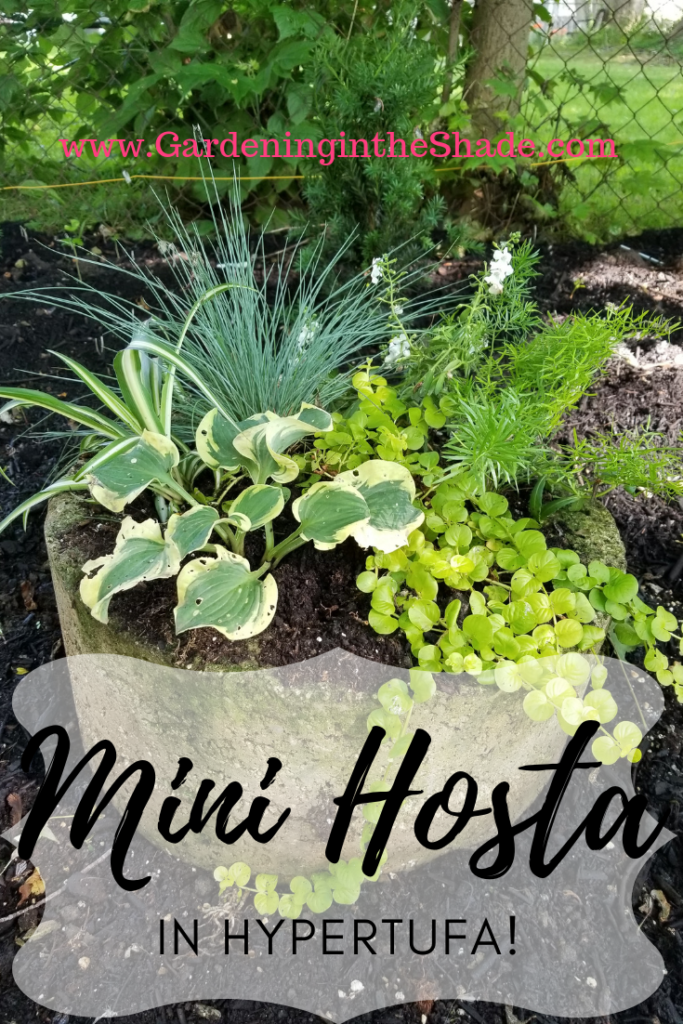
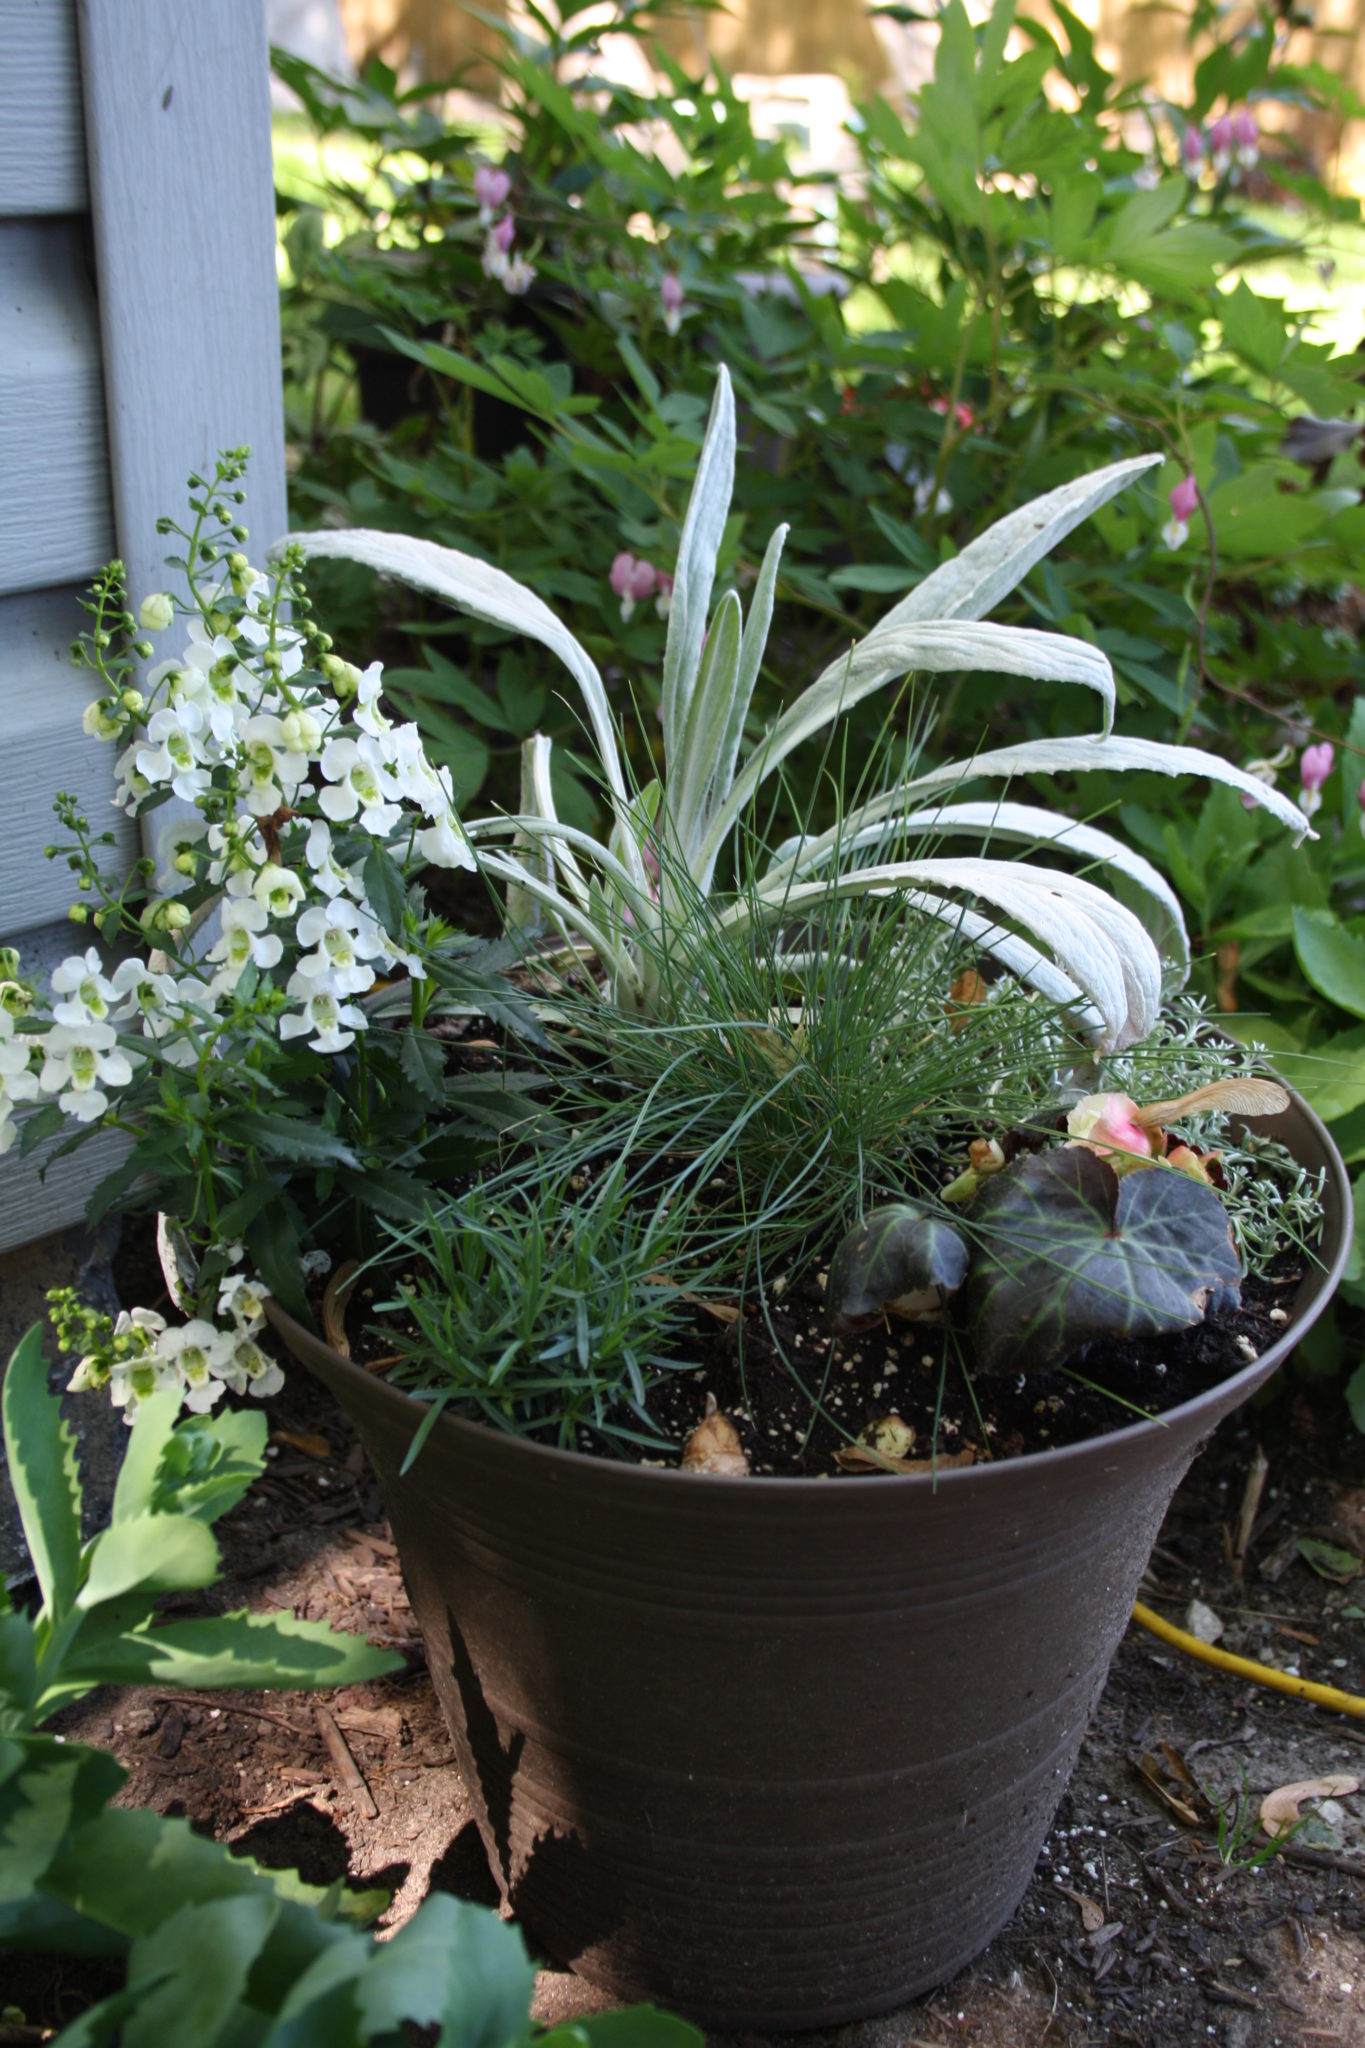
I planted ‘Mini Skirt’ with a blue fescue, creeping jenny, and white angelonia. The angelonia is one of those try it and see what happens situations. Angelonia is usually planted in full sun and tolerates heat well. It will get the heat but not so much the sun so it may work okay or it might completely flop. At the last minute, I crammed a leftover spider plant and some asparagus fern in there. Asparagus Fern will likely be scarce for the 2020 season, so if you like it in your planters I recommend you overwinter a bit indoors.

You can see the slugs or something have been at this one, most of that occurred when it was under the Japanese Maple. If it continues, I’ll sprinkle some Diatomaceous Earth around it.

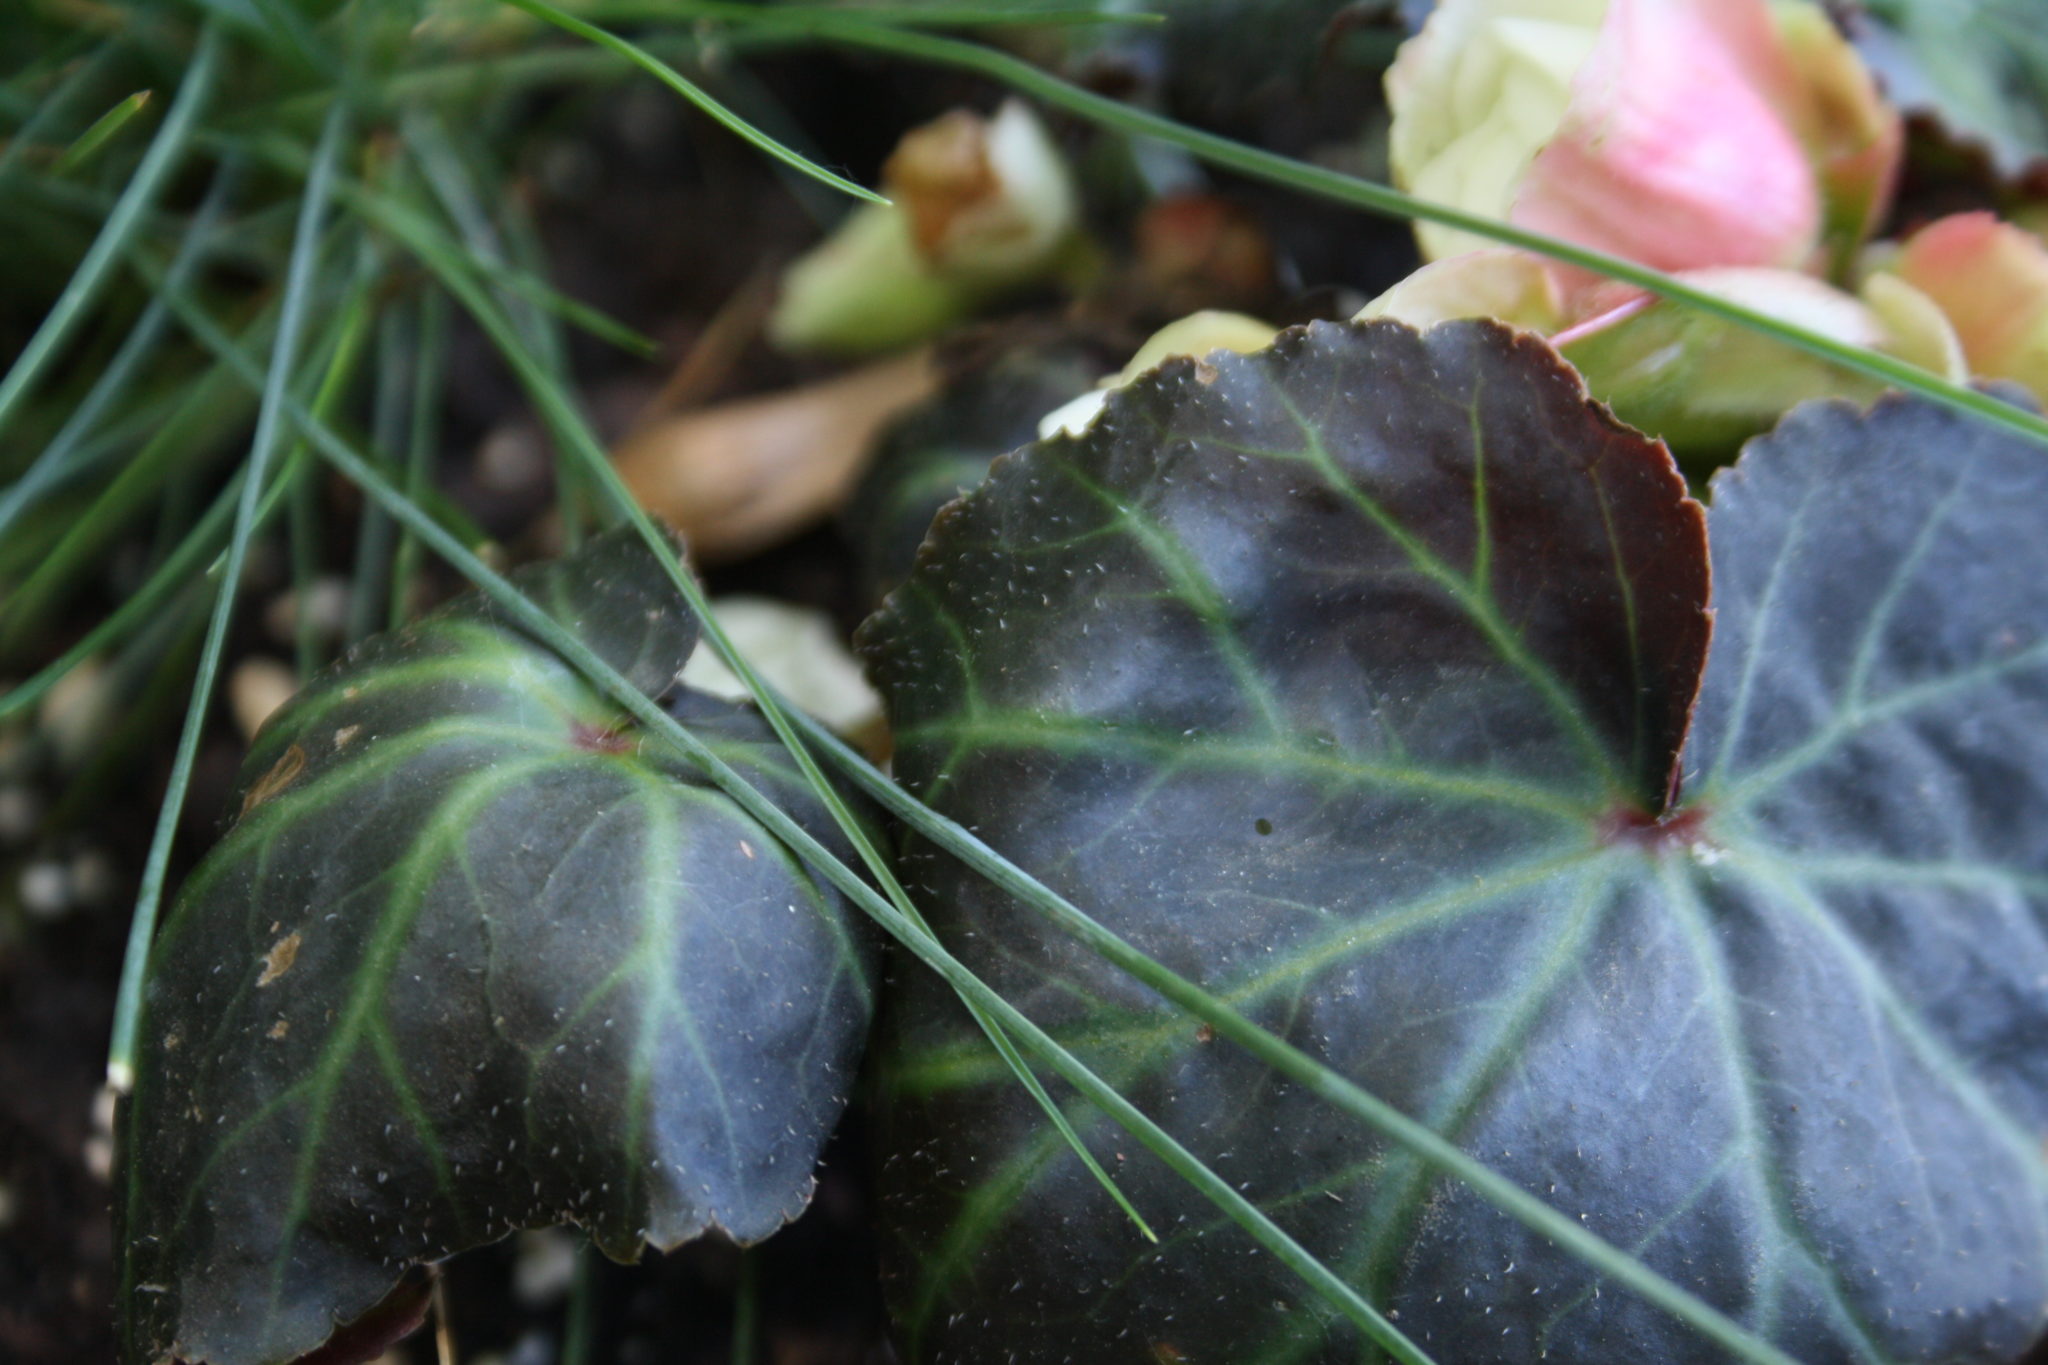
Hosta ‘Church Mouse’

Mini Hosta in Hypertufa

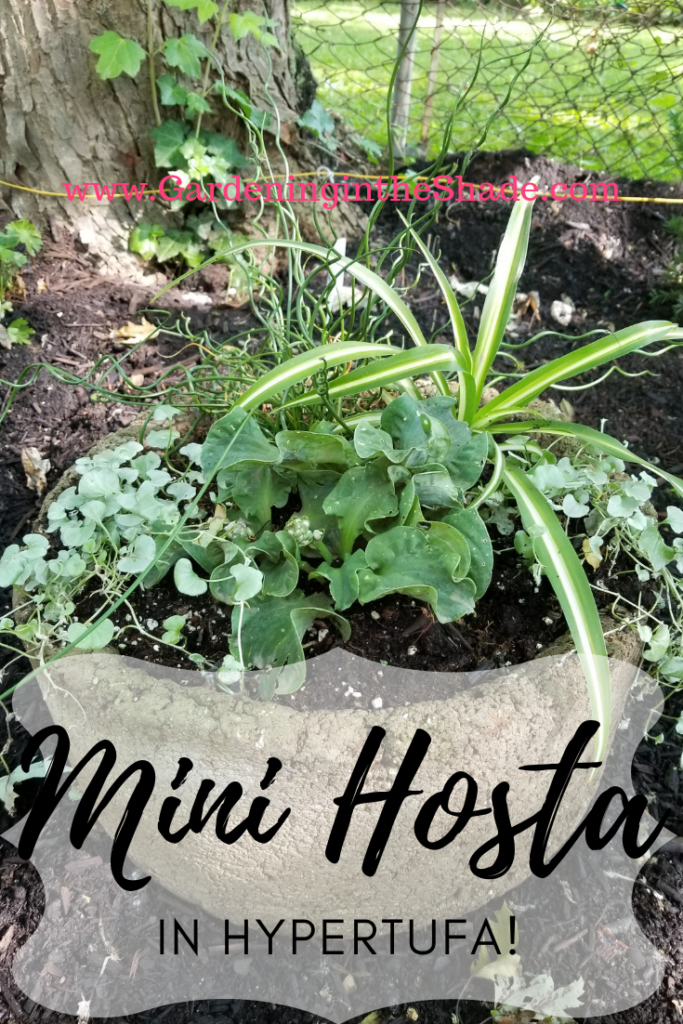
Church Mouse has these lovely crisp and twisty blue-green leaves. When it flowers – soon, the buds are showing – the flowers are on short stems and they are perfectly proportioned to the plant. Church Mouse was an impulse buy, but as soon as I saw it I just had to have it.

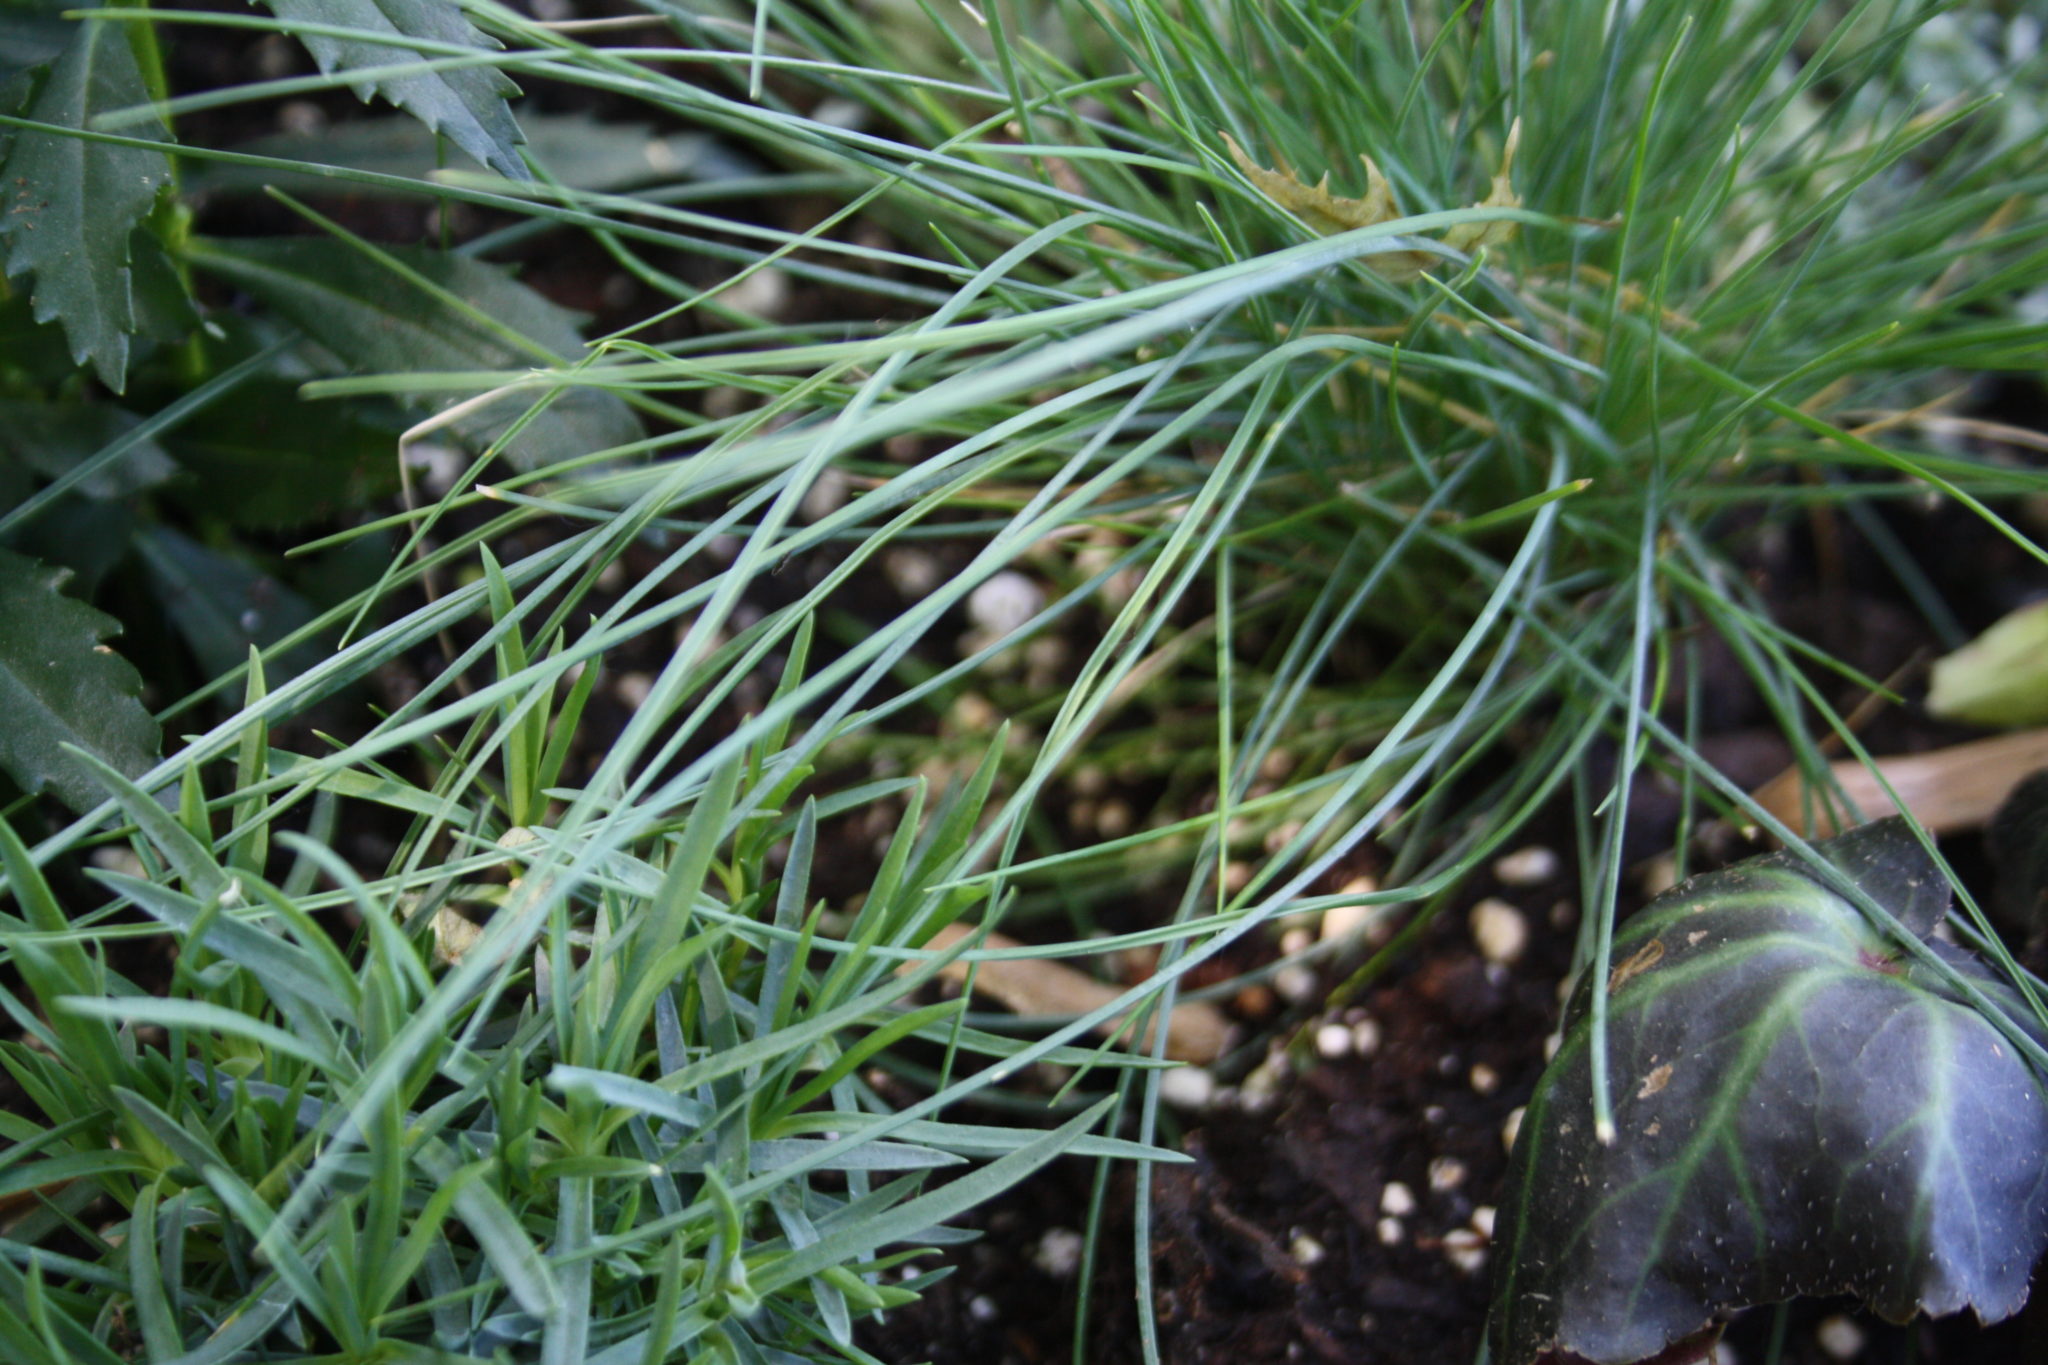
For this planter I added a twisty juncus for height, some Dichondra Silver Falls for my spiller and since it is still a bit small for this year, a spider plant for filler although a little bit of fescue would better continue the blue & silver theme.

I’m happy with my Mini Hosta in Hypertufa. In the fall once the leaves have died back I’ll move both into the shed for the winter so the boy dogs can’t do what boy dogs do.

Have you planted any of the smaller hosta in your garden or do you keep them in pots? Have you made any hypertufa for your garden? Kim at the Hypertufa Gardener has all kinds of tips and ideas – I used her guidelines to make mine.

Mini Hosta Tool Box Planter

Have I convinced you that Mini Hosta are just as cool as succulents yet? If I haven’t made you a fan yet, maybe my mini Hosta Tool Box will do it.

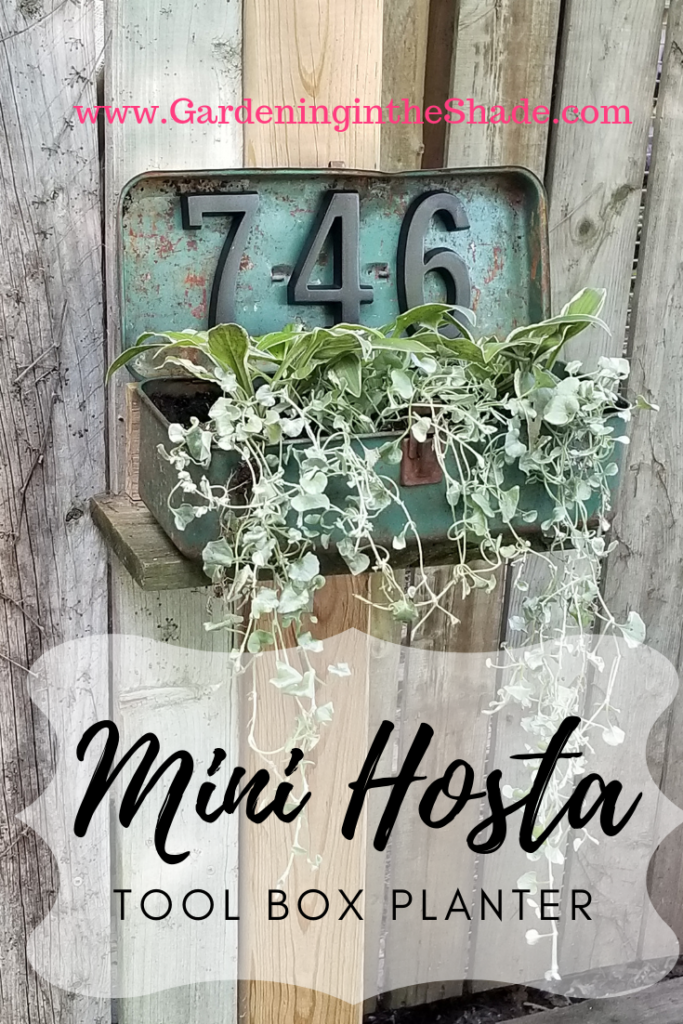
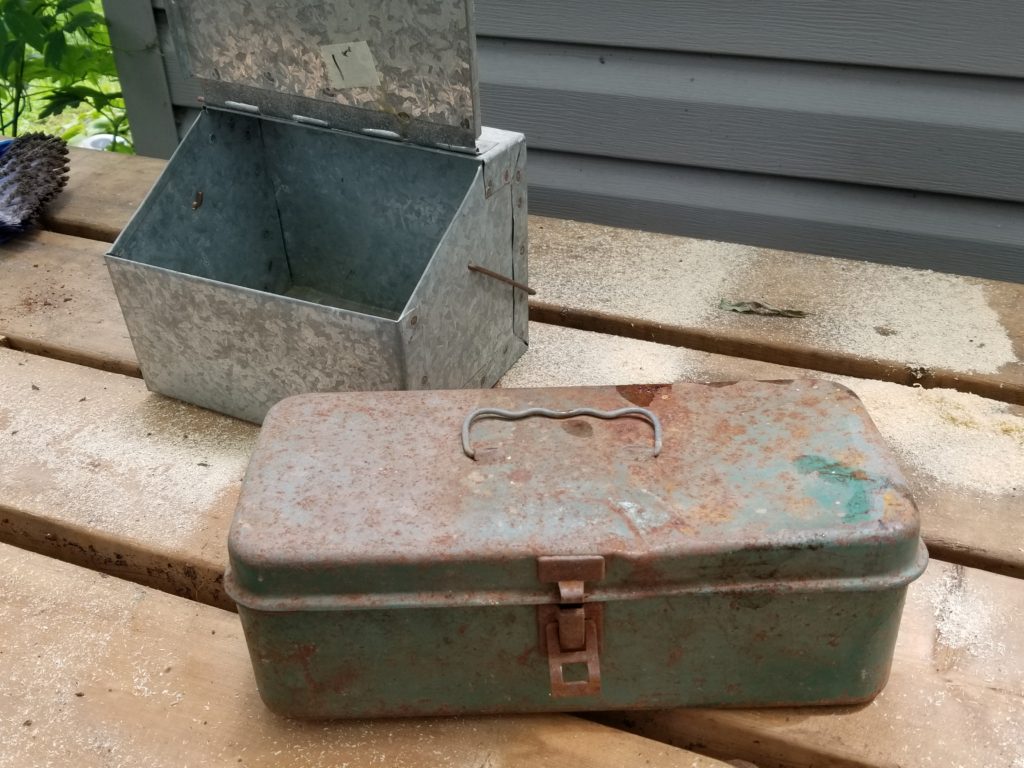
I mentioned a trip to Picker’s Pig Pen in my last post, what I didn’t mention was this fabulous old tool box. It was exactly what I was hoping to find. It has just the right amount of rust and it’s perfectly battered. One of the cutest succulent planters I’ve seen on Pinterest is an assortment of succulents in an old tool box. I needed a tool box so I could reproduce that planter with mini Hosta!

I only paid $20 for everything I got Saturday and honestly the table base was worth that easily! So these two boxes were pretty much free. Even the bit of tool box rubble was free! Old drill bits and miscellaneous screws. You know the stuff!

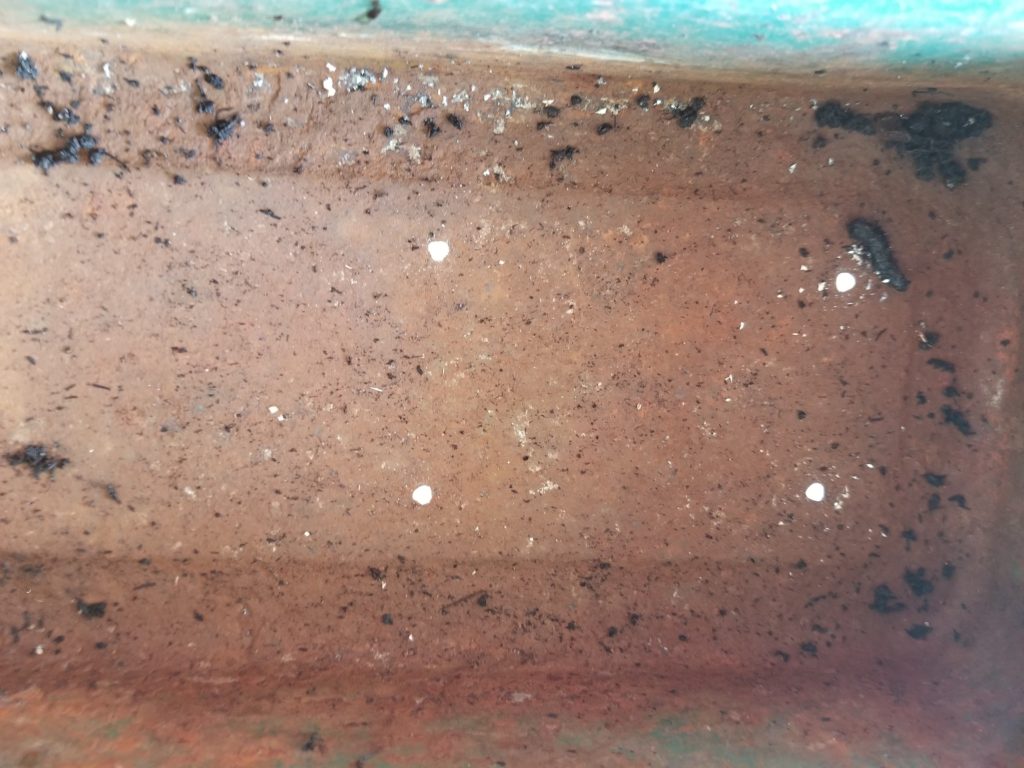
Both metal boxes were cleaned up and I drilled drainage holes in them with a drill bit meant for metal. When you are drilling in metal it helps to have some wood underneath that you don’t mind drilling into. There still might be some burrs, but the holes turn out much neater.

The Tin Box

I planted the galvanized box with creeping jenny and a Hosta ‘Waterslide’. Waterslide isn’t a true mini, but it is a small hosta. Mine is even smaller than it should be because I almost killed it a couple of years ago so it’s coming along.

The Tool Box

I planted the tool box with a green and white mini Hosta and some Dichondra ‘Silver Falls’. But I didn’t stop there…

I spray painted some brushed nickel house numbers to attach to the lid of the toolbox.

Mini Hosta Tool Box Planter

So have I convinced you that Mini Hosta are cool yet or do you need more proof?

I’m still on the lookout for an old bird cage and a metal chair so I can replicate those looks too. I’ll make a convert of you guys yet.

Shade Planter in Red

I have so much still to plant. The constant rain throughout May really put me behind, but I’ve got one planter finished. I have this one sitting under the maple tree where the dry shade is making it hard to keep plants alive.

I used a tall egg-shaped planter that holds a lot of soil. And it’s full, I do not use empty bottles or anything in my planters. They get soil from top to bottom because that large volume of soil makes it easier to keep up on the watering. The weight also prevents tip-overs.

Fuchsia

The thriller in this planter is the upright fuchsia with tri-color leaves.

This Kimberley Queen or Australian Sword Fern gets a supporting role.

This next plant has the neatest looking leaves, white and green on the tops and red on the backs. It wasn’t labeled but I believe it is a Calathea, a tropical plant, taking the place of filler.

Then we’ve got this nice coleus. It wasn’t labeled either but the colors went with everything else and it’s also a ‘filler’. There’s also some asparagus fern, for the ‘spiller’. 
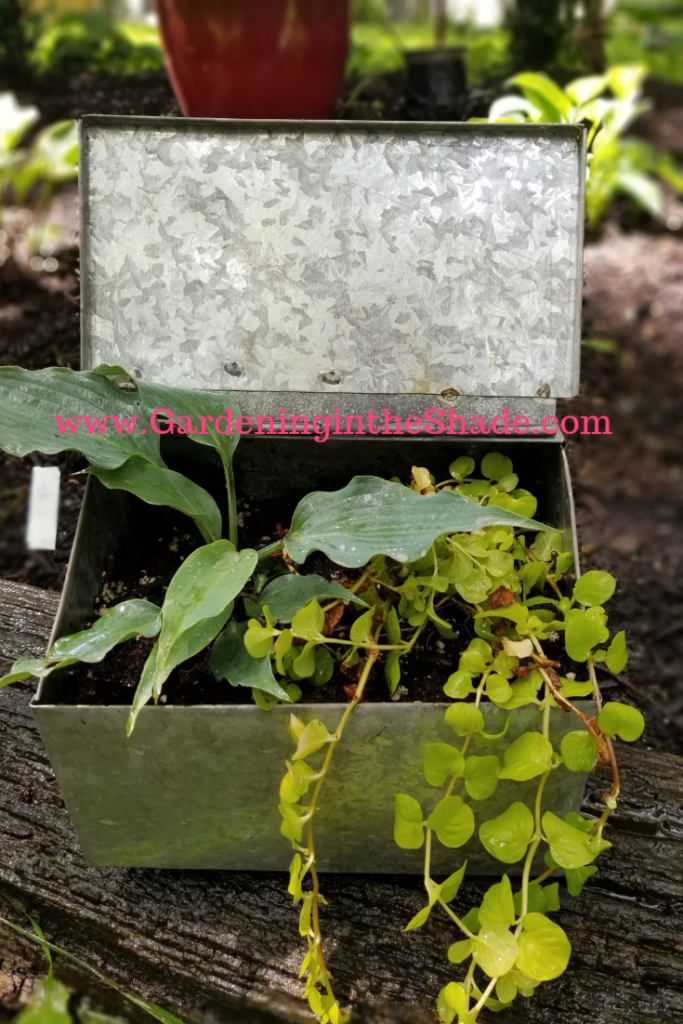
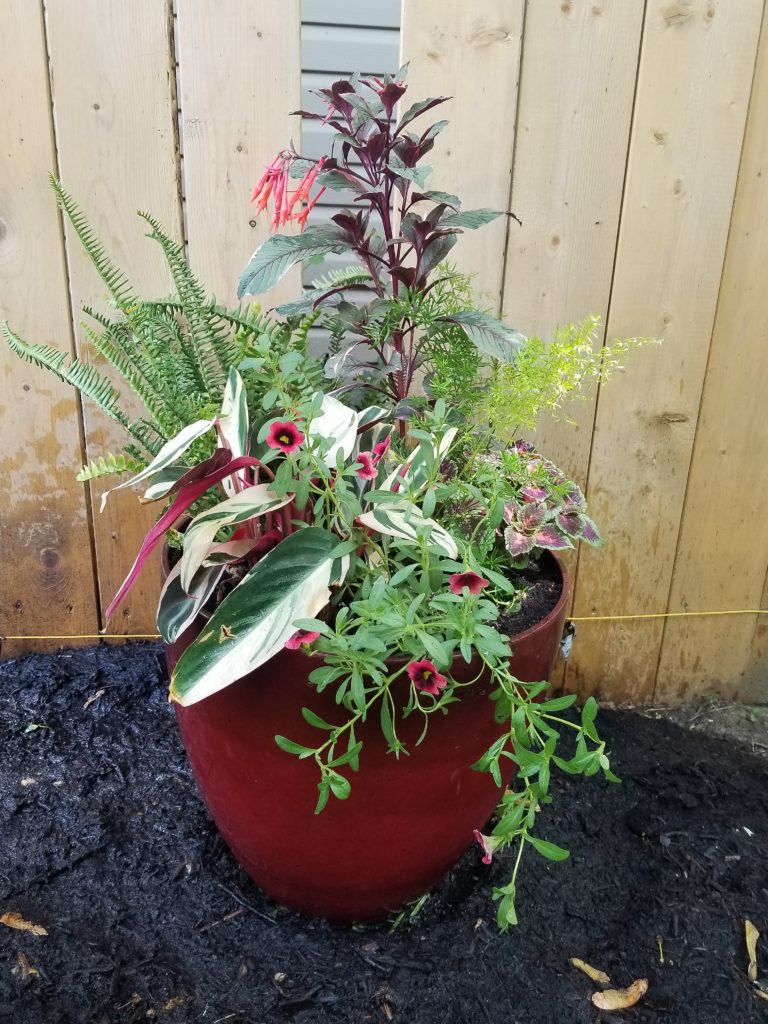
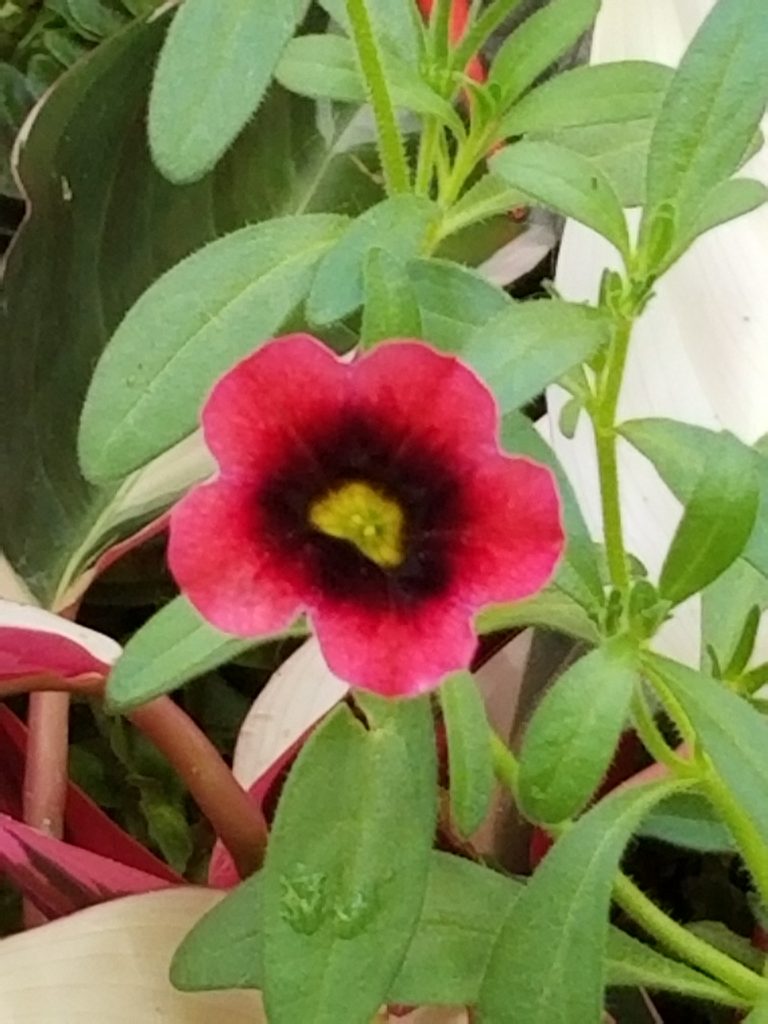
And finally, another ‘spiller’ some Calibrachoa Superbells – Watermelon Punch. I’m not positive on that though – I lost the tag.

So that’s one done! Now on to the rest.

Shade Planter Ideas

I’m pretty pleased with my shade planters this year, although I would be even more pleased if the crazed squirrels would stop burying their treasure in them and knocking out my plants. I went for a more colorful tropical feel than I have in other years.

Tropical Shade Planter
Croton, New Guinea Impatiens, Asparagus Fern and Creeping Jenny

Container recipe,

Fairly simple, each planter has a croton for the center, 3 bright rose New Guinea Impatiens, 3 Asparagus Sprengerii, and 3 gold Lysimachia/Creeping Jenny. In the fall, I’ll bring the croton indoors and leave the Creeping Jenny to overwinter in the pots.

The second planter is the same – this one sits by my mailbox. It would look much nicer if I could keep those damn squirrels out. This time of year it’s worth it to do a daily check for plants the tailed rodents have dug out satisfying their relentless urge to hide food.

Heat Performance

Squirrels aside, I feel confident this is a shade planter that will look sharp until the end of the summer. On Father’s Day weekend, we had temperatures in the high 90’s and all the plants in these containers sailed through it. Had I used Lobelia it would be a crispy dead thing. Bacopa, the other plant that seems to show up in nearly every planter I see, would have completely stopped flowering in those temperatures. By using Creeping Jenny with tropical Asparagus Fern and Crotons, I’ve avoided all that disappointment.

Elegant shade planters

Elegant Shade Planter
Pegasus Begonia, Dragon Wing Begonia

If you were looking for a more elegant shade planter, Begonia Pegasus is always a winner. These were last year’s arrangements, 1 Pegasus in the center, 3 Dragon Wing Begonia in either Pink or Red, and Tradescantia for the spiller. The picture above was shortly after planting.

Not the best photo, but here you can see how lovely it was well into the season.

Bonus Shade Planter Idea

Caladium Shade Planter
Caladium, New Guinea Impatiens, and Coleus

This is one from my mom’s garden last year. Another easy arrangement for shade, it’s just a caladium, a New Guinea and some coleus. She may have occasionally needed to pinch the coleus but other than that it’s another season long planter.


Bello Grigio, Fairest of Them All

Bello Grigio
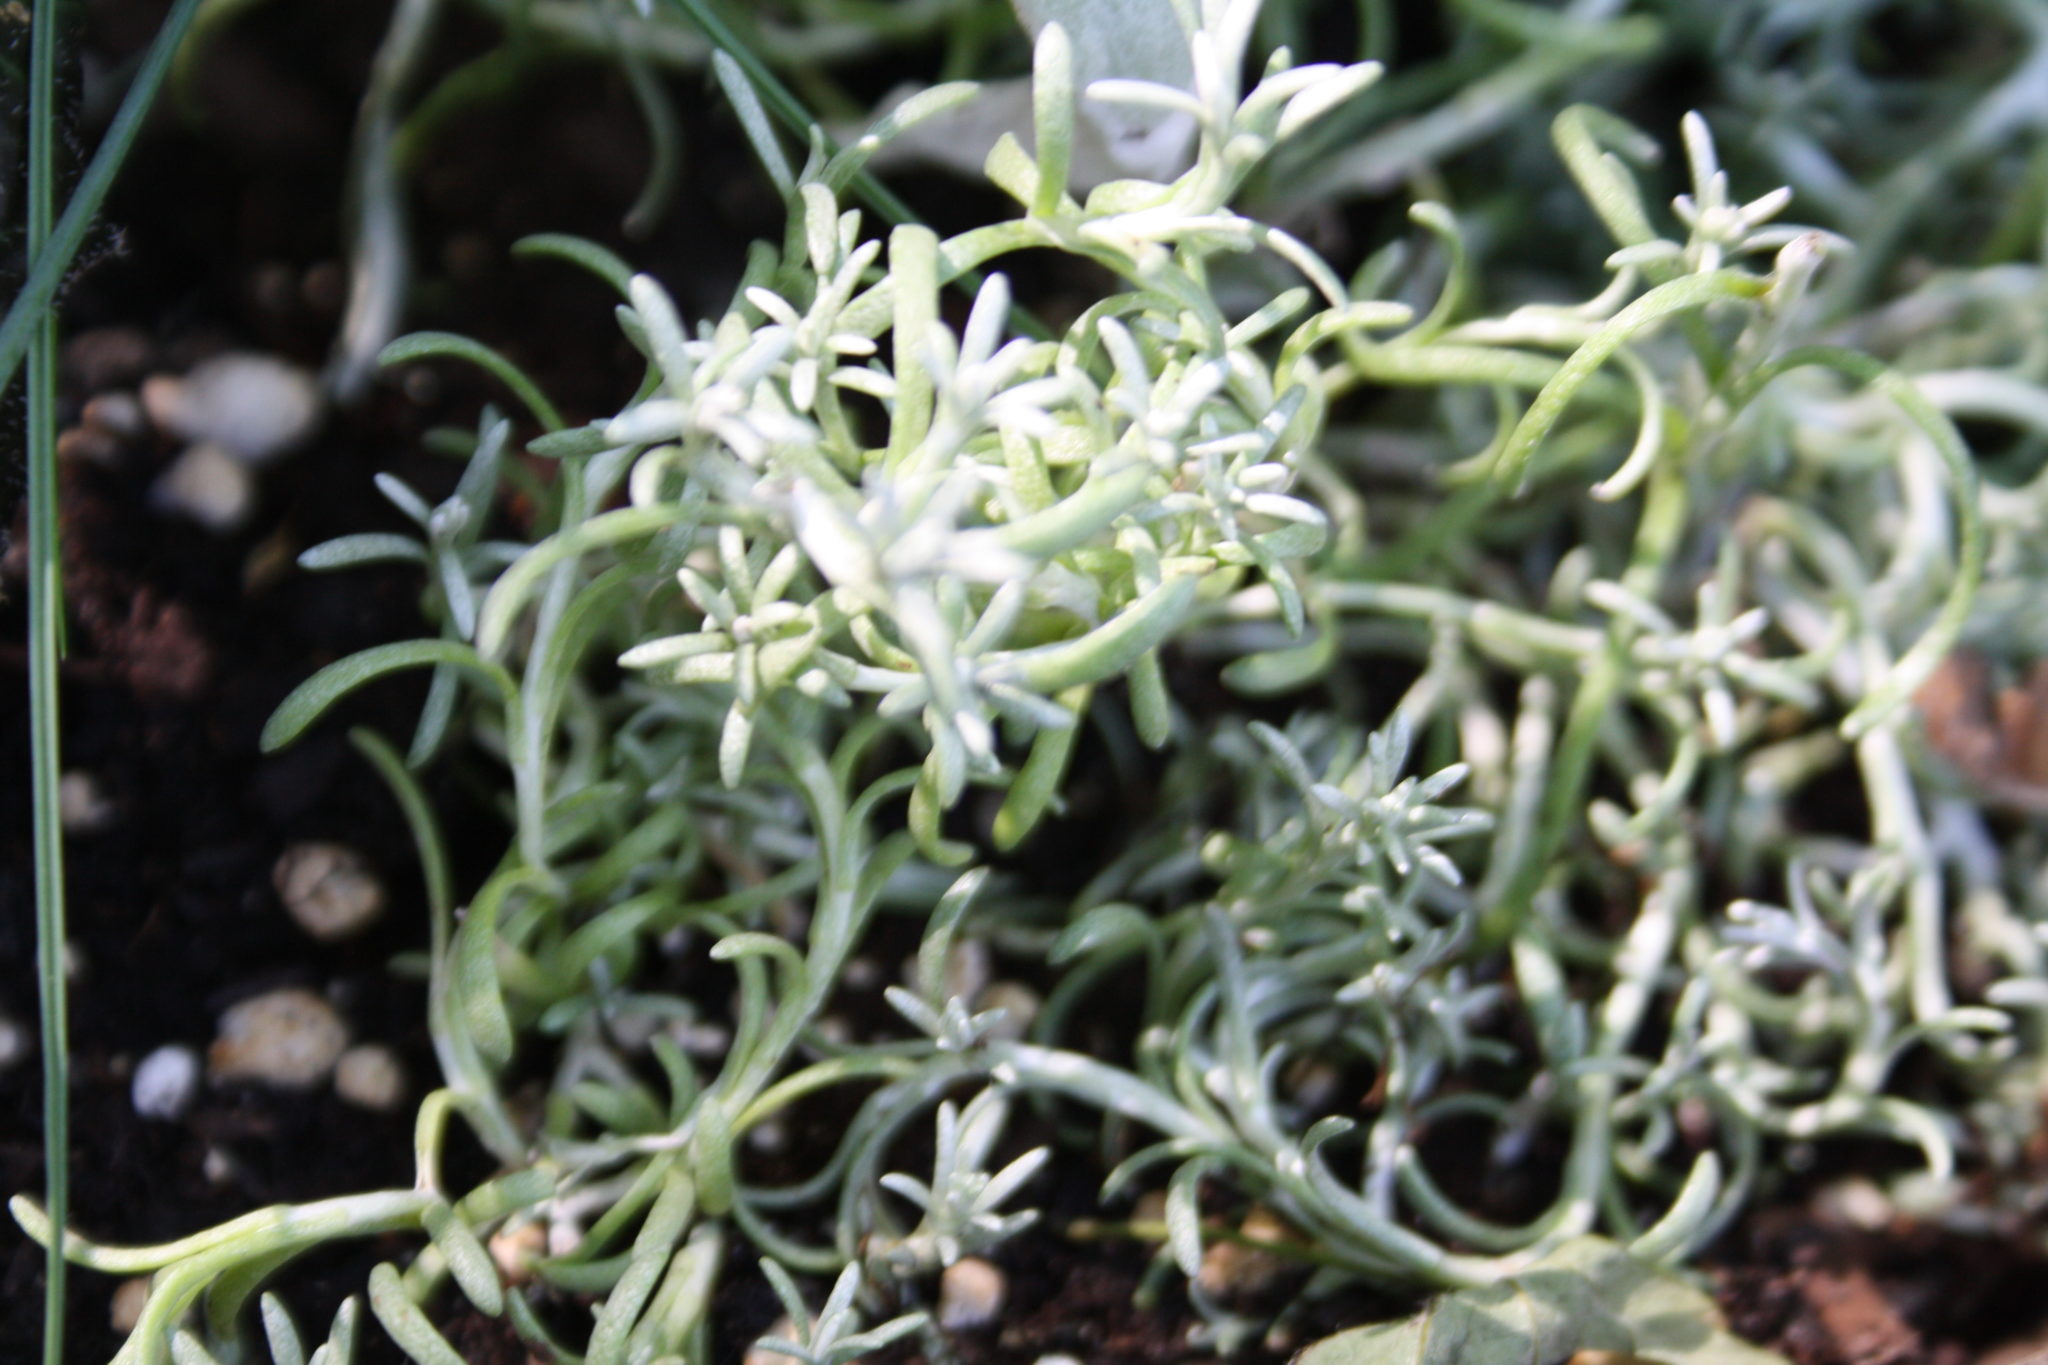
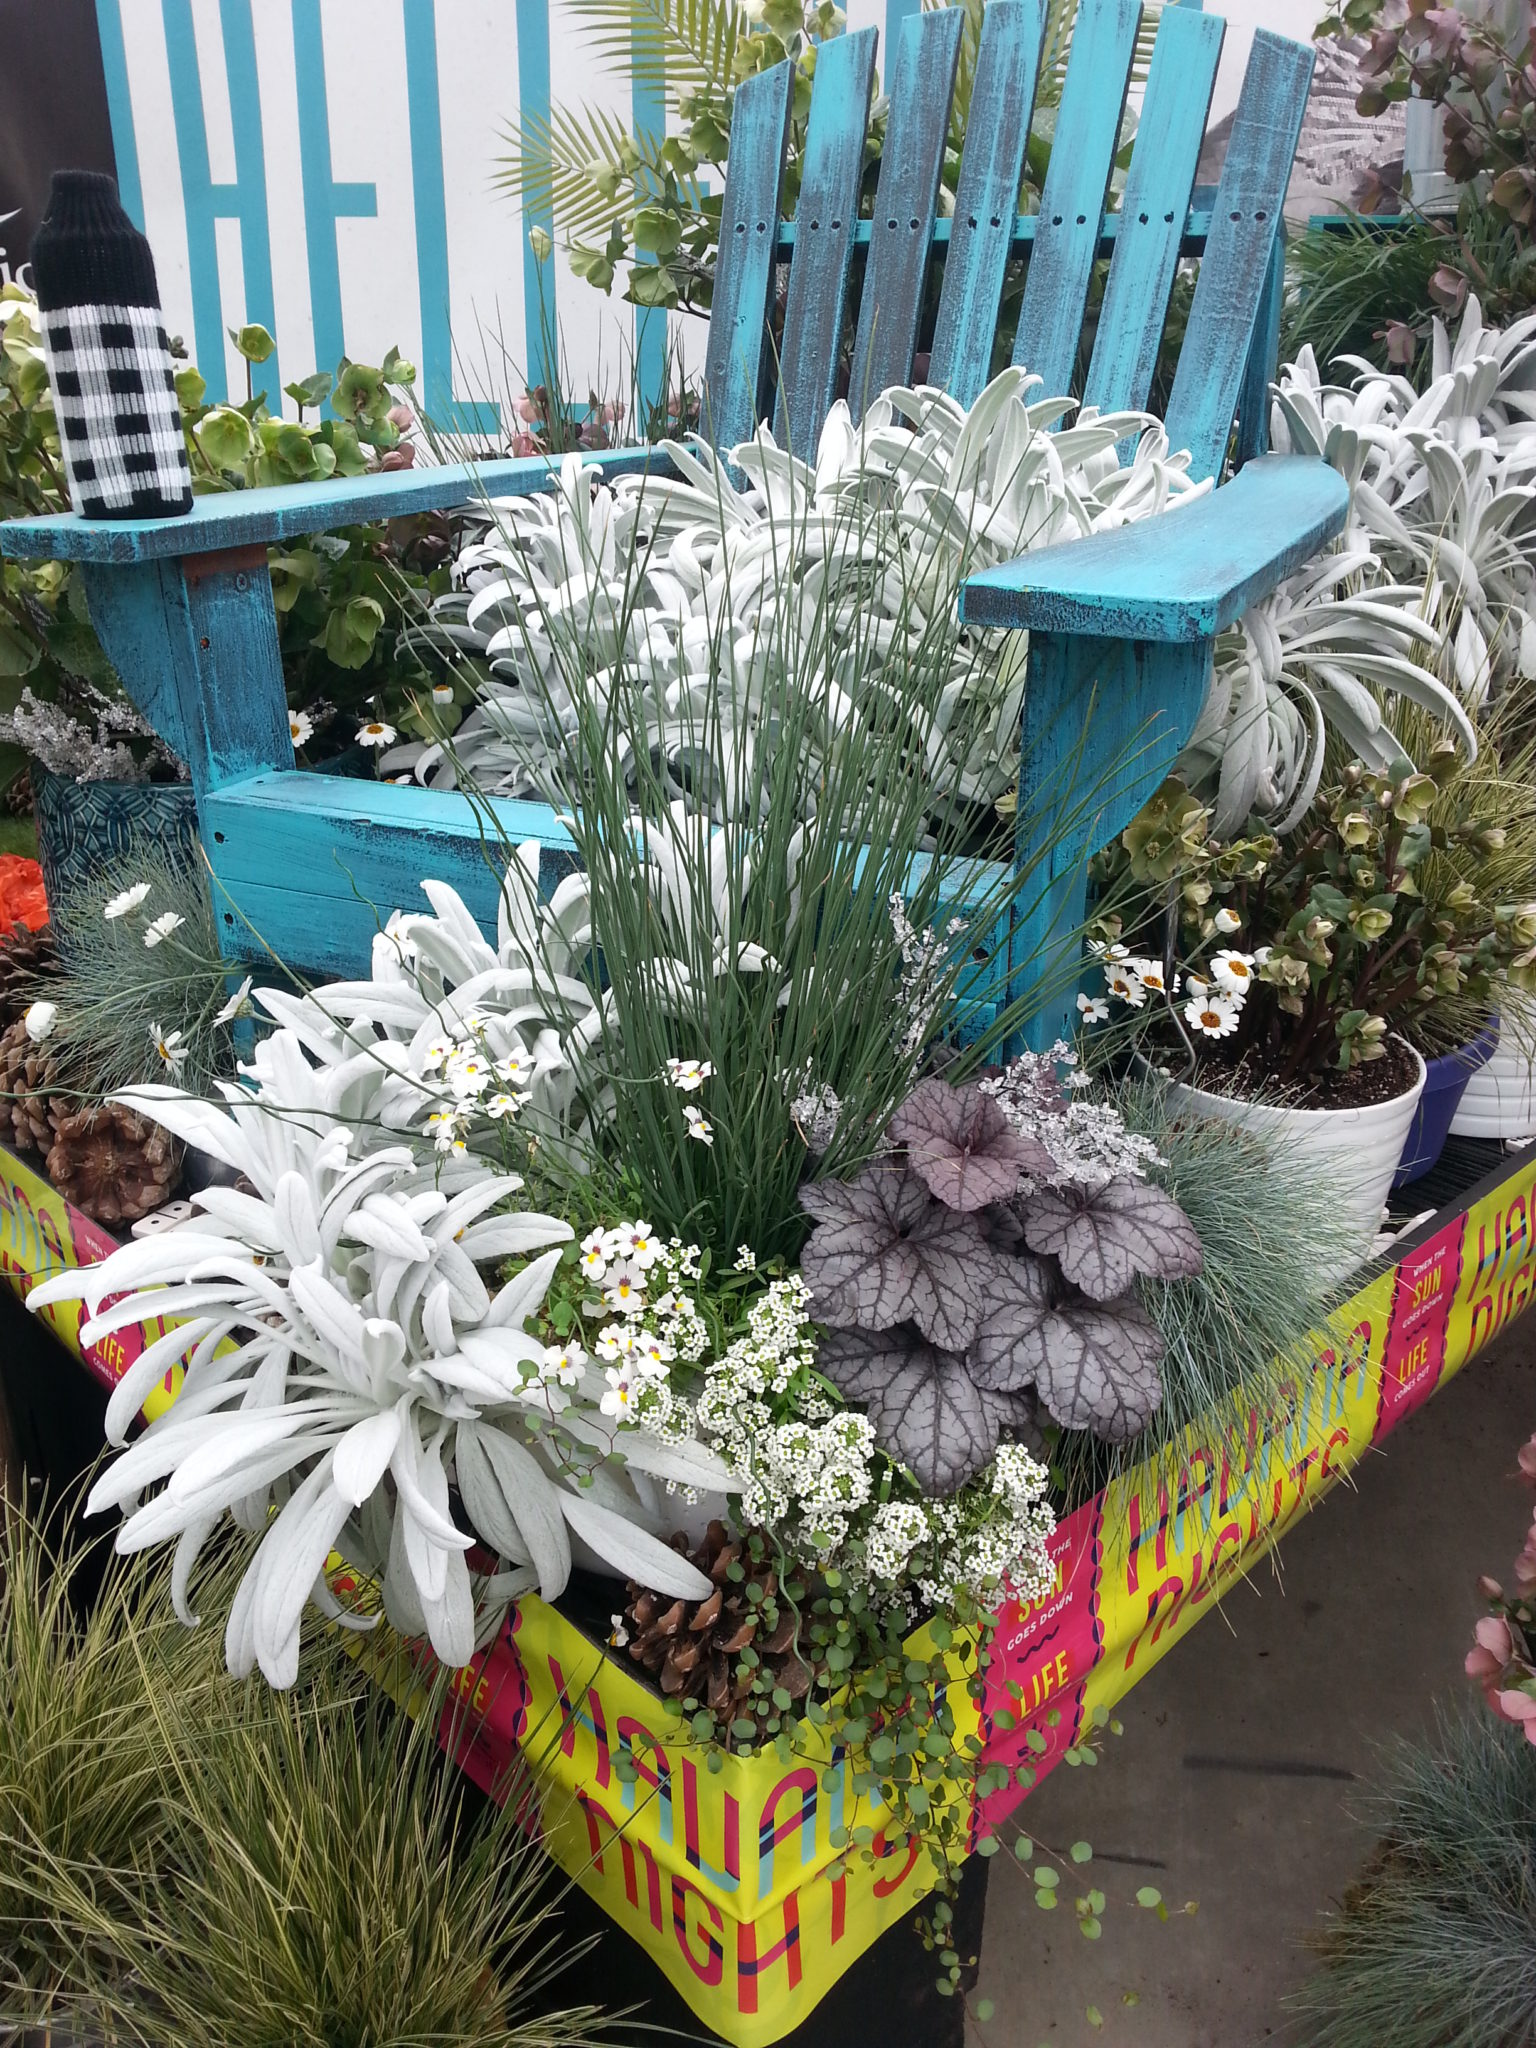
I first encountered Stachys Bello Grigio a year ago in California. The common name for Stachys is Lambs Ears, which is a pretty apt description of the soft furry leaves of these plants, but none of them are as crisply white as Bello Grigio.

Bello Grigio Leaf
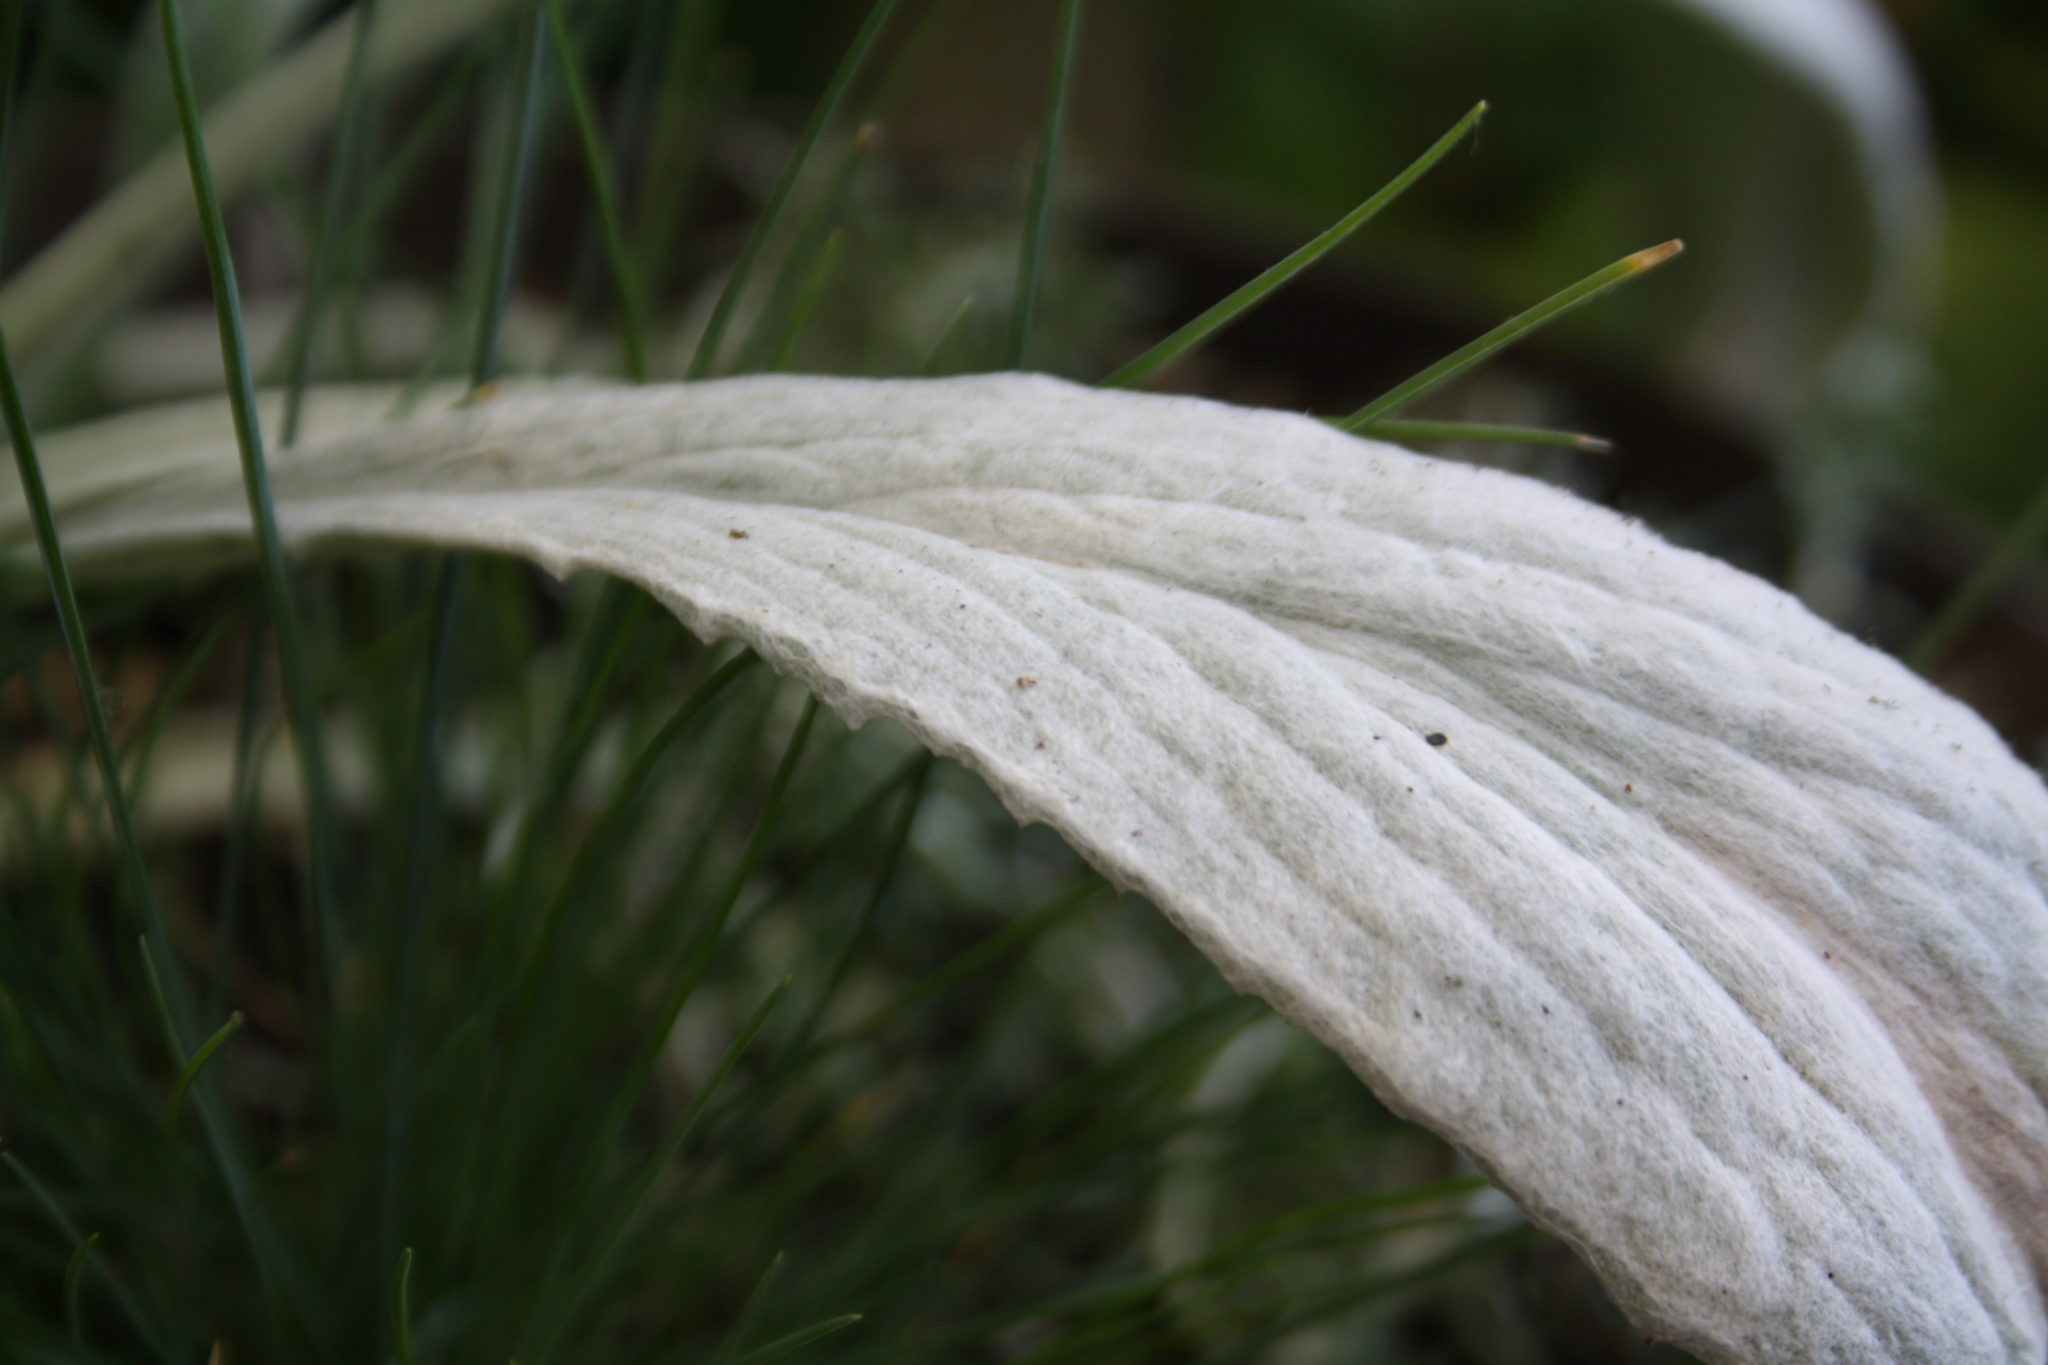
Bello Grigio immediately became my must have plant for the year. Except it was nearly unheard of – even on Google. This year I got lucky and managed to get two. I gave one to my mother and kept the other one.

My Bello Grigio

Rumored to be hardy in zones 7-9, I decided to play it safe by planting in a pot. It also calls for part to full sun and since I’m still battling Chameleon weed in my limited part-sun locations a pot prevents any accidental contact with herbicides.

Initially I thought it would be a good mate for the striking but tricky to showcase Heuchera ‘Black Pearl‘, and tried to make that arrangement work in one of my dark brown pots from last year. I included some other plants with both dark foliage (Non Stop Mocca White Begonia) and silvery foliage (Calocephalus Bed Head) but it just did not look right. So last weekend I started over. I’ll show you later what I did with Black Pearl.

Non Stop Joy Mocca White

I kept the Non Stop Mocca White begonia.

Calocephalus 'Bed Head'

And the Calocephalus ‘Bed Head’.

I added Dianthus Paint the Town Magenta and Festuca Blue Whiskers.

I also added a white Angelonia, and put it all in a more neutral toned pot.

Bello Grigio Planter

This planter is almost as pretty at night as it is during the day time.

Stachys Bello Grigio at a glance:

Still relatively new, there is not a lot of information about this plant yet. Produced from tissue culture, if you are lucky enough to find it expect your wallet to take a hit.

Exposure:

Sun to part-sun

Moisture:

Drought tolerant once established

Height:

10-12″ (25-30 cm)

Spread:

12-18″ (30-45 cm)

If you enjoyed this post, don’t forget to share it with your friends! For more just like it, follow me on Pinterest, Facebook and Twitter or sign up for regular updates by email.

Save

Save