Hummingbird Feeder from a Spice Jar!

What do you do when you want to have a hummingbird feeder for every hummingbird, but you’re a little bit cheap? You get out your glue gun and DIY some feeders!

I’ve had my hummingbird feeders out since early April because I was determined to not miss their arrival like I have every other year. They showed up on May 1st and have been busy sipping nectar and chasing each other away ever since. I have 3 feeders out already plus the oriole feeder, but I wanted a couple more to really spread them around the yard. This is how I made my DIY spice jar hummingbird feeder.

Materials for Hummingbird Feeder:

Hummingbird Feeder Supplies
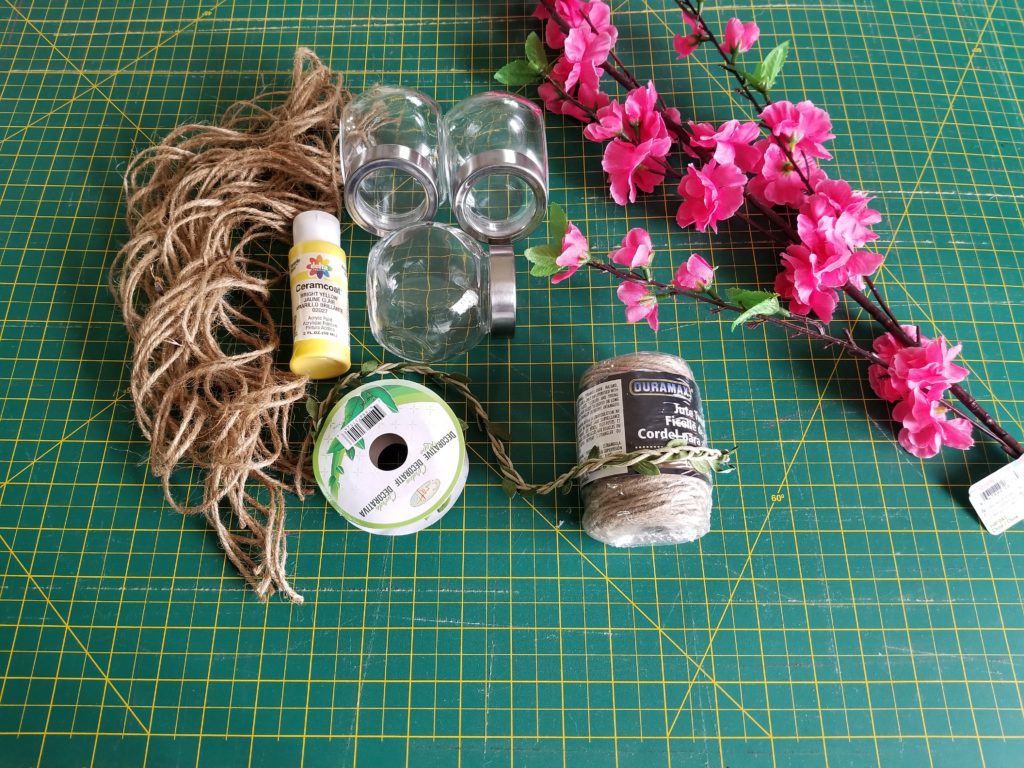
  • Spice Jars – I got mine at the dollar store, three for $2.00
  • Twine
  • Silk Flowers – Try for red or deep pink
  • Ribbon Trim
  • Yellow paint
  • Glue Gun
  • Drill & Drill Bit – I used a 3/16 bit
  • Hole Punch

Make the Hummingbird Feeder

Step One:

DIY Feeder - Drill Holes

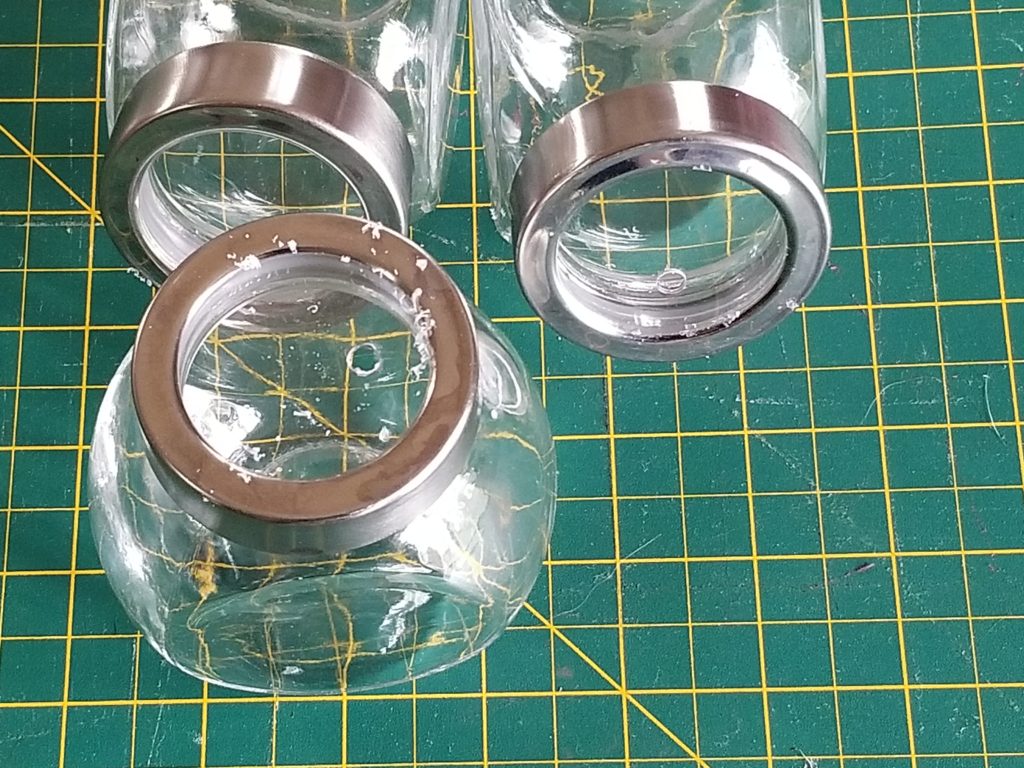
Tighten the lids onto the jars and mark the location for the holes. I placed mine so that when the jar is tilted it would be towards the bottom. Next drill the holes in the lids. The center part is a brittle clear plastic, so go slow or it will crack.

Step Two:

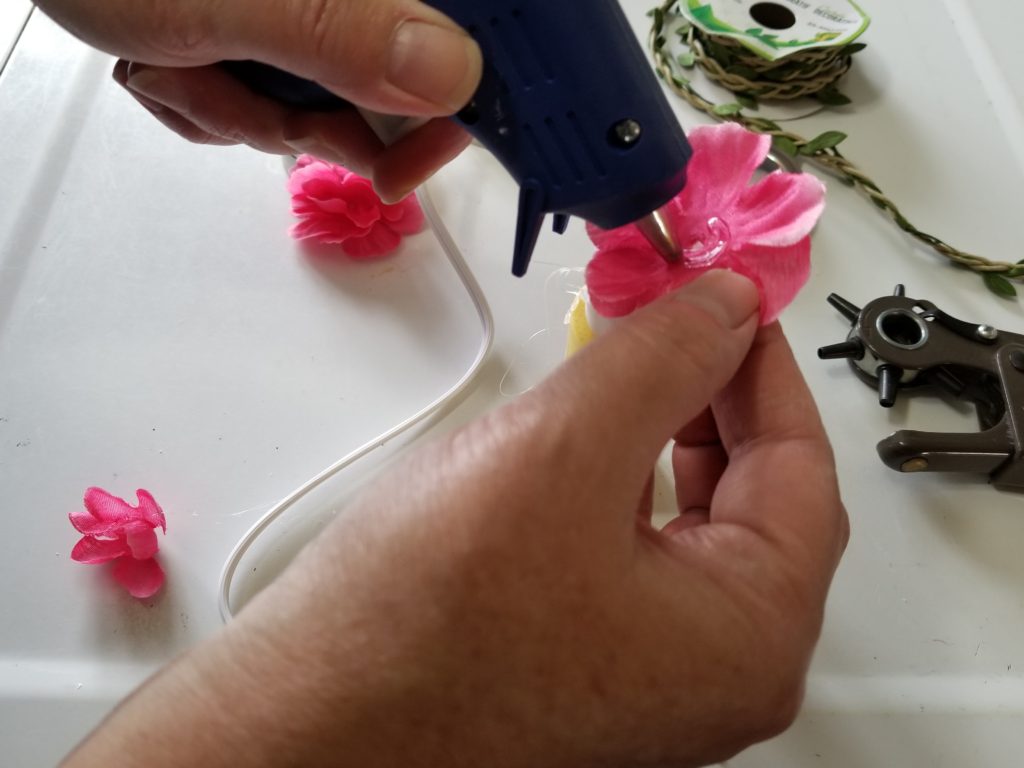
Pull your silk flowers apart, removing the plastic centers. Glue all the layers together with your hot glue gun.

Step Three:

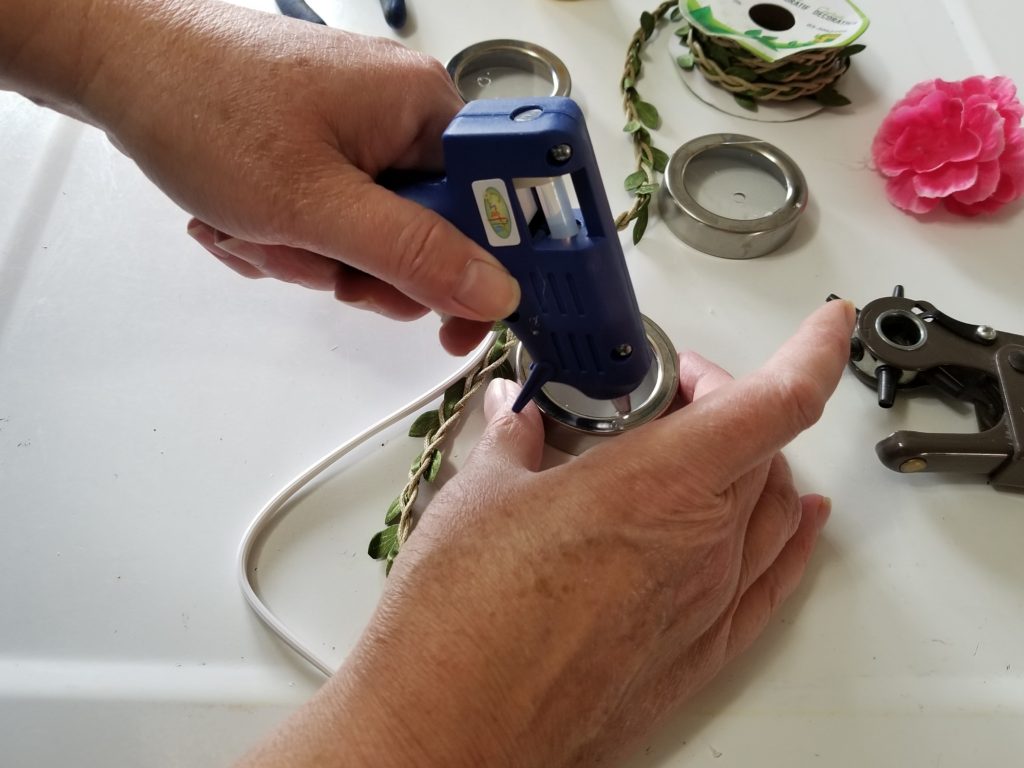
Glue your ribbon trim around the lid.

Step Four:

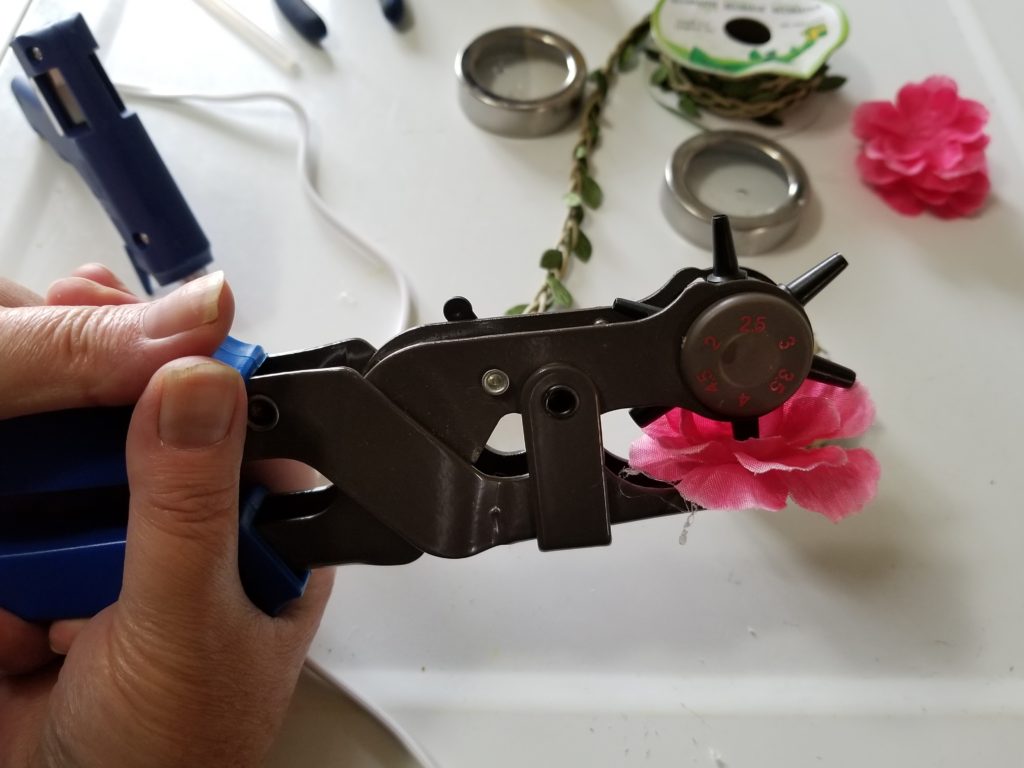
Punch a hole through the silk flowers.

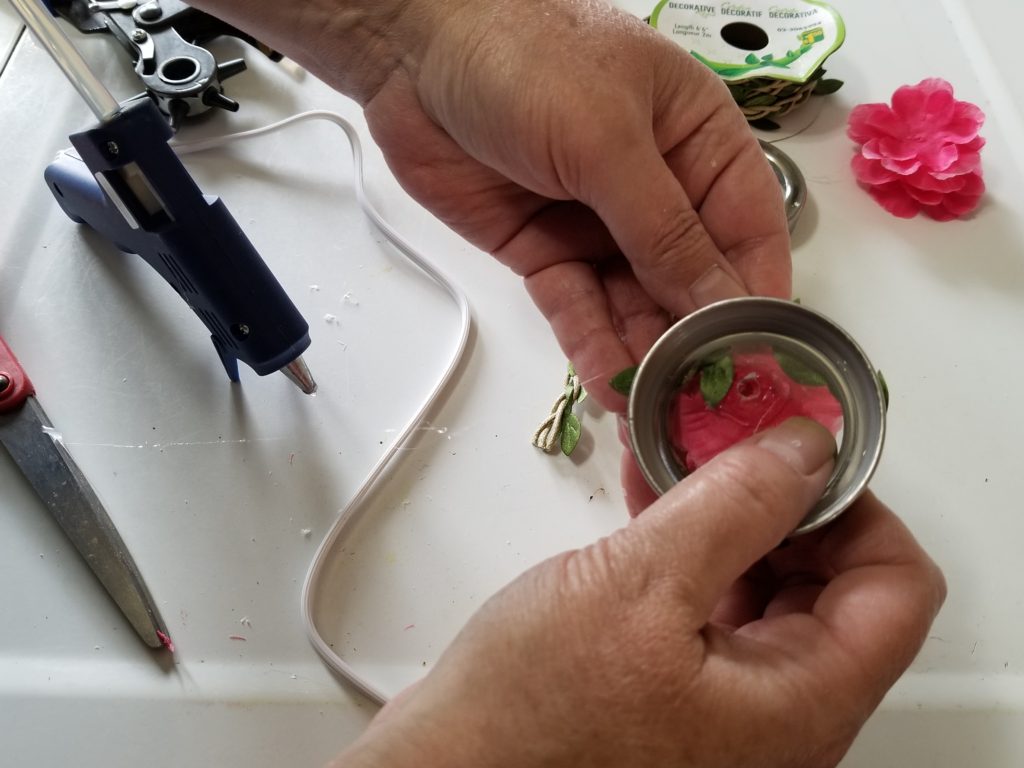
Then glue the flower to the lid, lining up the hole in the flower with the hole in the lid.

Step Five:

Paint the center of the flower yellow.

Spice Jar Hummingbird Feeder

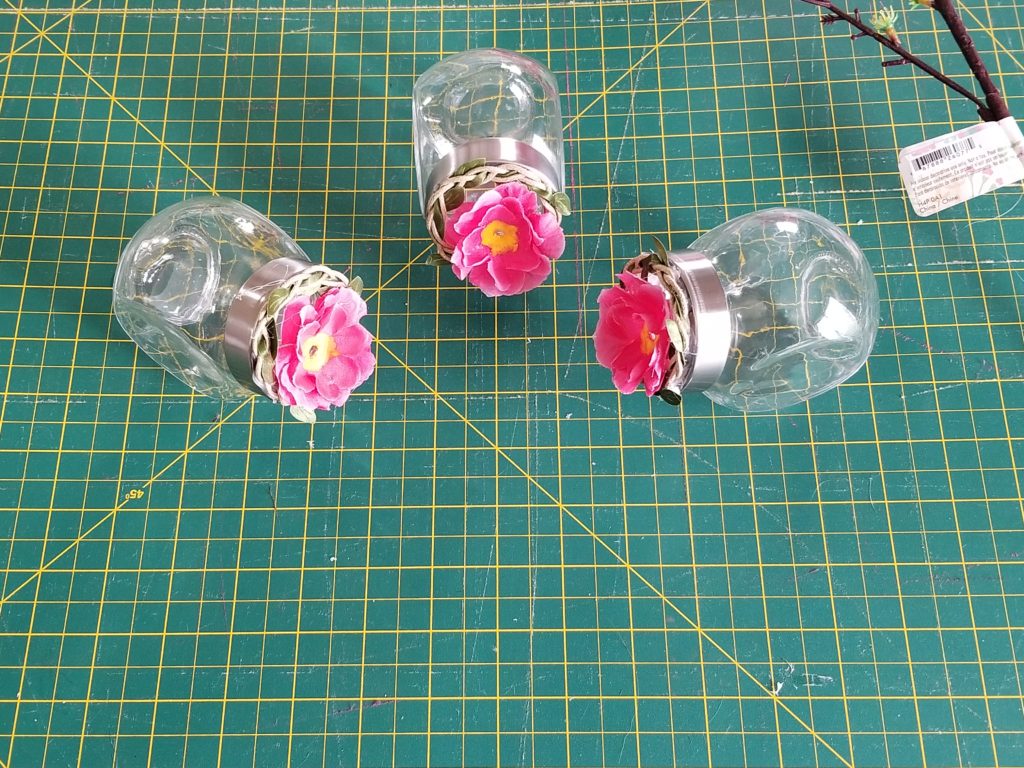
And there’s your Hummingbird Feeder finished! Now to make the macrame hanger.

Make the hanger for your Hummingbird Feeder

Step One:

Making a macrame hanger for hummingbird feeder

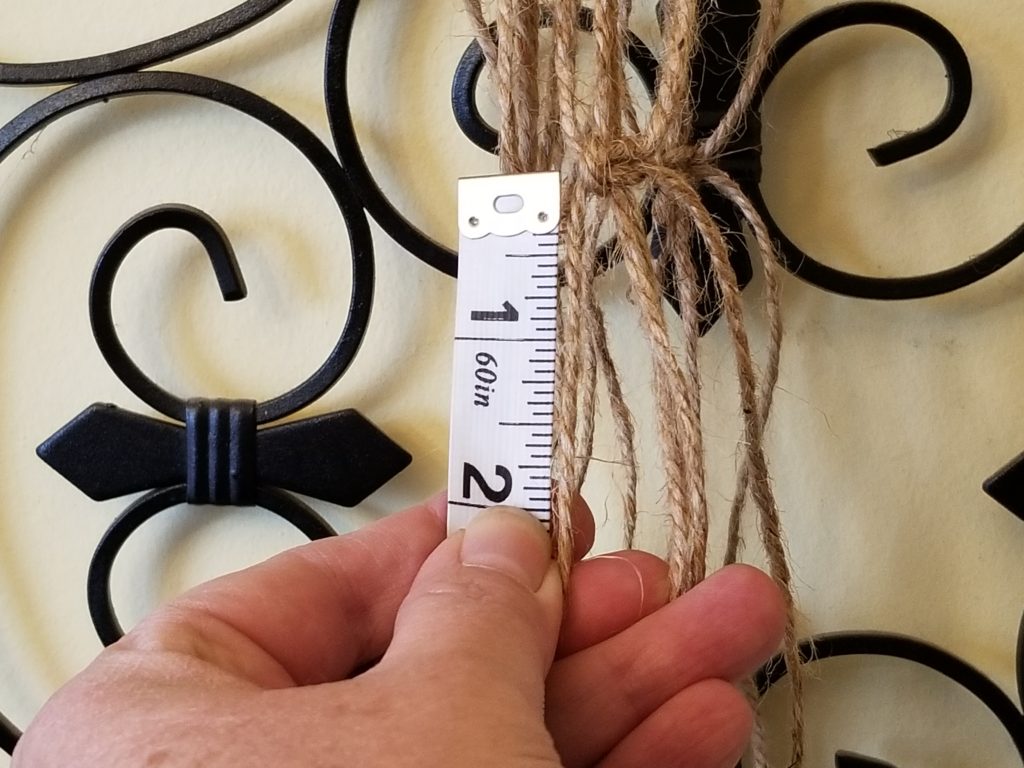
To start you will need 8 lengths of twine 72″ or 6′ long.

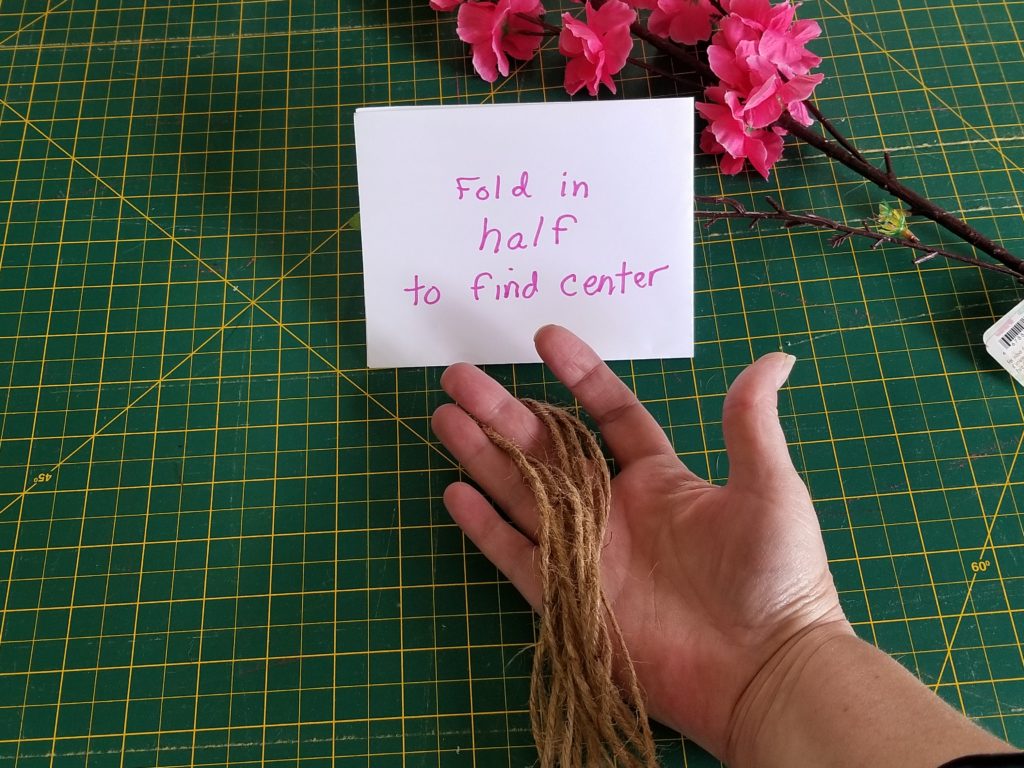
Fold them in half to find the center.

Make a knot as shown. This is the top of your hanger. You should now have 16 strands of twine.

Step Two:

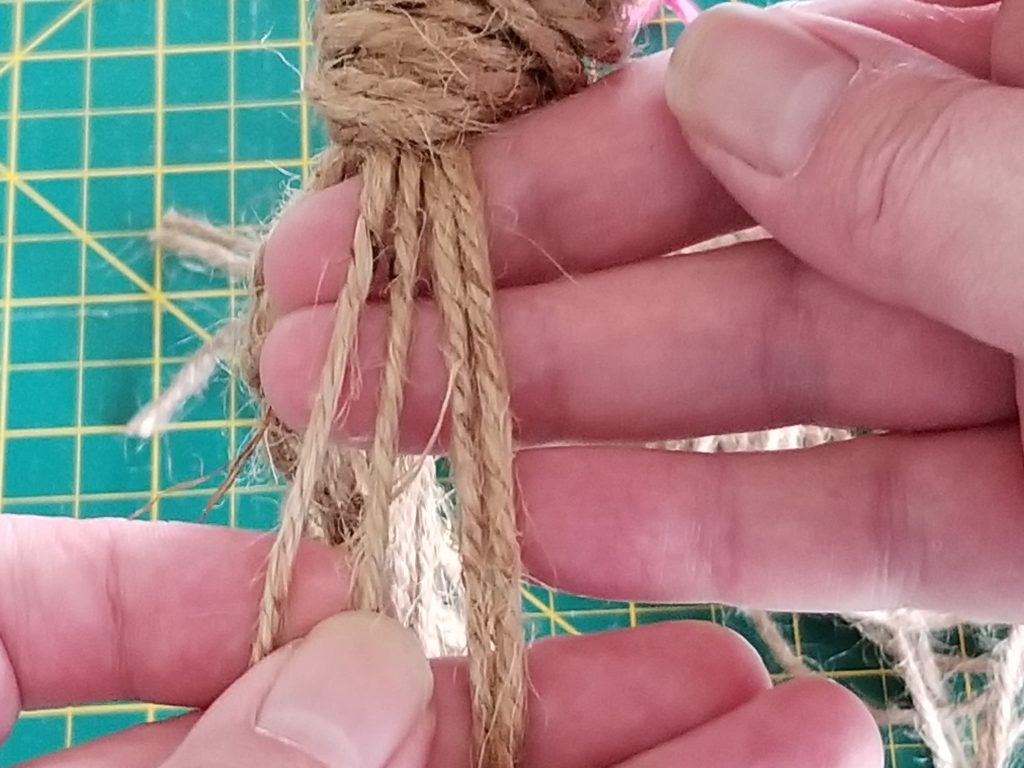
Section out 4 strands of twine. We will only be using square knots for this hanger.

Cross the left strand over the center two strands and under the right strand.

Then cross the right strand under the center two, and pull it up through the loop you made with the first strand.

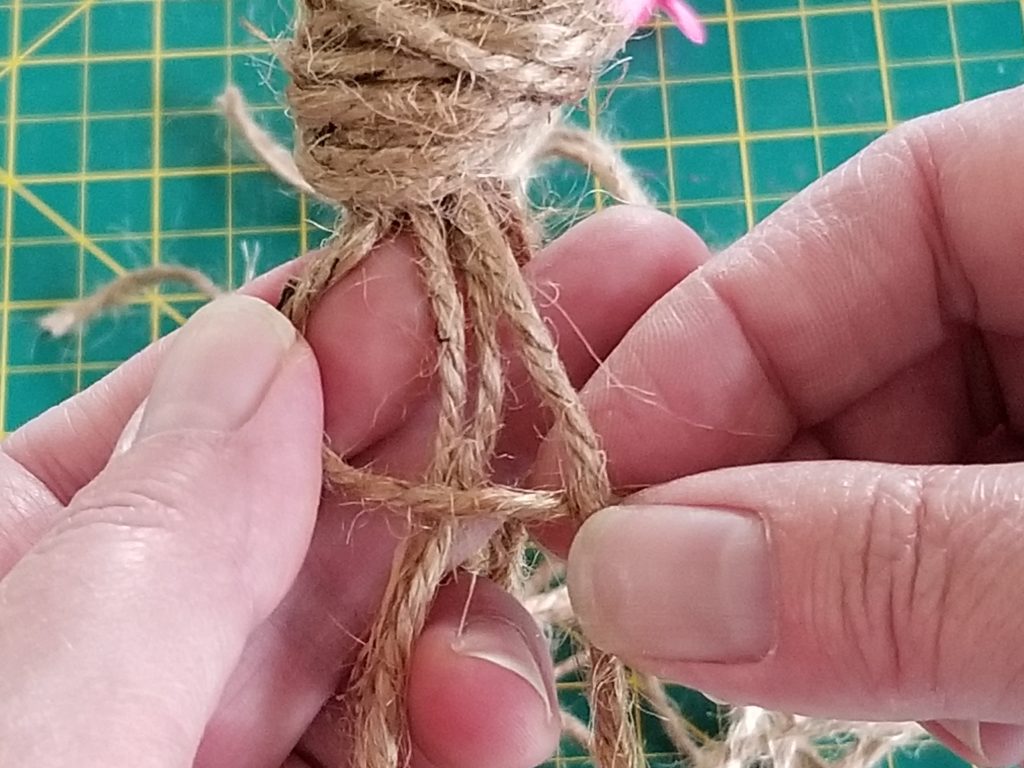
Next pass the left strand under the center two and over the right strand.

Bring the right strand over the center two, and through the loop on the left. That’s your first square knot.

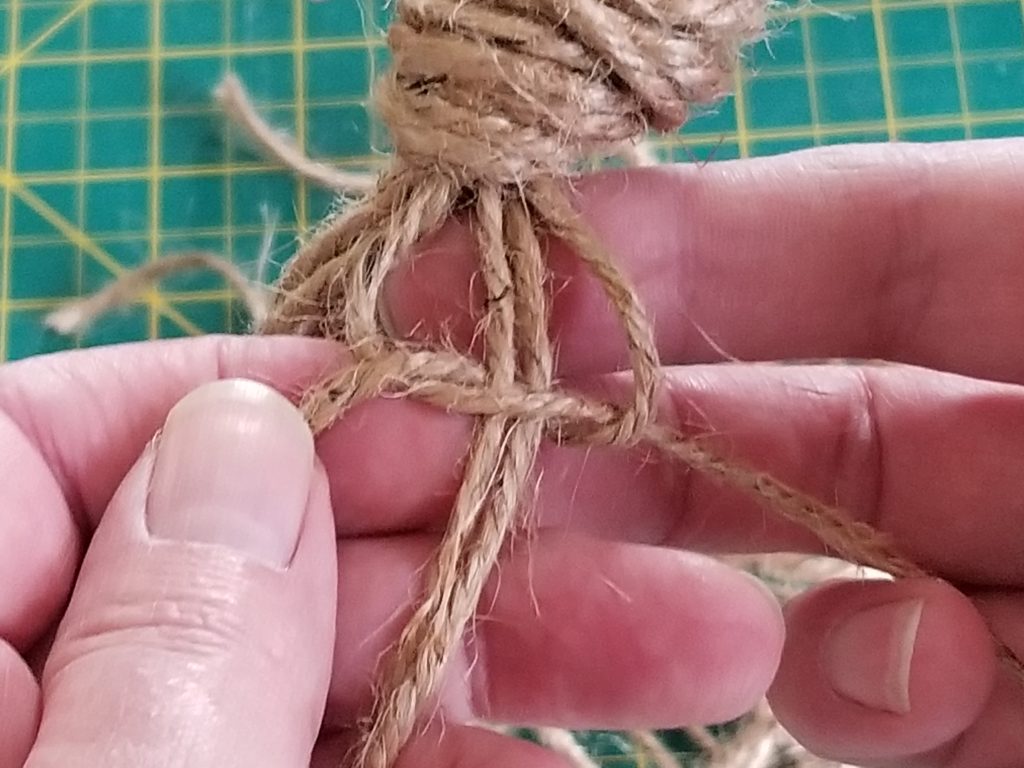
Repeat until you have 6 knots on this section of 4 strands. Do the same for the remaining 3 sections.

Step Three

For the next step, you will take a center and an outside from two adjacent sections.

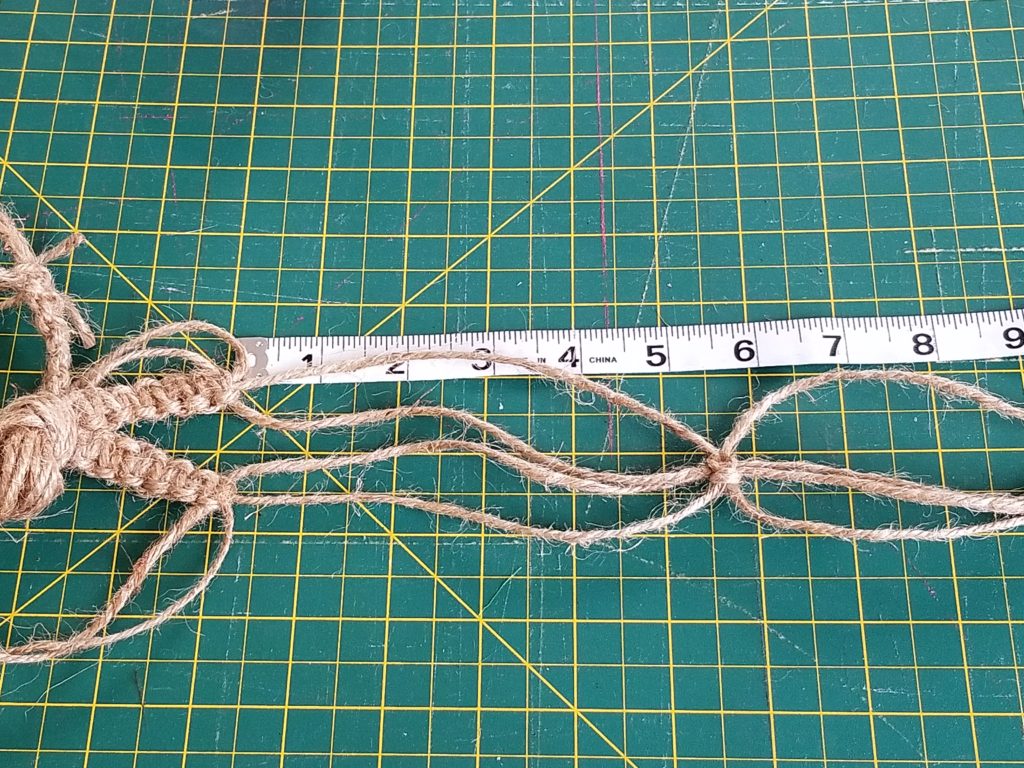
Using those 4 strands, make a single square knot 6″ down. Repeat for the remaining 3 sets.

These instructions will make a hanger that measures approximately 12″ from the hanging loop to the bottom of the hummingbird feeder and an 8″ tassel at the bottom. If you prefer a longer hanger, you would add the length in this step. For each inch you add to the length, you will need to add 2″ to the length you cut your twine at.

Step Four:

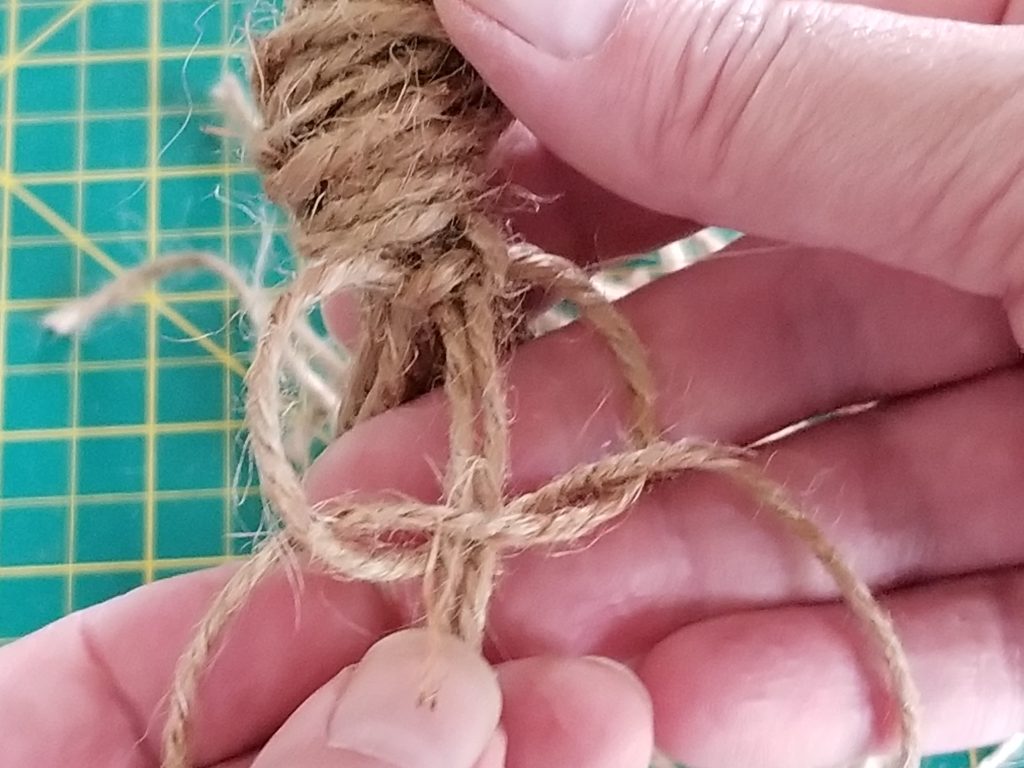
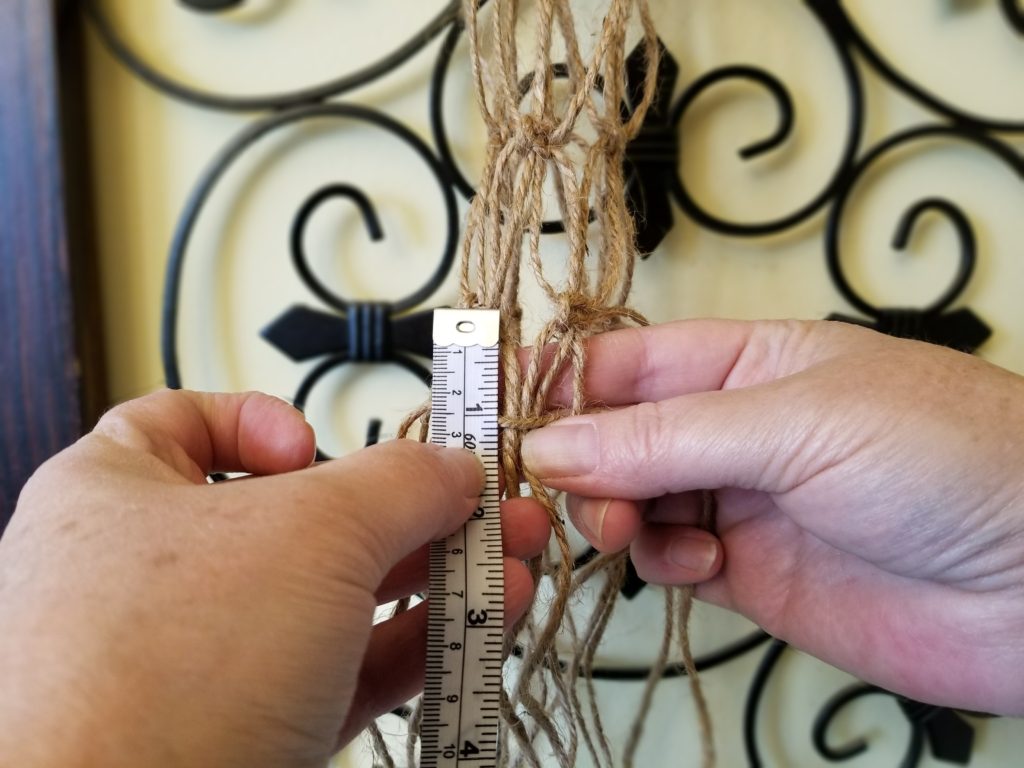
It is easier to work the rest of the hanger if you can hang it on something while you are working. Then next knots are 2″ below the last ones. You will need to use a center strand and outside strand from 2 adjacent groups again.

Repeat for the remaining 3 groups. You should start to see the netting form.

Step Five:

The last set of knots are 1″ down. Switch up your groups again as you did in the previous steps.

Step Six:

Test fit the hummingird feeder

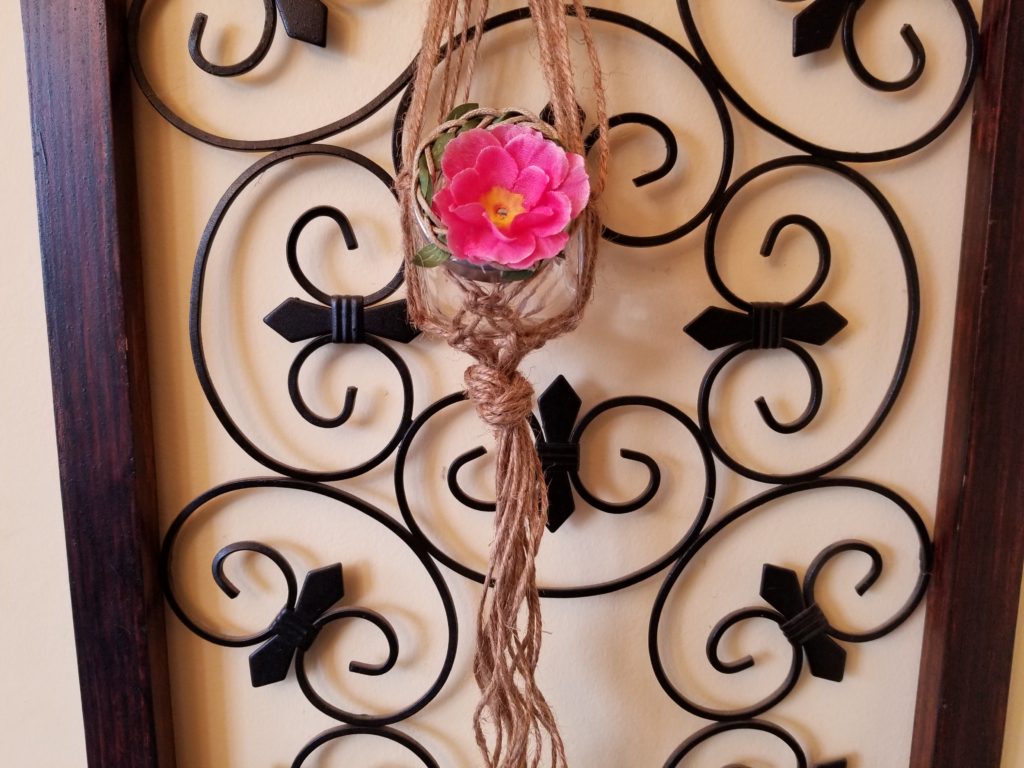
Gather all the strands together and knot. Test fit your Spice Jar Hummingbird Feeder to make sure it’s secure. Once everything is good, trim your tassel to the length you want and you’re done.

Fill your Hummingbird feeder!

Spice Jar Hummingbird Feeder

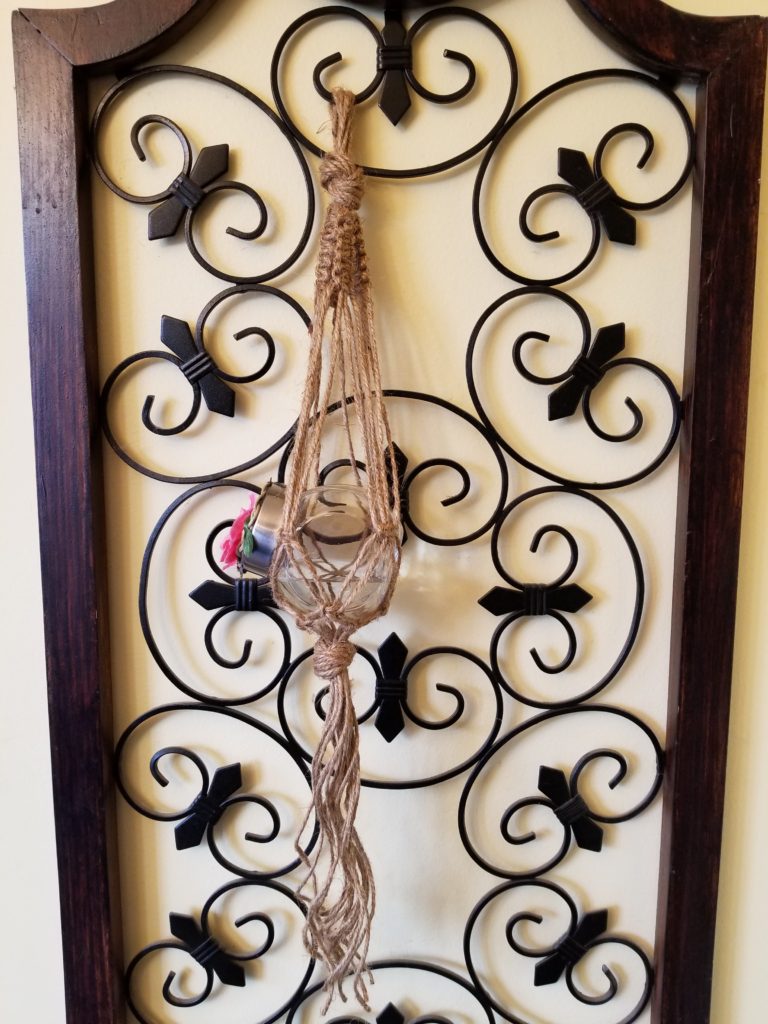
Fill your feeder with nectar to the rim as shown. You can make your own nectar with 1 part white sugar to 4 parts water. Use only white sugar, anything else can make hummingbirds sick. There’s no need to add color, the flower should catch their attention – hopefully.

Hosta Virus X, What you need to know

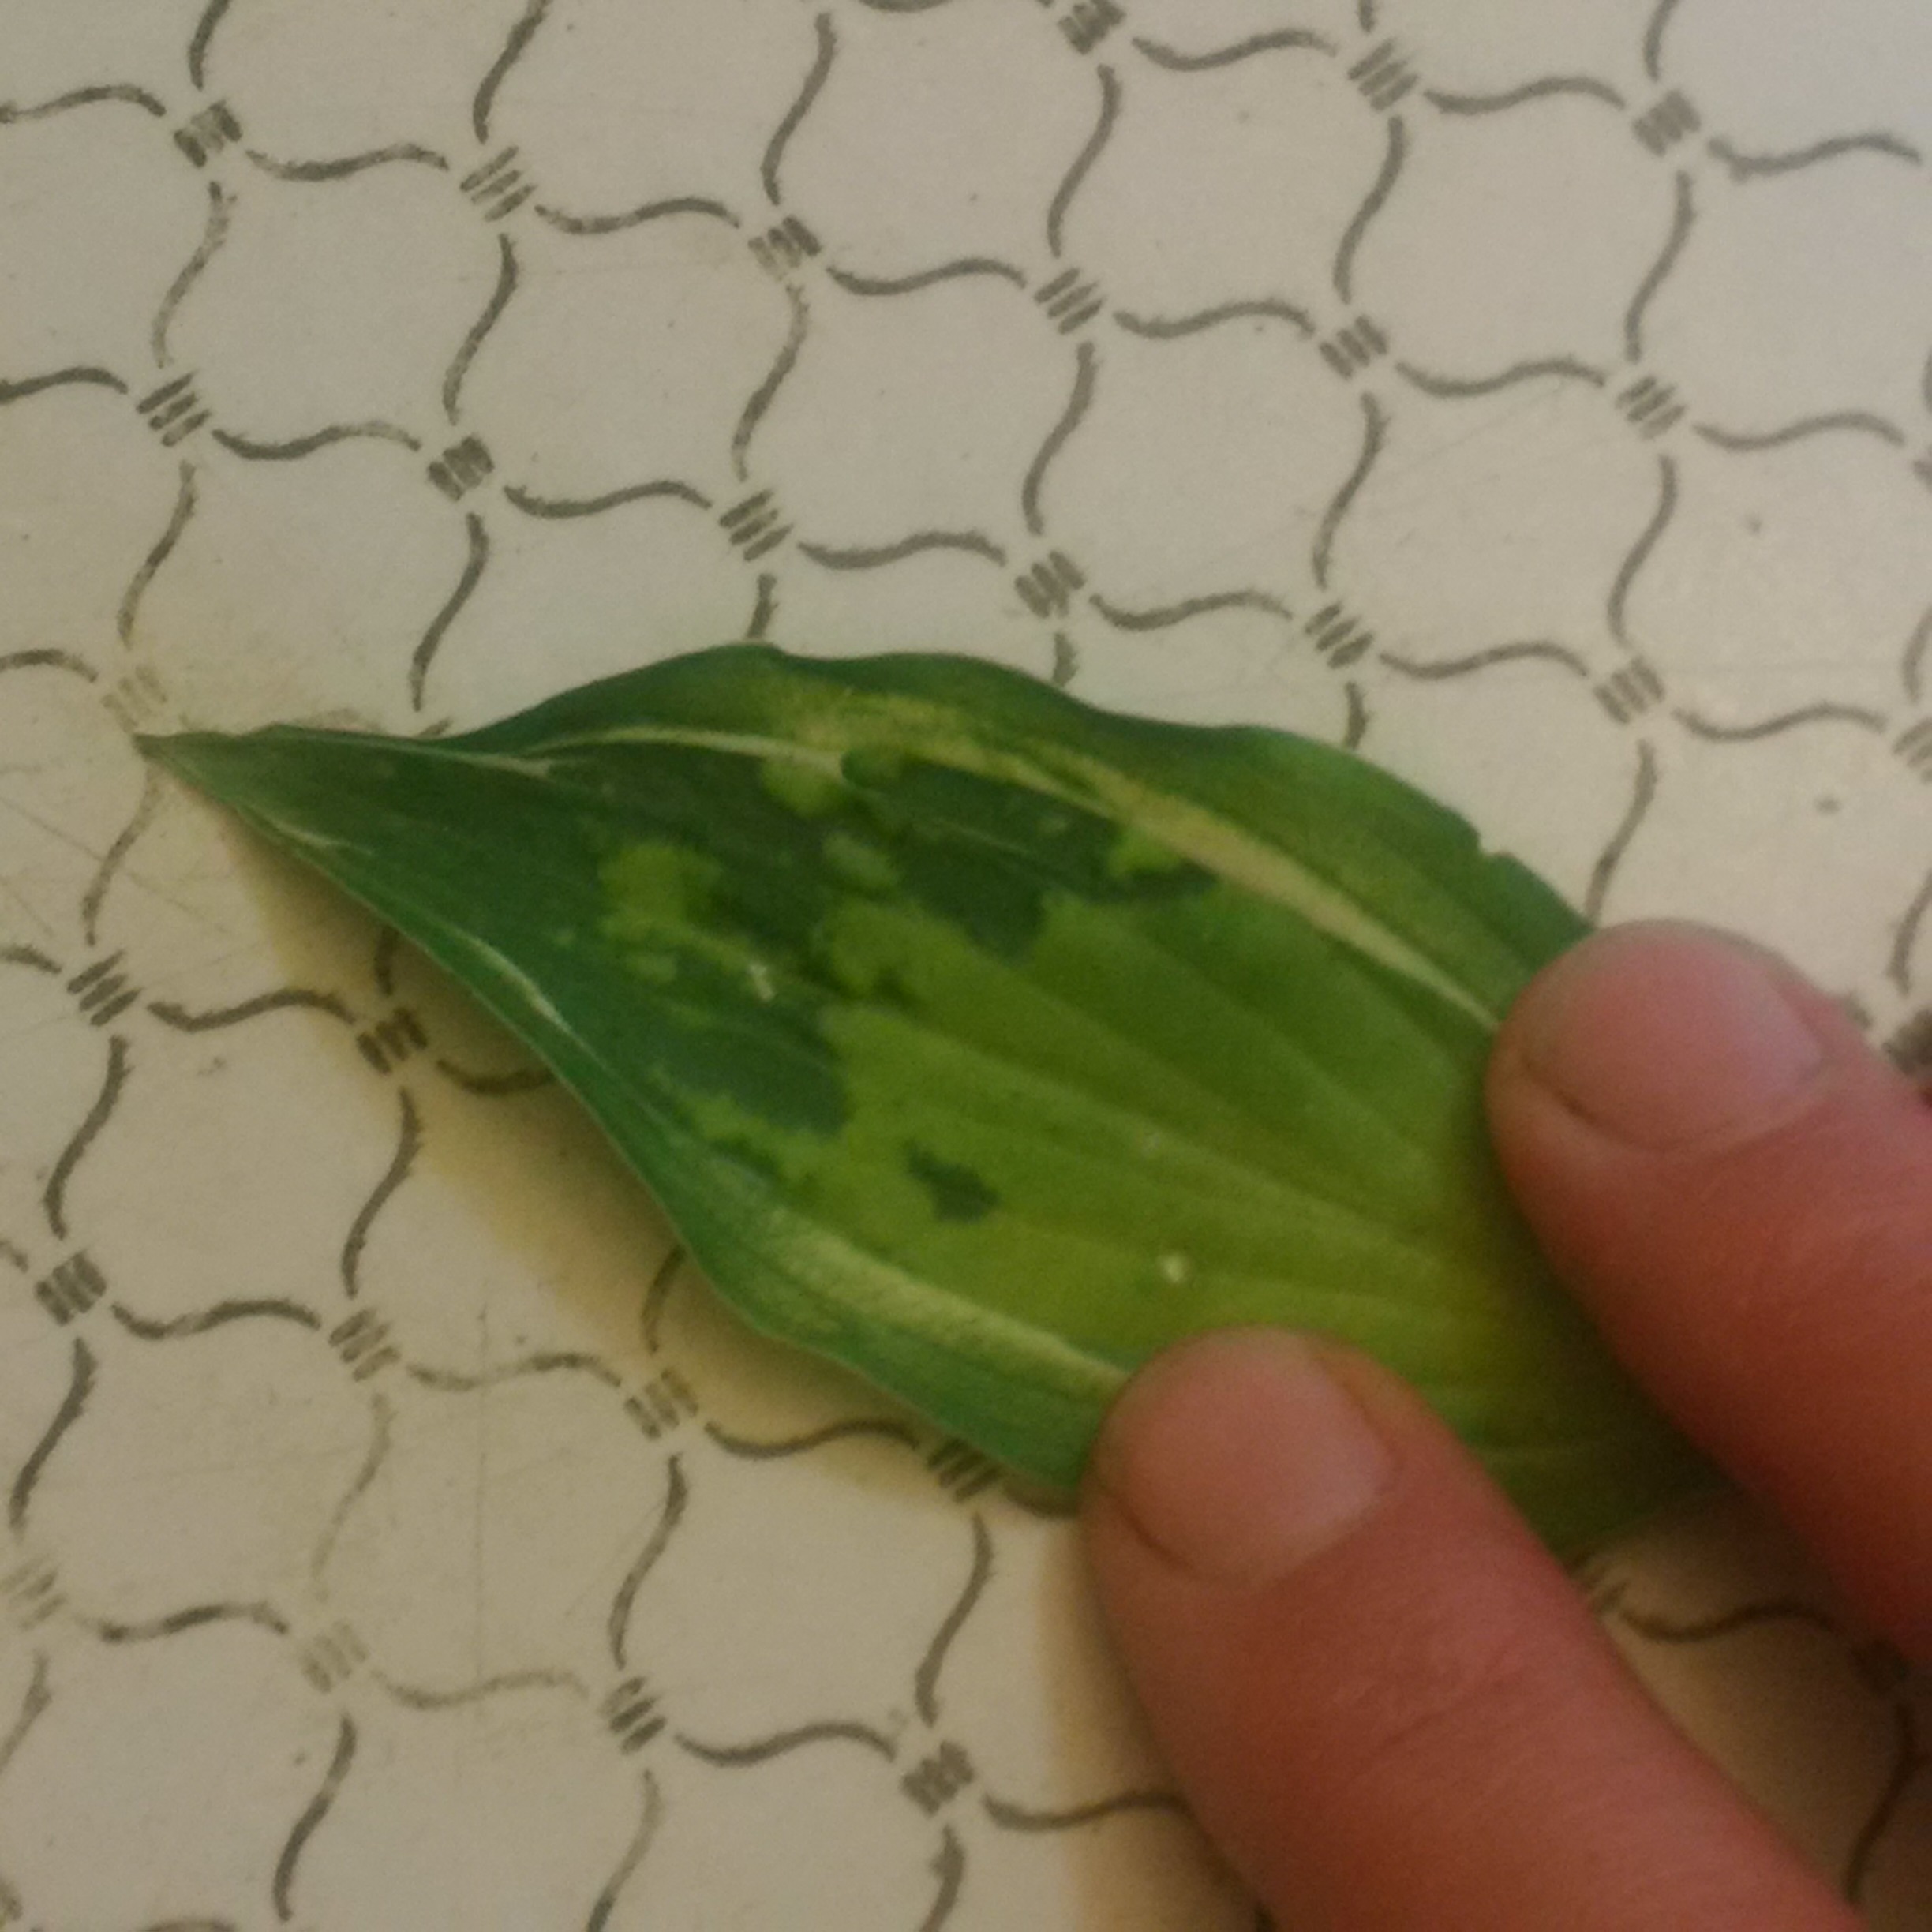
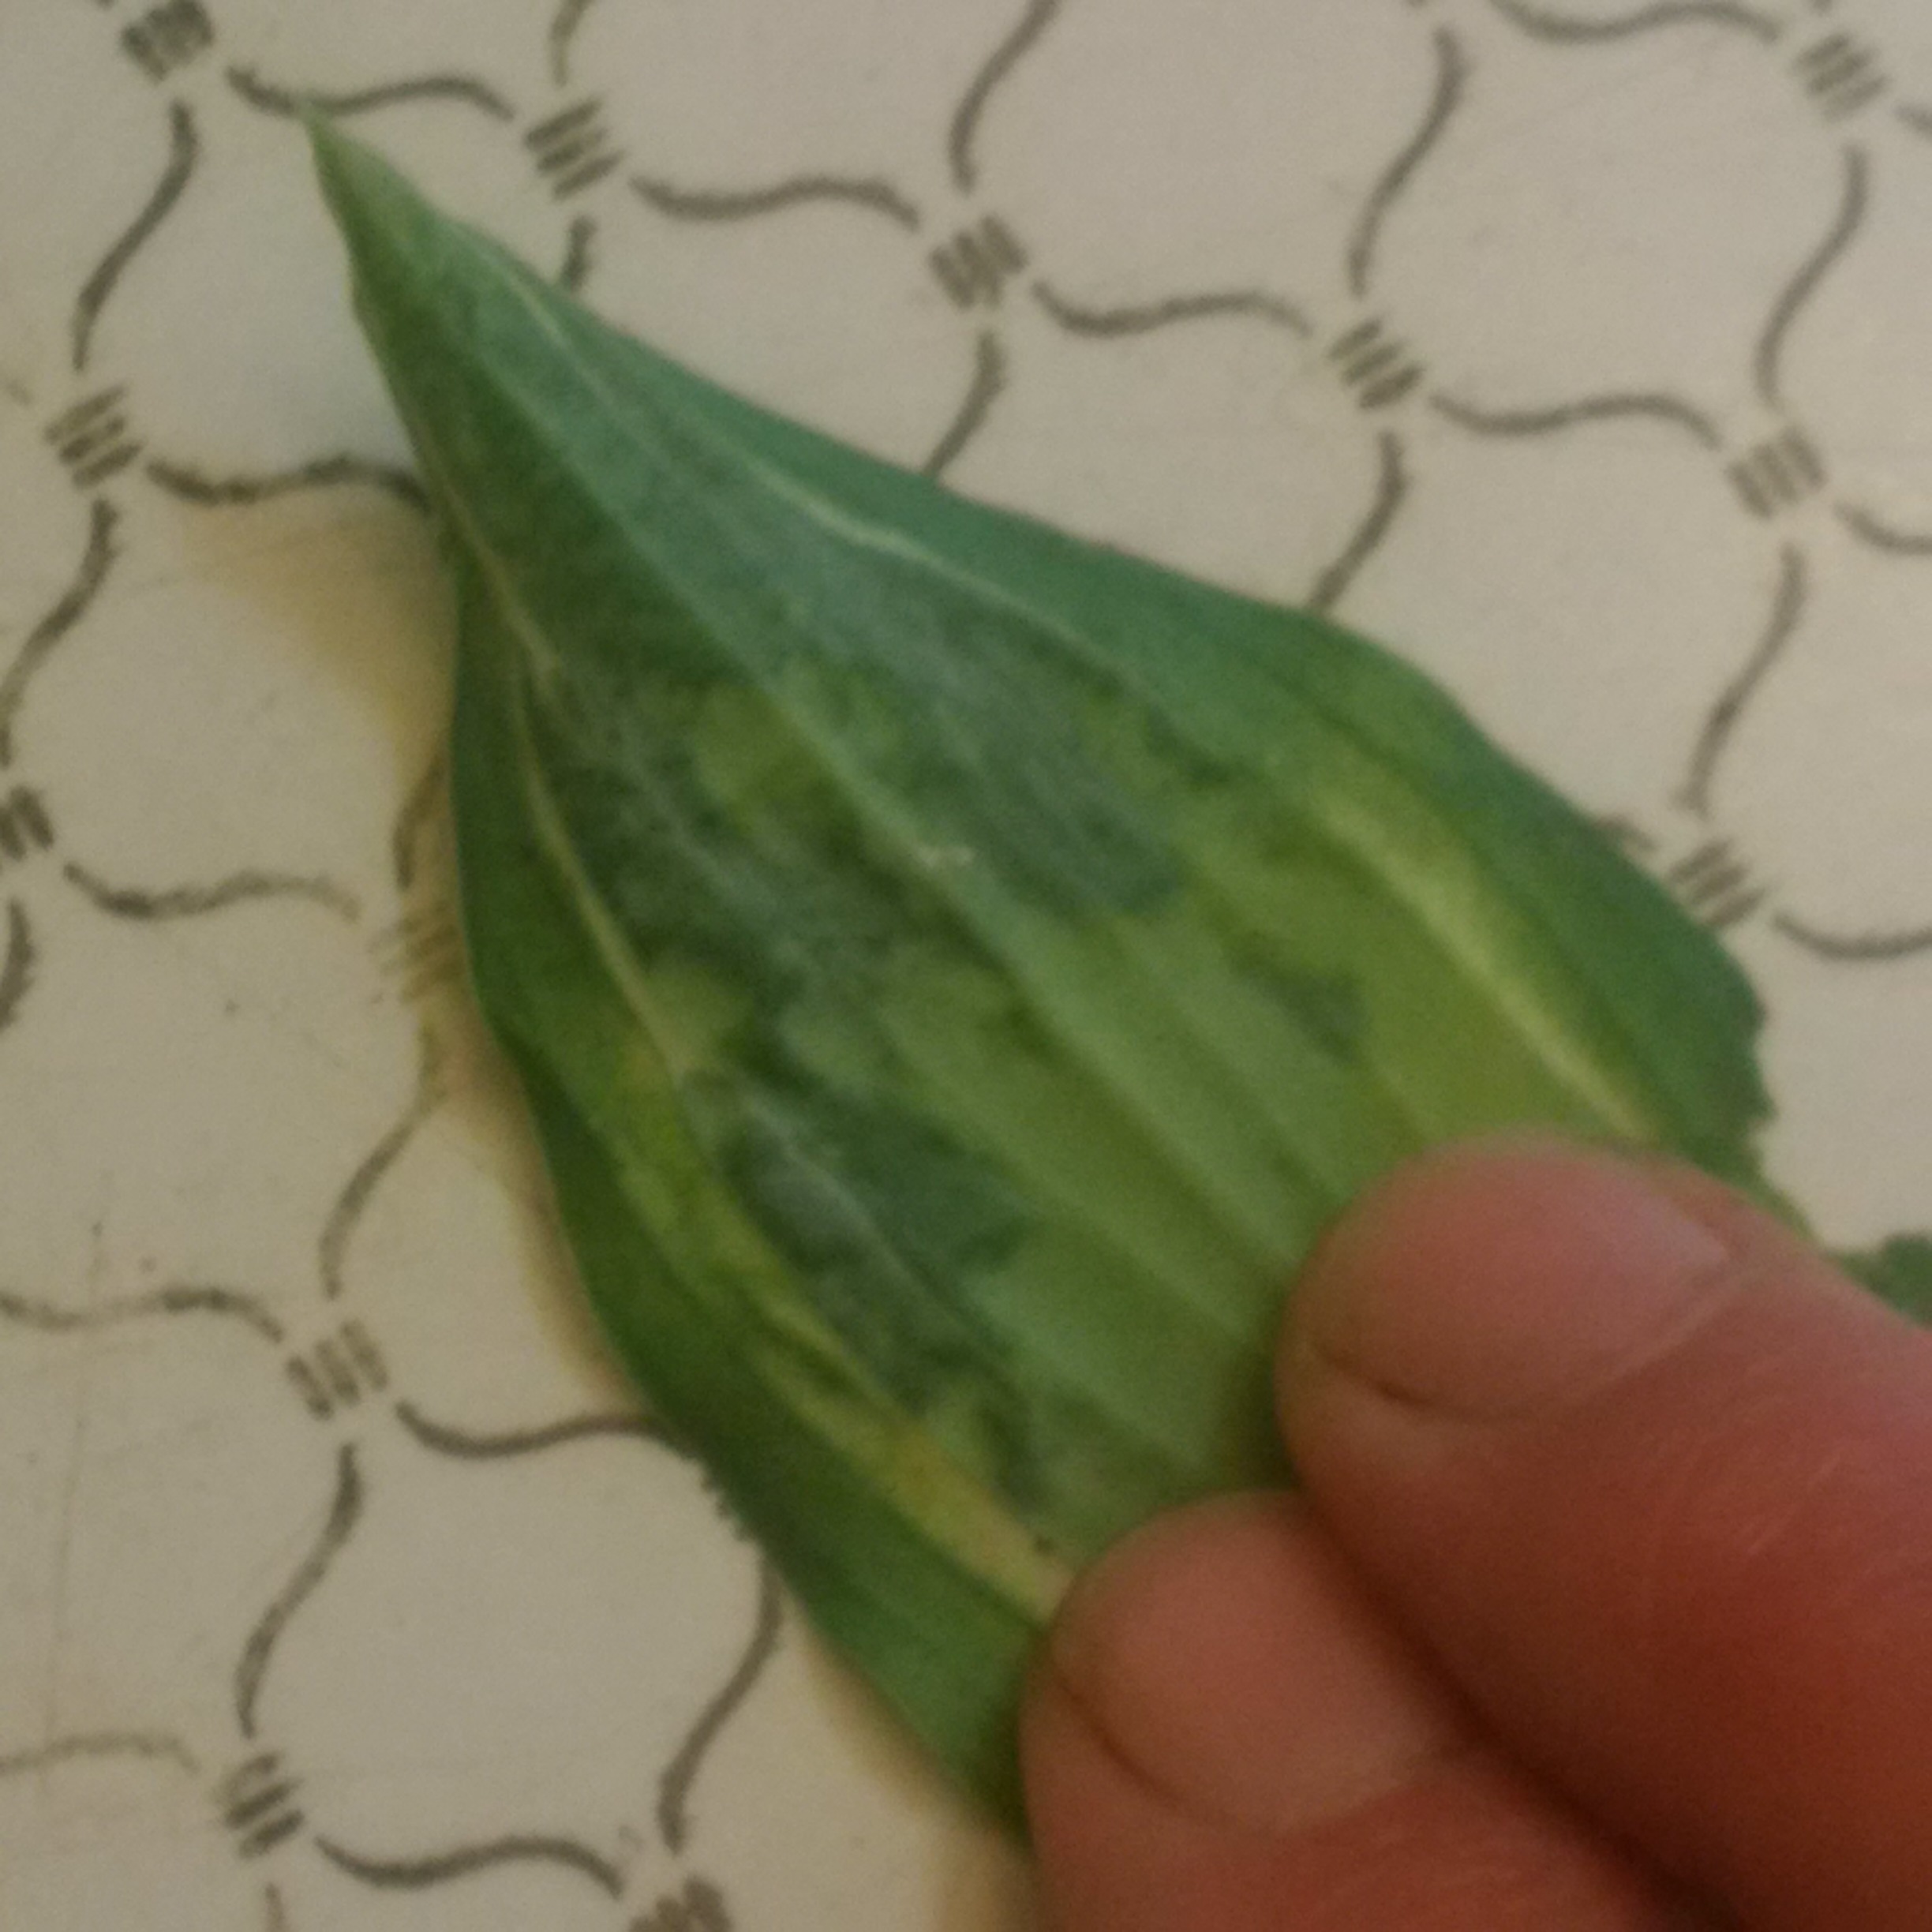
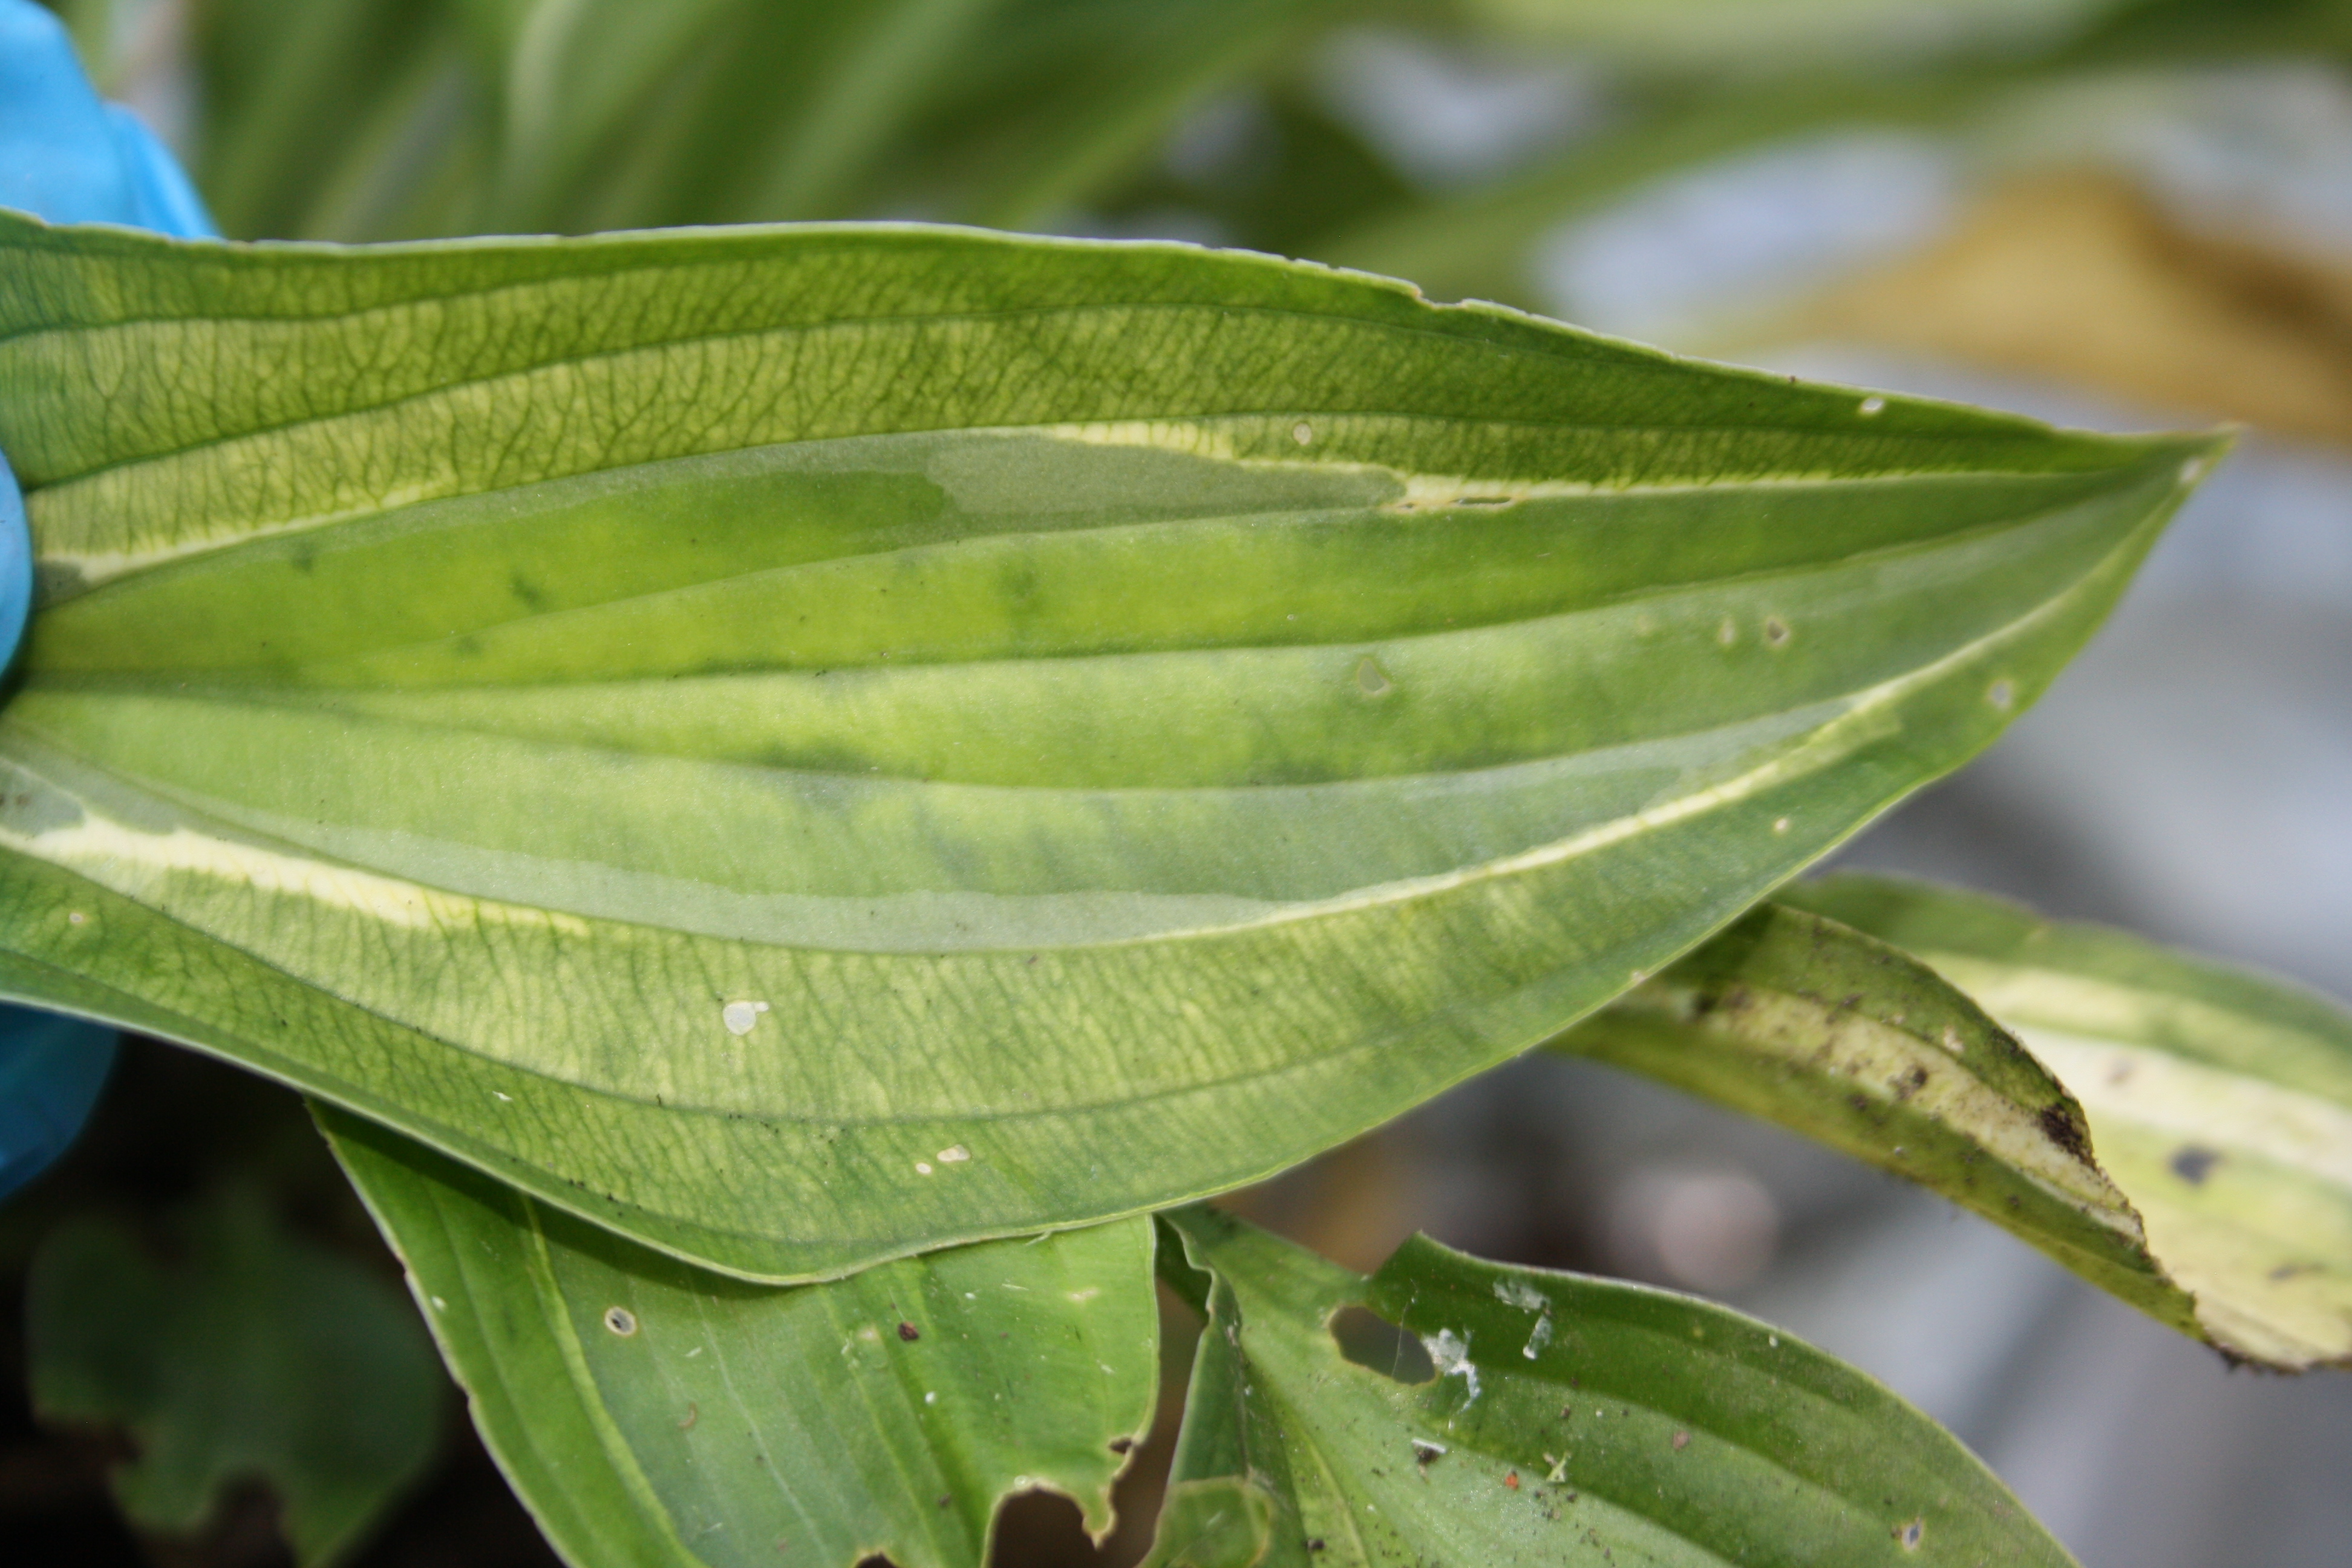
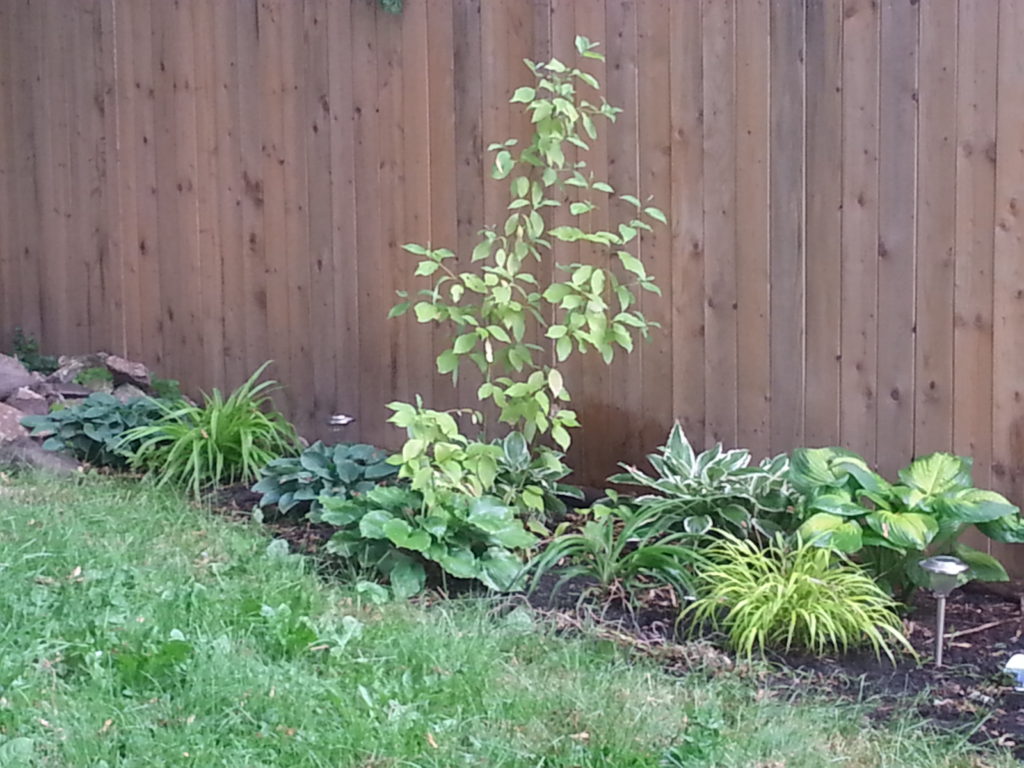
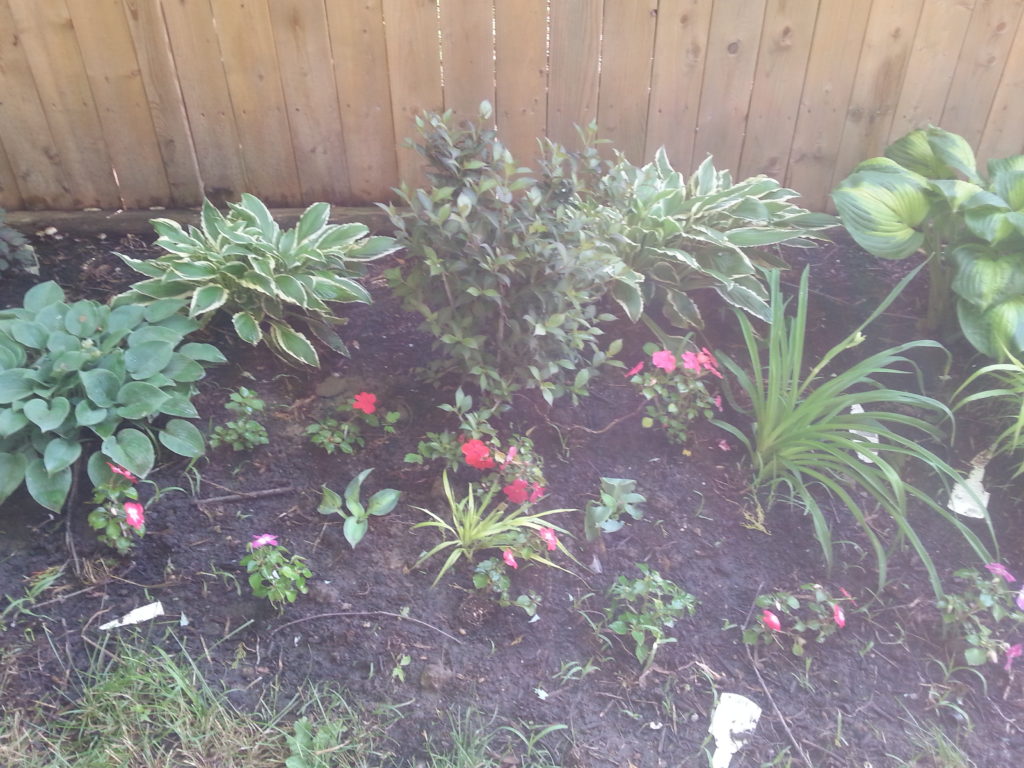
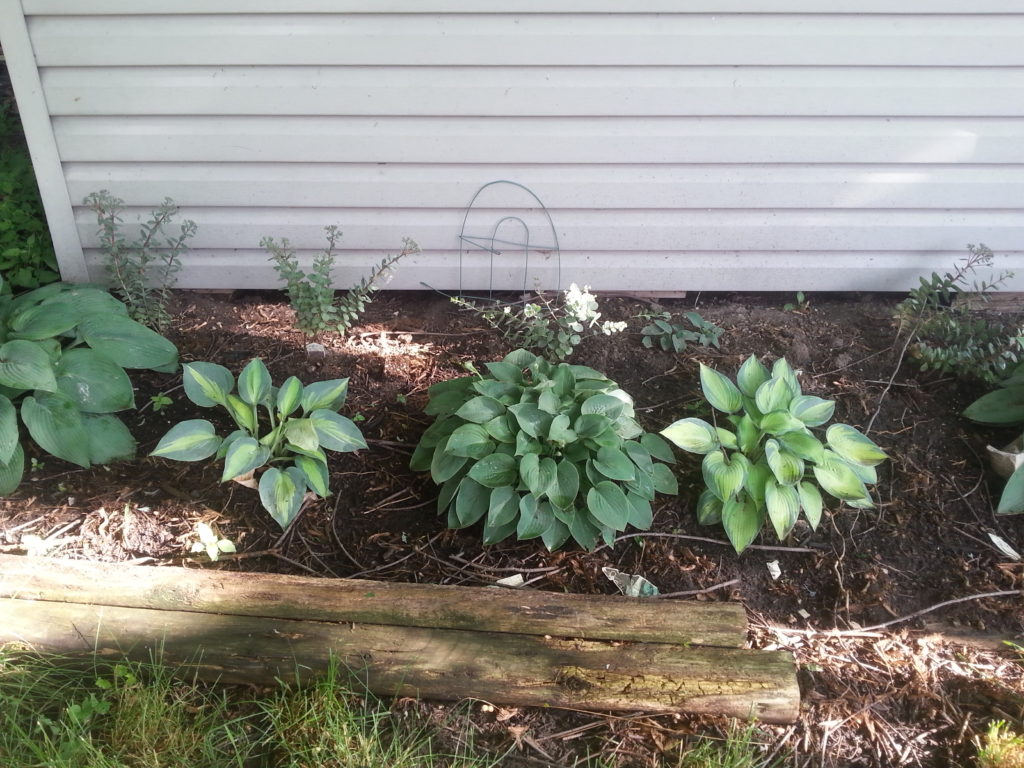
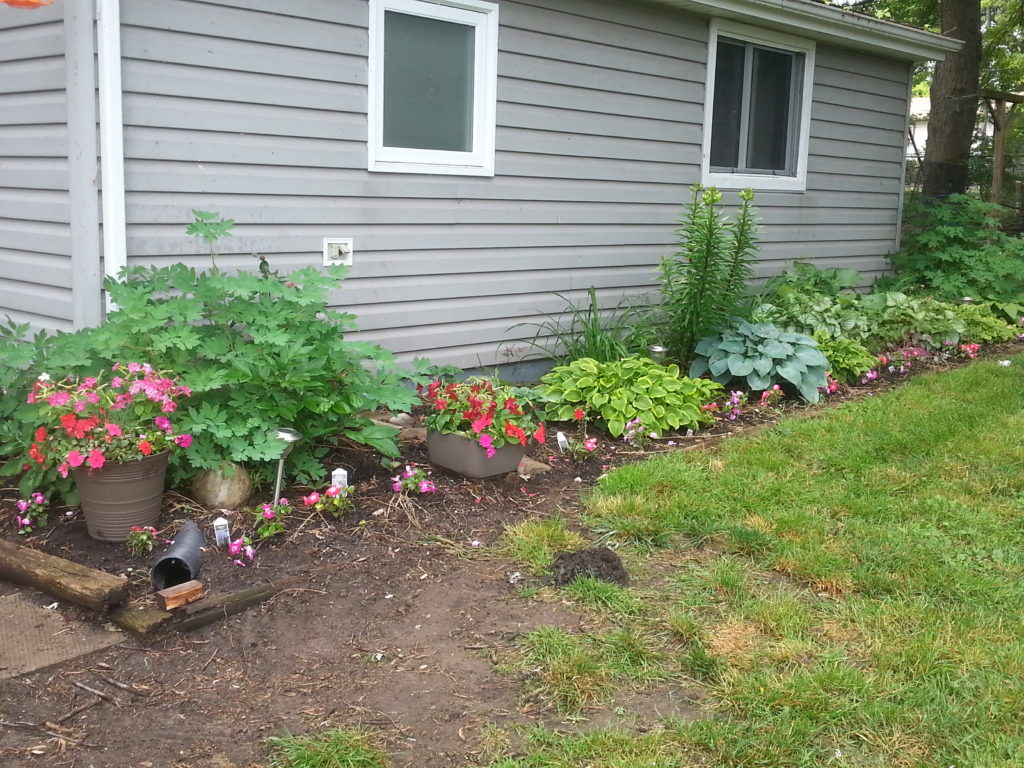
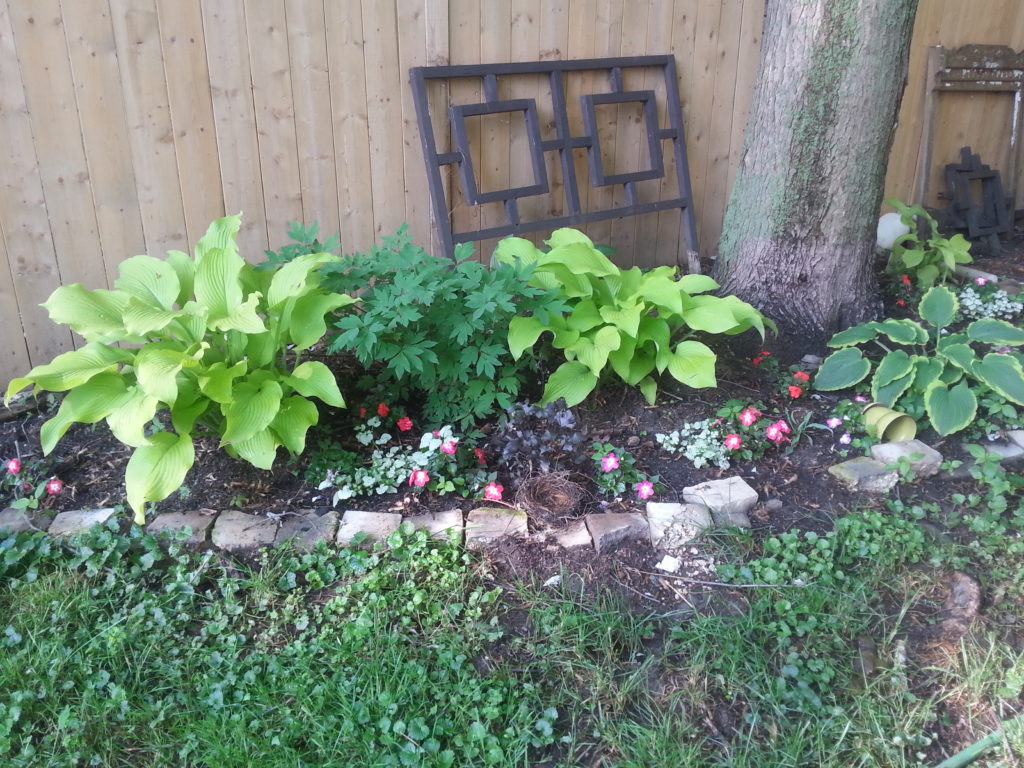
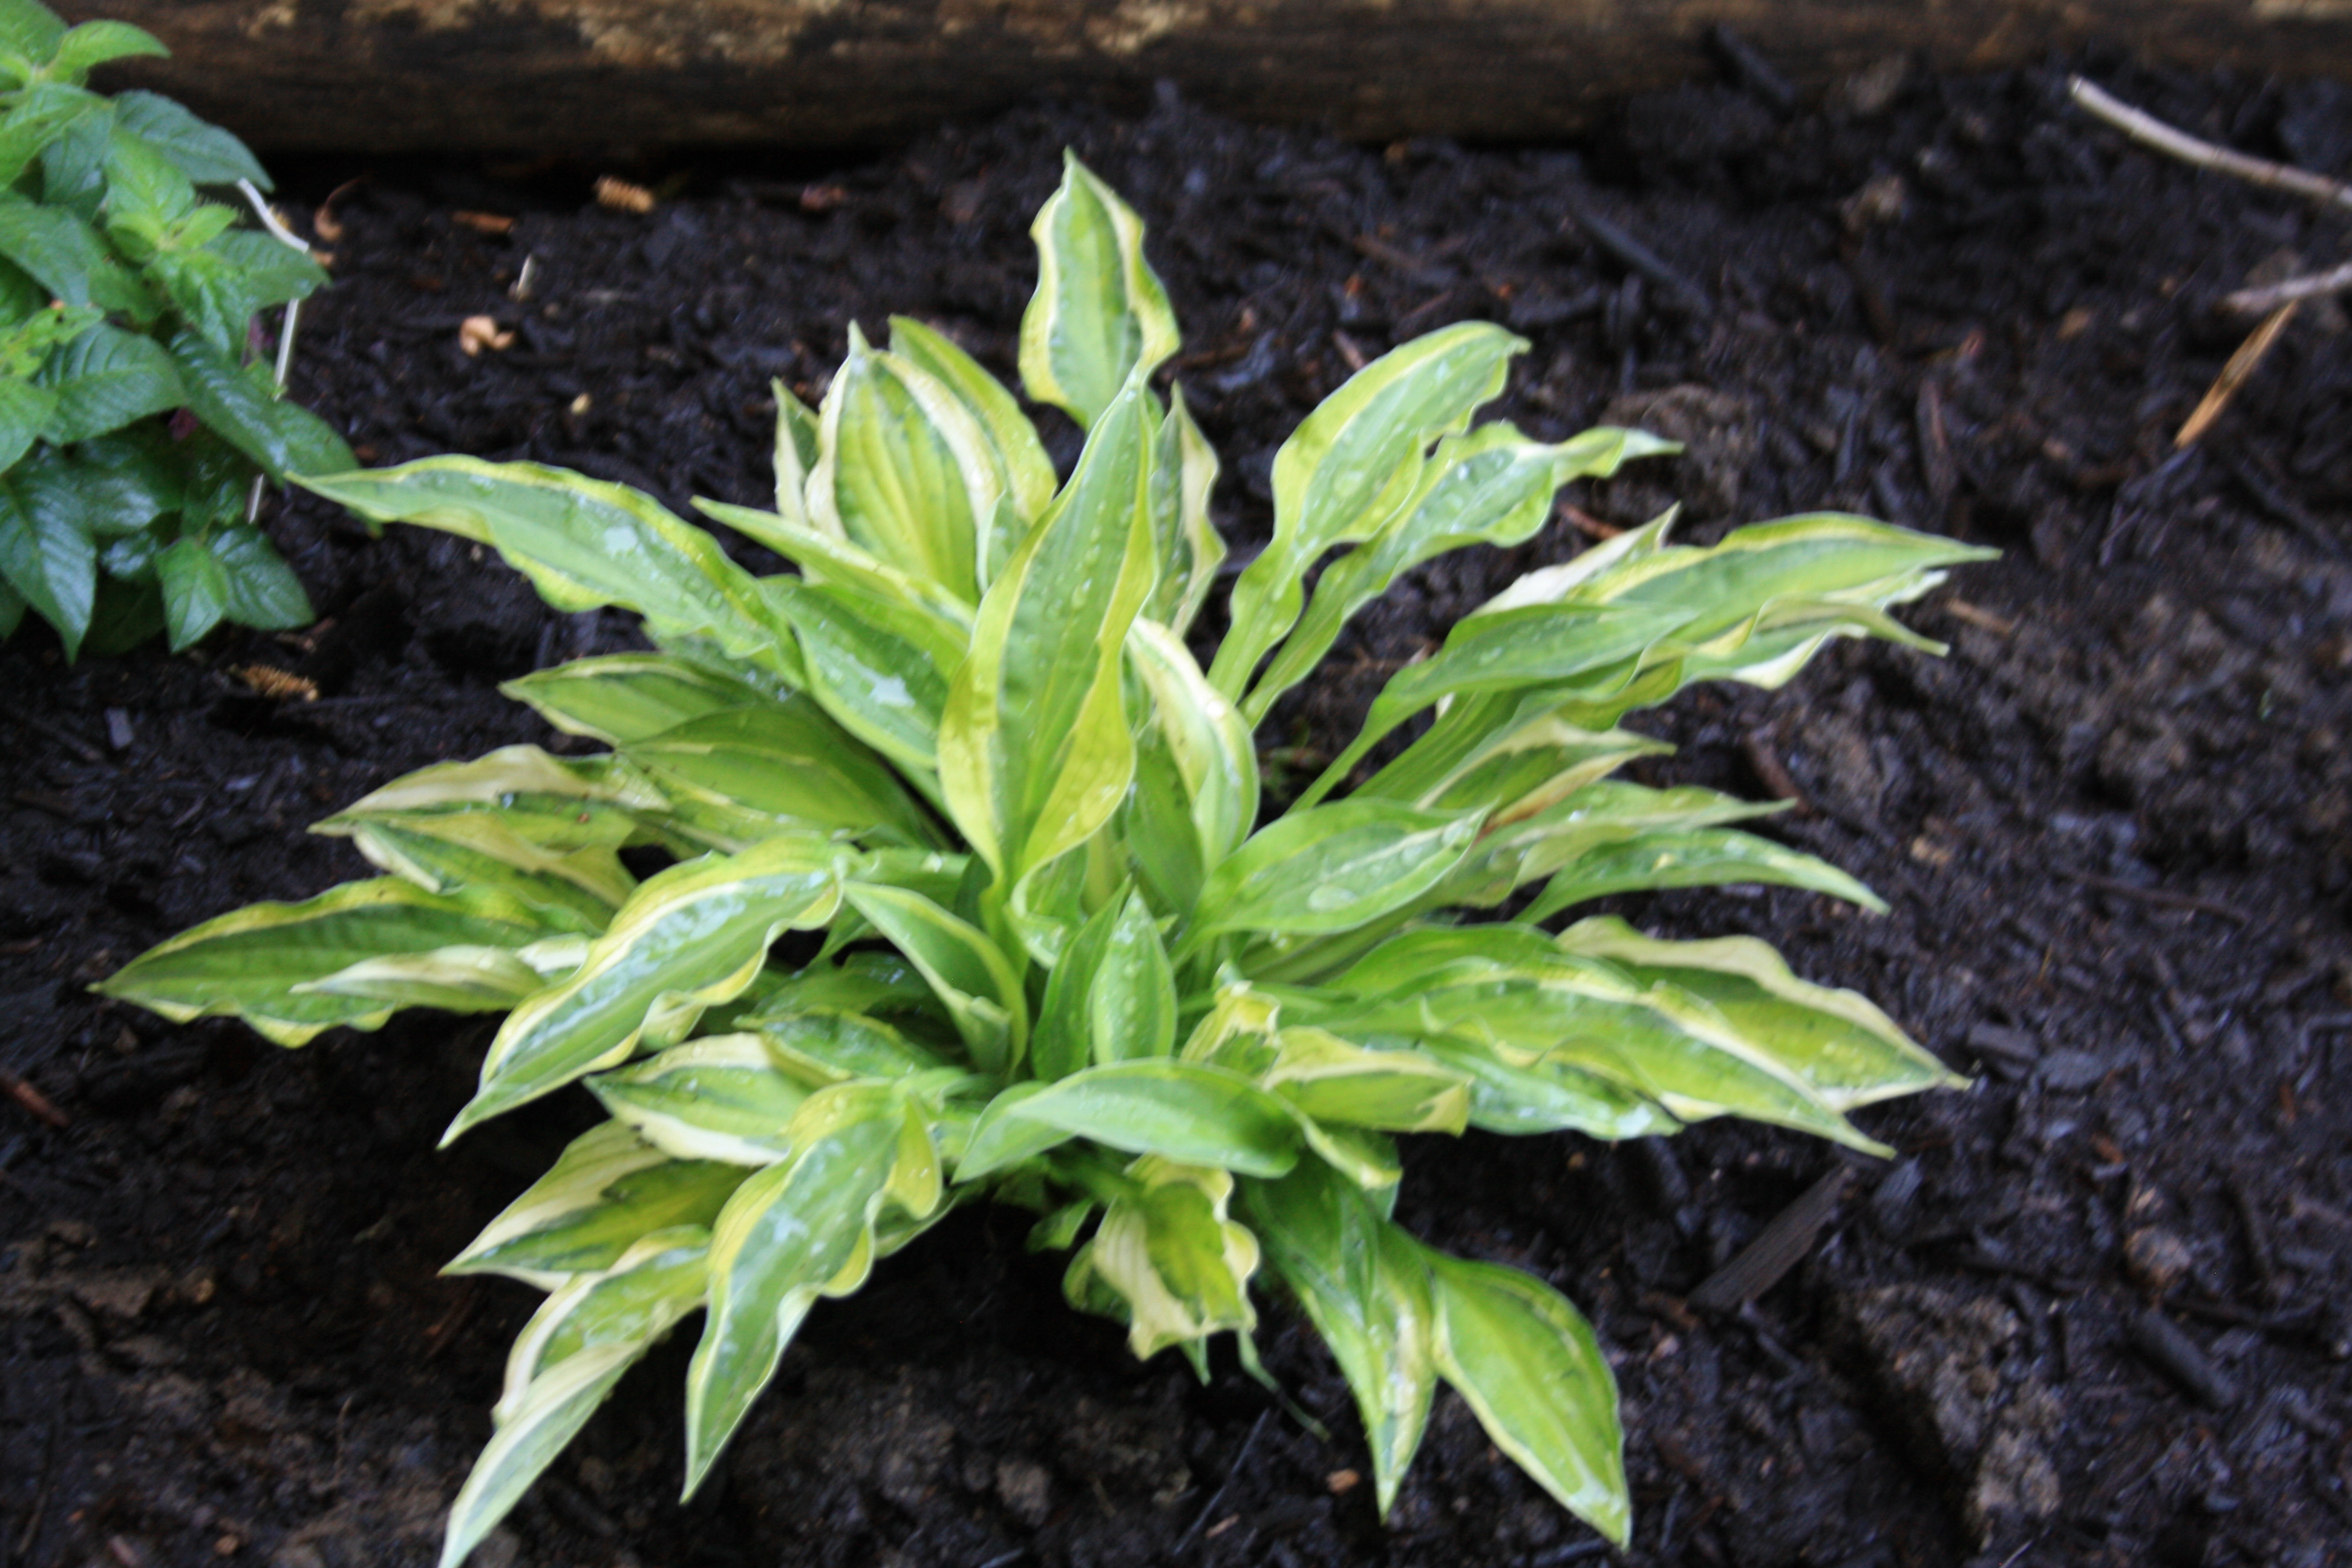
If you’ve got shade, more than likely you’ve also got Hosta. And if you’ve got Hosta you need to know about Hosta virus X, or HVX.

What is Hosta Virus X?

HVX is a virus and infected Hosta eventually develop streaked and or mottled leaves. HVX was first identified in 1996 and now affects Hosta globally. It’s believed that initially Hosta aficionados contributed to the spread of the disease, thinking they had a new and interesting plant. Many ‘new’ cultivars were in fact infected plants showing the effects of the virus.  The virus will not kill the Hosta, but there is no cure.

Signs of Hosta Virus X

It is important to remember that a plant can be infected with the disease for many years before showing any symptoms, but when they appear symptoms present in three distinctive ways.

Inkbleed

This is not the best photo to show inkbleed, but what you will see is a leaf that appears to have dark variegation along the veins of the leaf. While some cultivars do have streaked leaves on healthy plants, leaves with inkbleed look different. For more and better images please click here.

Tissue Collapse

It’s difficult to see in photos, but on this Hanky Panky leaf, the dark spots are dimpled. Sometimes it will give leaves a crinkly appearance. Again this is a characteristic in some cultivars, but the leaves affected by HVX will look different.

Here is the back side of the same leaf. While it may not show well in pictures, it is very distinctive when seen in person. The leaf tissue collapses and thinner than the rest of the leaf.

Leaf Mottling

Treating the disease

There is no cure for Hosta Virus X. Let me repeat myself here – there is no cure for HVX. Just last night I saw a gentleman on a Hosta Facebook group insisting that it could be cured with a home-made spray of tea tree oil and Russian comfrey or some such balderdash.

If you believe that, I’ve got some Rainbow Tomato seeds to sell you – no really they look just like gumballs.

If you find signs of HVX on one of your Hosta, it’s important to remove the infected plant. While HVX is only spread through the sap of the plant and cannot infect anything other than Hosta, it is possible to spread the disease within your own yard – or to the garden of a friend. There are plenty of opportunities during regular gardening activities to transfer sap from an infected plant to healthy plants. Activities such as transplanting, edge trimming the lawn, dead-heading flowers, etc. can all potentially transfer sap from one Hosta to another.

Dispose of the infected hosta in your regular household trash – NOT the composter or a community composting program.

Once you’ve disposed of the diseased hosta, you must scrub and disinfect any garden tools that have come into contact with the plant. It’s not enough to just disinfect – thoroughly scrub the tool first and then dip it in a bleach solution.

Some other considerations

Once you’ve removed the plant, do not plant Hosta there again. It used to be assumed that as long as all root material was gone it was safe to replant in that location. This is no longer the thinking. You can plant Heuchera or Hellebore or any other shade-loving plant in that location, HVX will not affect them, but no Hosta.

Because the virus is found more often in certain varieties, some people might think only those varieties can have it. This is simply not true. HVX can infect any variety of Hosta.

Another issue is that some gardeners think the infected plant looks unique or attractive and will keep it in their garden. If you see a plant in a friends garden that looks suspicious don’t take any plants from them – even if the plant they are sharing looks healthy.

If you’re truly a Hosta lover, buy your plants at a place that specializes in Hosta. They’ll know about the disease and take steps to ensure their plants are free of the disease.

Shade Planter Ideas

I’m pretty pleased with my shade planters this year, although I would be even more pleased if the crazed squirrels would stop burying their treasure in them and knocking out my plants. I went for a more colorful tropical feel than I have in other years.

Tropical Shade Planter
Croton, New Guinea Impatiens, Asparagus Fern and Creeping Jenny

Container recipe,

Fairly simple, each planter has a croton for the center, 3 bright rose New Guinea Impatiens, 3 Asparagus Sprengerii, and 3 gold Lysimachia/Creeping Jenny. In the fall, I’ll bring the croton indoors and leave the Creeping Jenny to overwinter in the pots.

The second planter is the same – this one sits by my mailbox. It would look much nicer if I could keep those damn squirrels out. This time of year it’s worth it to do a daily check for plants the tailed rodents have dug out satisfying their relentless urge to hide food.

Heat Performance

Squirrels aside, I feel confident this is a shade planter that will look sharp until the end of the summer. On Father’s Day weekend, we had temperatures in the high 90’s and all the plants in these containers sailed through it. Had I used Lobelia it would be a crispy dead thing. Bacopa, the other plant that seems to show up in nearly every planter I see, would have completely stopped flowering in those temperatures. By using Creeping Jenny with tropical Asparagus Fern and Crotons, I’ve avoided all that disappointment.

Elegant shade planters

Elegant Shade Planter
Pegasus Begonia, Dragon Wing Begonia

If you were looking for a more elegant shade planter, Begonia Pegasus is always a winner. These were last year’s arrangements, 1 Pegasus in the center, 3 Dragon Wing Begonia in either Pink or Red, and Tradescantia for the spiller. The picture above was shortly after planting.

Not the best photo, but here you can see how lovely it was well into the season.

Bonus Shade Planter Idea

Caladium Shade Planter
Caladium, New Guinea Impatiens, and Coleus

This is one from my mom’s garden last year. Another easy arrangement for shade, it’s just a caladium, a New Guinea and some coleus. She may have occasionally needed to pinch the coleus but other than that it’s another season long planter.


2018 Garden Tour

Last summer was a bit of a wash-out here for a few reasons which meant nothing got done last fall. And because everything has consequences, that meant a very slow start to the gardening this year. But somehow it came together enough to have a mostly respectable looking yard.

Beating the heat…

German Shepherd enjoying his pool

Last weekend we had some astonishingly hot weather, making this good boy more than eager to lay around in his pool. He discovered that the pig floating in front of him could take on water. I have no photos of him running around shaking the pig and flinging water everywhere – I was too busy trying to stay out of range.

Fluffing and Stuffing

Once I finished the weeding (for a hot minute or two), there were a few things that needed to be shifted around.

Side Garden

This area in particular was not working for me. The Prairie Fire Dogwood added nothing to the composition and the area needs some contrast to the various greens & yellows. Initially I wanted to get a Wine & Roses Weigela for this spot, but I didn’t care enough to really hunt for one.

Weigela Victoria

Instead I planted a Victoria Weigela, there are also some White Snakeroot ‘Chocolate’ off to the left.

I also moved the Hosta ‘Grand Slam’ (between the Japanese Maple and Hardy Hibiscus) and the arrangement is more pleasing IMHO. There is an empty pop bottle in the yard because of that character in the pool above.

Sedum for the win…

Hosta and Sedum

The back row of hosta in this bed were struggling. It’s under the eave of the shed and a huge maple tree. Sedum handles dry conditions well and even though they prefer plenty of sun, they seem to tolerate shade.

Side Yard foundation planting

Foundation planting

I’ve finally got the Chameleon weed mostly under control. The bleeding hearts are finished, but the Asiatic lilies are ready to pop any day. This bed is about 4 years old, so the Golden Tiara hosta clumps are getting pretty big. I had to move two Astilbes that were getting smothered. The Brunnera ‘Jack Frost’ are also a bit bigger than anticipated, the two Heuchera ‘Silver Scrolls’ needed shifting to give them some space.

Calling all Hummingbirds

Tropicals in the veggie garden

I am making a determined effort to attract hummingbirds this year, we will see what happens.

Sun Power and Spartacus

This bed was new last year. I moved the Hosta Sun Power here along with Spartacus (new last year) and the Huechera Black Pearl. I’ve added some Lamium for contrast. Who knows, maybe it will choke out some weeds.

New additions this year were 7 Lamium, 3 Heuchera Purple Palace, and about 9 new Hosta. Other than the perennials, I planted 3 flats of Impatien, 1 of Nicotiana and another of Marigolds.

My Week in Sewing – Week 1

January Sewing Plans - Warm and Soft
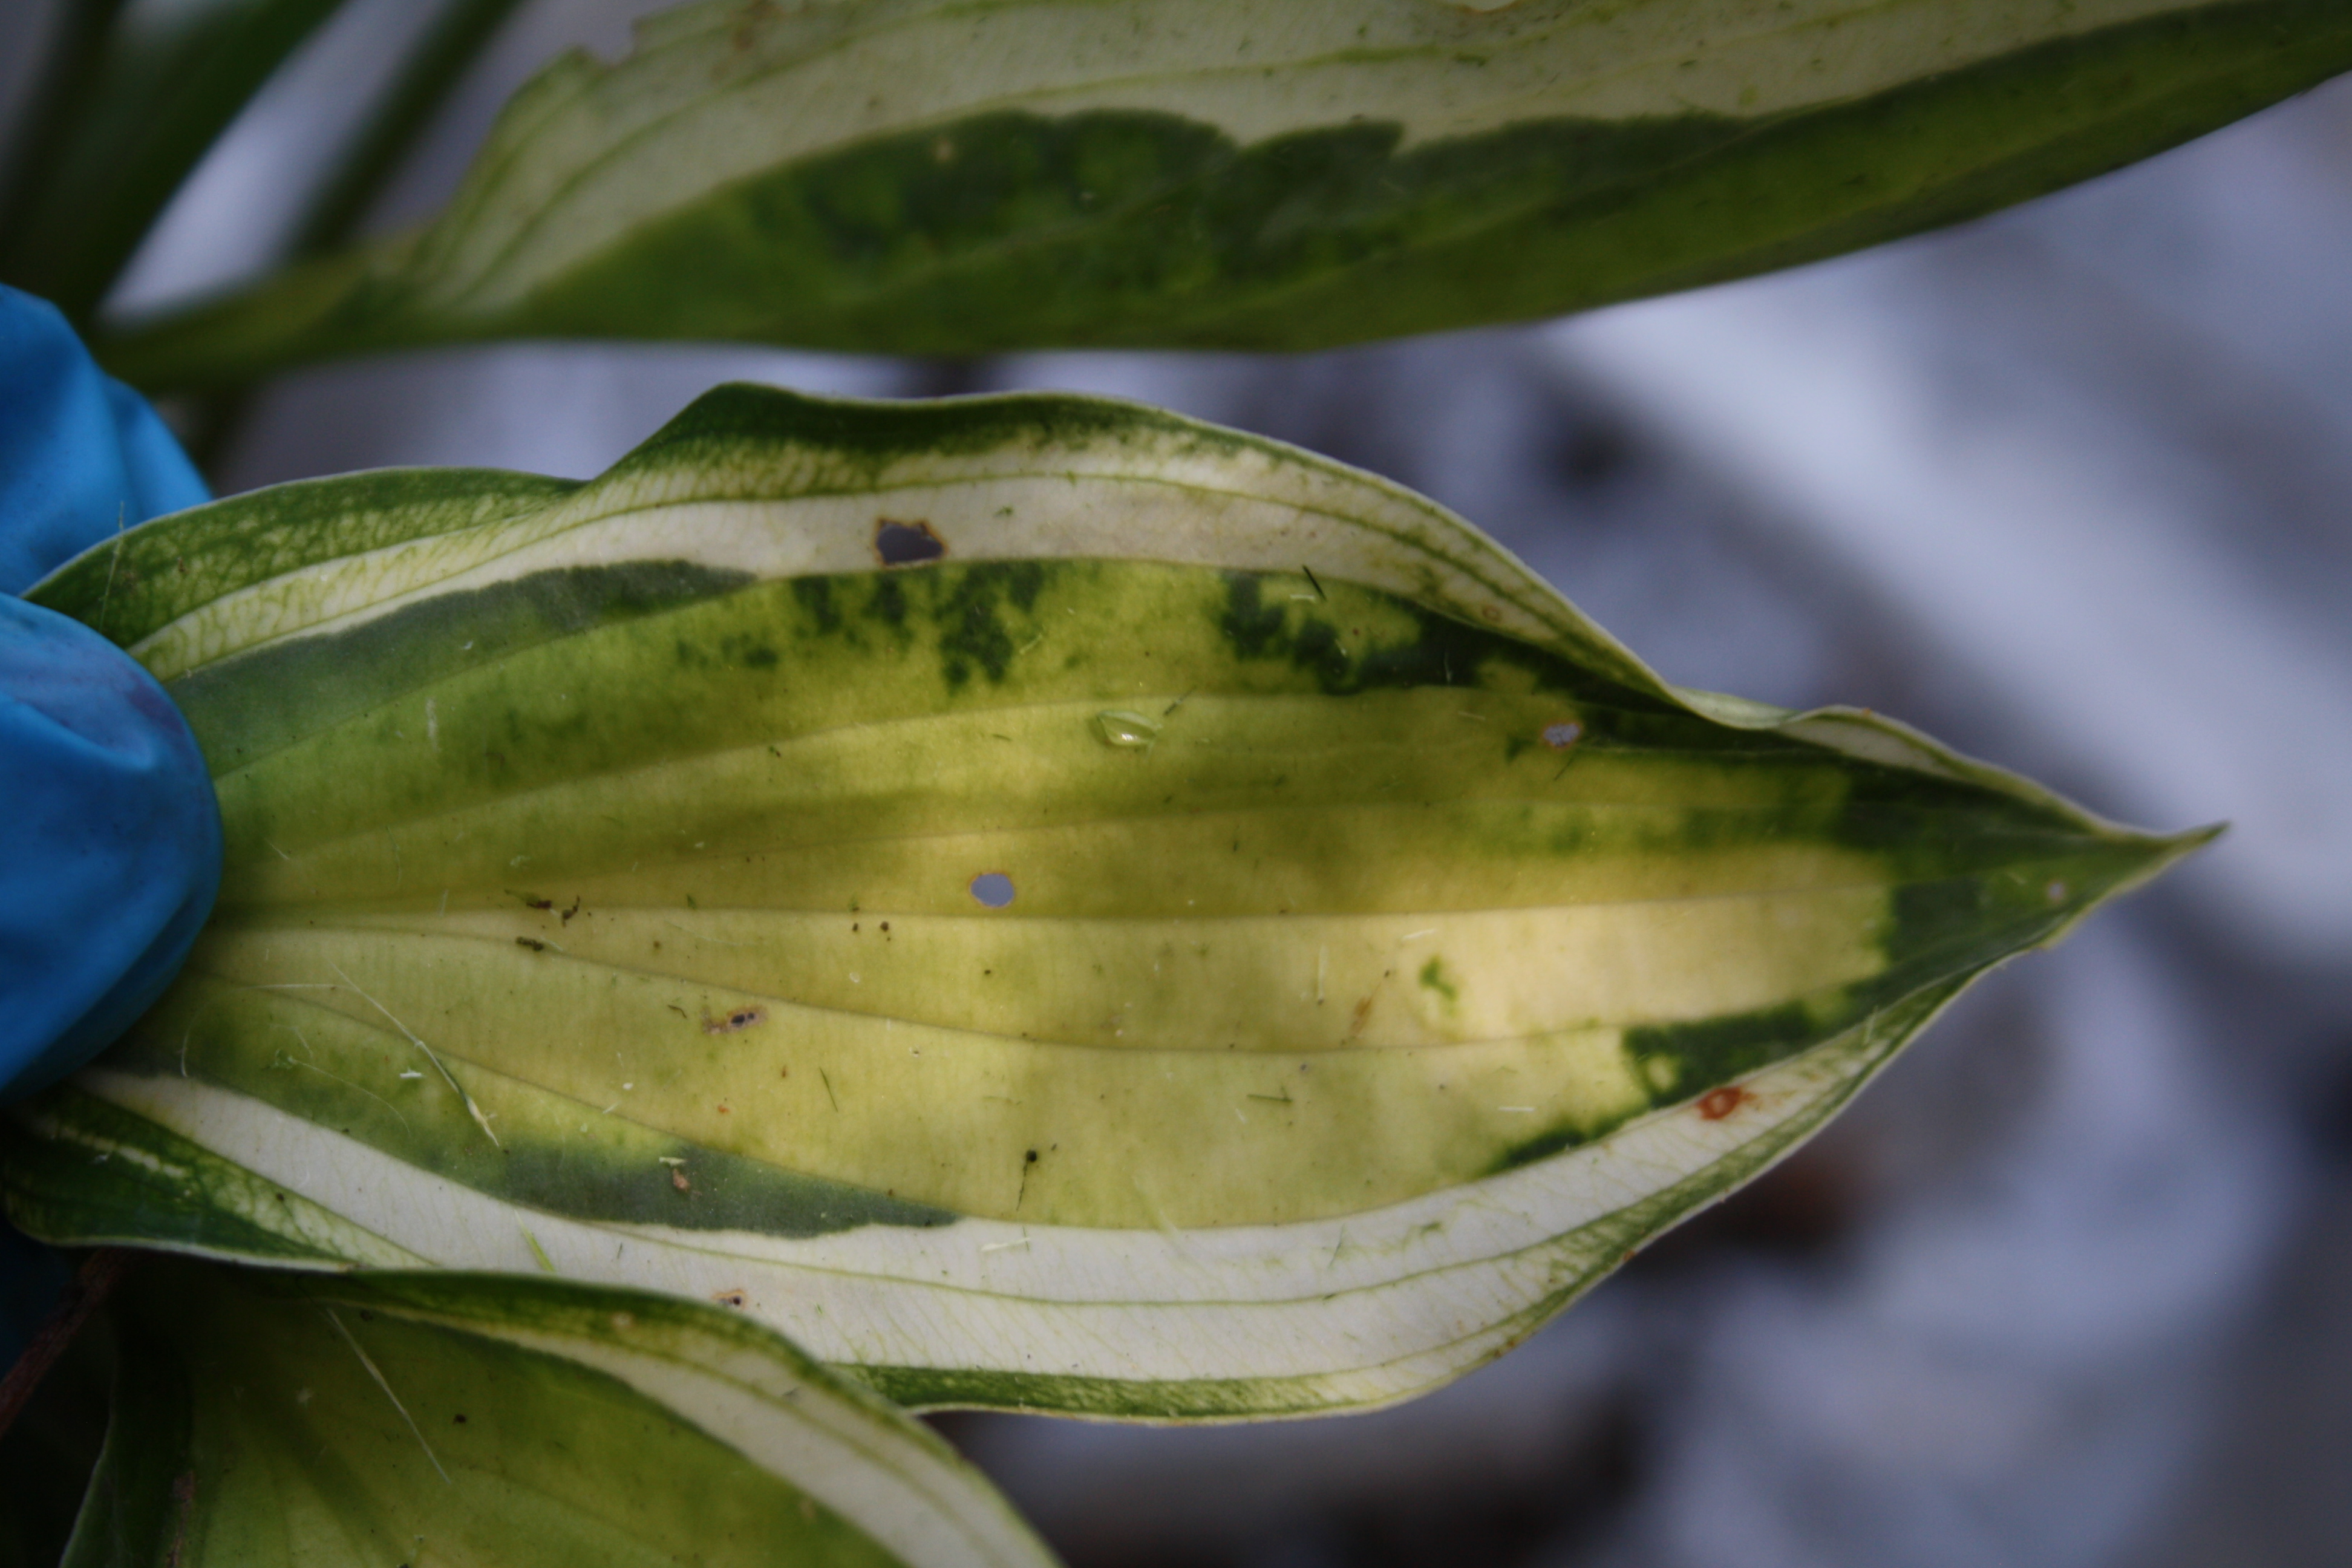
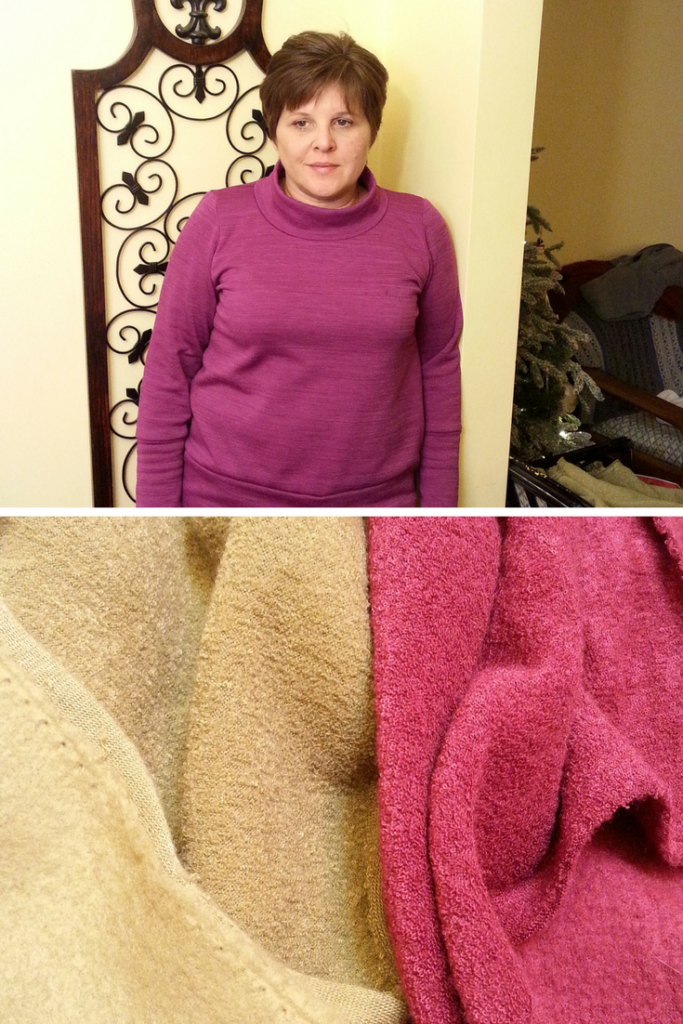
I am happy to say I met my sewing goal this week! The plan was to make both of these fabrics up into cowl neck sweaters with the extra deep cuffs and bottom bands of my magenta sweater above. I should mention I actually have two magenta sweaters, exactly the same. It’s a good thing I don’t go out much because I was wearing a magenta sweater nearly every day and people would have started wondering if I had stopped showering.

The Burgundy Cowl

I made up the burgundy first. I worried that the terry look of the fabric would make it seem like I was wearing a towel or pajama top, but I think I worried for nothing! It was cold here when I finished it so it went straight from the machine to my body.

Please note, some of the following links may be affiliate links. This means should you make a purchase through my link I will make a small commission. You pay the same price for what I believe is a great product either way.

This is such a simple hack to make and a quick sew. I started from my pattern for the Tabitha Top. The Tabitha top is meant to have different options added to the bottom so the main body pieces are already somewhat cropped but you could shorten it more if you prefer a more cropped sweater.  I used the piece for the back of the split hem view for my width and increased the height to 12″ for my 6″ bottom band. Front and back at the hip are the same width, so I just cut two.

For the cuffed sleeve all I did was trace out a long sleeve and whap 6″ from the length. From there, I traced the cut-off part so it could be doubled into a cuff which makes an hour-glass sort of shape. The cowl and neckline I traced out from the Laundry Day Tee for this version. In the magenta version, I kept the Tabitha neckline but raised the bottom of the front by about 2 inches. Then I measured the new neckline and made a collar piece just an inch shorter than the neckline and 8 inches tall for my 4″ tall mock neck.

The Mossy Green Cowl

I don’t know if you can see it in the photo, but this fabric has a ridiculously subtle stripe in it. My attempts to lay out my pattern for cutting Saturday morning thwarted by the direct sunlight coming in the patio door, I had to leave it until evening to cut it out. In all the fretting over those barely visible stripes, I managed to cut the body and sleeves with the nap running the wrong way. I don’t care, it’s warm and I’m wearing it.

Assembly is pretty simple so once you have the pattern sorted out, you can sew this up in an hour or less depending on whether you top stitch or not. Top stitching does give it a more finished look, but it’s also just fine without. The sleeve cuffs are pretty fiddly to top stitch, but it’s doable.

So that’s my week 1 sewing goals met. Let’s see how I do next week, but in the meantime I’m amazed to own 4 new this year sweaters that I love wearing and feel good in. Usually I’m lucky to own two at a time because a) I’m a cheap skate and b) I hate shopping for clothing that much.  How did you make out with the short week last week?