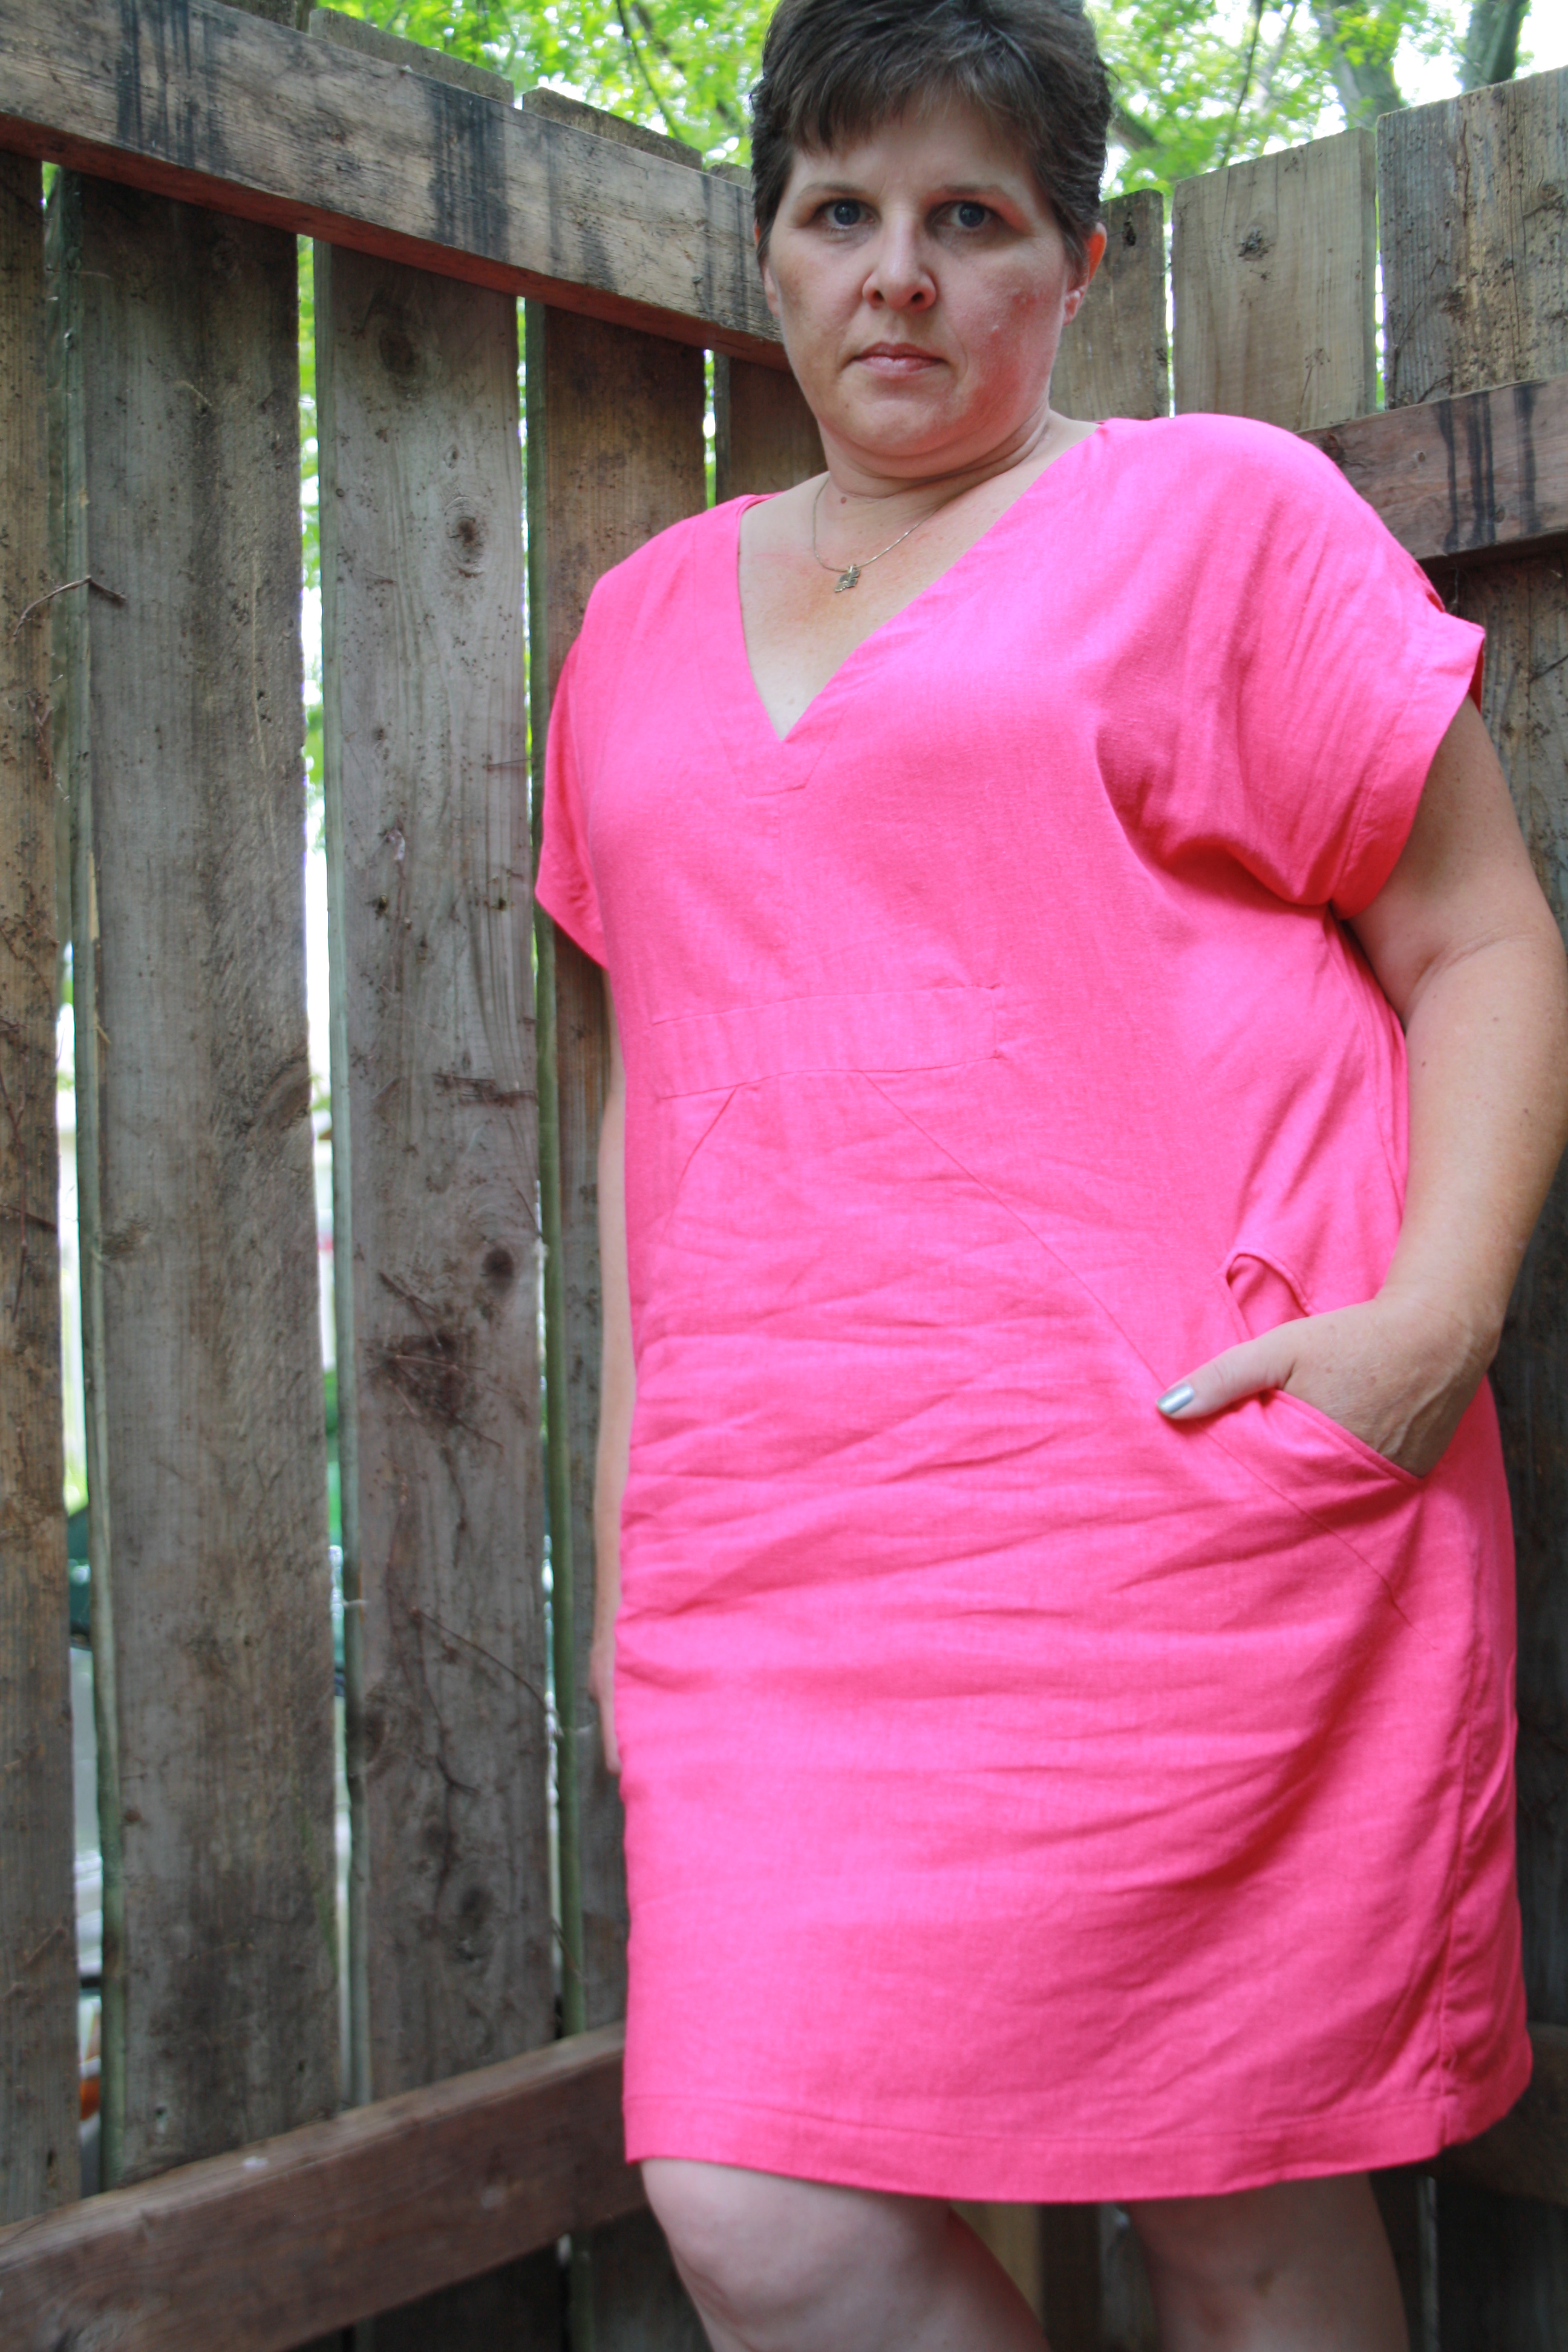
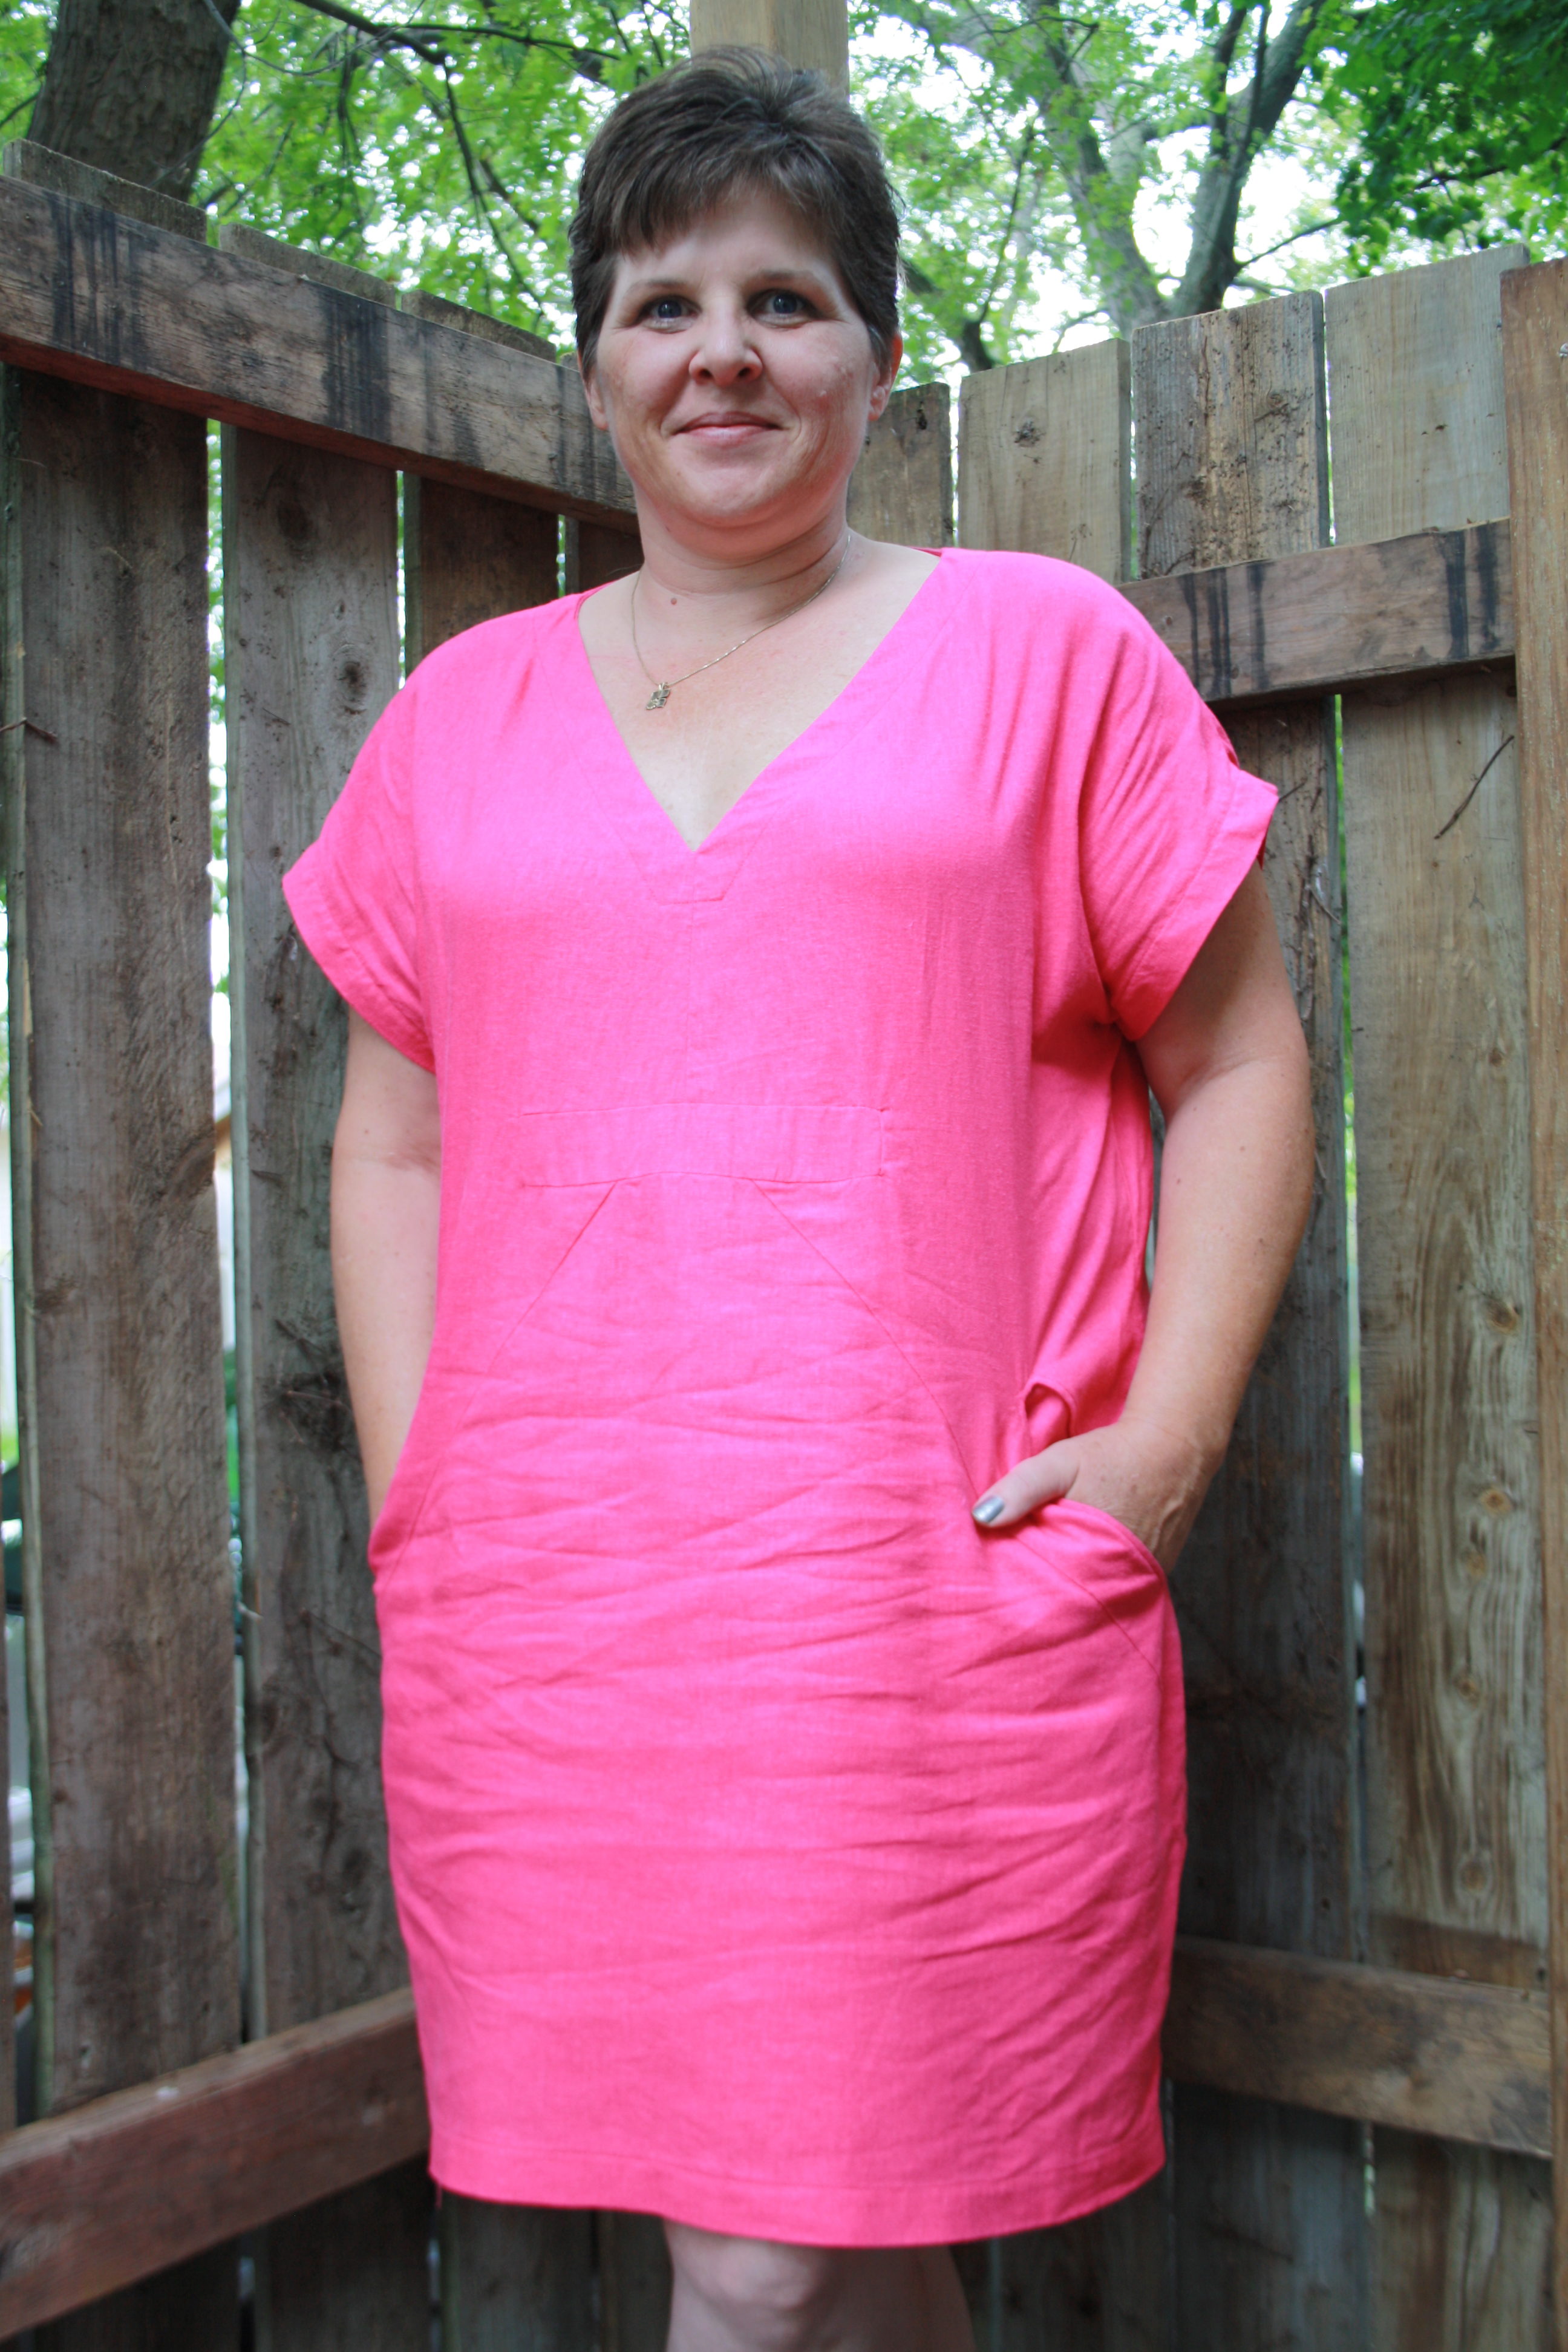
I finished my fourth and probably final, for this year at least, Charlie Caftan this weekend. The fabric is a linen rayon blend which means embracing a few wrinkles. The ones you see here are just from putting it on.
The loose straight fit of the Charlie is not figure conscious at all, which is nice because then neither am I while wearing it, although I do wish I had raised the point of the v-neck just a bit. My body type is fluffy, not busty, so I find myself fussing with it often to make sure I’m not showing off my bra.
I’ve made this caftan in all of its versions, maxi with a gathered front and tie waist, mini with a gathered front and tie waist and the darted version you see here twice. I thought the rayon orange poppy’s were going to be my favorite, but while it’s wearable I wish I had saved that fabric for something else. The crisper linen blend works much better for this pattern than the drapey rayon.
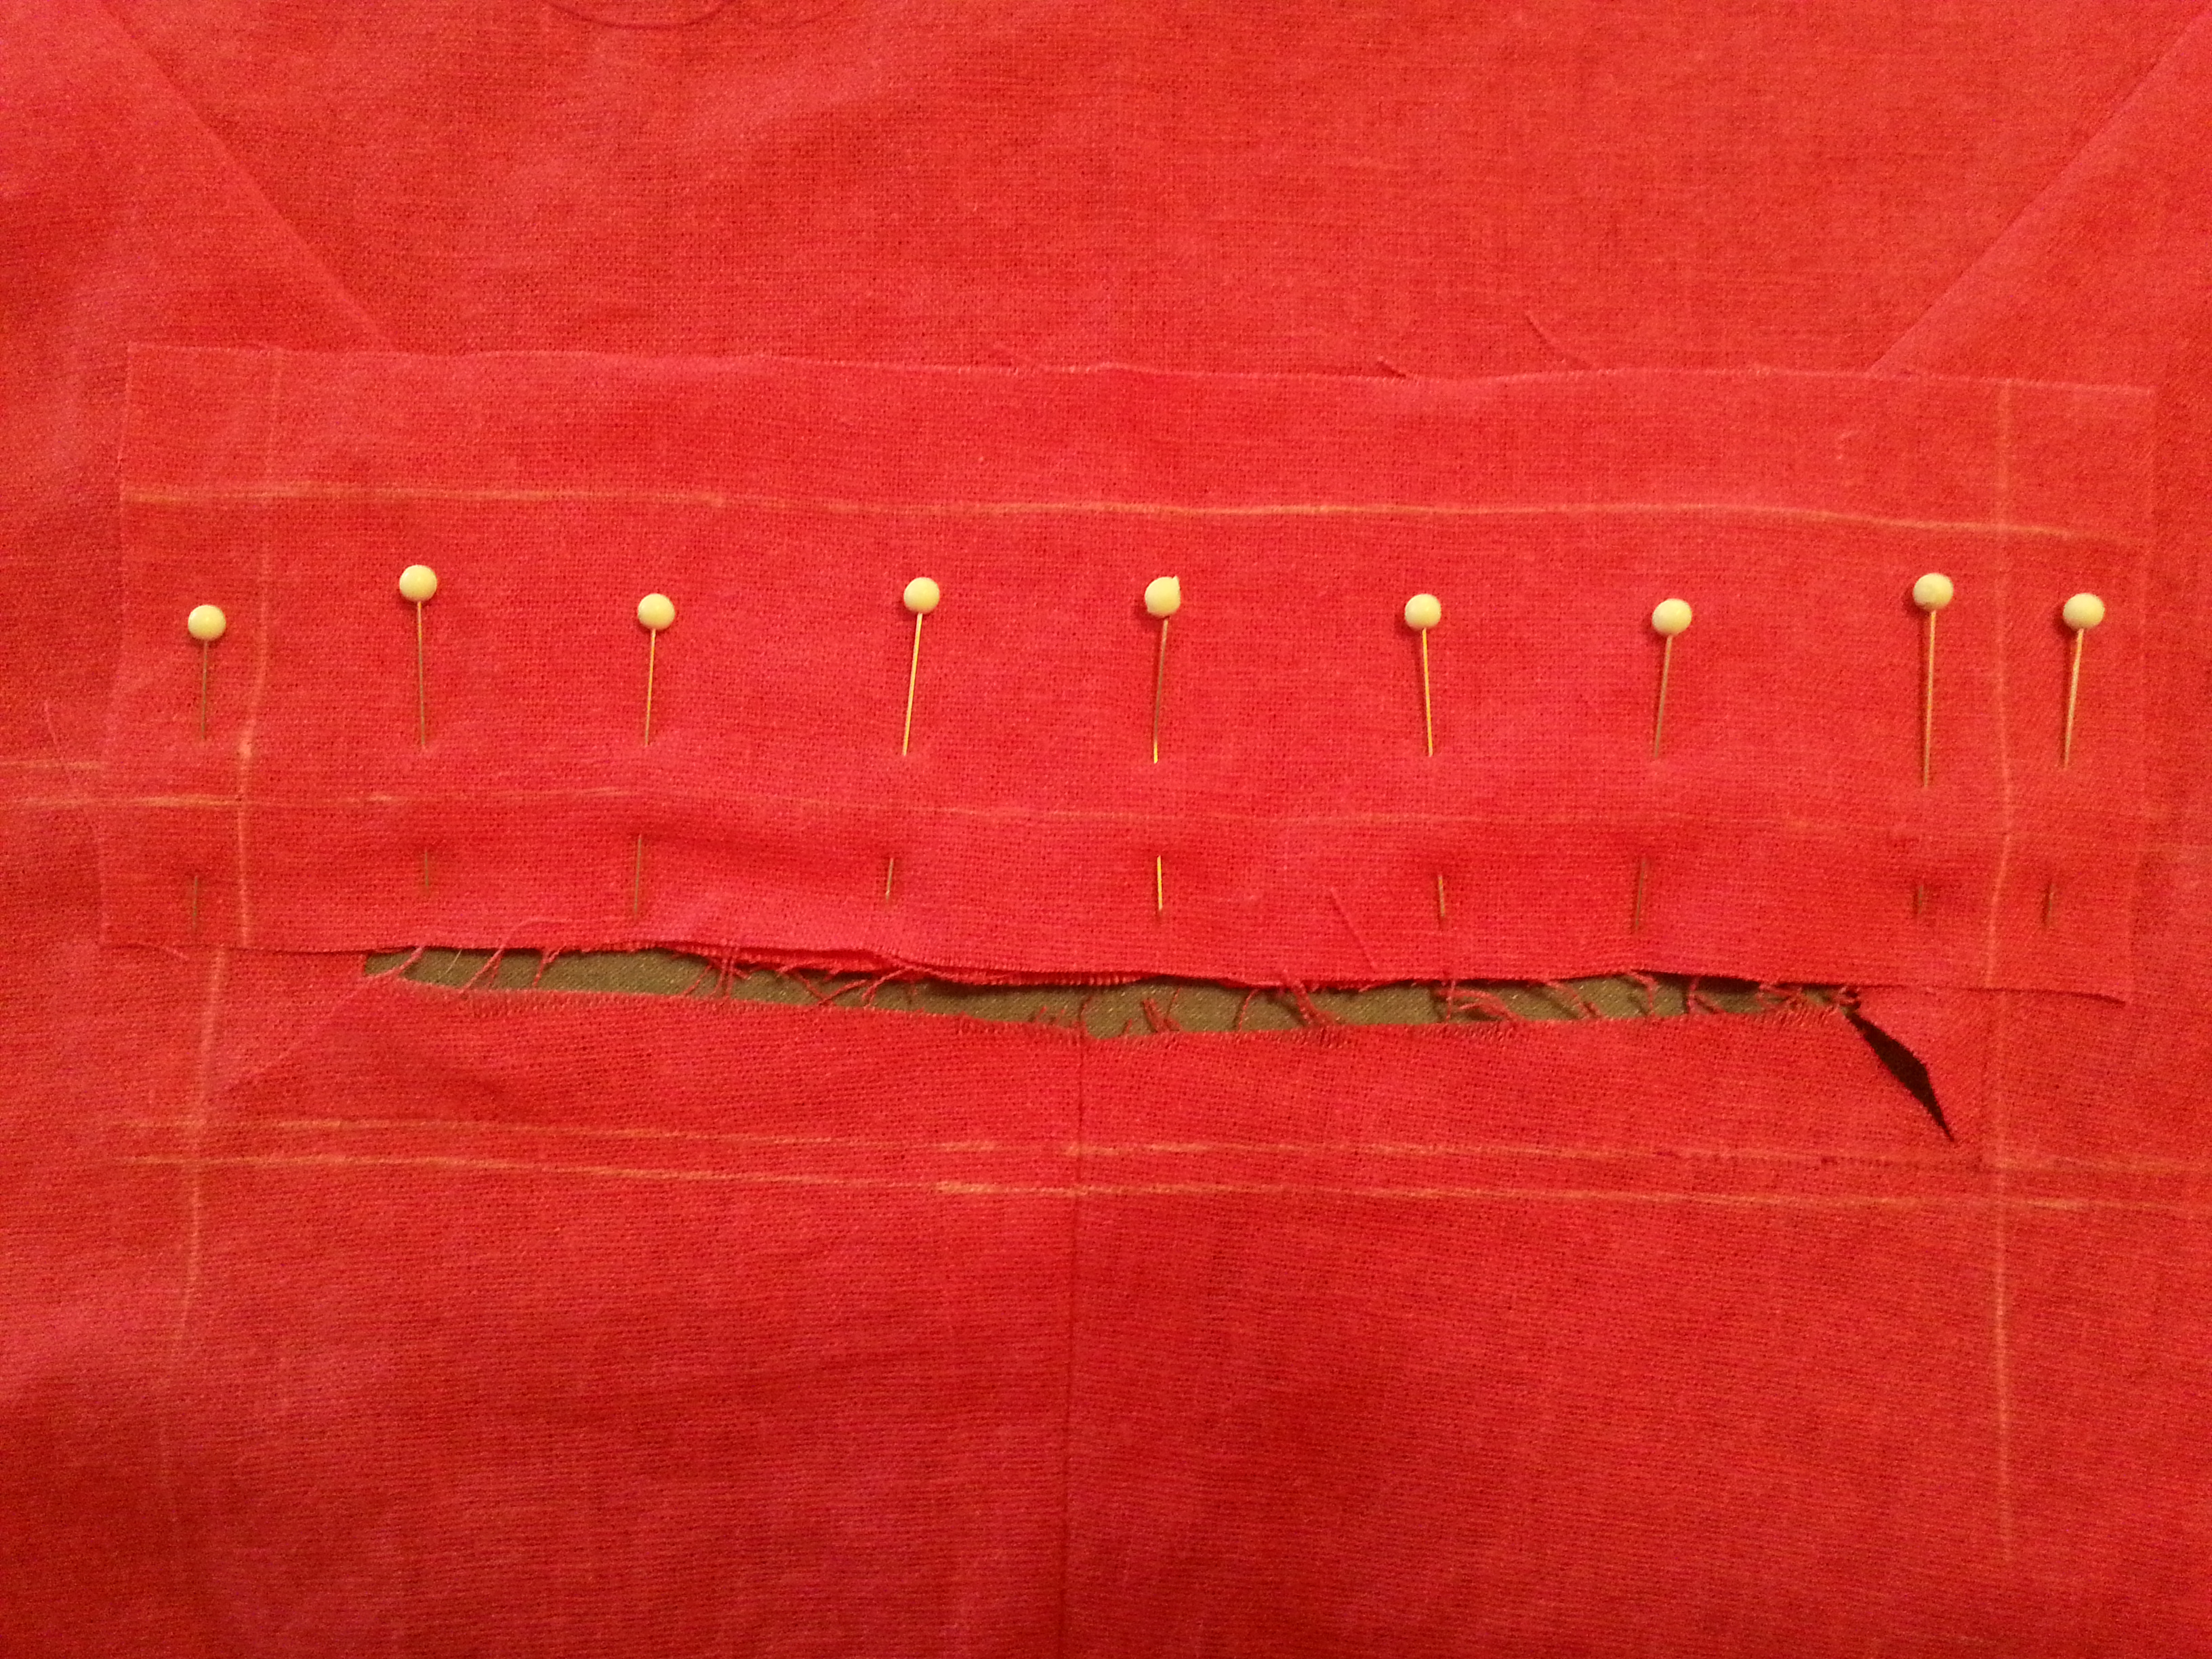
I was determined that on this version I was going to have perfect corners on my front placket, but it wasn’t to be. Still the crisper fabric made it easier to be precise in my cutting and sewing.
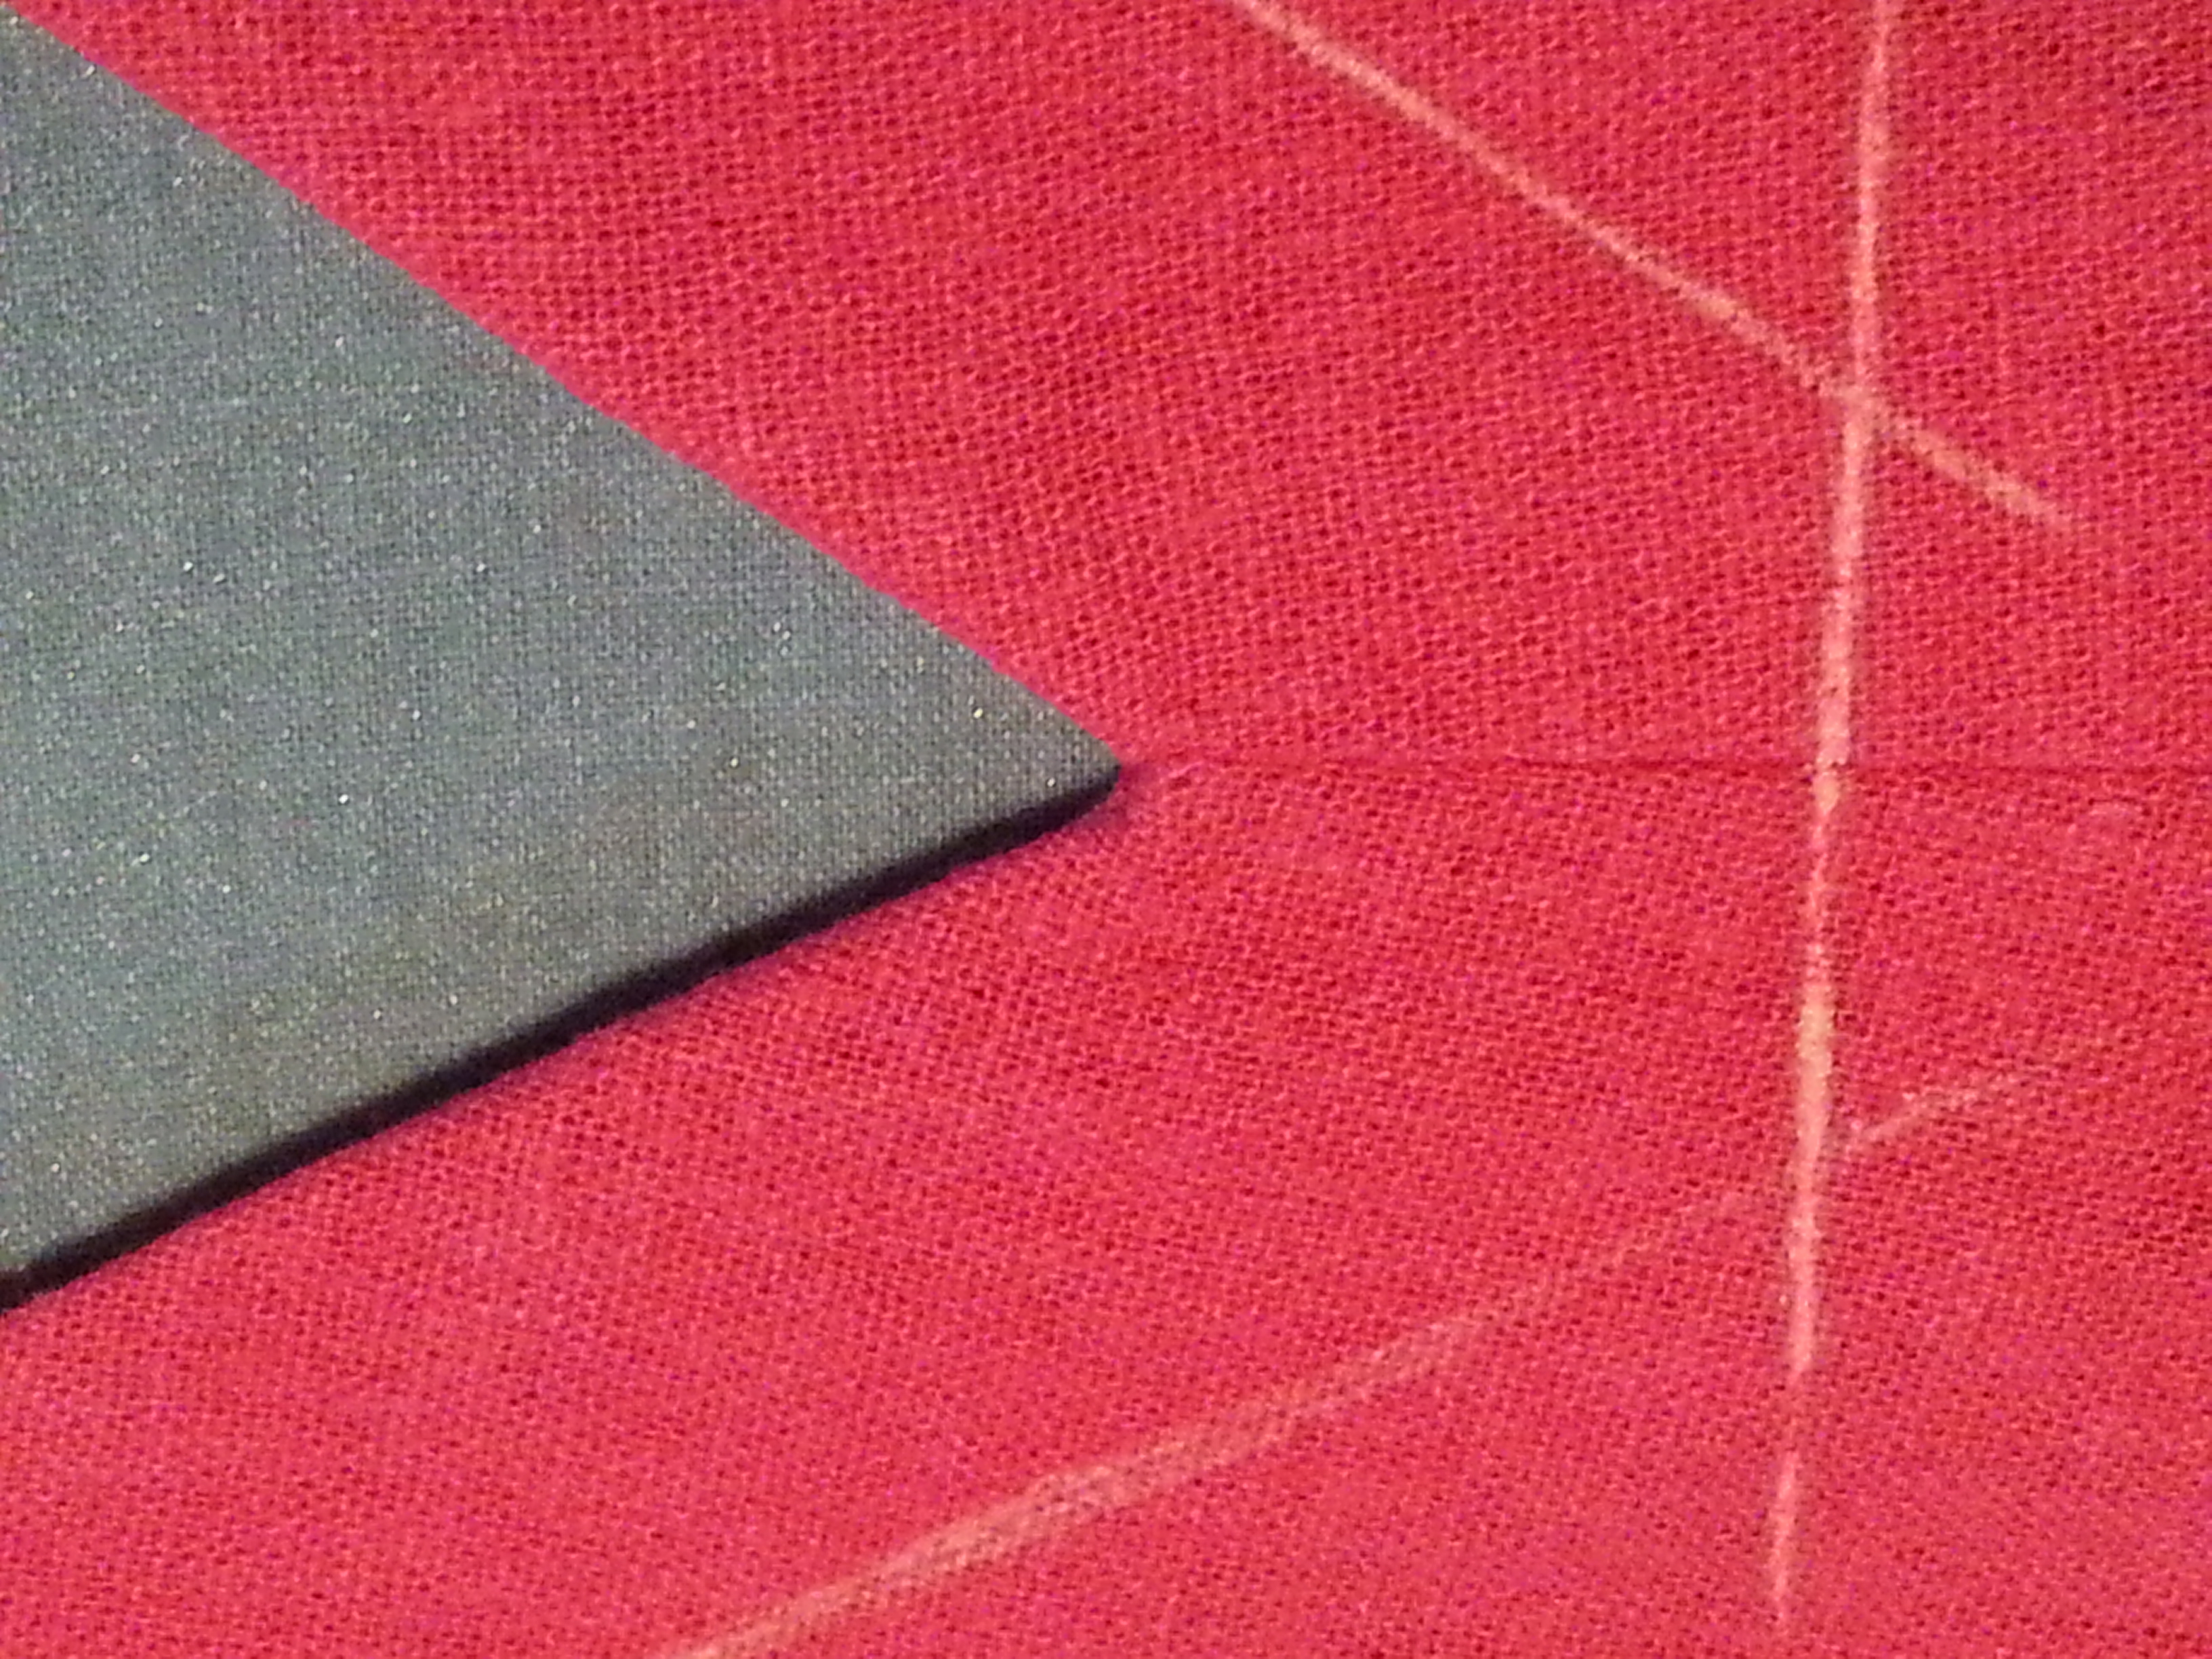
That precision may not have given me a perfect placket, but my v-neck is nearly perfect! I used a tricot interfacing this time around and I will probably use it more often in the future.
I’m not especially a fan of side seam pockets, so I switched it up to a front pocket echoing the angle of the darts. Someday I’m going to sit down with some scrap fabric and teach myself how to make welted pockets.
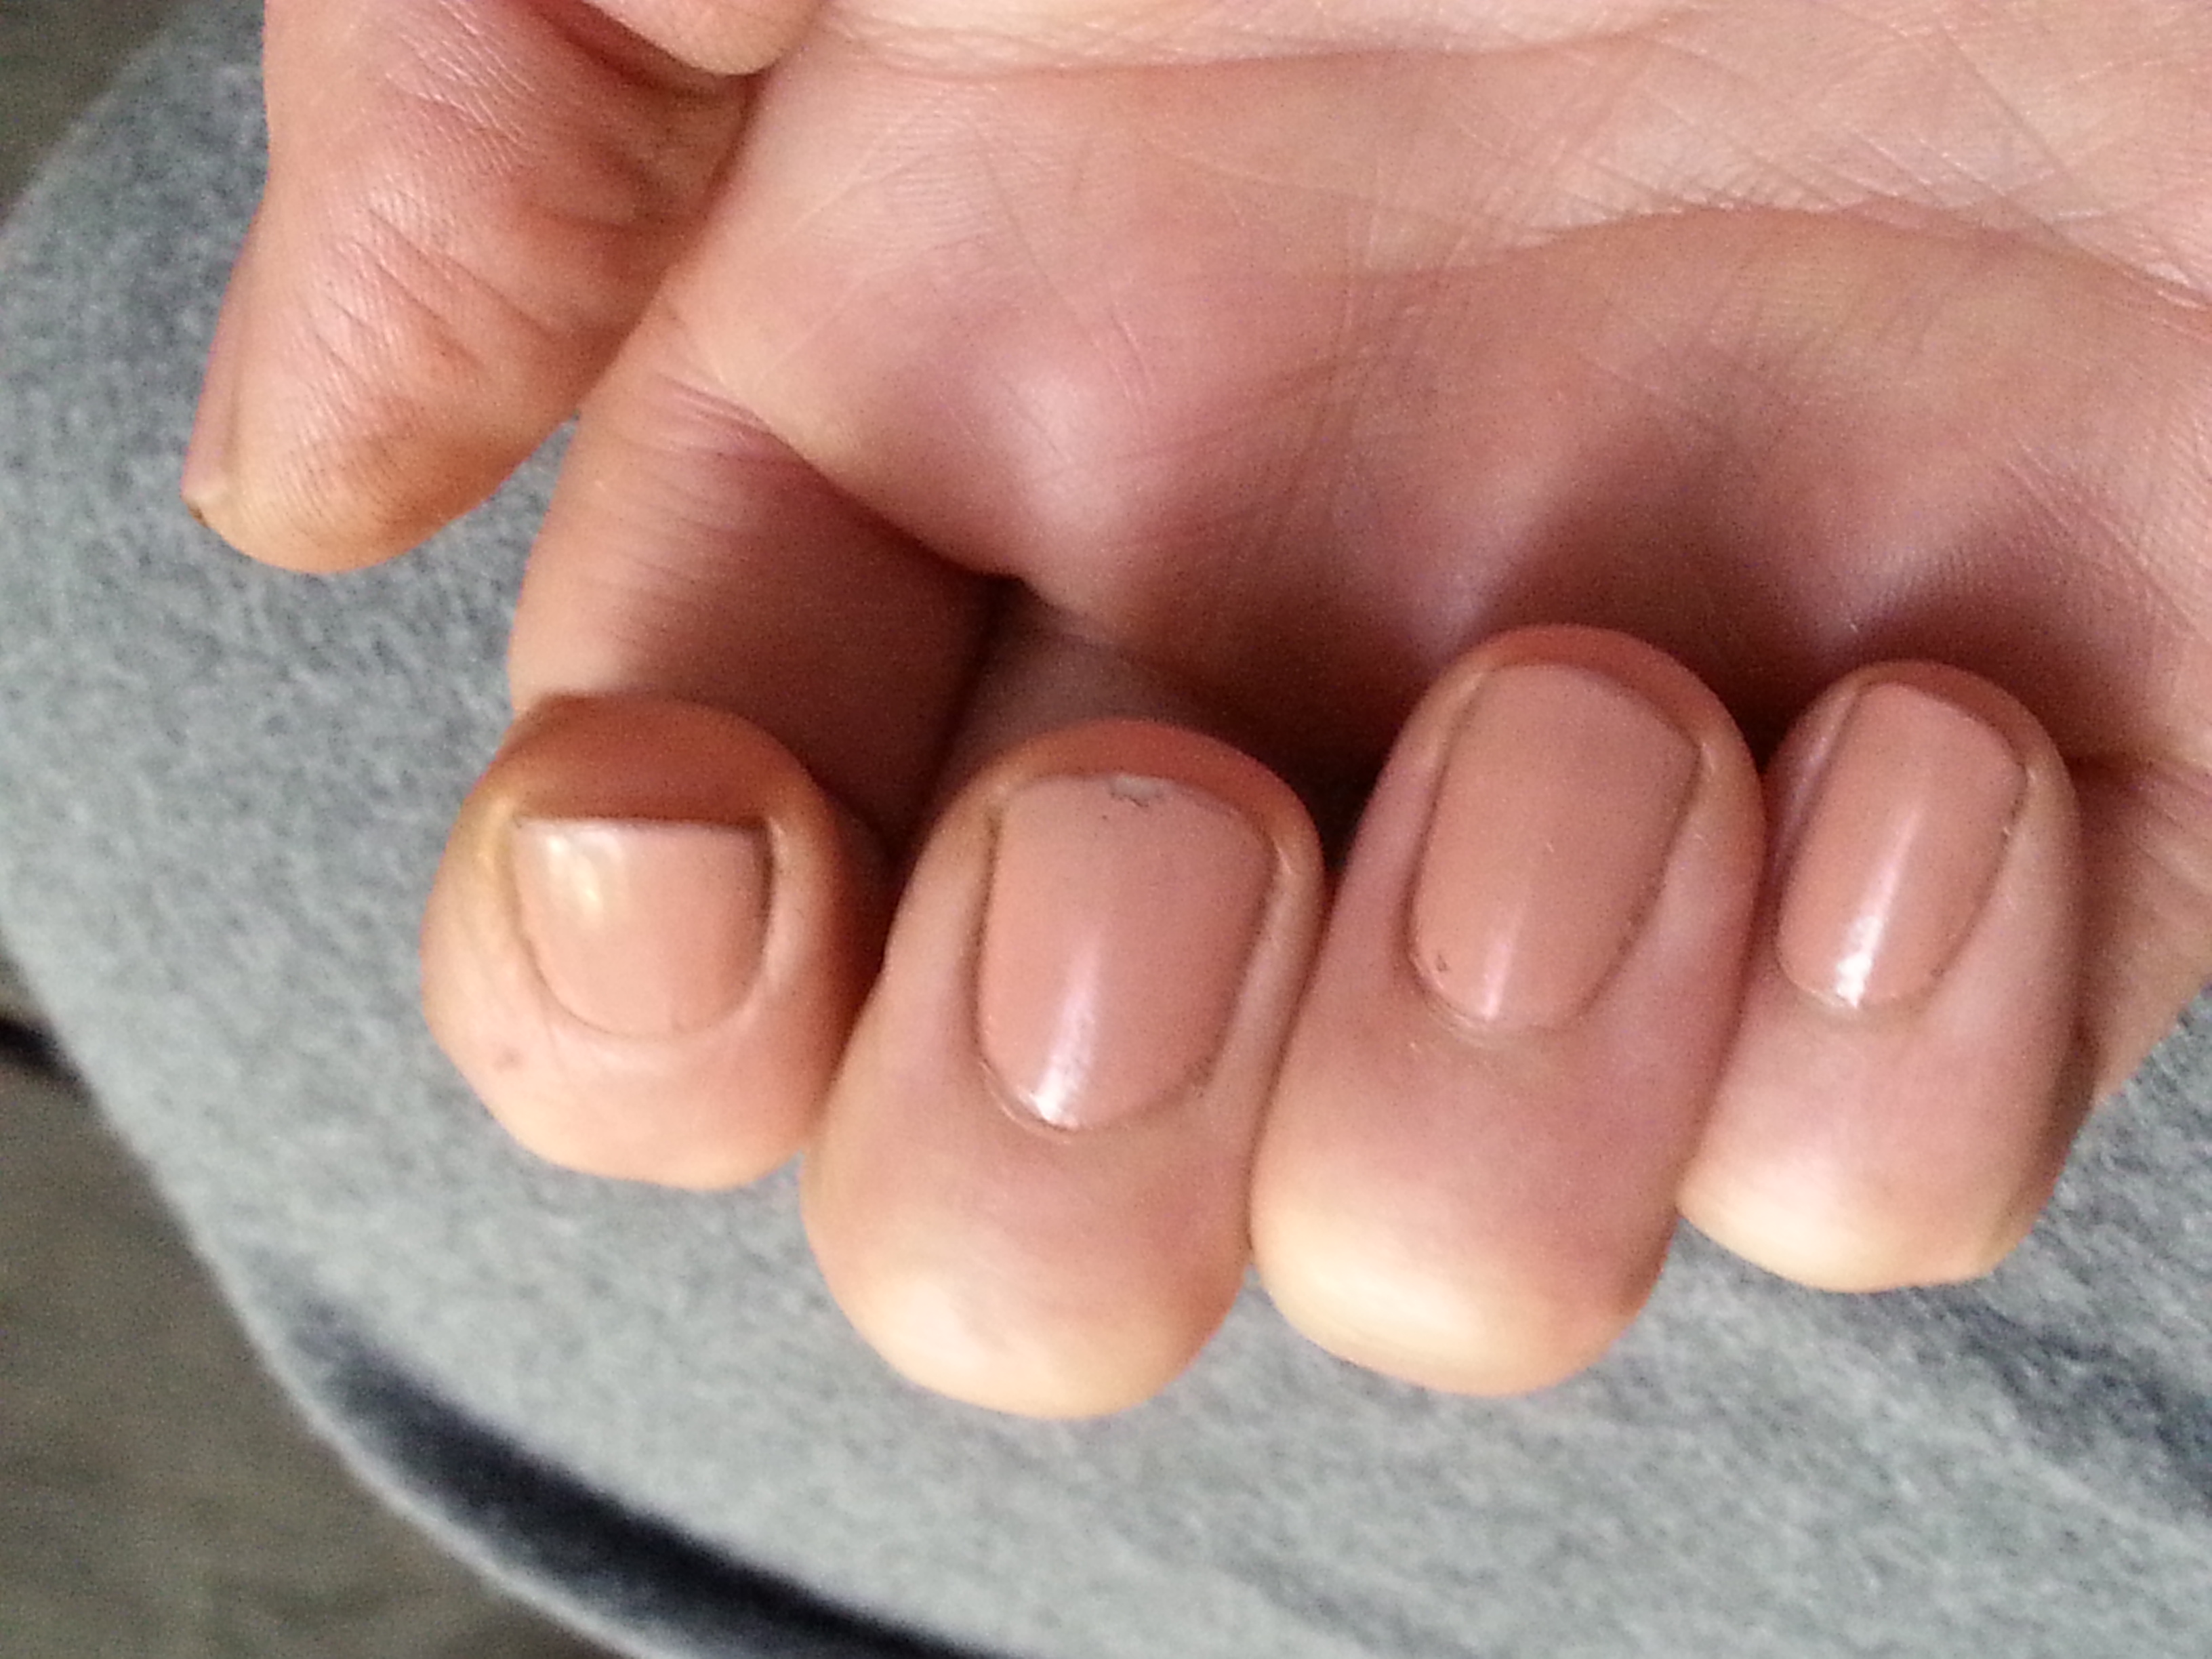
It was a bit of a hoot wearing a dress to Canadian Tire to buy car parts. I surprised the older man waiting on me by talking about how satisfying it was to change the strut on my car myself. I know that particular Canadian Tire has, or at least had, a female mechanic but I guess he didn’t expect someone with painted nails wearing a dress to also work on their own car.
Speaking of nails, Joe Fresh nail polish for the win! Two coats of nude followed by one of Revlon clear and here’s how it looked after I replaced the stabilizer link on my car.
I hate shopping. I especially hate shopping for clothes. All clothes, any clothes, I hate it. I hate trying them on, I hate what the stores sell in my size and price range. But since I’m not a fan of running around naked either, I usually force myself to do the deed a couple of times a year. And you can tell by my clothes that I don’t enjoy the process.
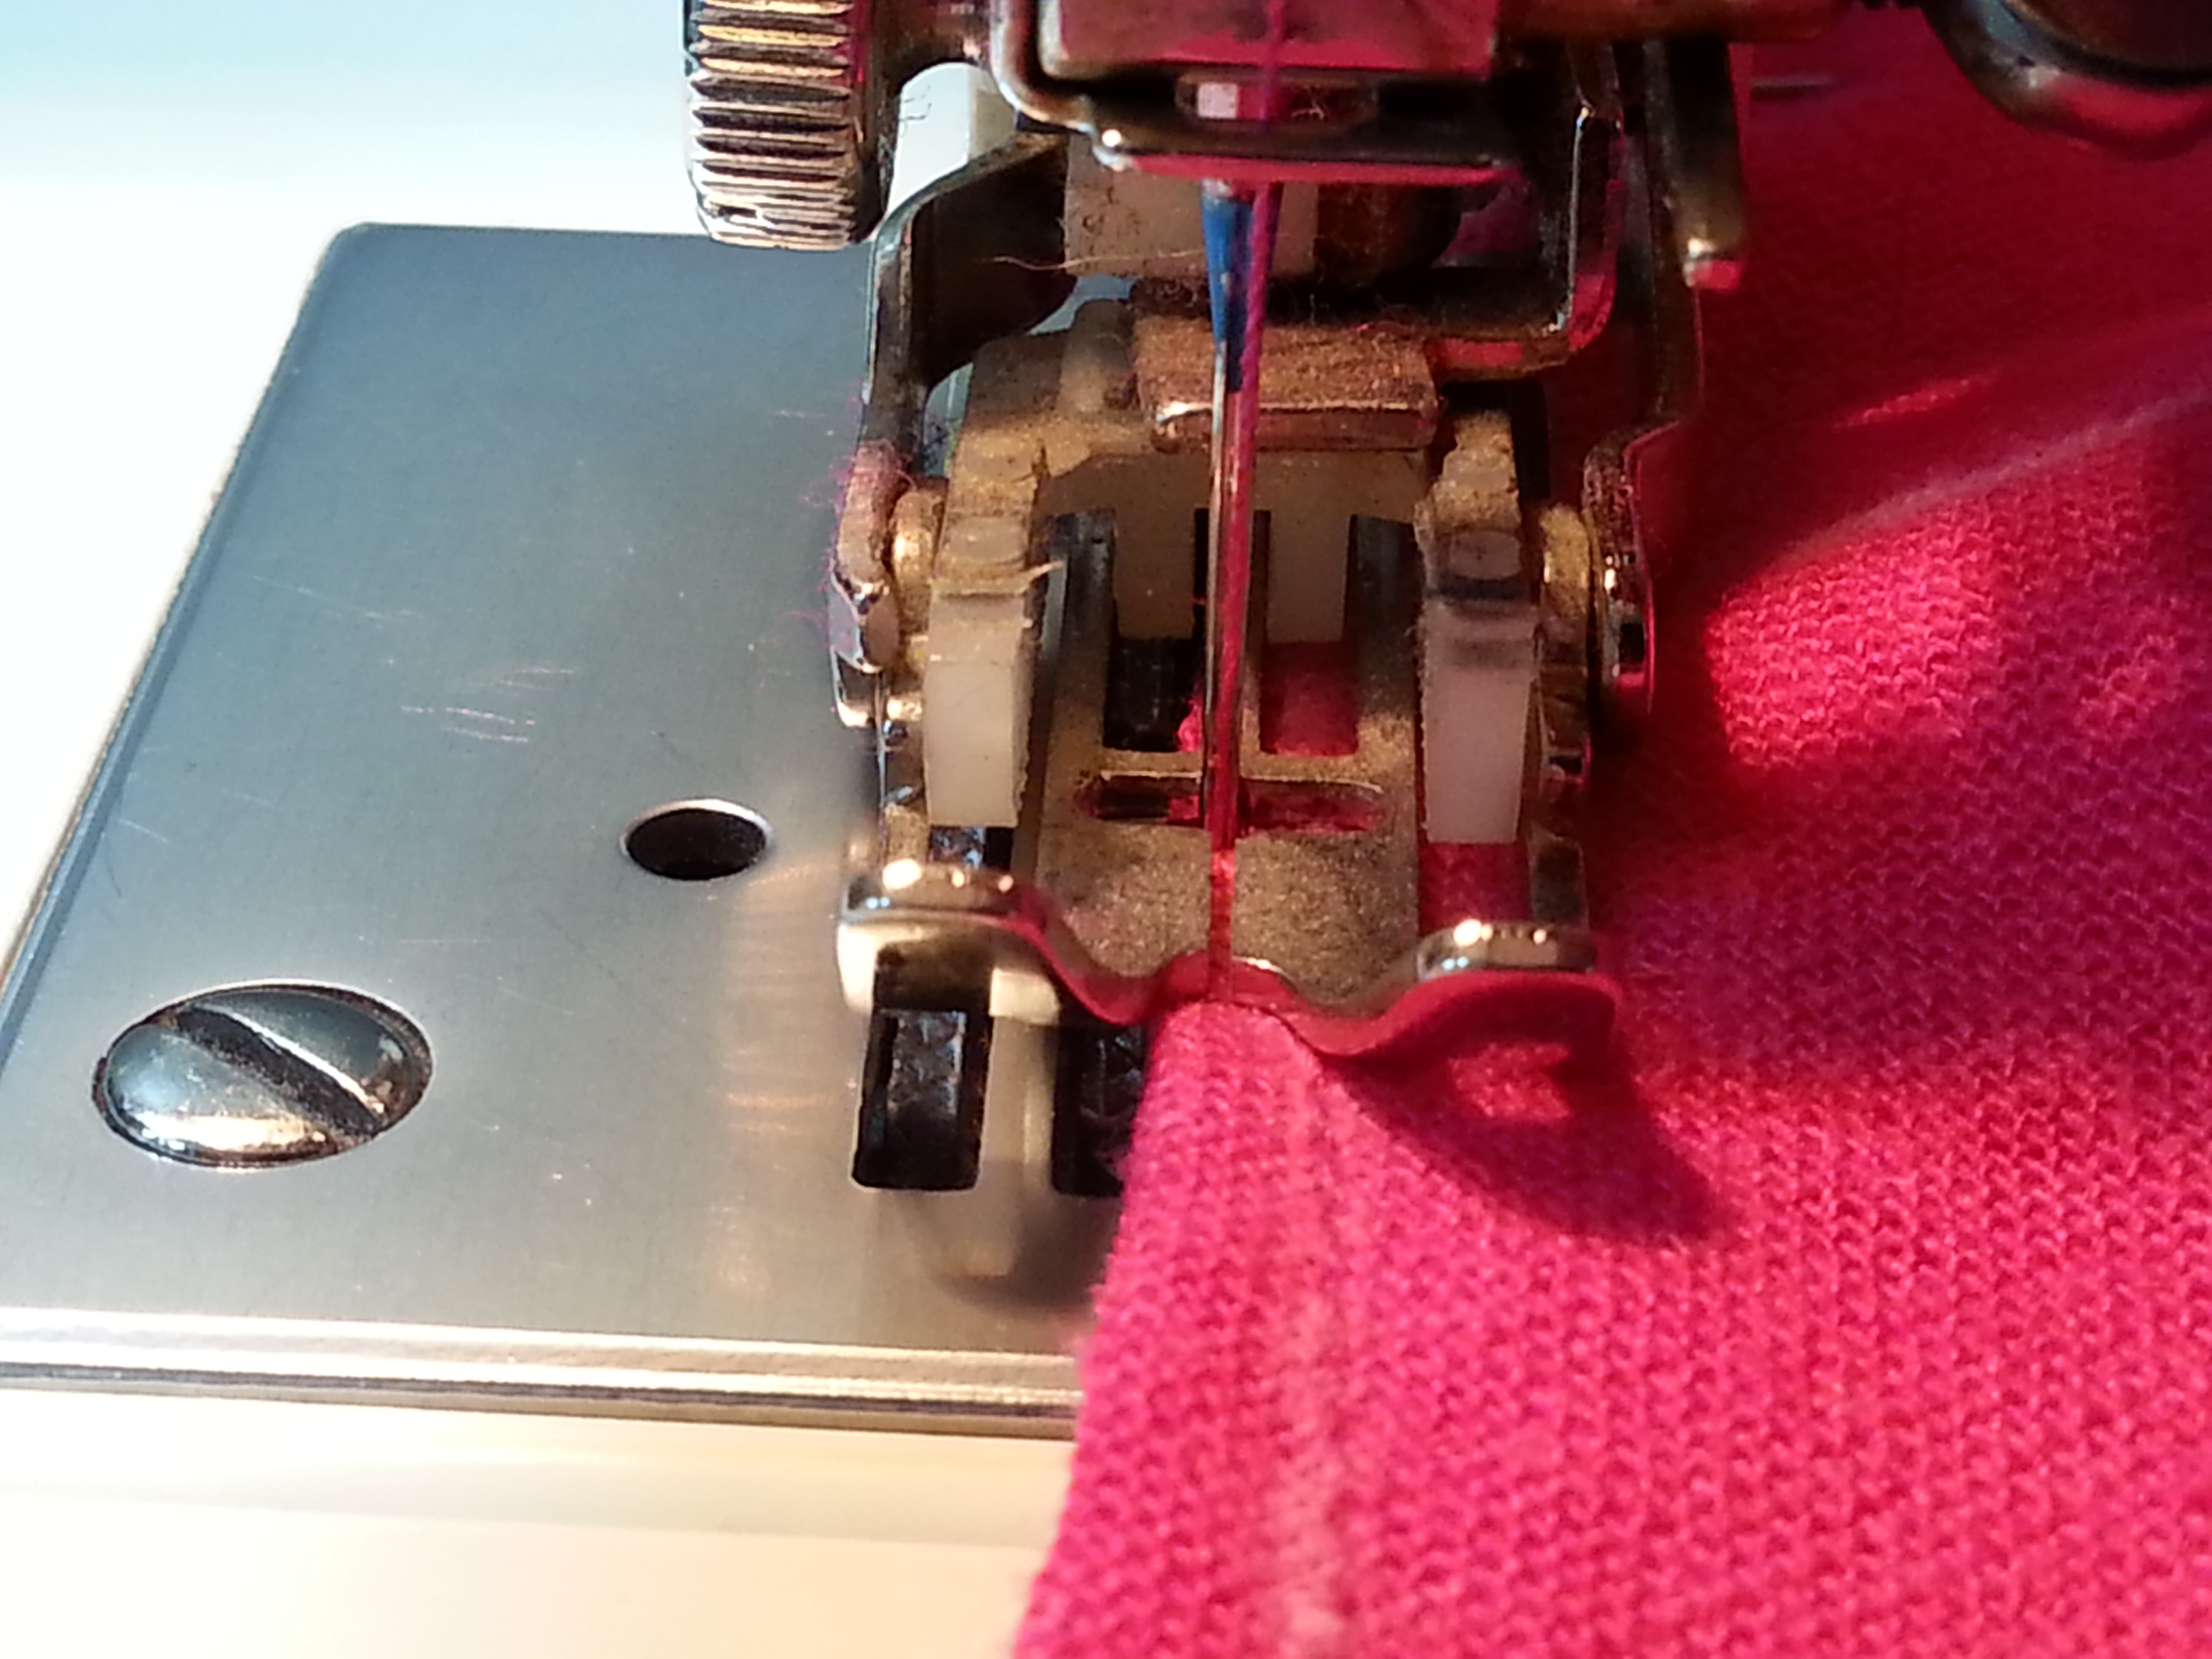
This summer I’ve switched it all up and started sewing again after a 15 year hiatus. Now there’s a process I enjoy. Turning fabric into something useful and wearable.
But the start of my renewed interest in sewing had a rocky start. Initially I wanted capris and shorts. Two summer wardrobe staples. I made the trip to Fabricland and came home with a gorgeous linen rayon blend in navy & black along with a pattern for some pretty basic pants. Waistband, front fly, slash pockets – perfect for semi-casual type pants.
Aaaand the pattern was garbage. I made all of my fitting adjustments (thank you Curvy Sewing Collective – a fabulous sewing resource) and then cut my fabric for a pair of capris. While I was making my adjustments, I thought it a bit odd that as the sizes increased, they added length to the bottom of the front pants piece but on the back piece added it at the top. But what do I know about drafting a pants pattern right?
Turns out I was completely right and the pattern left me with two front legs and two back legs that seemed as if they were from two completely different patterns. Yay for expensive commercial patterns! Truthfully it also left me with a strong sense of deja vu, I am convinced this same pattern was my last incomplete project – 15 years ago. Which is when I put my machines away and got rid of my fabric stash. I wonder how many aspiring sewists gave up sewing on that particular pattern?
But it turns out the internet has made some big changes in the sewing world over the past 15 years. Sewing tips are at our fingertips, no more waiting for Nancy Zieman on PBS every Sunday when there’s YouTube channels and Blogs devoted to sewing. Even better are some of the patterns available on these sites. So I’m hooked on sewing again and loving the results that are coming out of my sewing machine. Expect to see more sewing related posts.
I first encountered Stachys Bello Grigio a year ago in California. The common name for Stachys is Lambs Ears, which is a pretty apt description of the soft furry leaves of these plants, but none of them are as crisply white as Bello Grigio.
Bello Grigio immediately became my must have plant for the year. Except it was nearly unheard of – even on Google. This year I got lucky and managed to get two. I gave one to my mother and kept the other one.
My Bello Grigio
Rumored to be hardy in zones 7-9, I decided to play it safe by planting in a pot. It also calls for part to full sun and since I’m still battling Chameleon weed in my limited part-sun locations a pot prevents any accidental contact with herbicides.
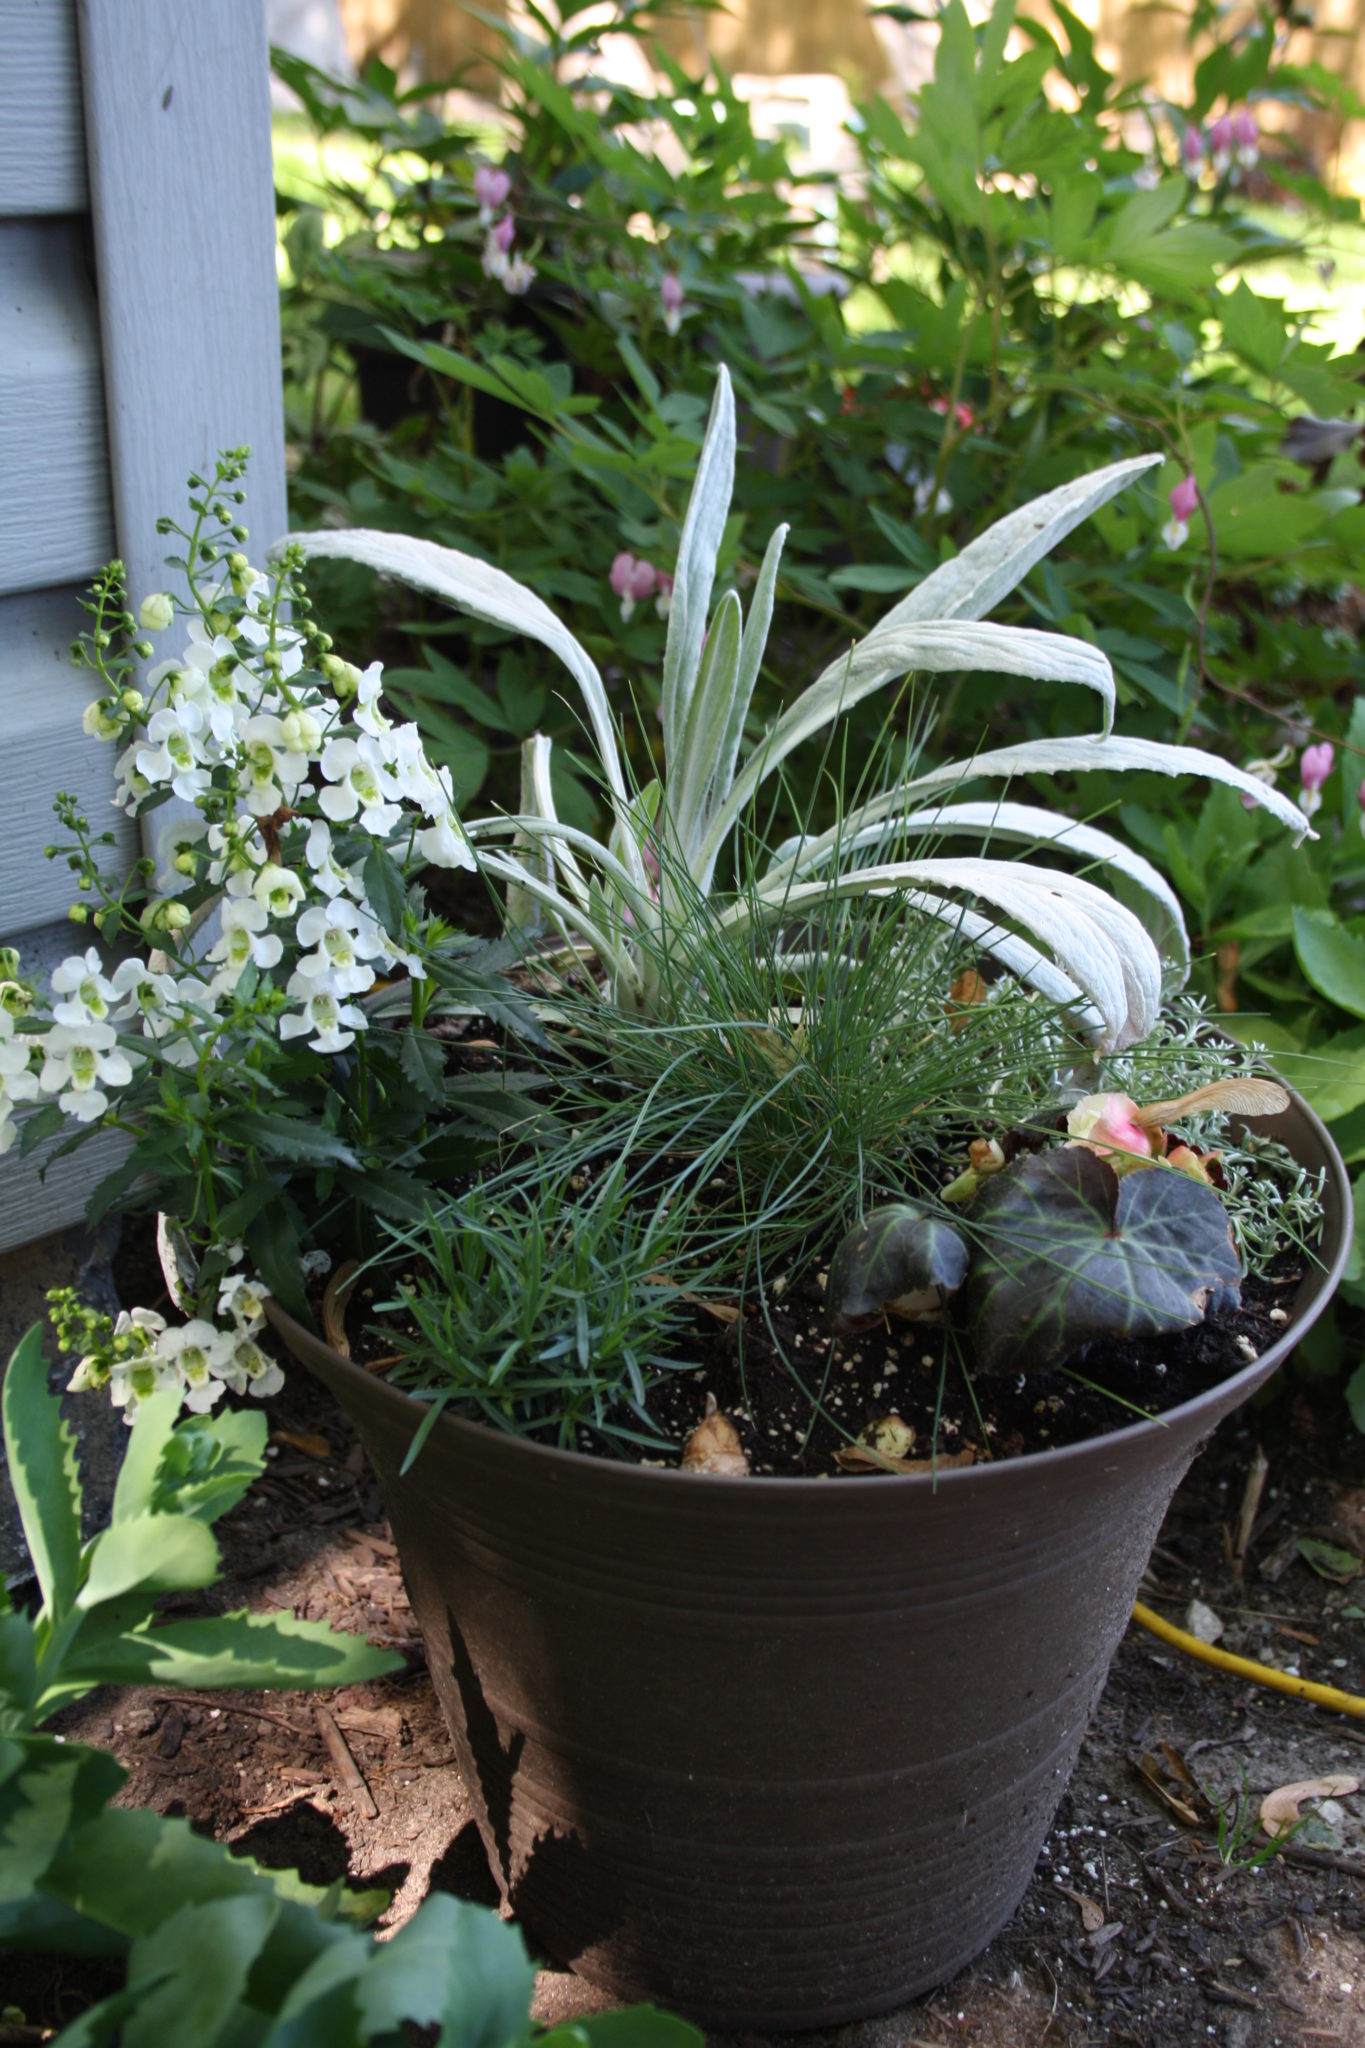
Initially I thought it would be a good mate for the striking but tricky to showcase Heuchera ‘Black Pearl‘, and tried to make that arrangement work in one of my dark brown pots from last year. I included some other plants with both dark foliage (Non Stop Mocca White Begonia) and silvery foliage (Calocephalus Bed Head) but it just did not look right. So last weekend I started over. I’ll show you later what I did with Black Pearl.
I kept the Non Stop Mocca White begonia.
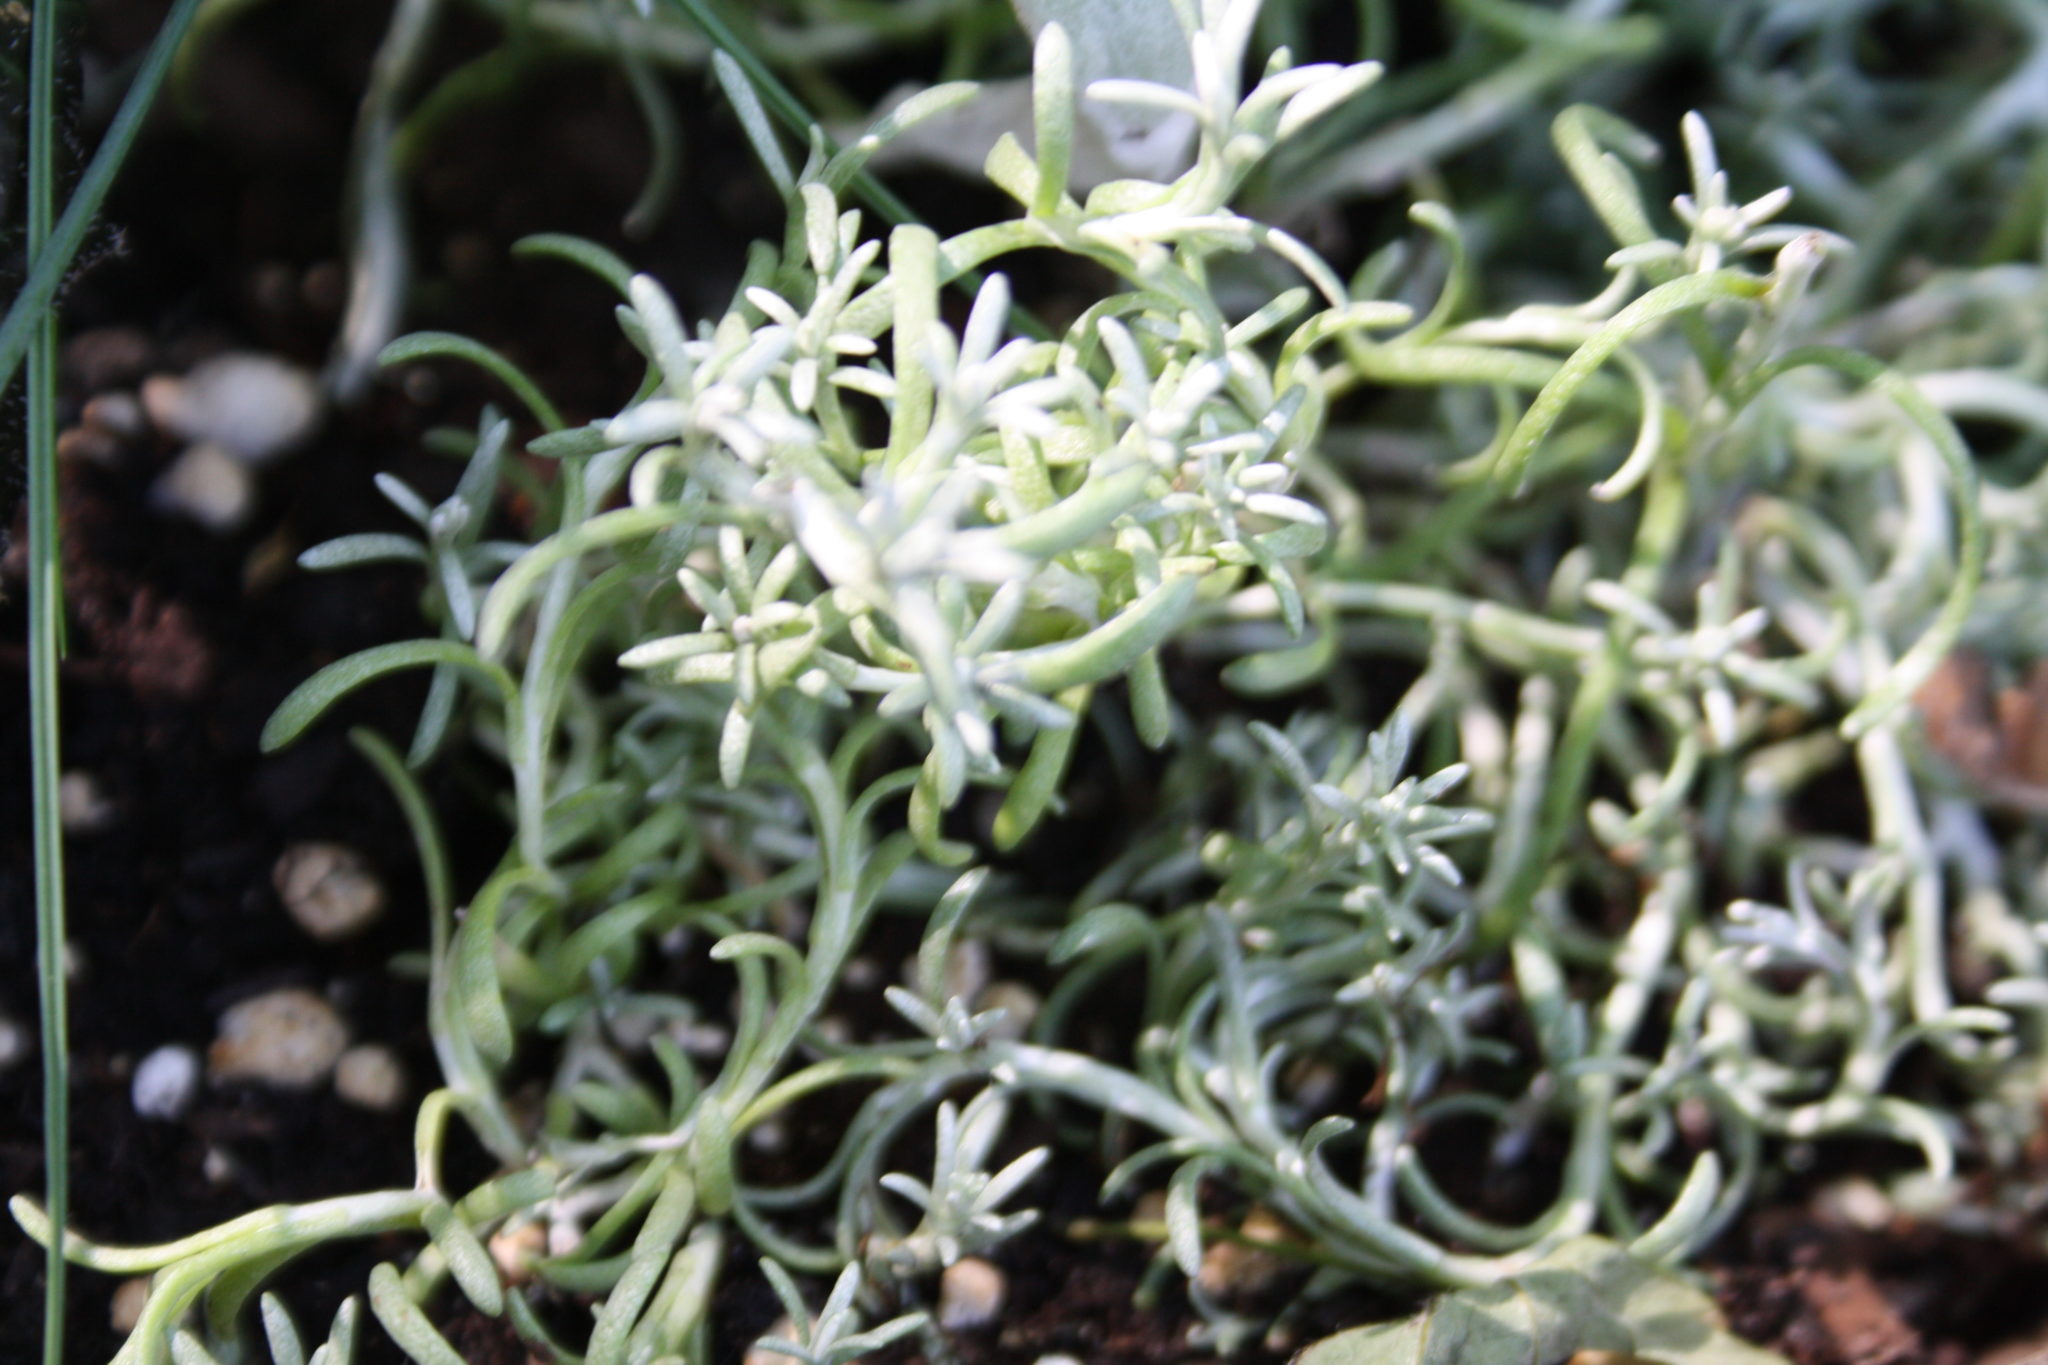
And the Calocephalus ‘Bed Head’.
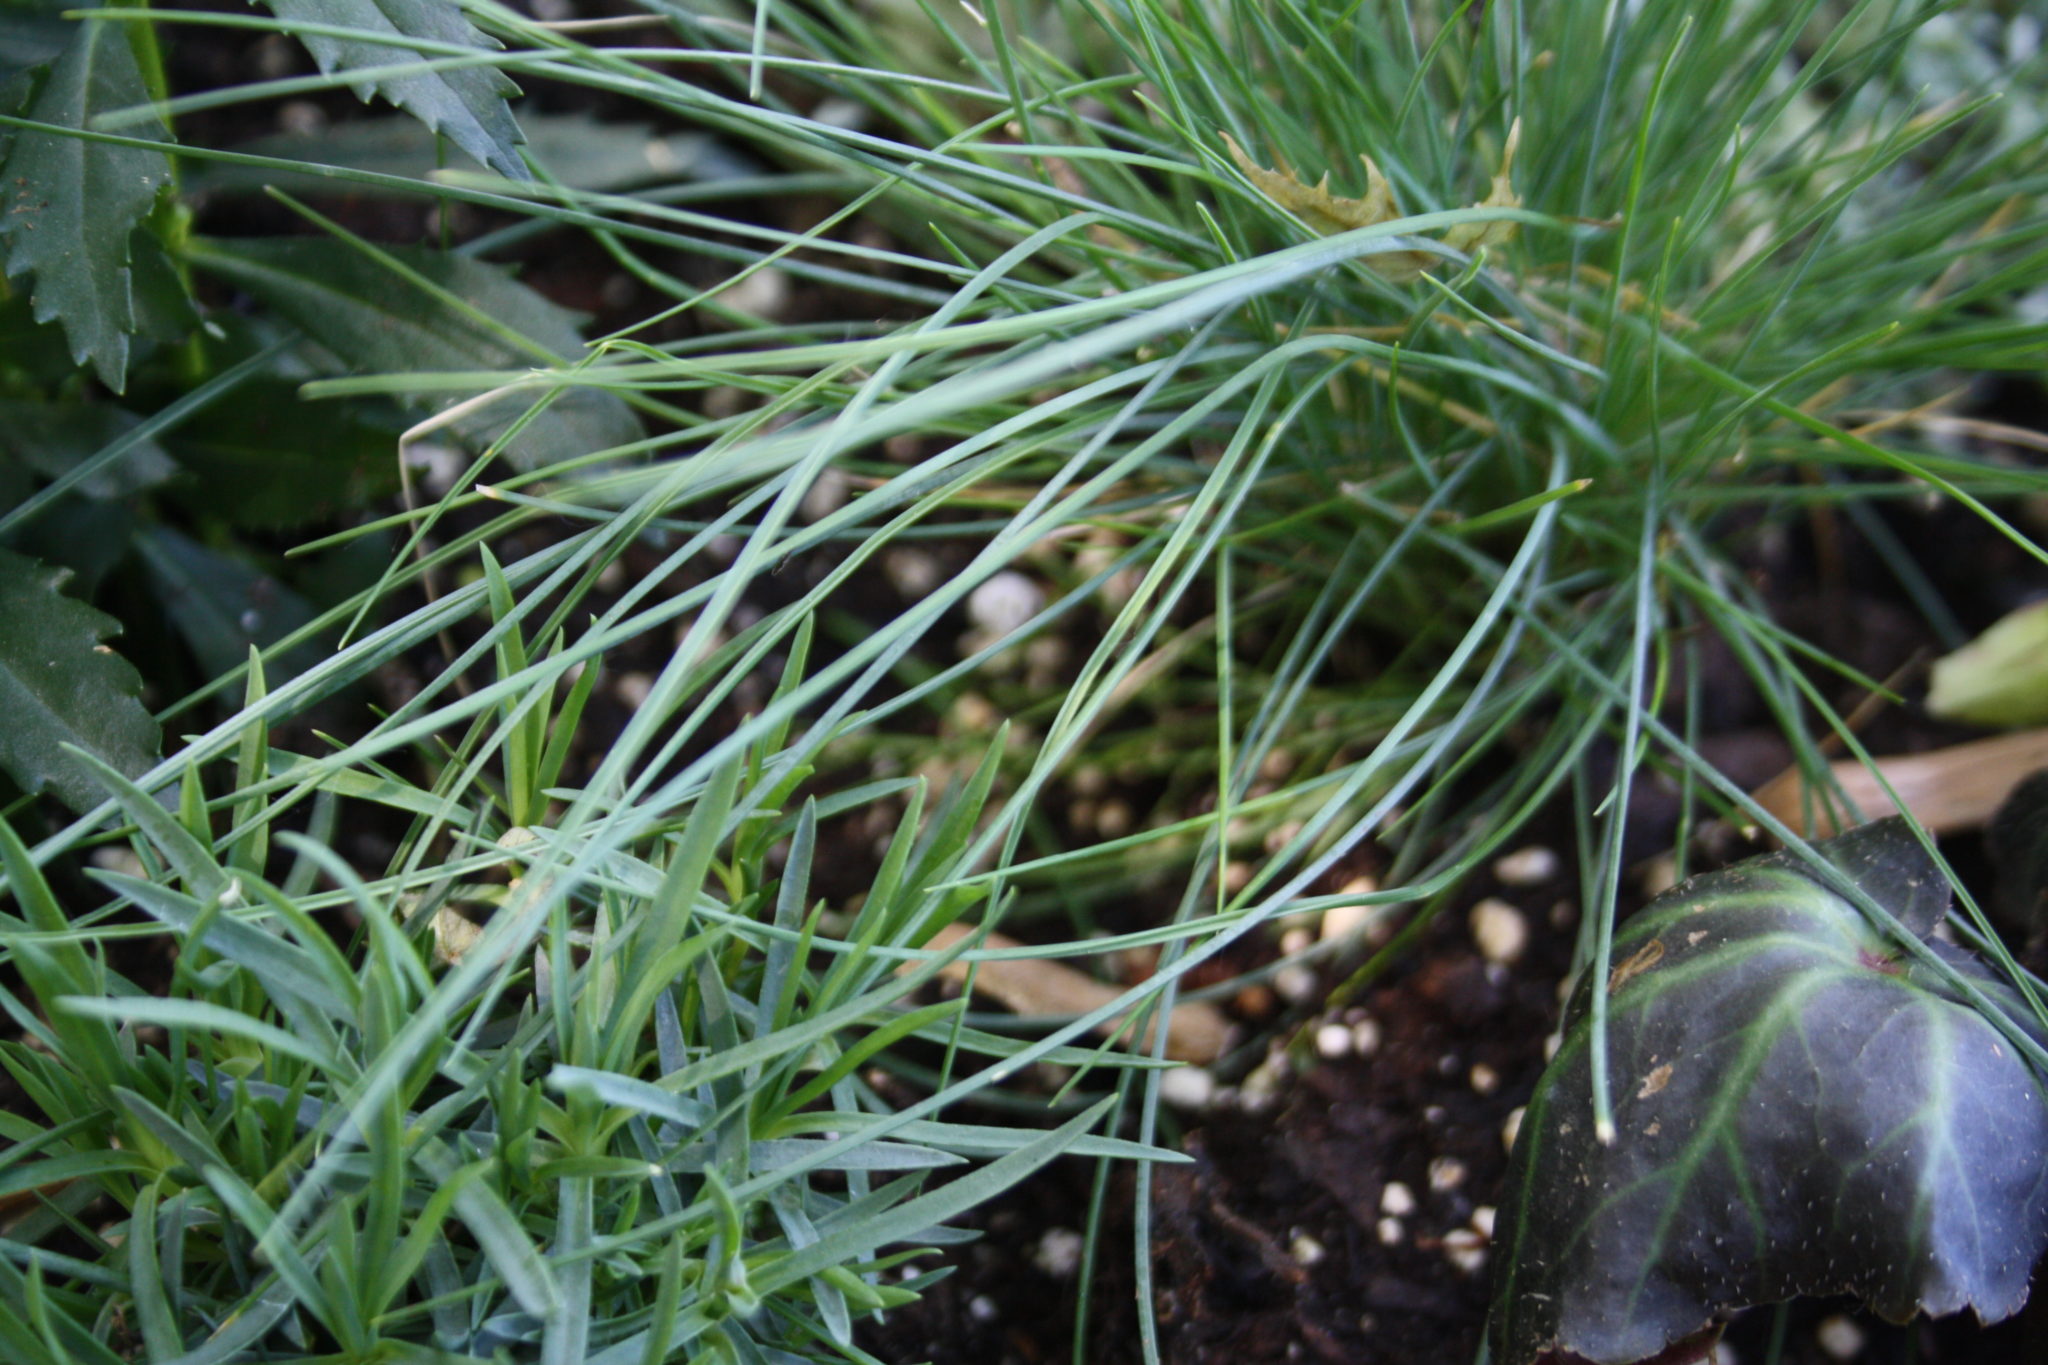
I added Dianthus Paint the Town Magenta and Festuca Blue Whiskers.
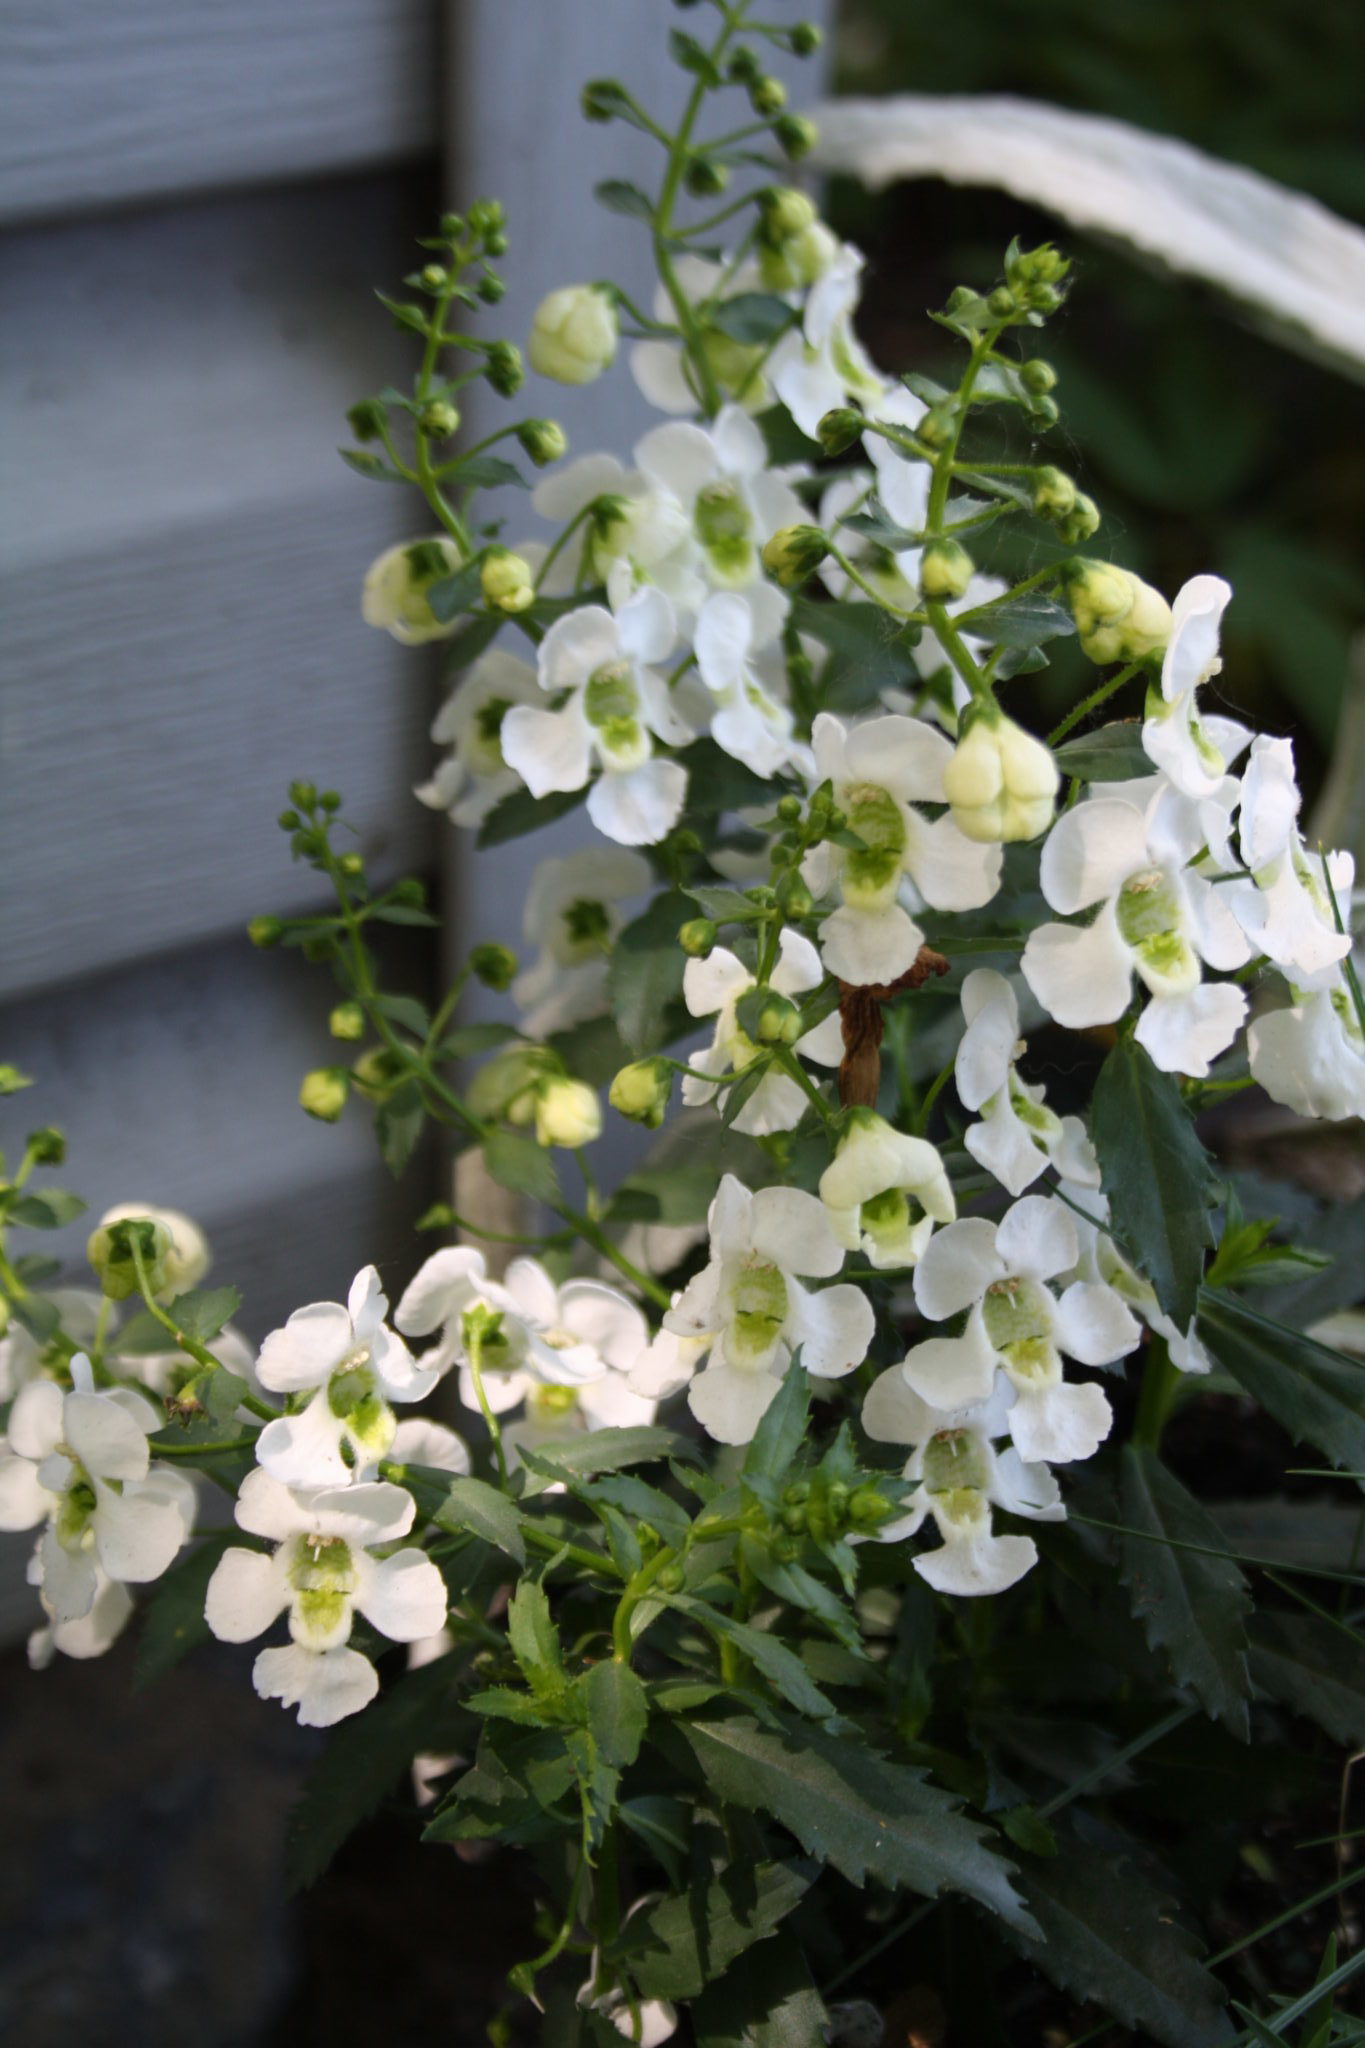
I also added a white Angelonia, and put it all in a more neutral toned pot.
This planter is almost as pretty at night as it is during the day time.
Stachys Bello Grigio at a glance:
Still relatively new, there is not a lot of information about this plant yet. Produced from tissue culture, if you are lucky enough to find it expect your wallet to take a hit.
Exposure:
Sun to part-sun
Moisture:
Drought tolerant once established
Height:
10-12″ (25-30 cm)
Spread:
12-18″ (30-45 cm)
If you enjoyed this post, don’t forget to share it with your friends! For more just like it, follow me on Pinterest, Facebook and Twitter or sign up for regular updates by email.
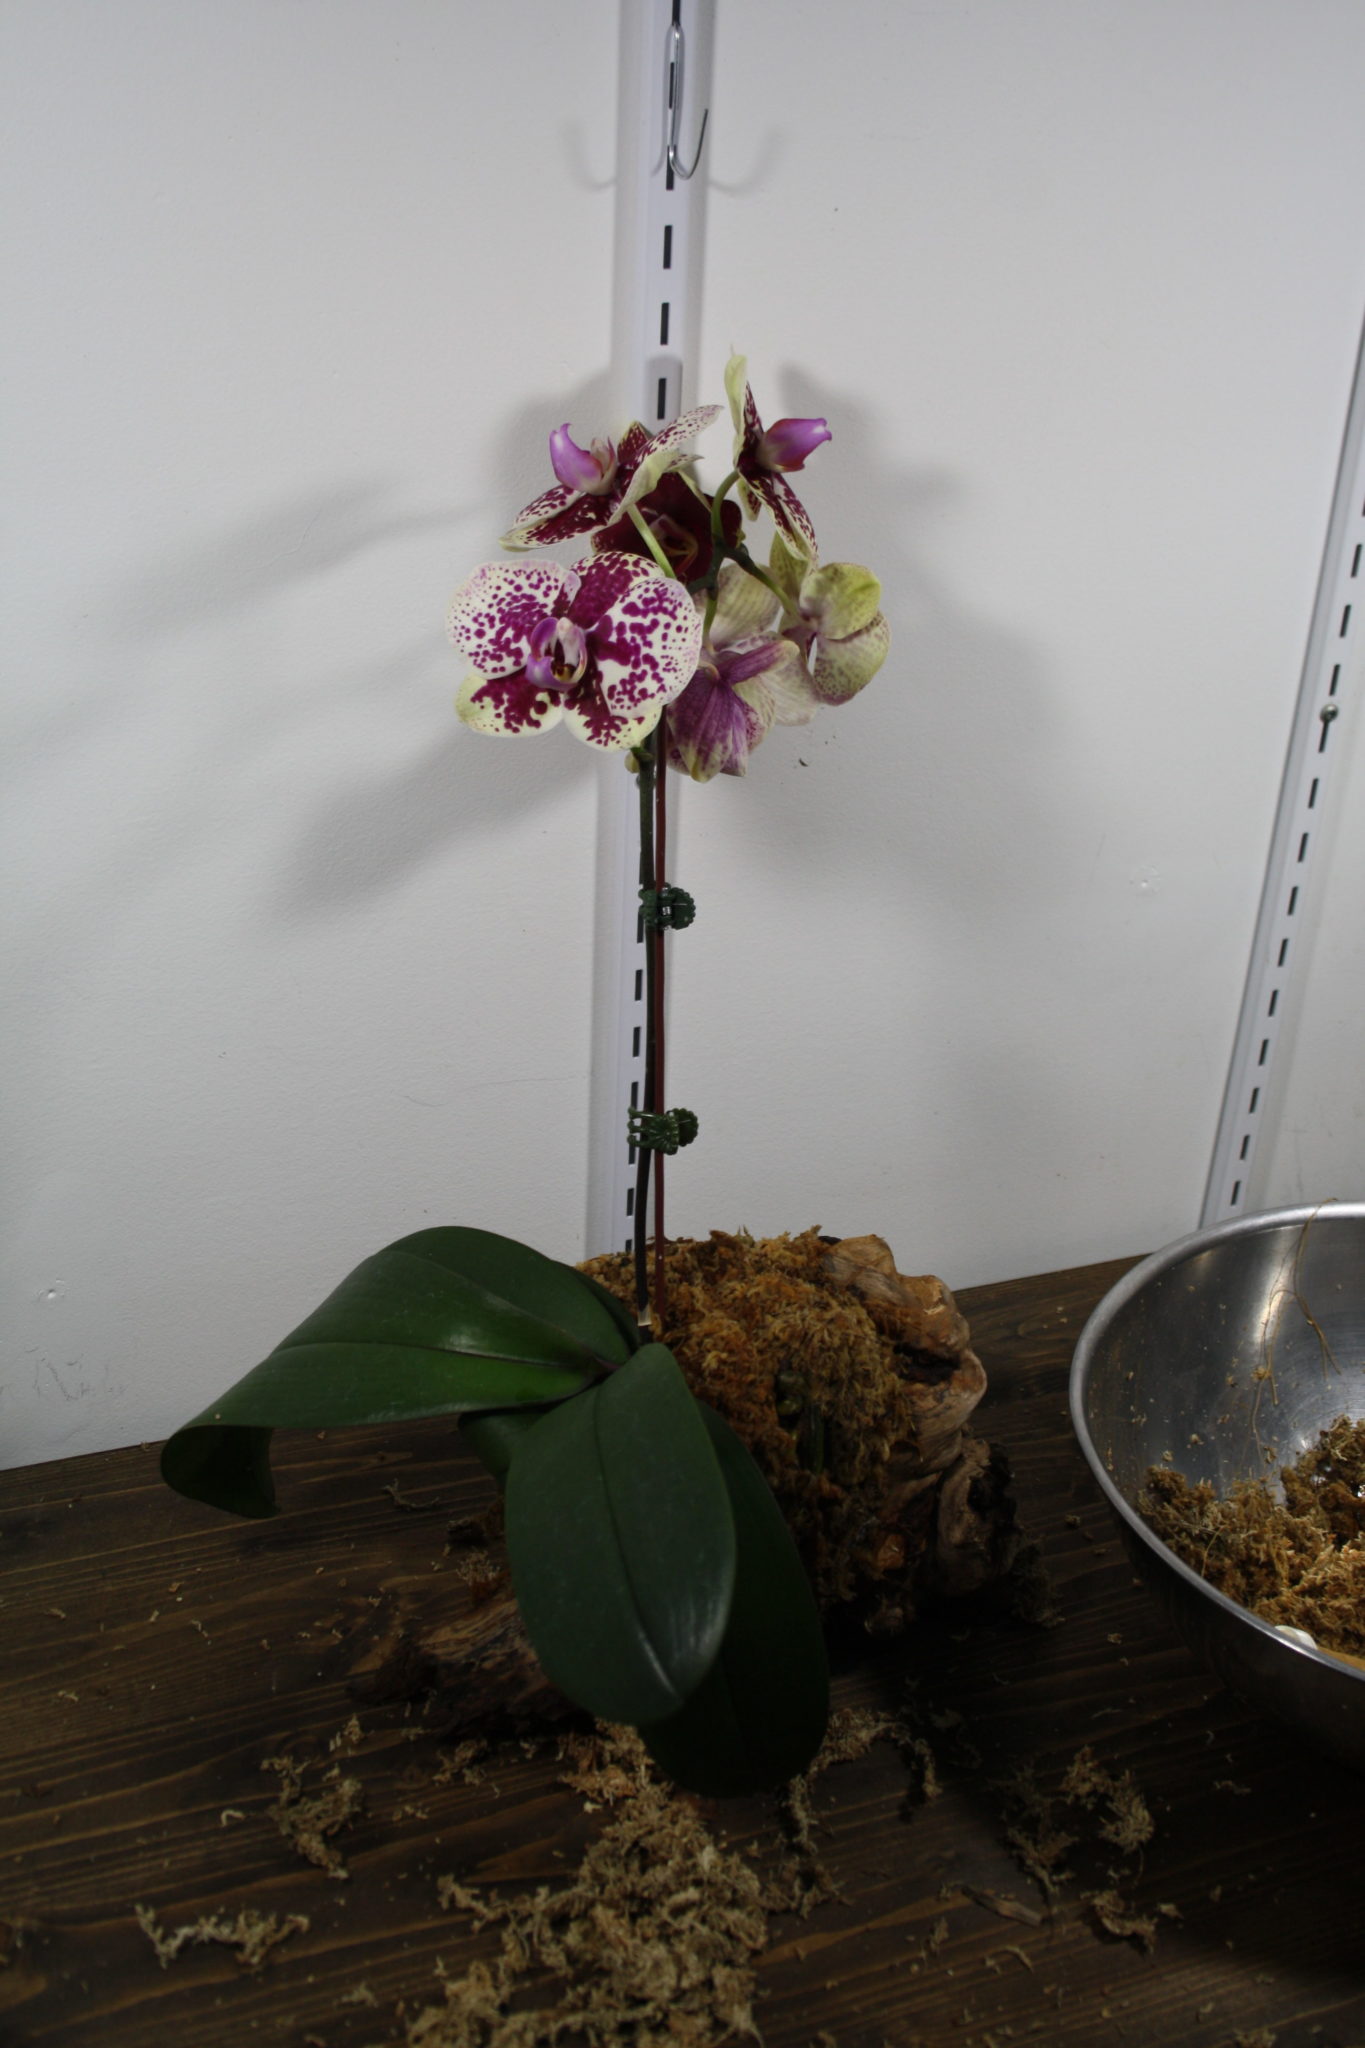
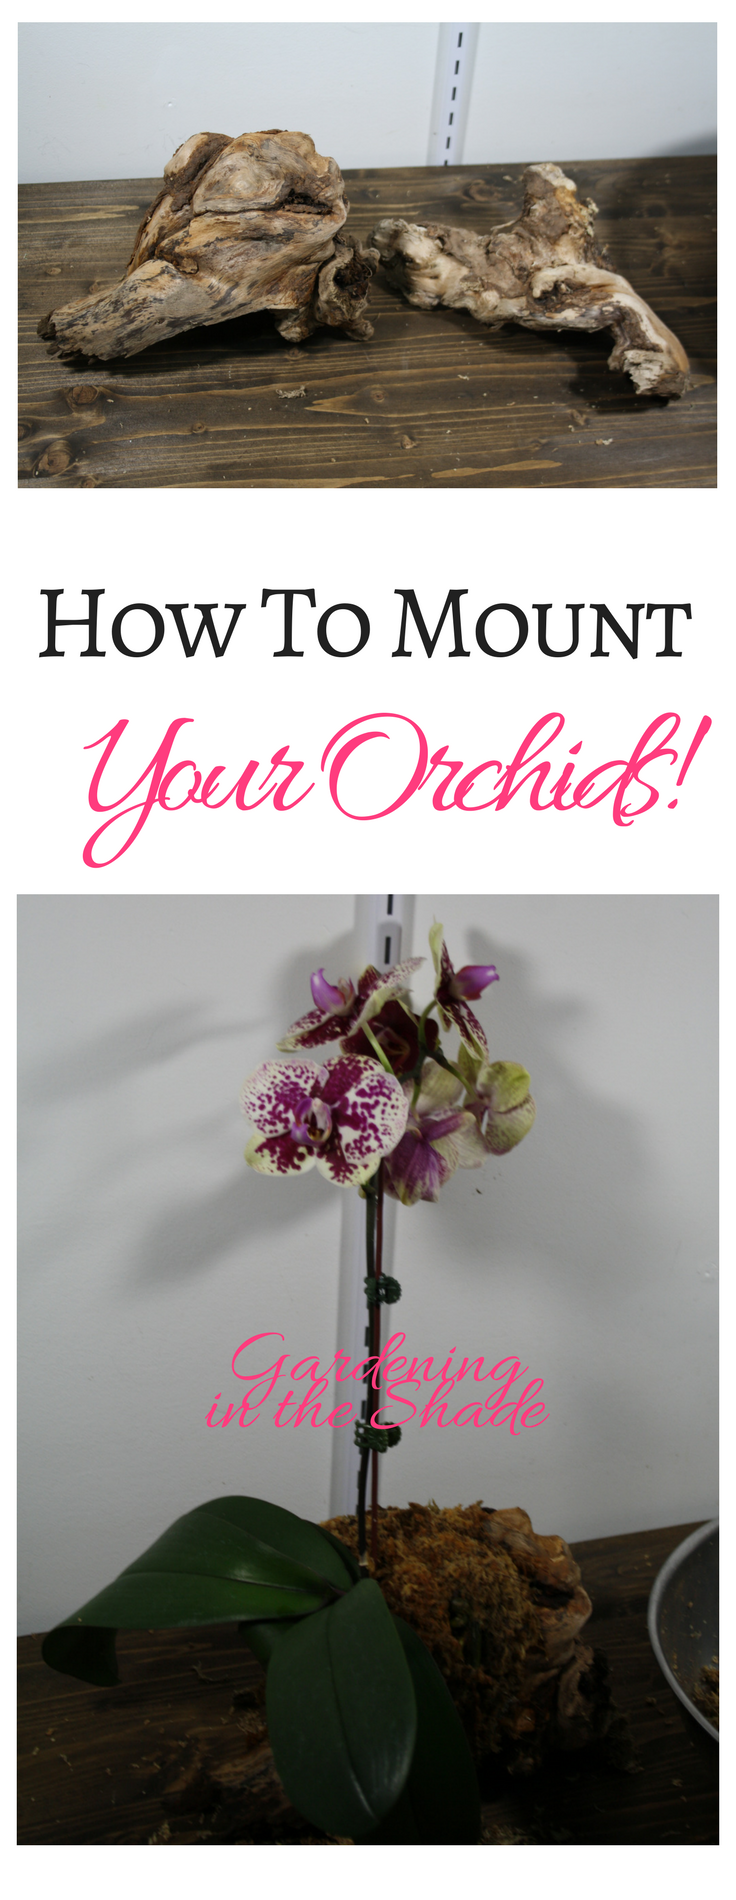
Lately, I’ve been seeing mounted Staghorn Ferns trending a bit. Staghorn Ferns aren’t always easy to find, but Orchids can be mounted too. And since it’s something I’ve wanted to try for a long time, I’m going to show you how to mount an Orchid.
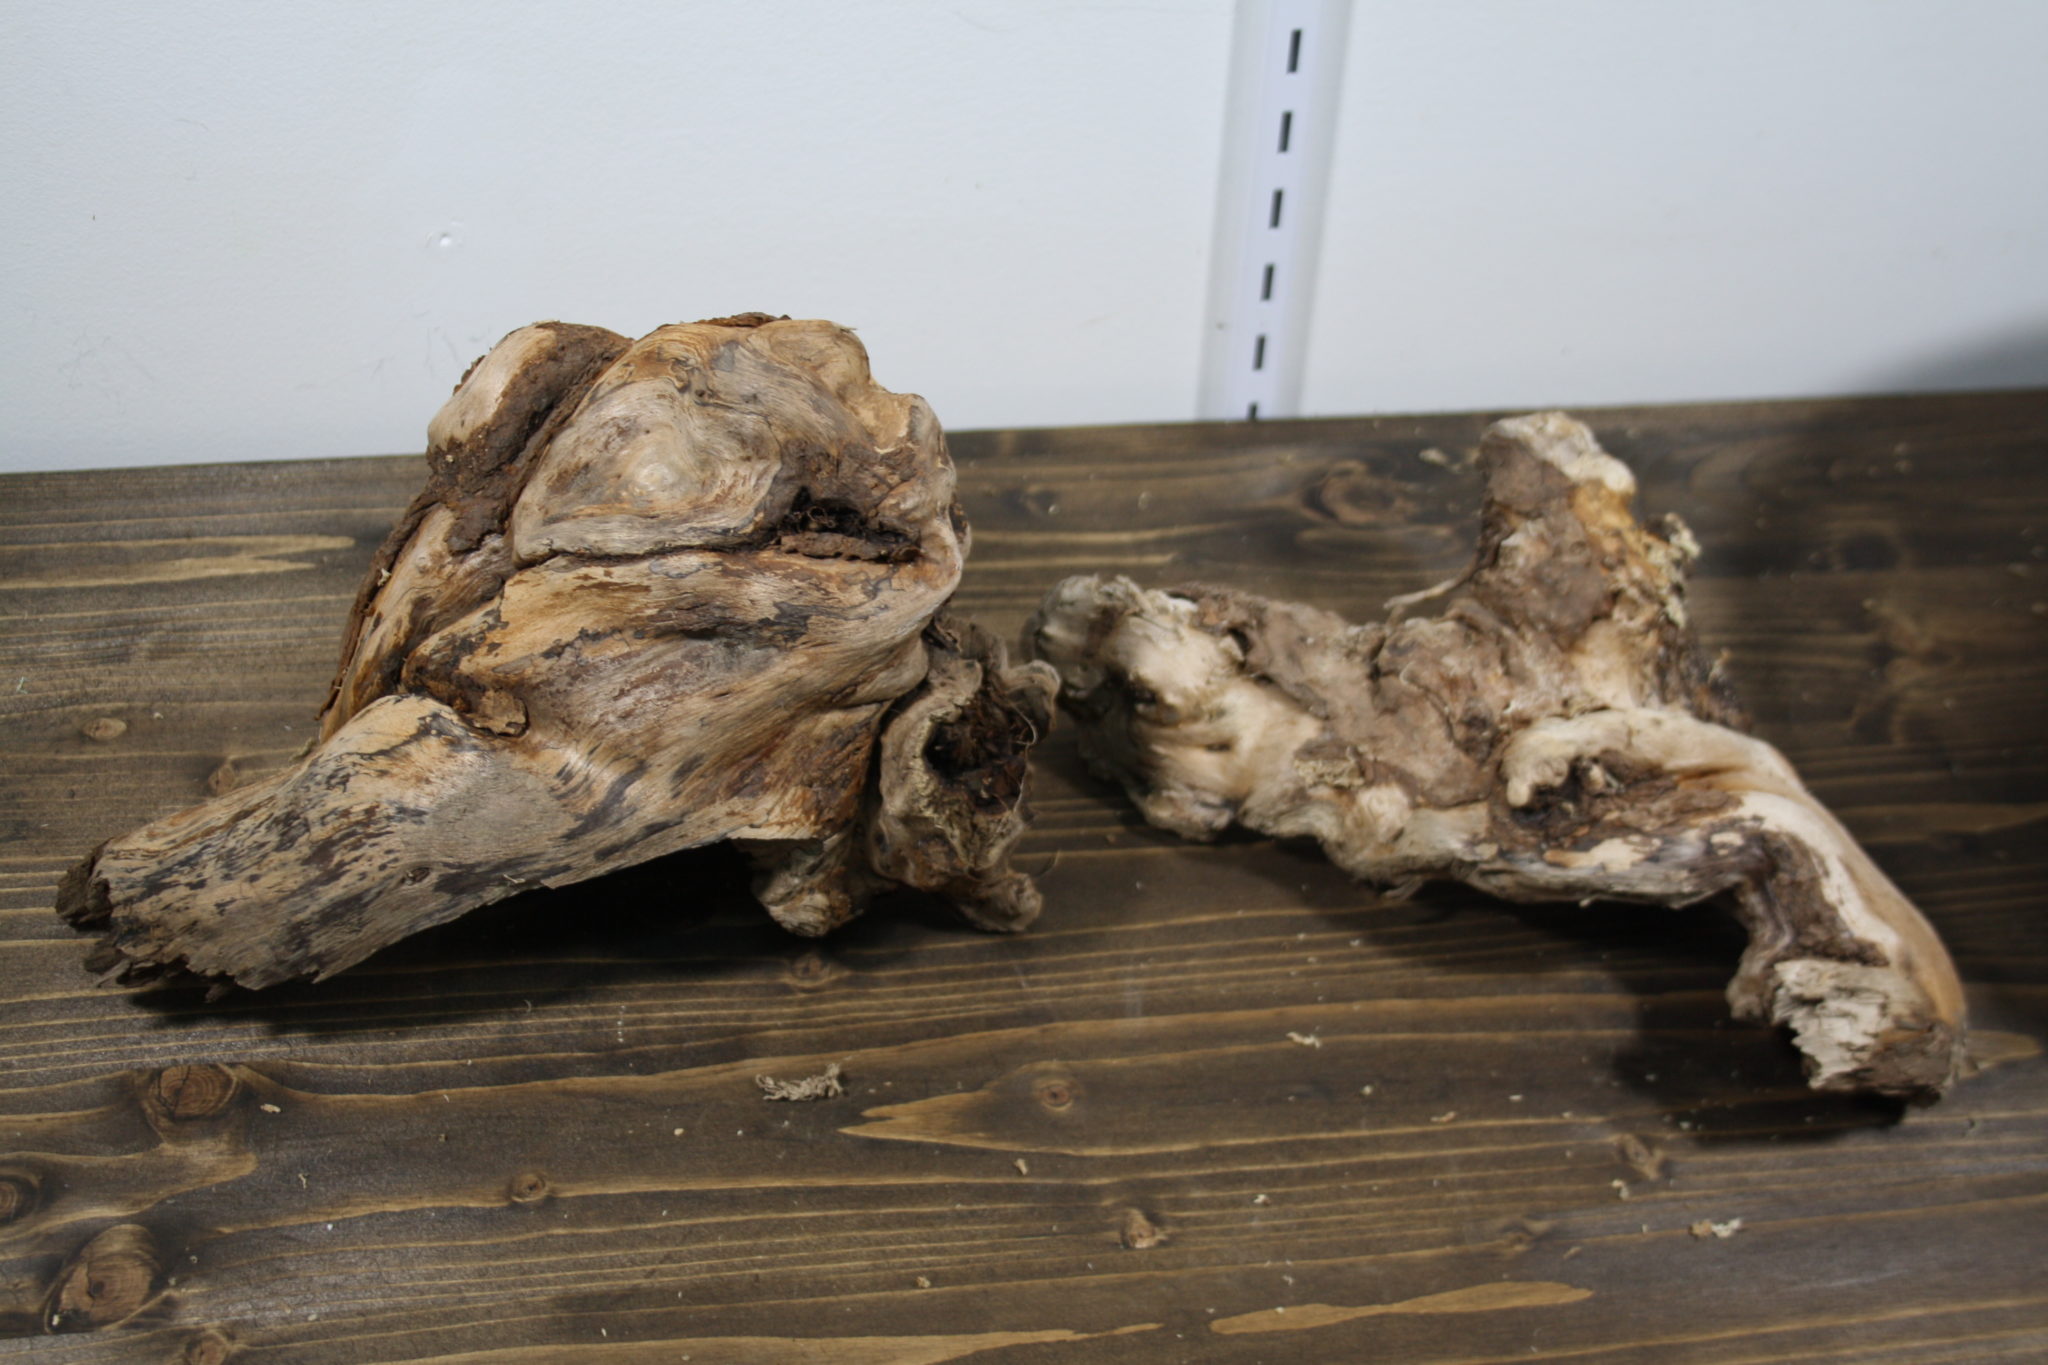
Last year, my oldest started building a shed. When he was digging the post holes, he pulled out some really cool looking bits of tree root. I decided to use one of them to mount my orchid.
I mounted an orchid on one of them. Many orchids are epiphytes, meaning they would normally grow on trees.
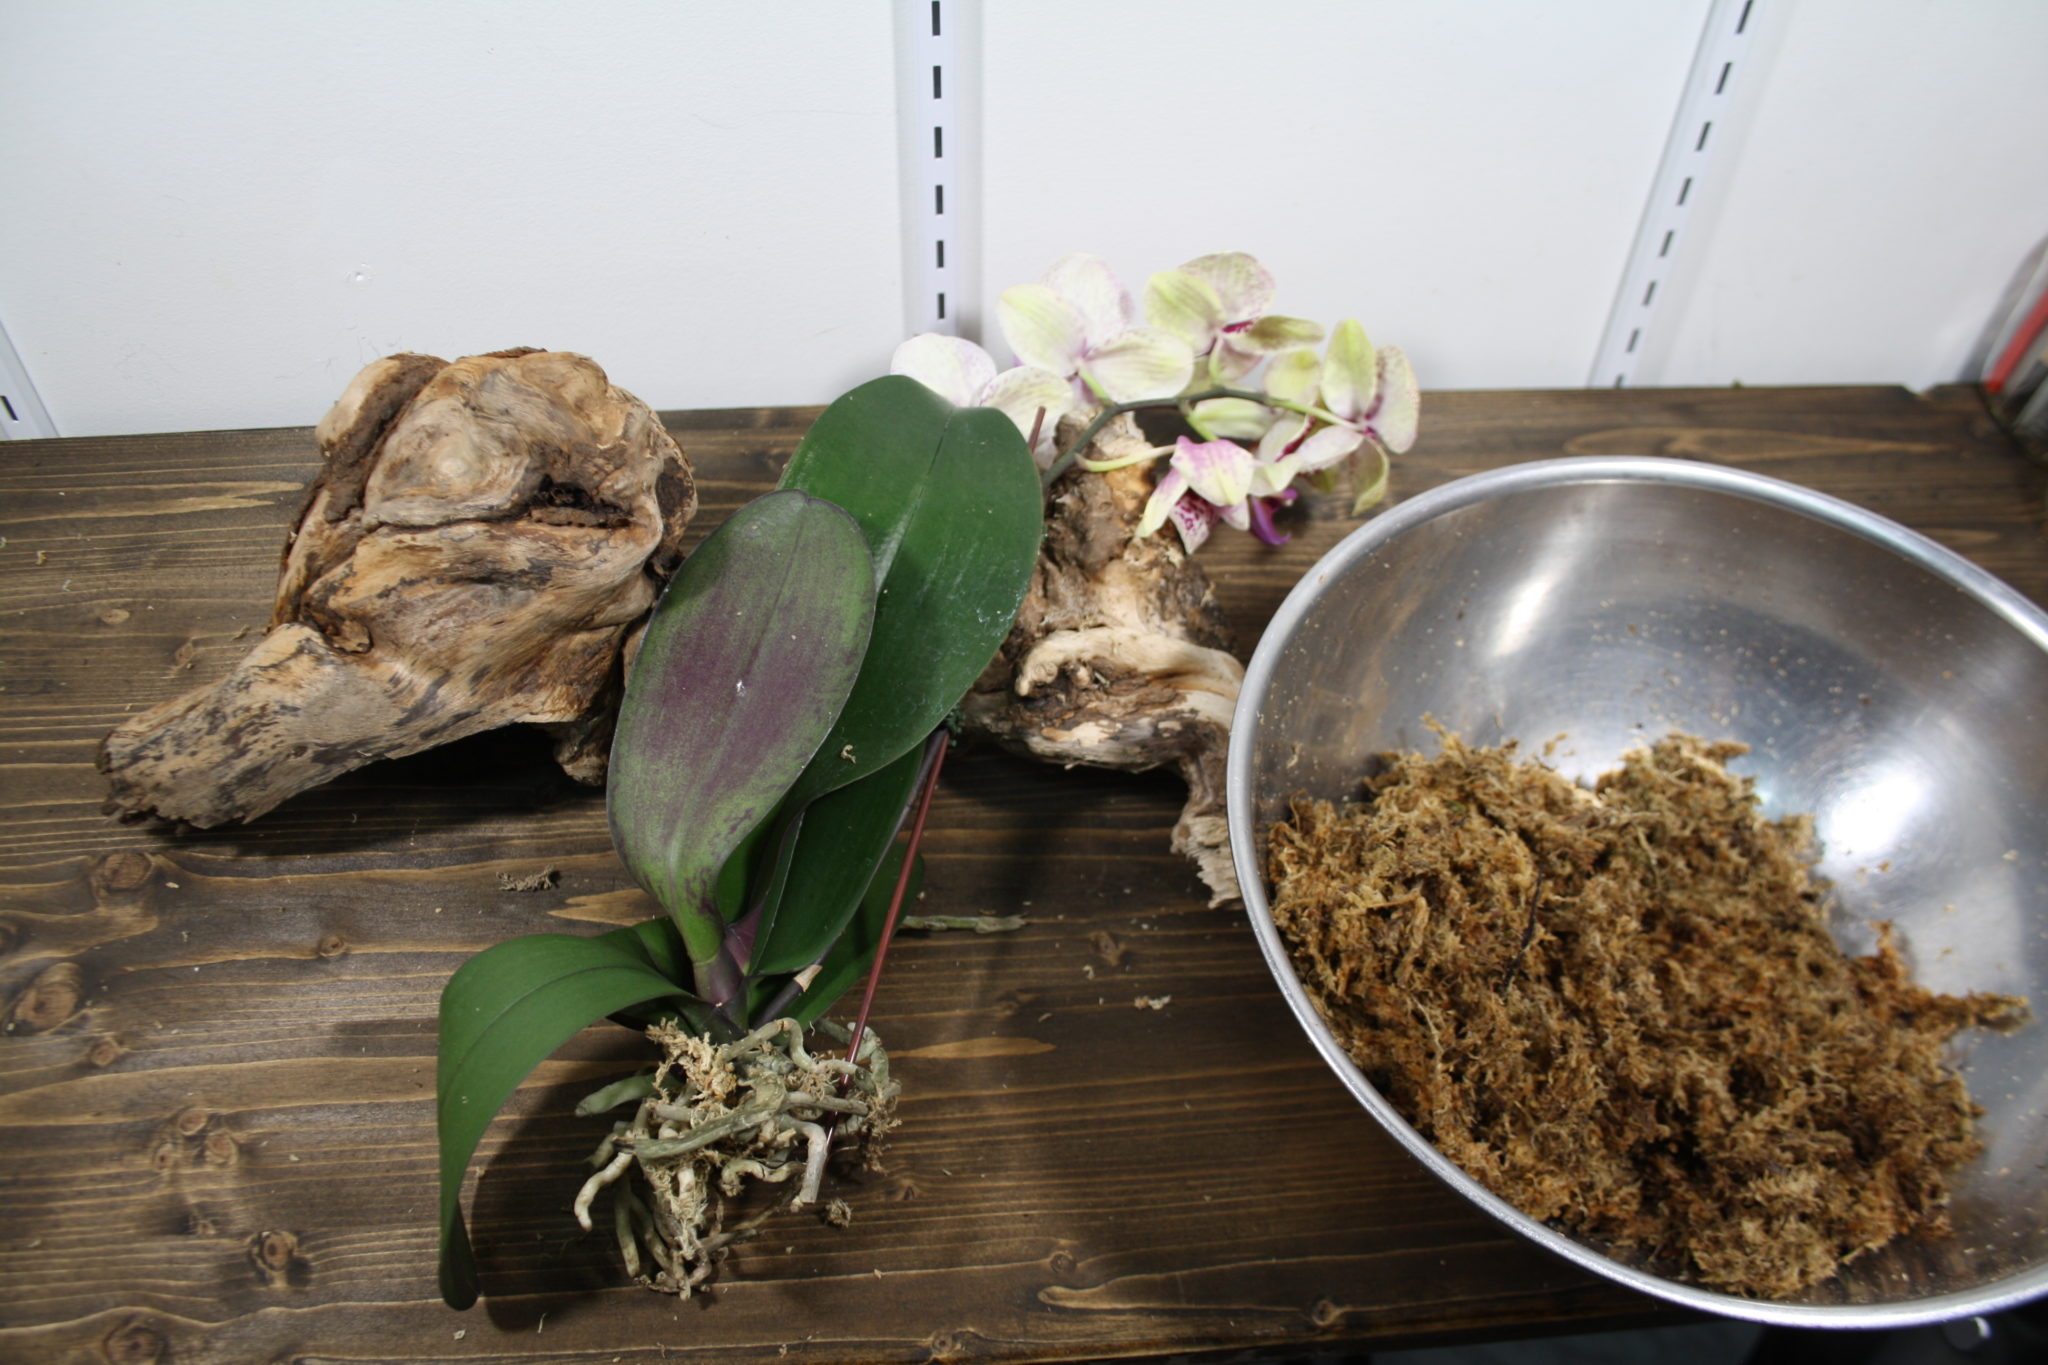
Materials to mount an orchid:
Orchid – most grocery store orchids are phalaenopsis which are perfect for this. If you purchase a different type just make sure it’s one that likes growing in trees.
Bark. You can purchase cork bark in pet stores where it’s used by reptile enthusiasts, or you can purchase from Amazon using my affiliate link here.
Sphagnum moss
Thread or clear fishing line.
I started by cleaning all the existing growing media from the orchids roots. And then I forgot to take any more pictures until after I finished.
Thankfully I made a video of the process. I sincerely apologize – I had no idea I breathe that loud!
I am so happy with how my mounted orchid looks! It isn’t quite as cool as a mounted Staghorn fern, but it’s still pretty neat looking!
I have dealt with fleas for over 25 years, as long as I’ve lived in this house and had pets. Thankfully flea control has come a long way and the stuff actually works now, because where I live the fleas also live. Recently I saw a discussion about flea control on-line and I got pretty ticked off. (Ticks are another problem where I live.)
Among the suggestions were sprinkling baking soda in the carpets and using vinegar as a perimeter spray. I’ve heard it all when I mention fleas to my neighbors, from “I just bathe my dog in Head & Shoulders” to “I just use the flea shampoo”.
Please note: This post has affiliate links, which means if you buy something through one of my links I will earn a small commission at no extra cost to you.
Every one of those suggestions is useless! Although I do shampoo my dog with Head & Shoulders for its anti-itch properties, I prefer to spend my time and money on something that works. Fleas are so hard to kill it takes 24 hours to drown them. There is no homeopathic/organic/natural remedy that will prevent or control fleas on your pet and in your home. Let me repeat myself here.
There is no homeopathic/organic/natural remedy that will prevent or control fleas on your pet and in your home.
Flea control before Advantage
Pre-Advantage days were a nightmare. I would spray cracks and crevices, under furniture and appliances because fleas lay their eggs in dusty places. Pre-Advantage was flea bathing a hissing spitting cat and then using flea spray on the same hissing spitting cat and then watching them drool big gobs of slobber on my bed. I’m sure I’ve still got the scars on my arms to prove I’ve been in the trenches when it comes to battling fleas.
The flea sprays of the time would kill fleas on contact (as long as the spray touches them) and then prevent flea eggs from hatching. I would spend $50 or so annually on these products – the best there was then – and entire weekends battling fleas. I never won the war until Advantage came on the market. Advantage turned my dog into a walking flea killer. Applied once a month any fleas that wanted to hop on that snack bar ate their last meal.
Flea Control that works!
If you really want to control fleas on your pet – get Advantage. It actually works and you won’t need to spend an entire weekend crawling on your hands and knees spraying under baseboards. We have even used Advantage on Guinea Pigs – your vet can help you work out the correct dosage – with absolutely no harm to the Pig.
Signs you’ve got a flea problem.
Excessive licking and chewing is always the first sign. It is hard to see the fleas themselves – one way to do it is firmly and rapidly rub the fur on your dogs back up and down, then quickly turn them over, the fleas will all run to the dogs belly. This is hard to do with a larger dog or a dog wary of being in a submissive position.
Even if you don’t see the actual flea – signs of flea dirt are just as accurate. You’ll see flea dirt in the crease of their hind legs mostly but also around their anus. Fleas will go to a dogs eyes and anus for moisture – which is why if you are using flea shampoo you suds up their neck and back-end before working on the rest of the dog.
Areas that your dog can easily chew will have thinning fur or bald patches. Sometimes you can see actual clip marks from their teeth in the fur from chewing. Some dogs will develop a severe flea allergy resulting in serious skin issues, including flea allergy dermatitis. Fleas feed on blood, so they can also cause anemia and even grosser than the blood sucking thing – they can give your dog or cat tapeworm.
If you have fleas
Flea products sold in pet stores are not effective. Flea shampoos will kill the fleas on the dog, but will do nothing to prevent re-infestation. There are drops sold in pet stores, made by Hartz, etc. that can work as a temporary measure but they are nowhere near as effective as Advantage or Revolution (also effective for preventing Heartworm) or any of the other brands your vet can supply. Advantage can be purchased on Amazon. It will cost more than vinegar, baking soda or borax, but it actually works.
If you’re going to put a chemical on your dog, and you will have to if you want to control fleas, it may as well be one that actually works. Let me repeat myself here.
If you’re going to put a chemical on your dog, and you will have to if you want to control fleas, it may as well be one that actually works.
This website uses cookies so that we can provide you with the best user experience possible. Cookie information is stored in your browser and performs functions such as recognising you when you return to our website and helping our team to understand which sections of the website you find most interesting and useful.
Strictly Necessary Cookies
Strictly Necessary Cookie should be enabled at all times so that we can save your preferences for cookie settings.
If you disable this cookie, we will not be able to save your preferences. This means that every time you visit this website you will need to enable or disable cookies again.

 I finished my fourth and probably final, for this year at least, Charlie Caftan this weekend. The fabric is a linen rayon blend which means embracing a few wrinkles. The ones you see here are just from putting it on.
 That precision may not have given me a perfect placket, but my v-neck is nearly perfect! I used a tricot interfacing this time around and I will probably use it more often in the future.
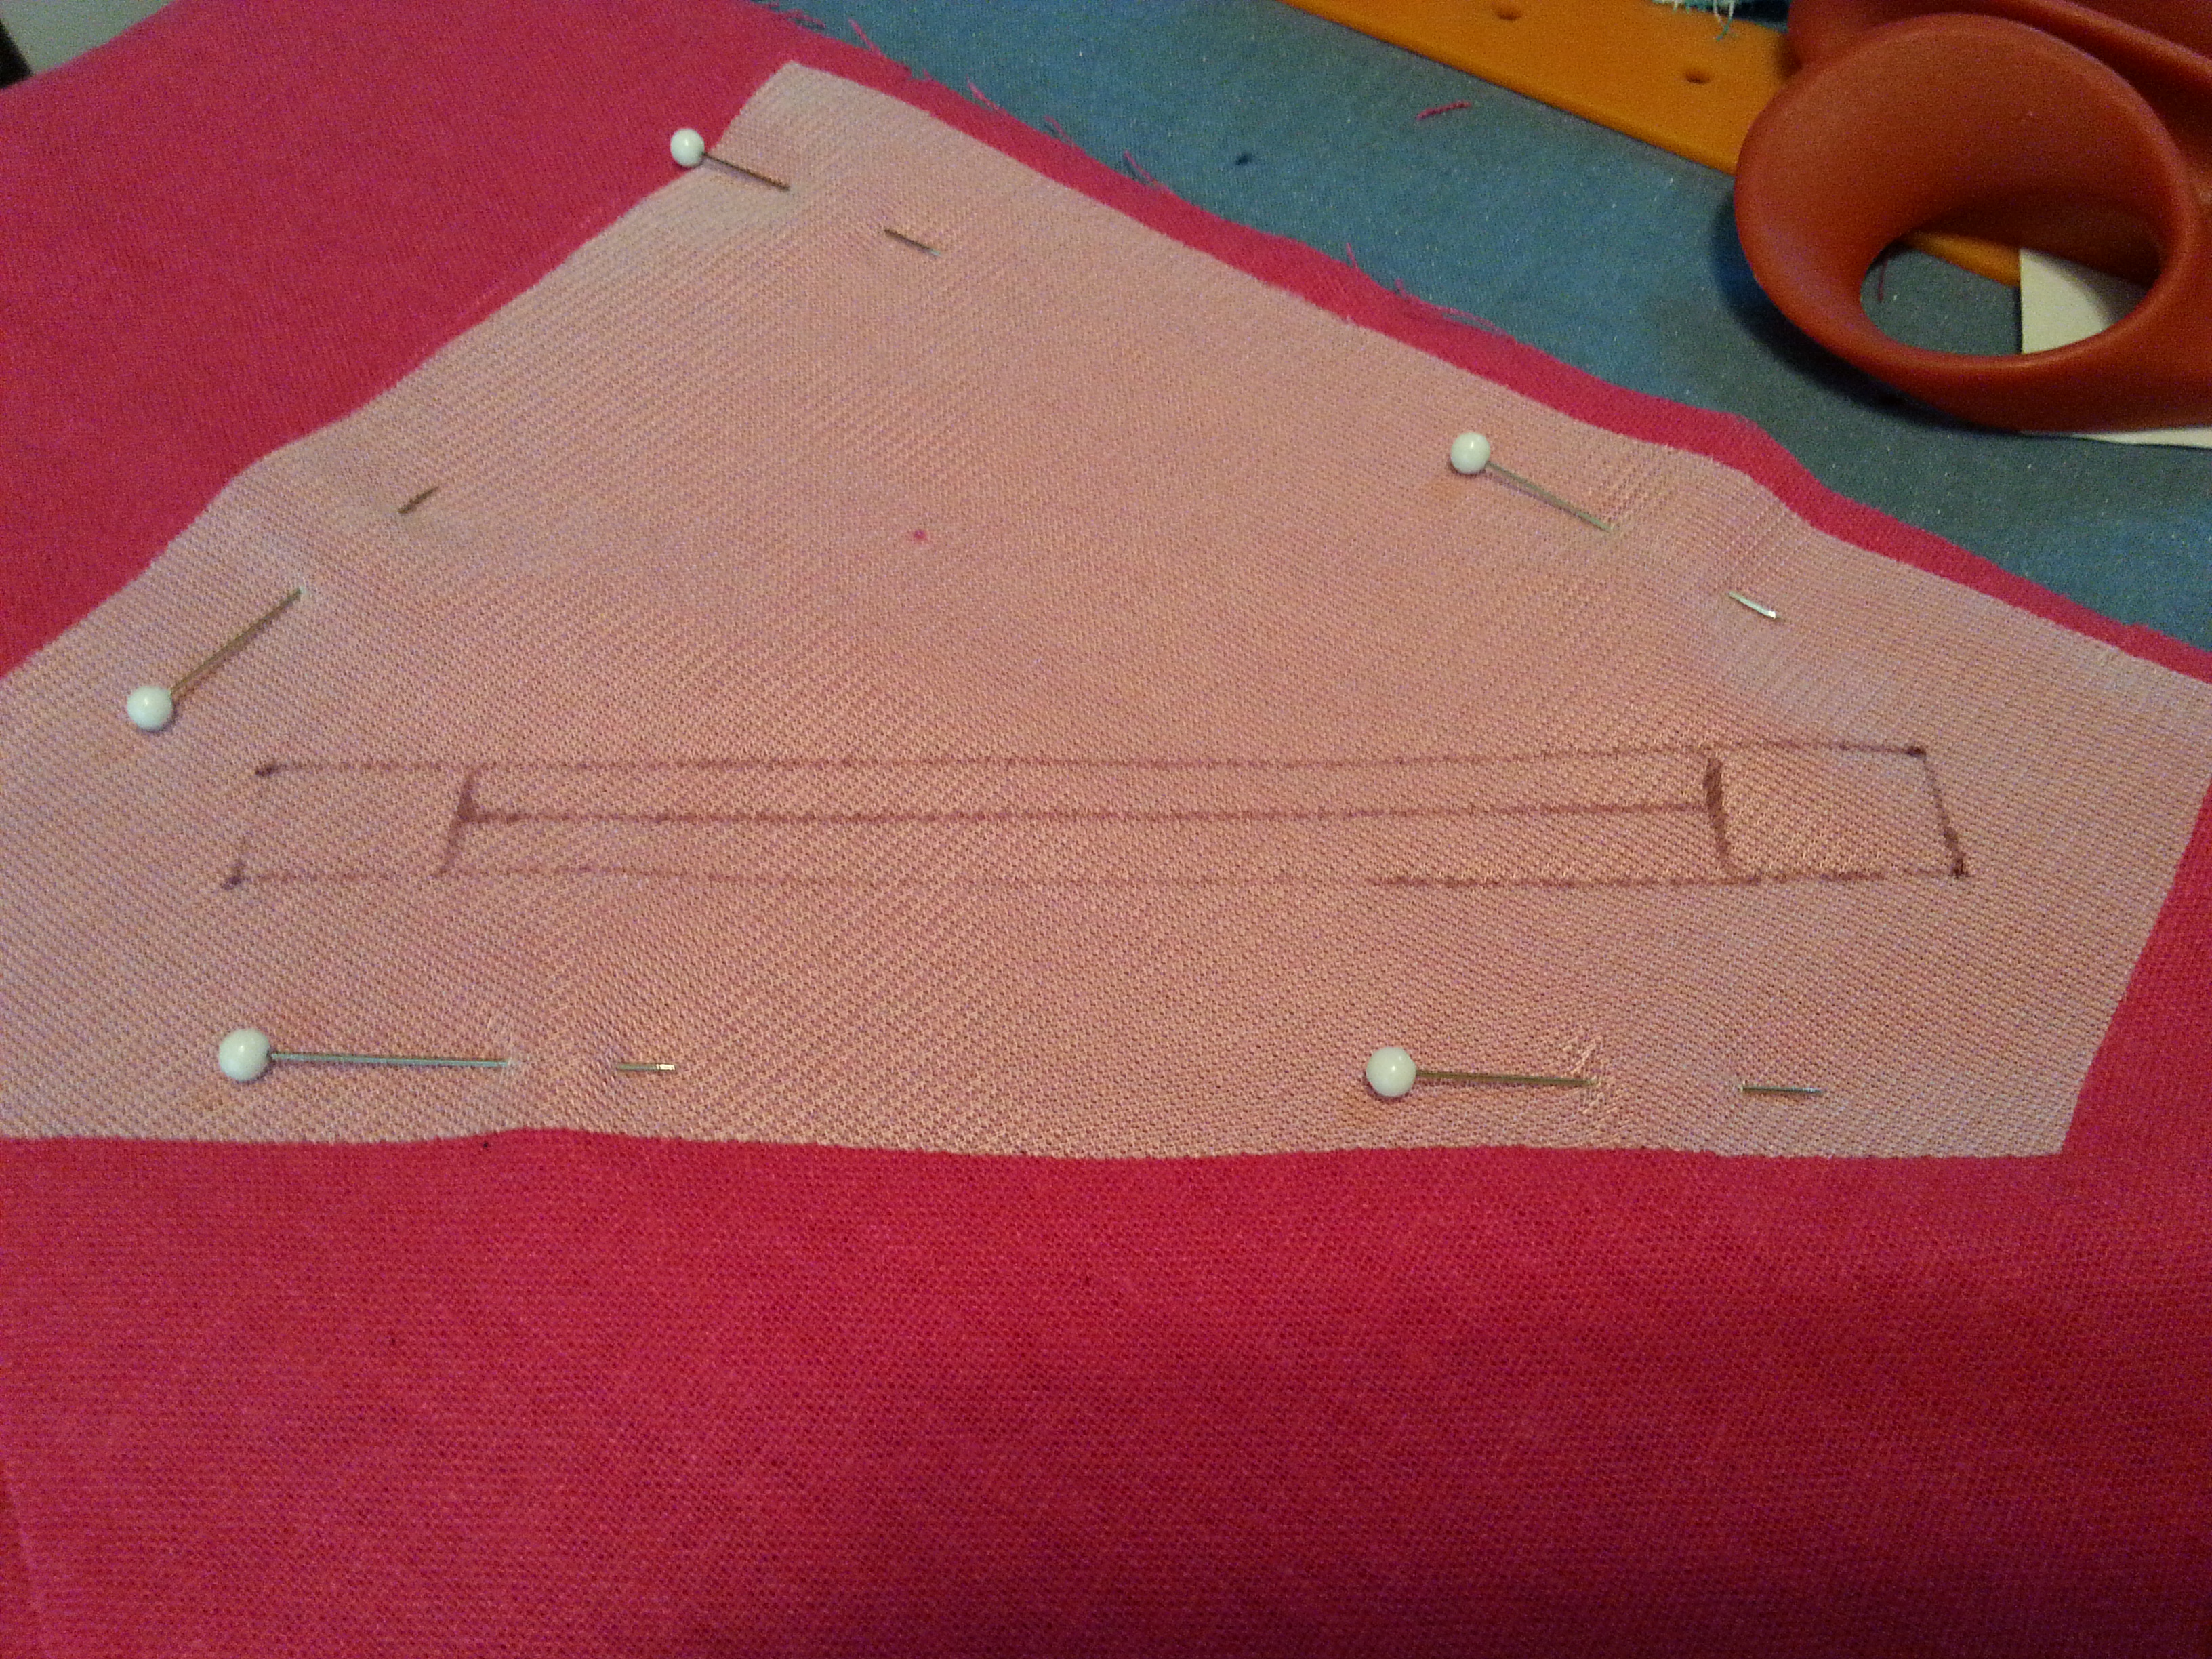
 This summer I’ve switched it all up and started sewing again after a 15 year hiatus. Now there’s a process I enjoy. Turning fabric into something useful and wearable.
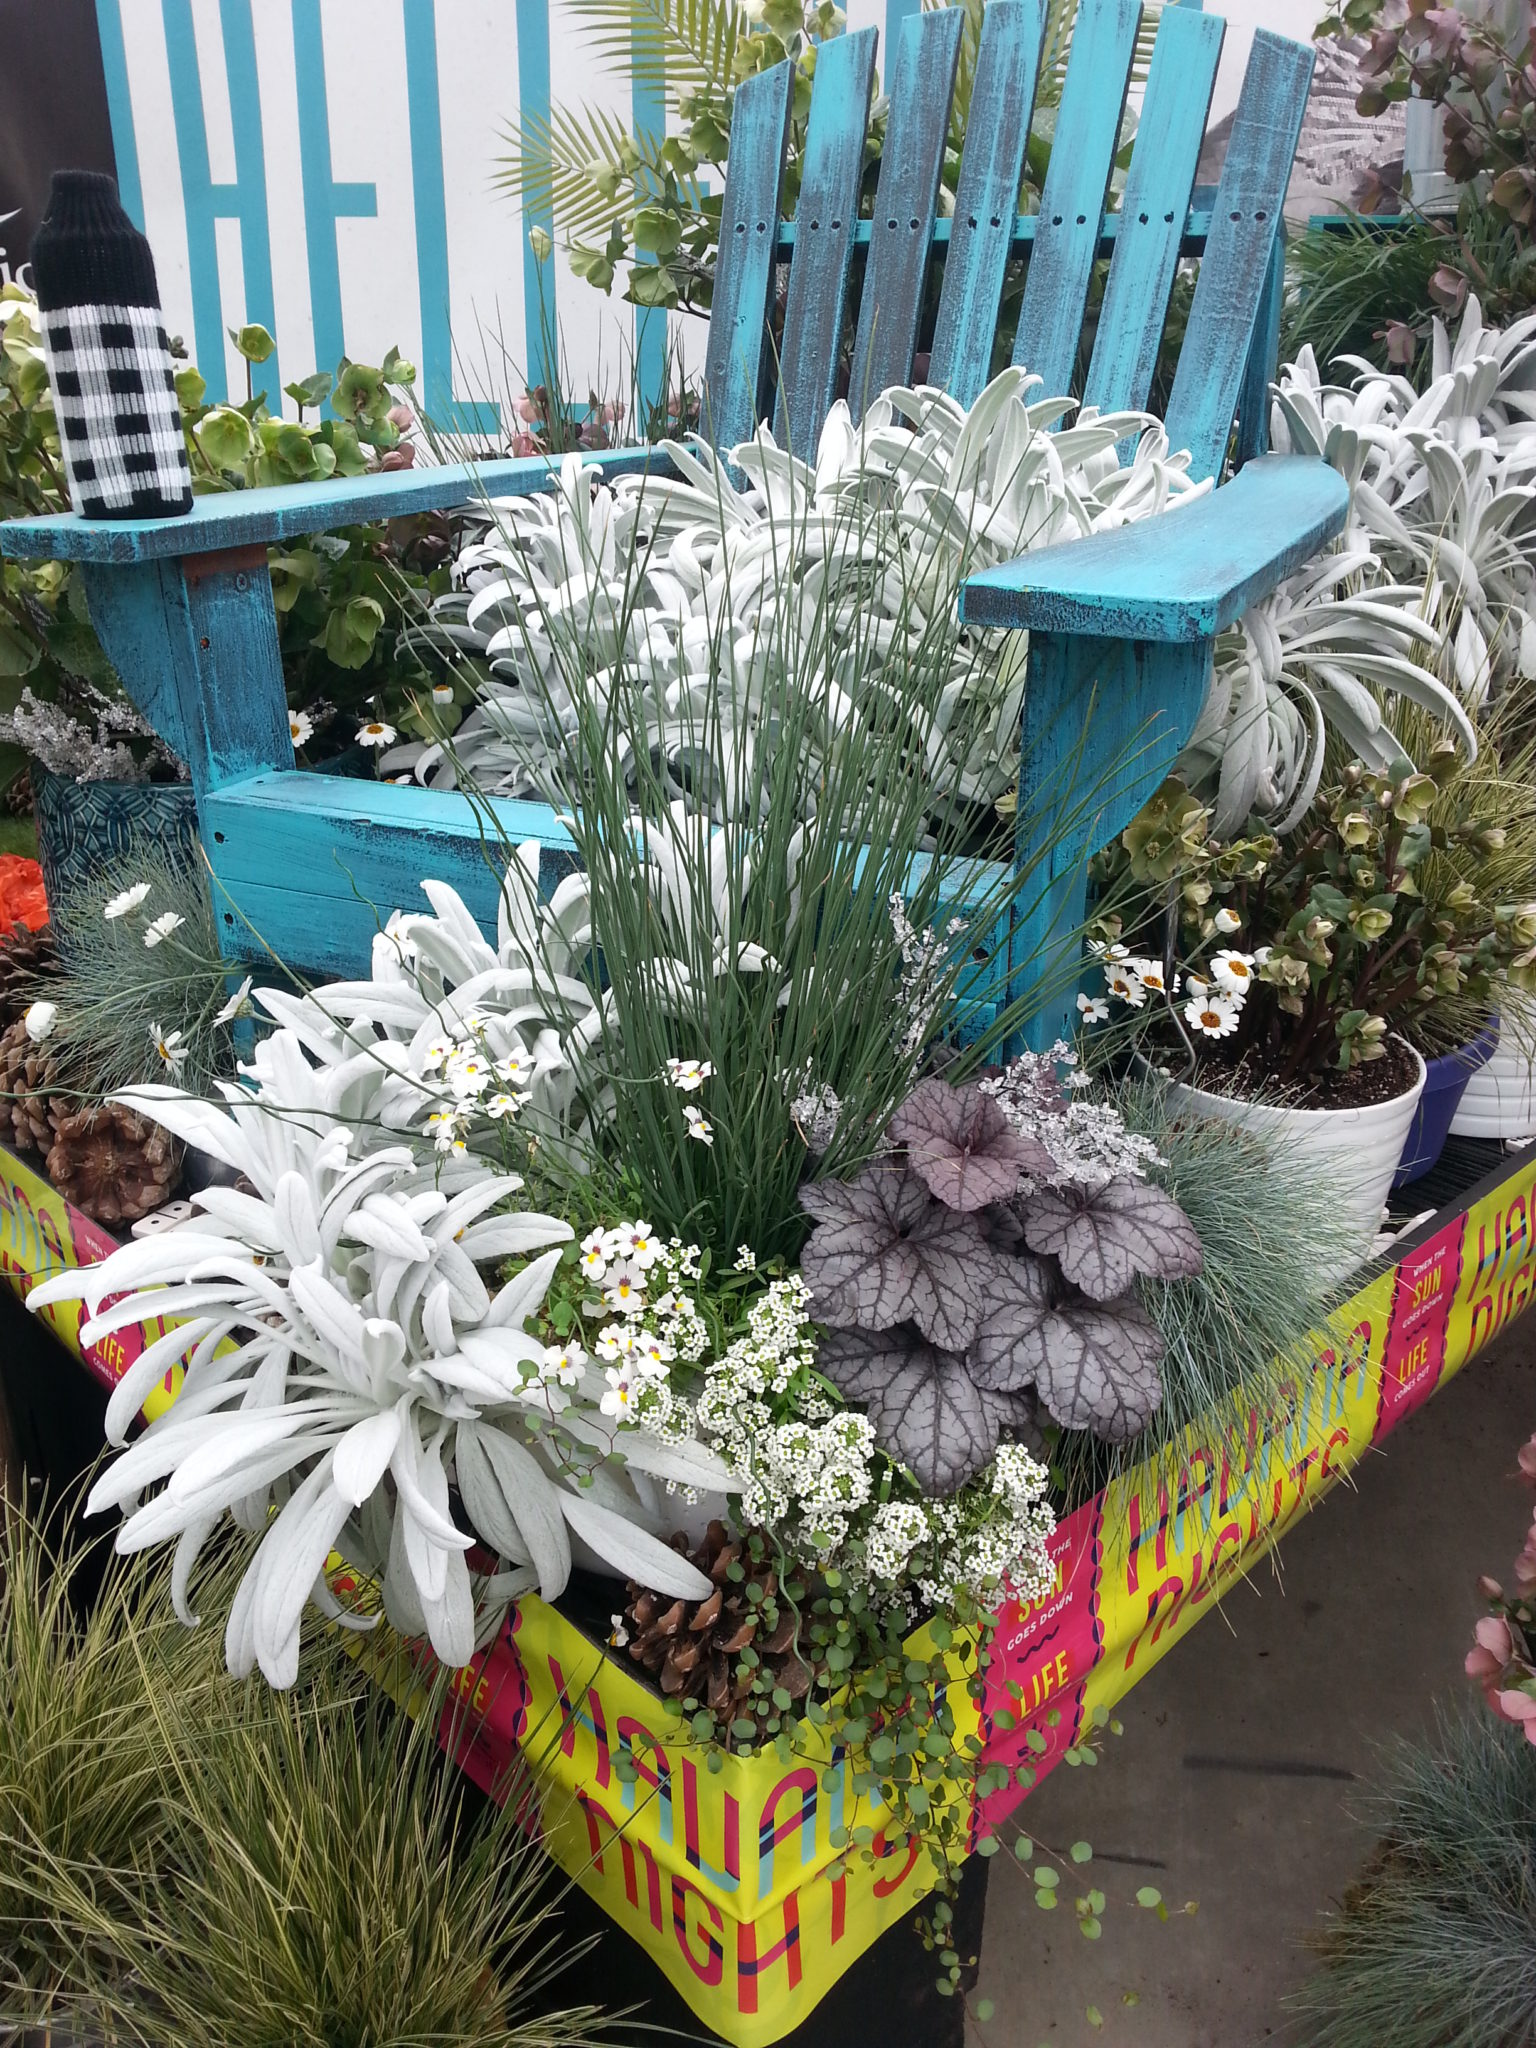 I first encountered Stachys Bello Grigio a year ago in California. The common name for Stachys is Lambs Ears, which is a pretty apt description of the soft furry leaves of these plants, but none of them are as crisply white as Bello Grigio.
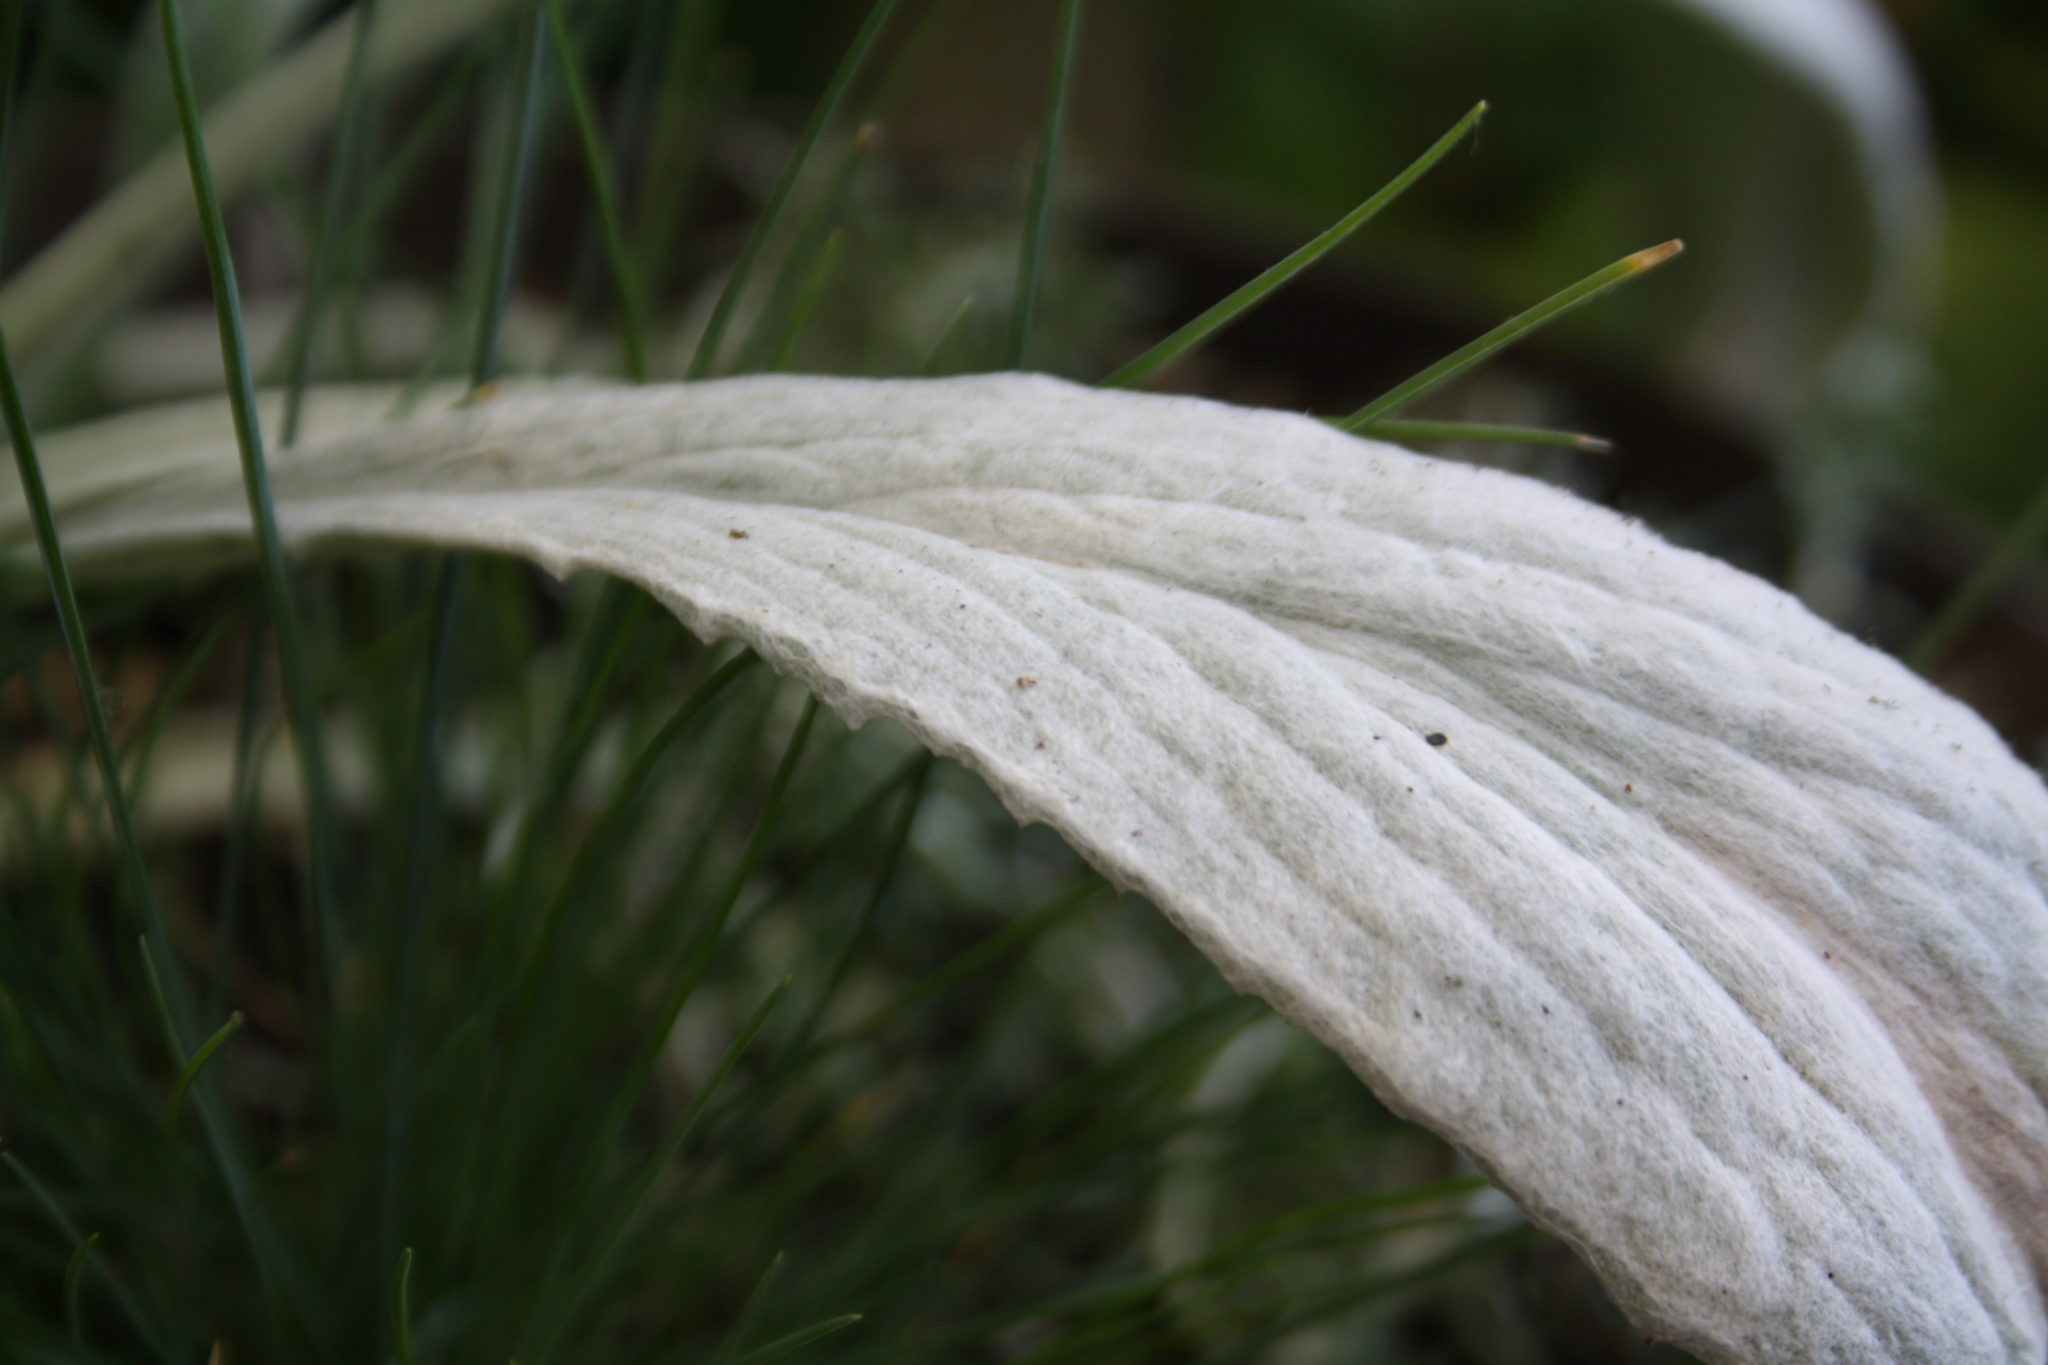 Bello Grigio immediately became my must have plant for the year. Except it was nearly unheard of – even on Google. This year I got lucky and managed to get two. I gave one to my mother and kept the other one.
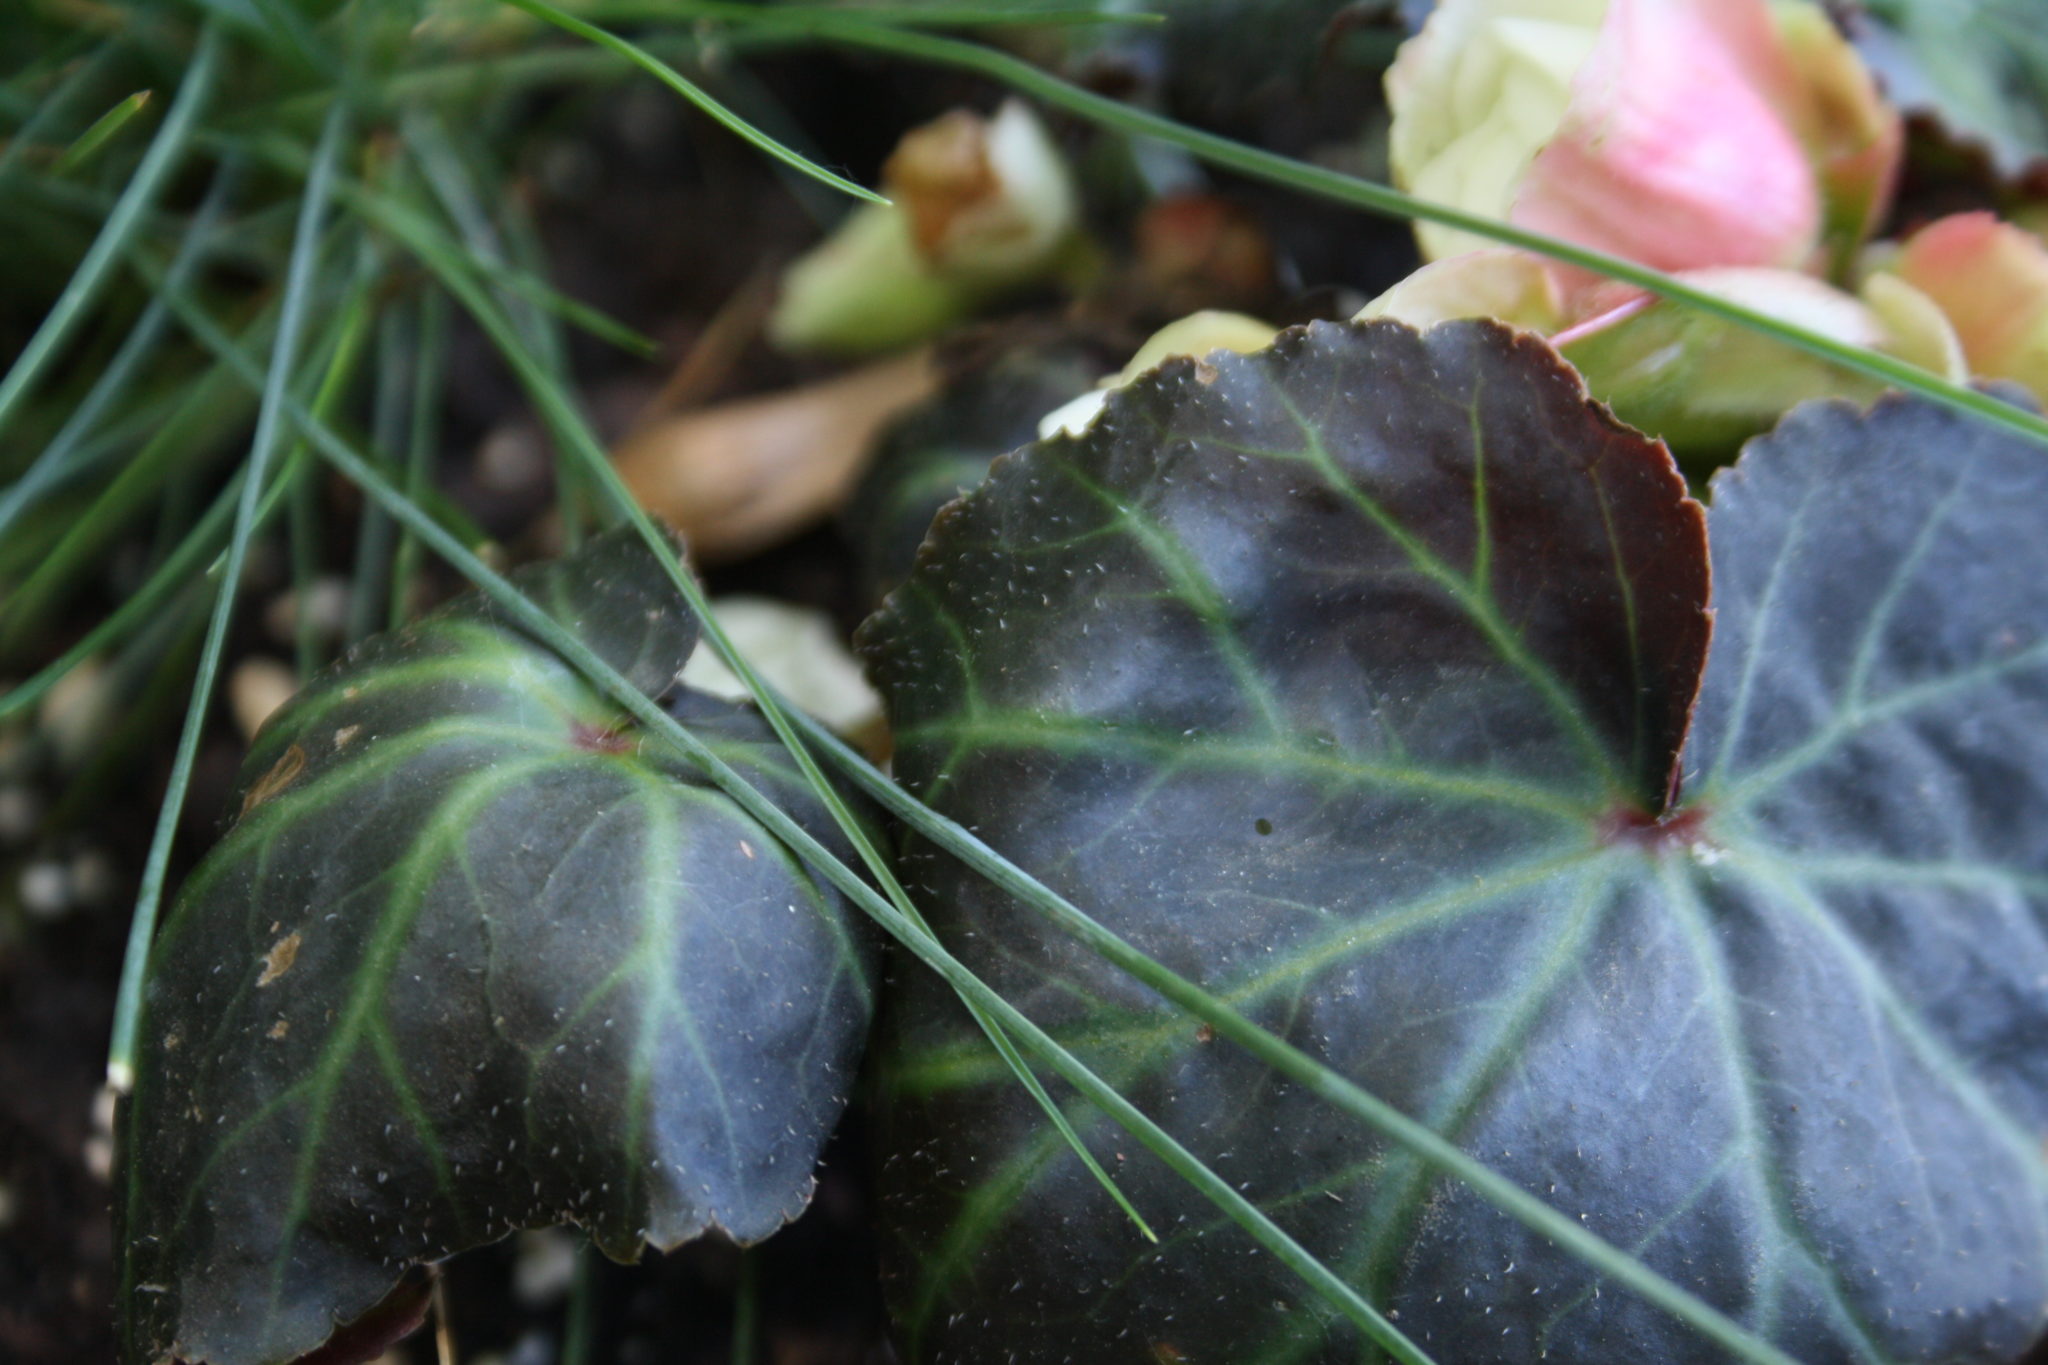
 I have dealt with fleas for over 25 years, as long as I’ve lived in this house and had pets. Thankfully flea control has come a long way and the stuff actually works now, because where I live the fleas also live. Recently I saw a discussion about flea control on-line and I got pretty ticked off. (Ticks are another problem where I live.)