Make a Moroccan Style Pouf from Old Jeans


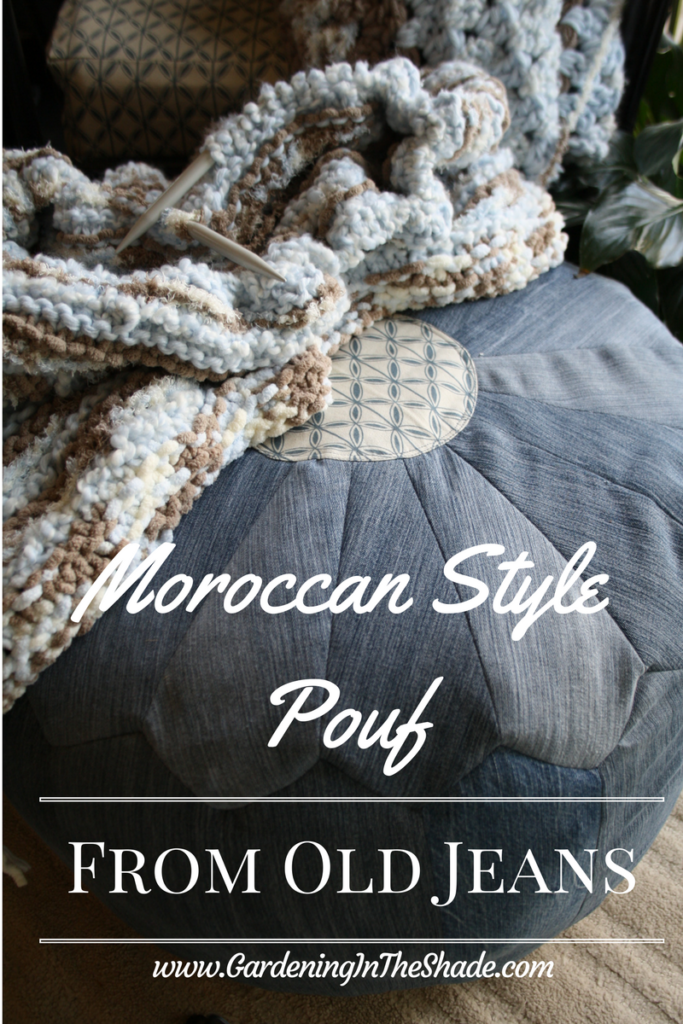
Leather Moroccan Poufs are all over the home decorating sites but they come with a hefty price tag, they’re listed at $395 US on one site, more than my cheap little heart can handle.

So I made my own from old jeans. It’s neither an easy project nor a quick one. Insets, where you fit the triangles together, are a bear and there are 32 of them in this pouf. But if you don’t mind a sewing challenge and are looking for pouf, this is how I made mine.

For this project, you’ll need the following:

  • Old jeans (I used 4 pairs) or fabric in enough yardage.
  • Matching thread and the usual sewing supplies including a seam ripper.
  • A nylon zipper, 22″ or longer. I used a duvet zipper and just cut the extra off.
  • Stuffing of some sort, you can use old clothes, pillows, or you can buy the bean bag pellets.
  • Patience.
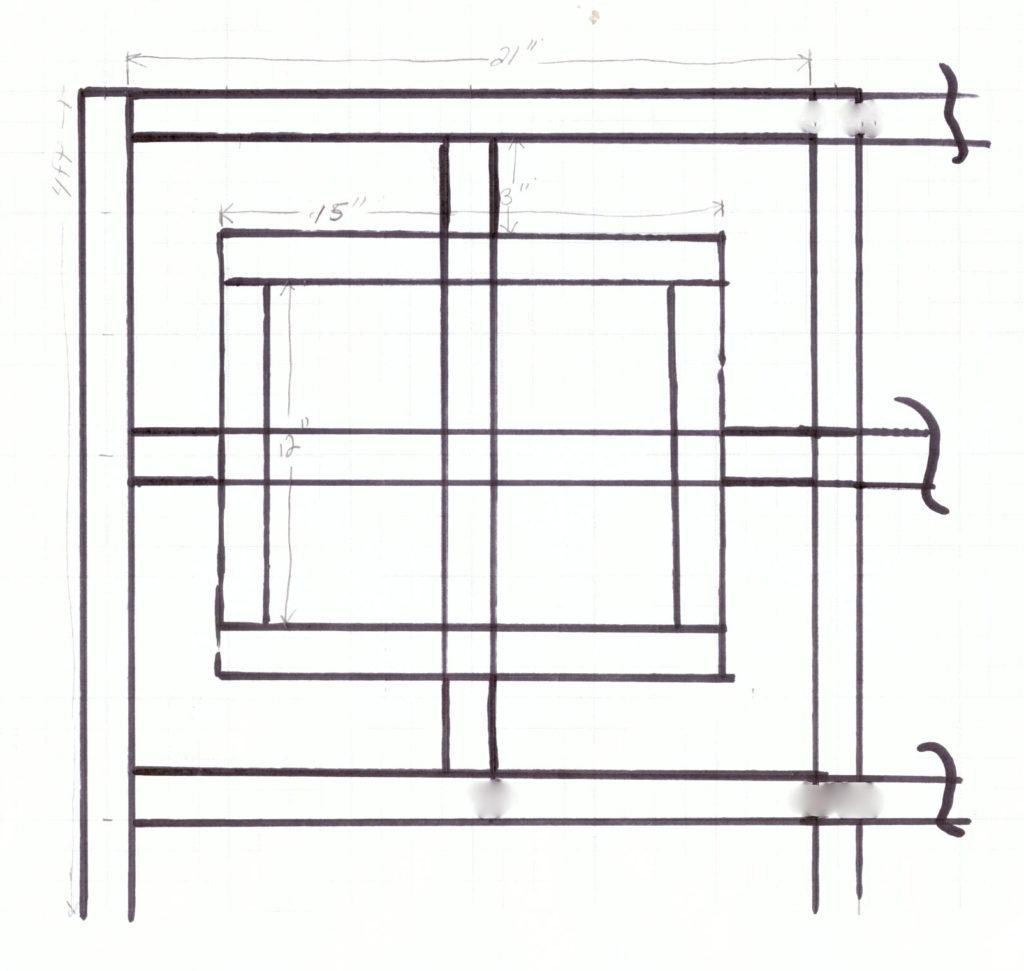
  • You can use this pattern – Moroccan Pouf Pattern – or draft your own on freezer paper.
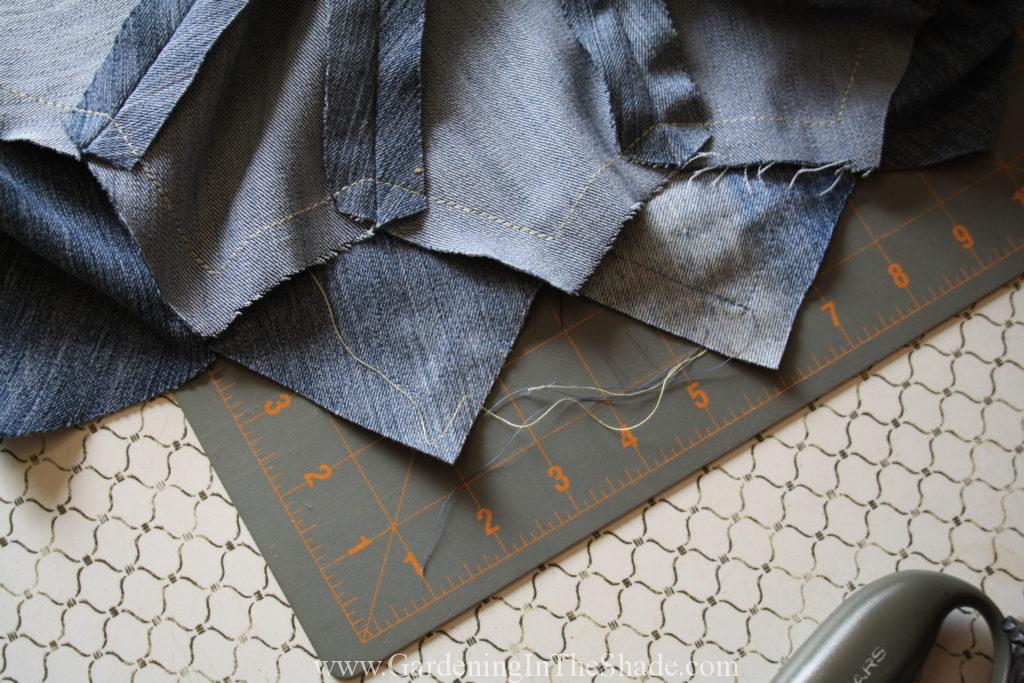
Cut out your pieces

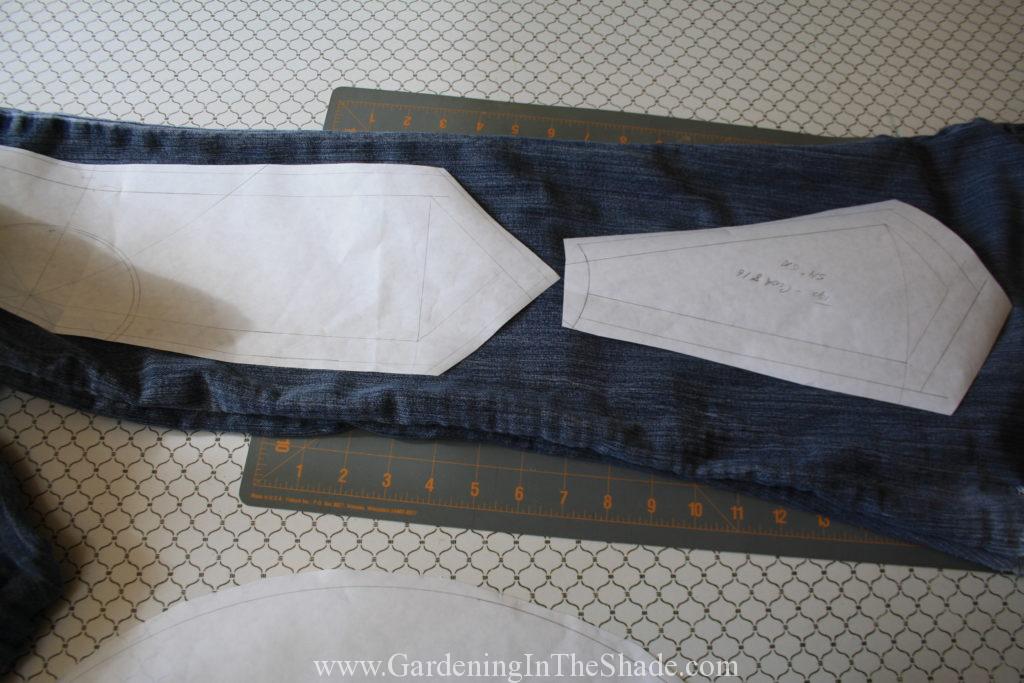
Take each pant leg and smooth it out, with a rotary cutter you can cut the front and back of the leg at the same time. I found I could easily fit one side piece and one or two of the top pieces on each leg. Times two, because front and back. So four pants, eight legs, 16 tops and 16 sides. Done.

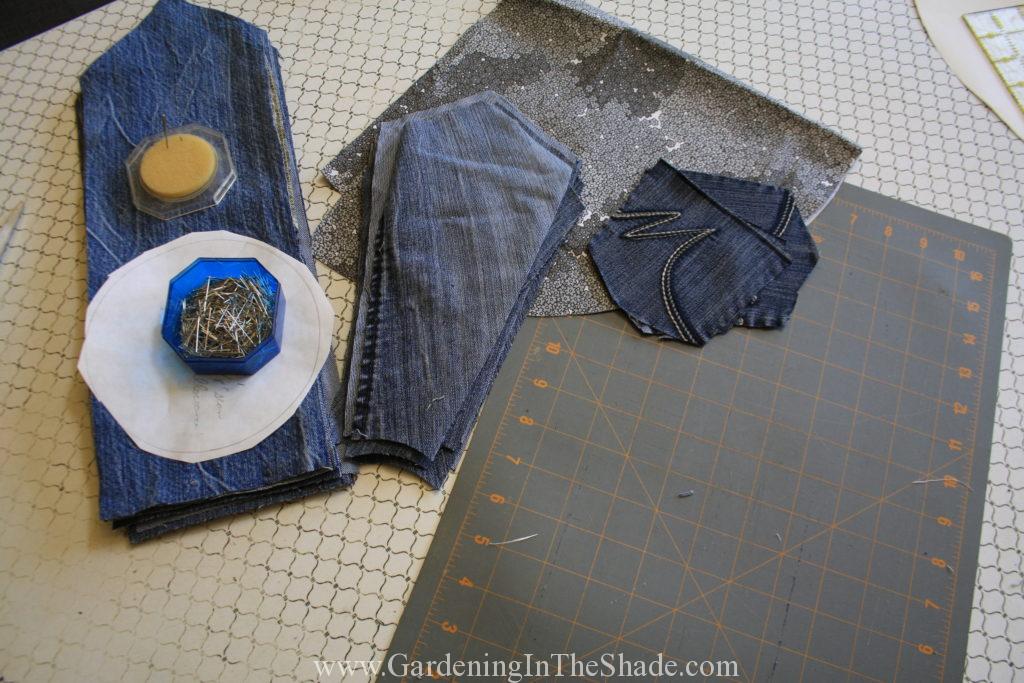
The bottom is a bit trickier, by this time I was out of usable denim so I dipped into my stash. I thought I would be clever and piece the pockets together for the center of the top – you’ll see what happened there later.

Assembling the top:

Denim has some quirks, worn denim even more. When sewing your pieces together, sew all of your seams in the same direction so it doesn’t twist. Since the trickiest part will be assembling all of those points and valleys of your outer edge the valleys and points of the sides, stitch from outer edge toward the center.

When it came time for me to attach my top to my sides, I wound up opening part of the seam, so if you prefer you can start your stitching 1/2″ from what will be the outer edge of your top.

The fastest way to do this is to make eight pairs, sew them, press them open and then make four pairs and so on until it’s done.

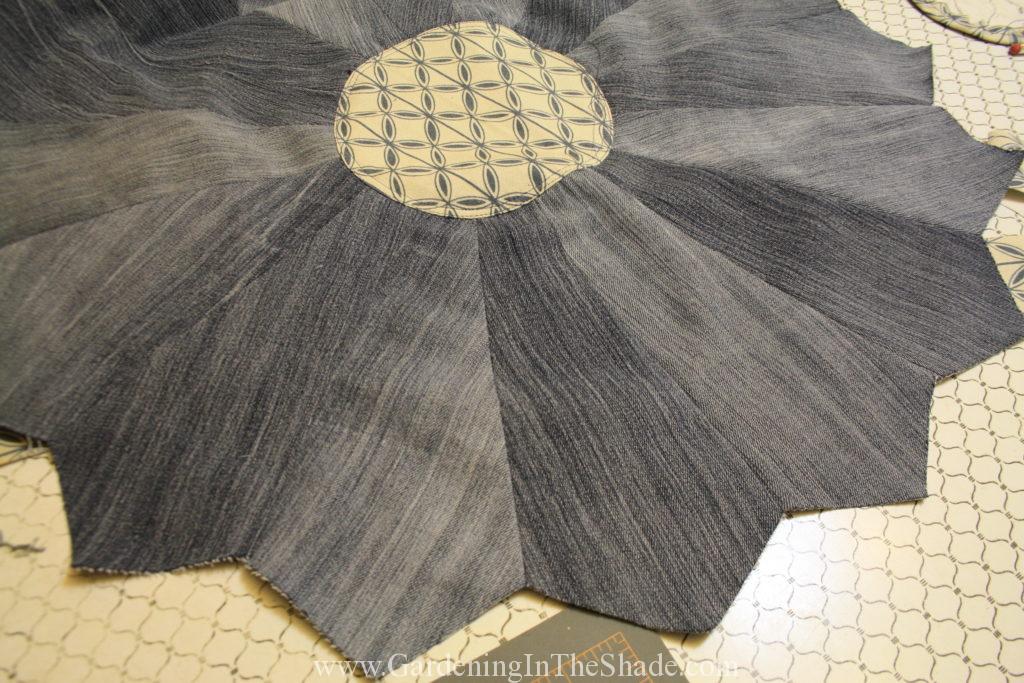
See how I sewed the pockets together and matched up the embroidery? Fancy right?

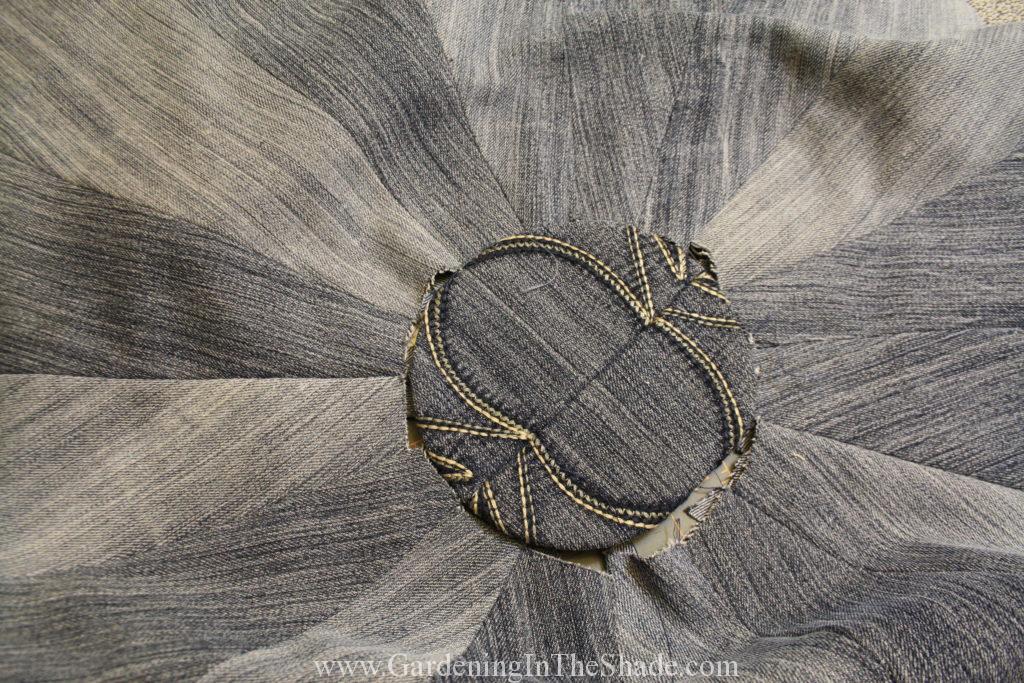
It would have been great if it was big enough to use. With 16 seams, even the tiniest inaccuracy in your sewing adds up. I had to cut a larger circle for my center.

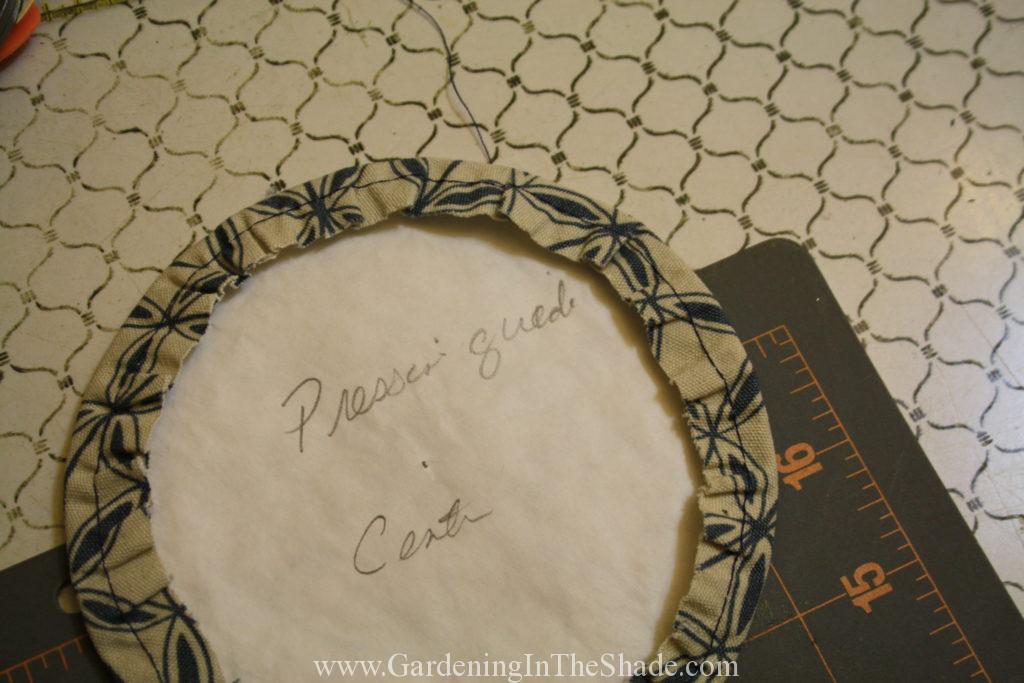
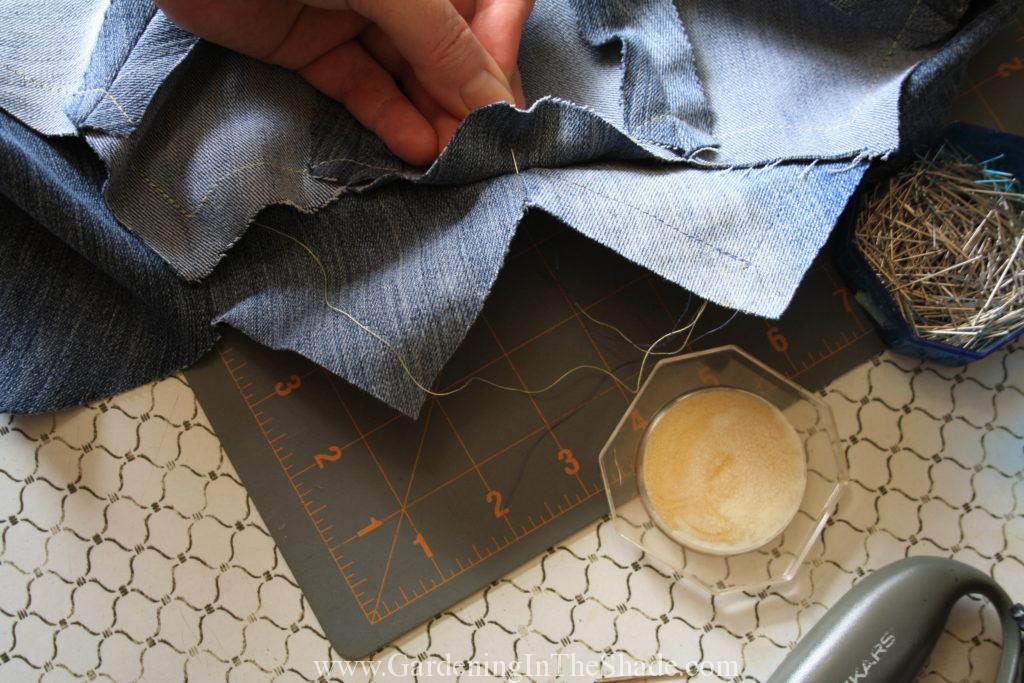
So for your center, using a long stitch baste around the outside edge. Pull up your bobbin thread to gather it a bit so it will be easier to turn under. If you trim the seam allowance off of your pattern piece, you can use it as a pressing template.

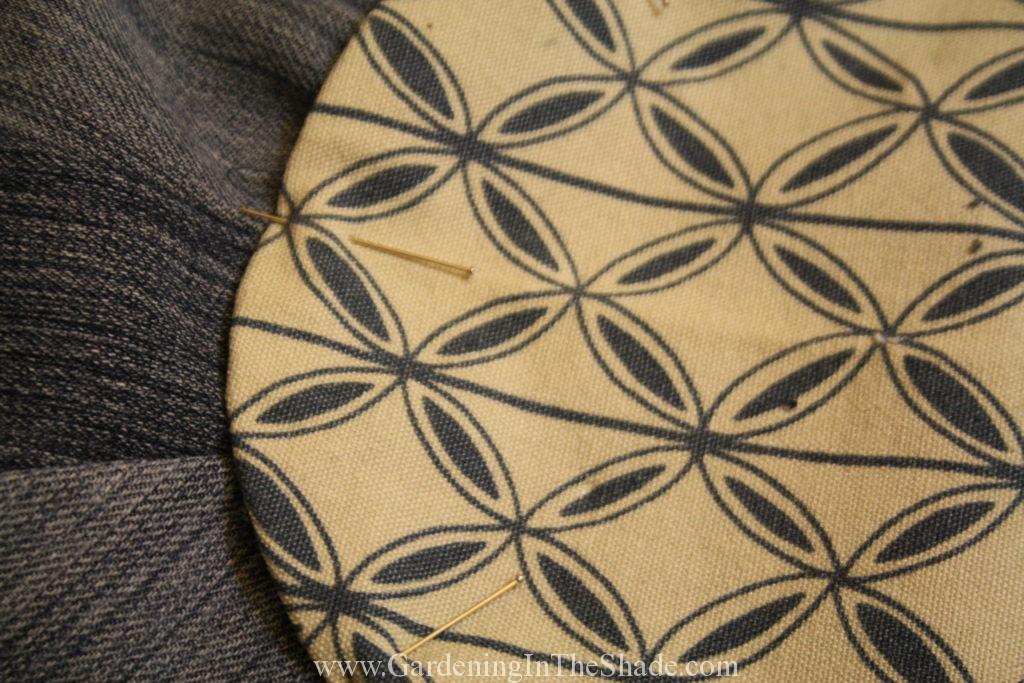
Pin it in place (mark your quarters and make sure it all lines up).

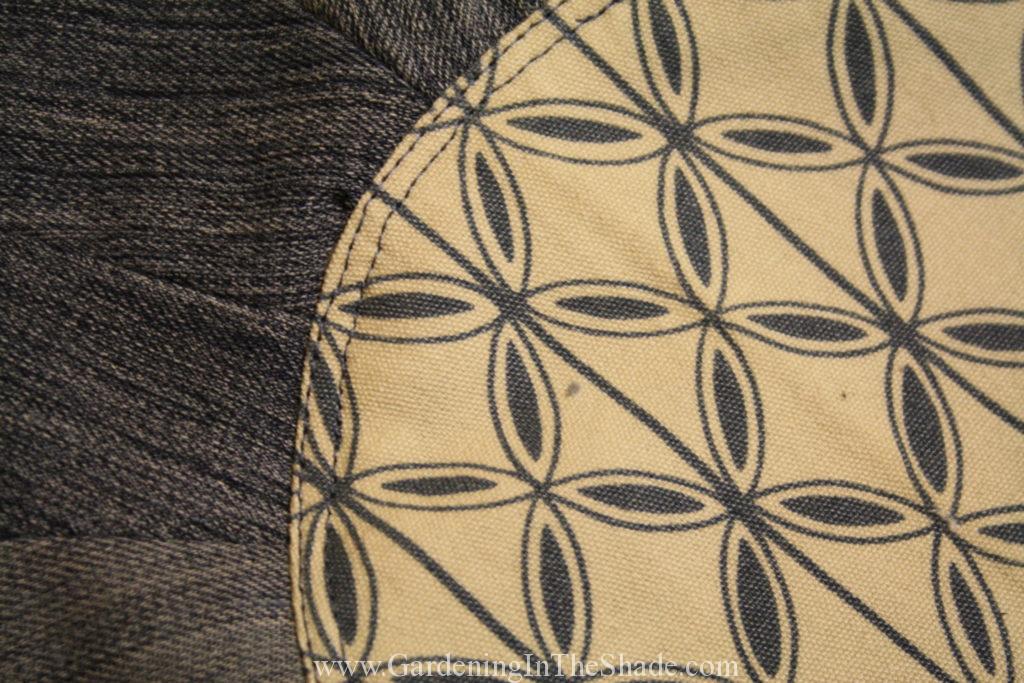
Sew around once 1/4″ or so from the edge, and then again very close to the edge.

Moroccan Pouf top assembled

That’s the top assembled. Real Moroccan Poufs usually have embroidery on the top so you could embroider or stencil yours if you want to. I really think a stenciled pattern would look nice. Plus if you invest that much more time in it, you’ll be less likely to toss it in the trash once you start attaching the top to the sides.

Assemble the sides:

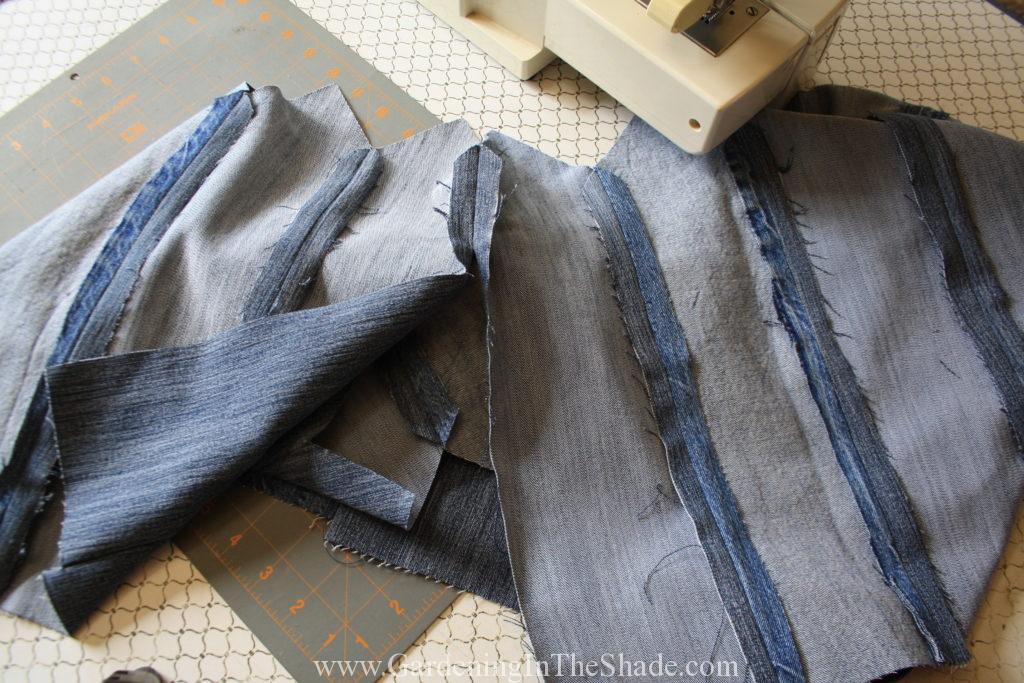
Next, you’ll assemble the sides of your Moroccan pouf in the same way as the top. Again sew together from the pointy end down and all of your seams in the same direction. For the last two seams, I only sewed the top couple of inches to give myself more room to maneuver, but I don’t think it was necessary. Again, I later opened up the seam, so you can start stitching from 1/2″ down if you wish.

Assembling your Moroccan Pouf:

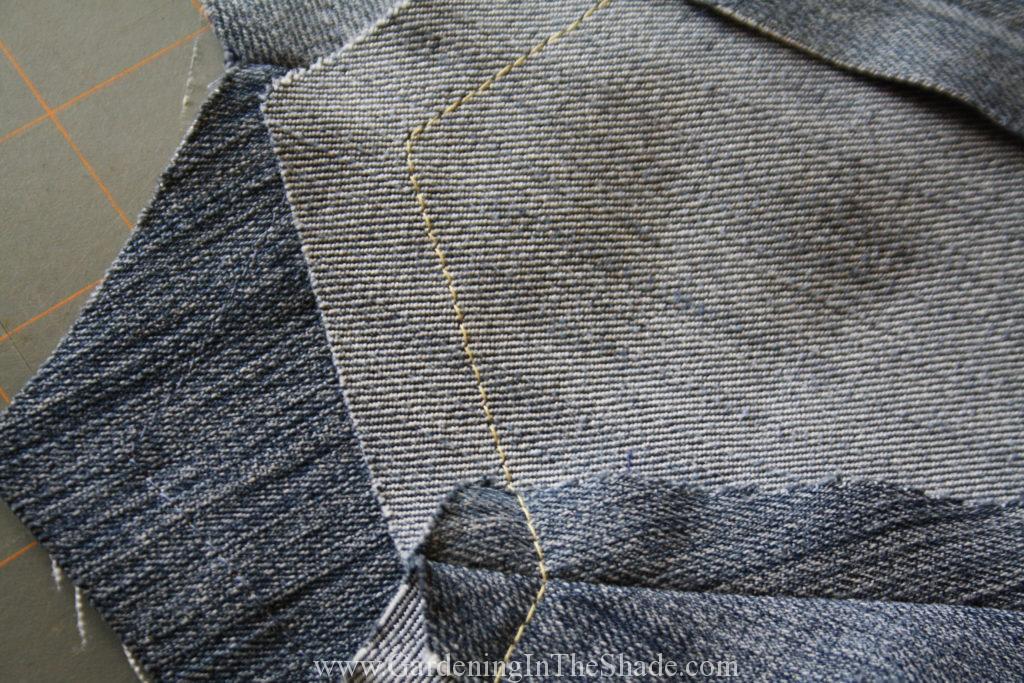
Now replace your bobbin with contrasting thread and baste 5/8″ from the outer edge of your top and the upper edge of your side, lifting your presser foot with the needle down at each turn. Leave your matching thread in the top and sew wrong side down – I know it’s obvious, but so is right sides together and I can’t tell you how many times I’ve gotten that wrong.

This gives you a seam line for matching the points of the outies to the valley of the innies. I found it also stabilizes your edges and if you’re opening your seams up like I did, helps keep everything together. You will also see where you need to turn your points to have the proper seam allowance on the other side. Mark this point on your throat plate, it will help you later.

This is where I opened my seams to the basted line. If you left the 1/2″ unsewn, you can skip the quality time with your seam ripper. Either way, you will need the open seam to have enough ease to match the points to the valleys.

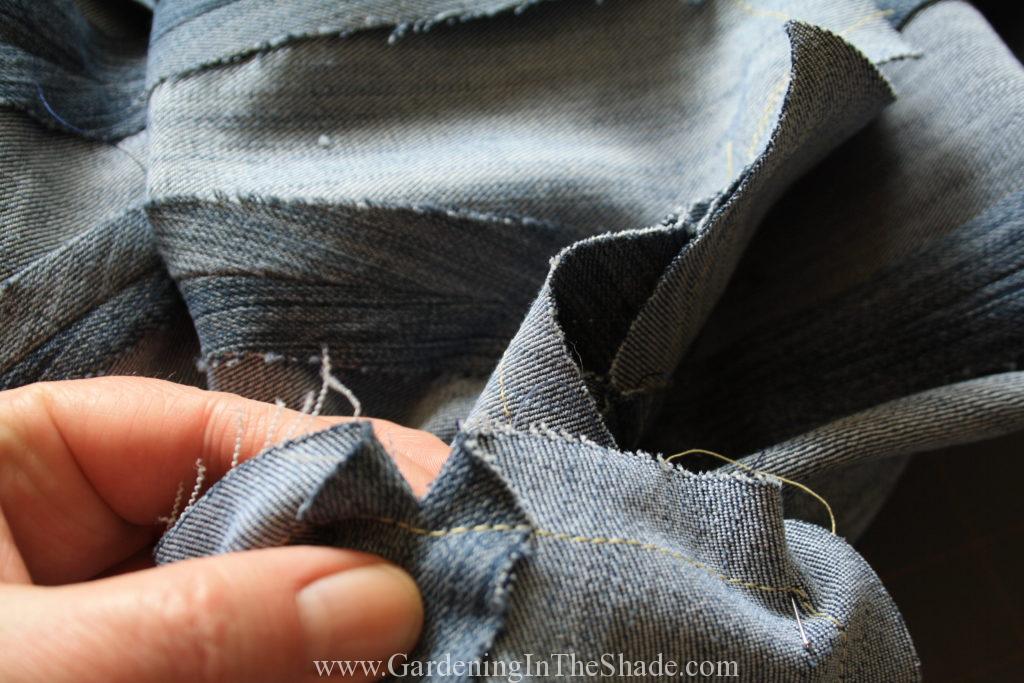
You have to match the points of your top to the valleys of your sides, and the points of your sides to the valleys of your top. Innies to outies, outies to innies.

Use your handy stitch line to match points to valleys. Below, you can see what it looks like with every single point pinned to every single valley. Which I actually found harder to work with when I was sewing, so I would just pin every other point.

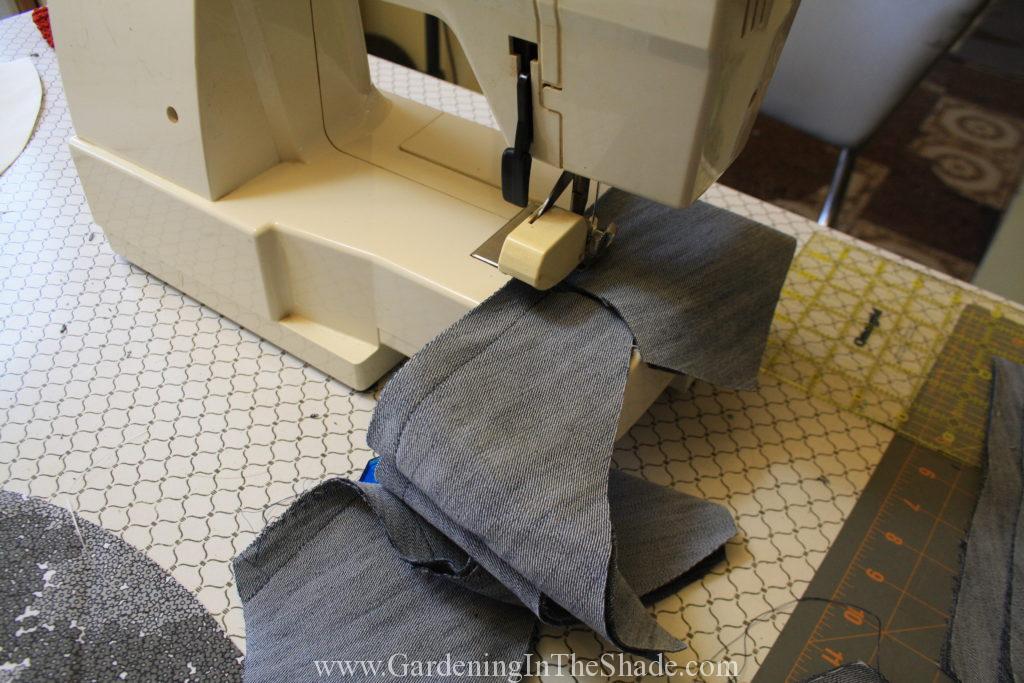
Replace your bobbin with matching thread and make sure it’s full. This is NOT the seam you want to run out of bobbin thread on. Take a deep breath and find your zen, because this is where you need to be very patient. It’s going to look absolutely insane under your presser foot!

I started on a straight edge and sewed towards my corner. As soon as I hit the point, I stopped with the needle down. Then I lifted the presser foot and turned the fabric. Thirty-two times I was convinced it wouldn’t work, and thirty-two times, I was able to smooth it all out, line it up, and sew to the next point. So I’m very confident you can do it too.

Once you’ve made it all the way around, check for any kinks or puckers. If you have one you don’t have to rip out the entire seam. Just remove the stitching far enough to each side that you can smooth it out and then sew it again. The zipper is going to seem easy now isn’t it?

Insert the zipper and attach the bottom:

With right sides together, sew 2″ together at each side. Baste the rest of the seam and press open. Lay your zipper on the seam, sew each side.

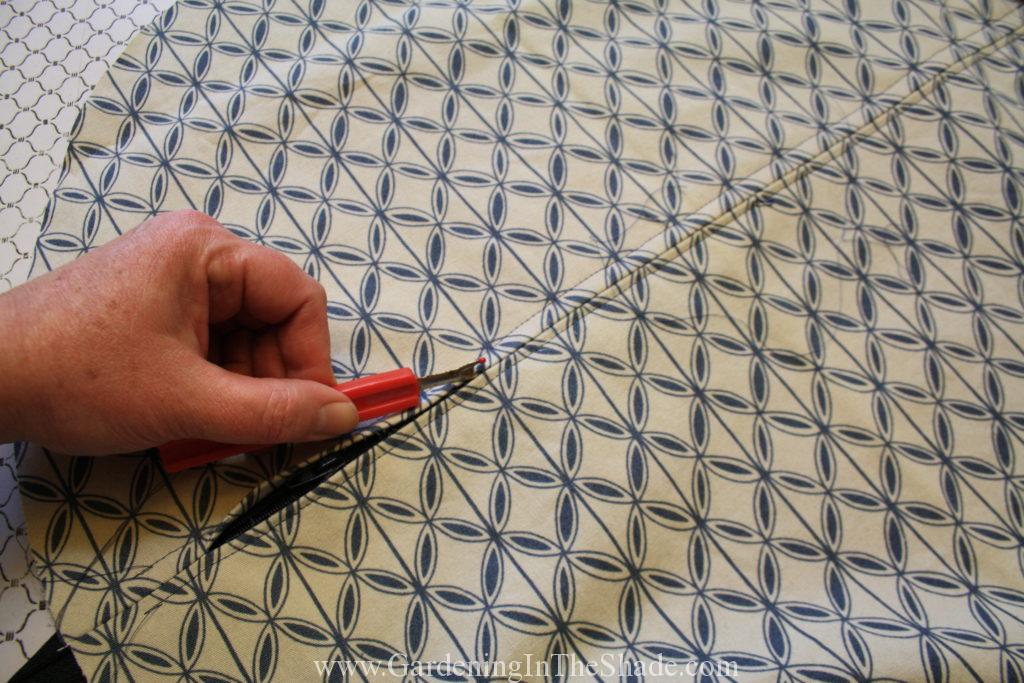
Run your seam ripper through the basting and open your zipper.

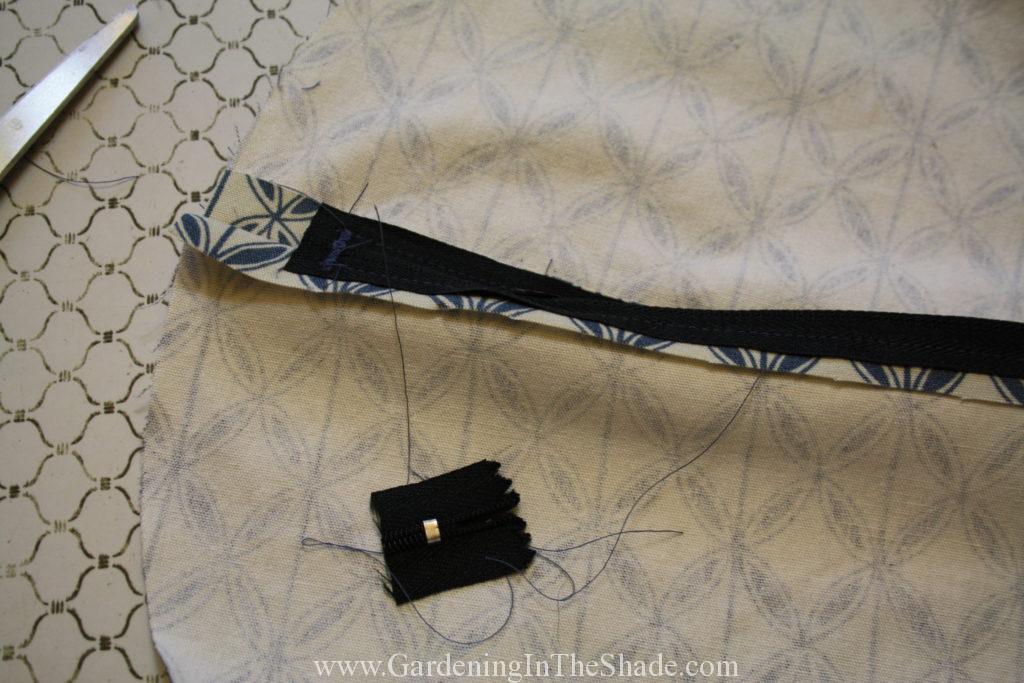
With the zipper open, zig-zag over each end of the zipper and cut off the excess. Make sure your zipper is open before you sew over the ends, or it won’t work as a zipper anymore.

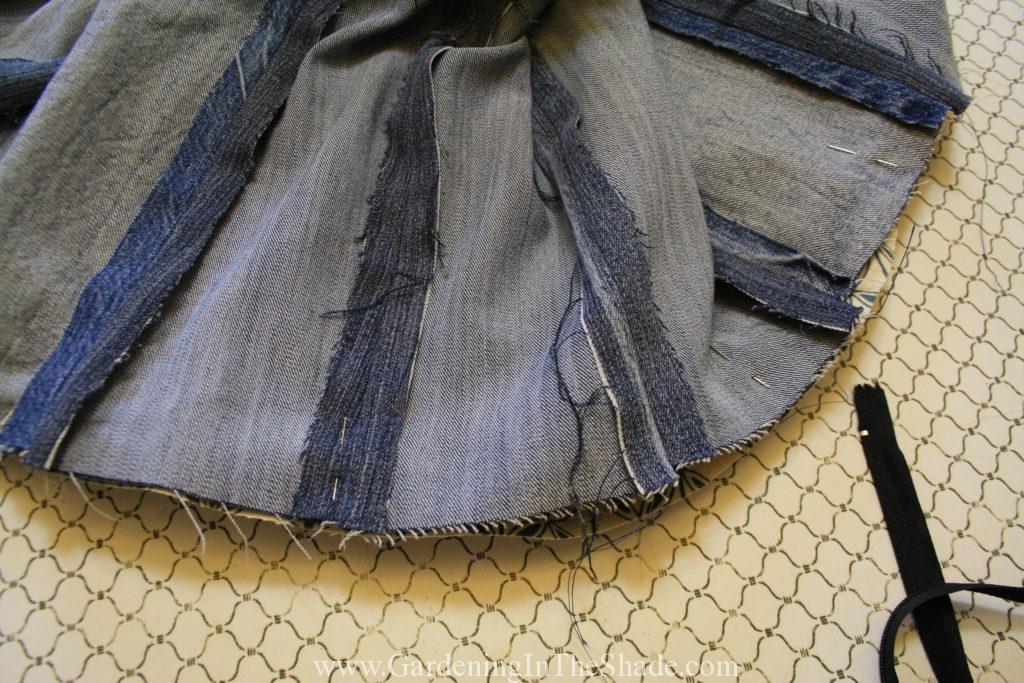
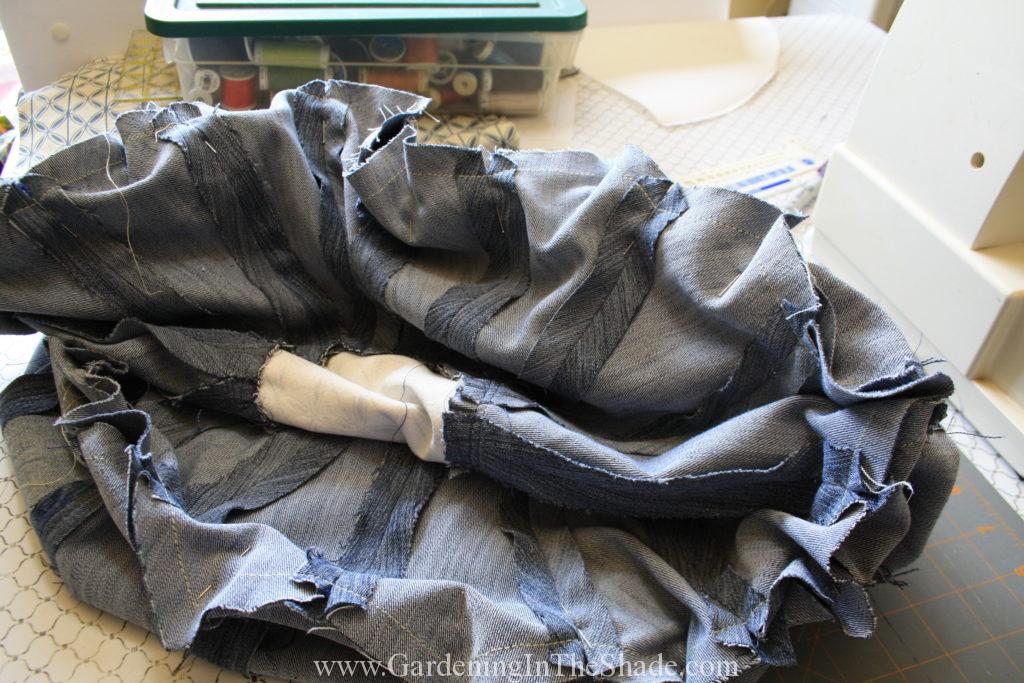
Leaving the zipper open just enough to get your hand through, pin and sew the bottom to the sides. Sewing this seam will be ridiculously easy after attaching the top! Open your zipper, turn it all right side out and stuff it. I used leftover styrofoam beans and an old pillow.

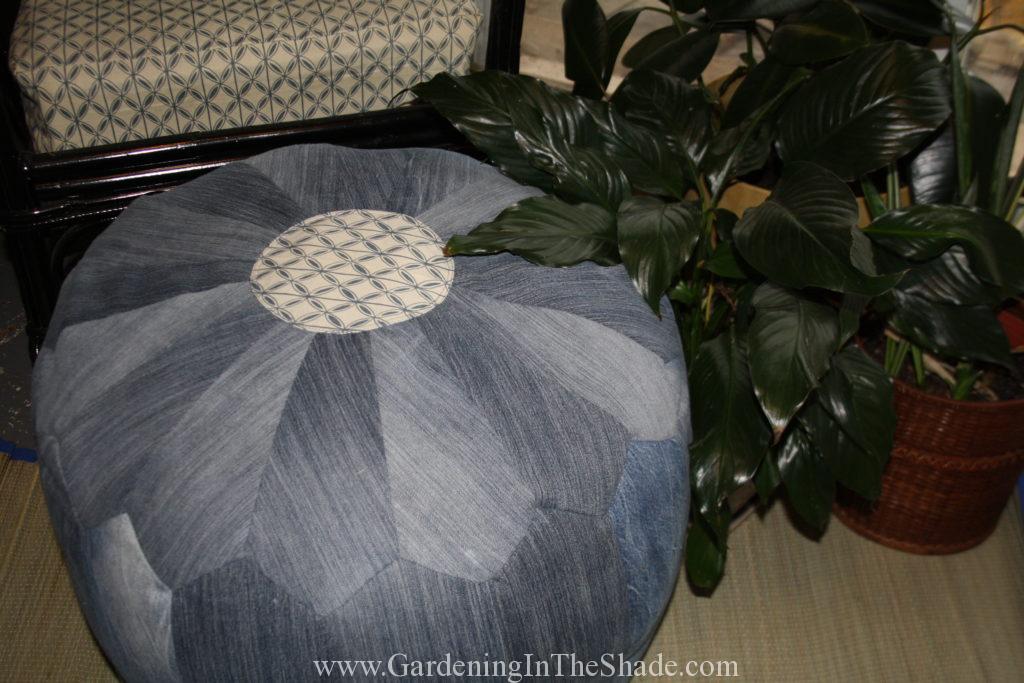
Congrats! You’ve now got a Moroccan pouf for next to nothing!

If you enjoyed this post, don’t forget to share it with your friends! For more just like it, follow me on Pinterest, Facebook and Twitter or sign up for regular updates by email.

If you have ever thought about starting a garden or craft blog of your own see how easy it is >>here<<.

Save

Save

Save

Save

Save

Save

Save

Save

Save

Save

Save

Save

Save

Save

Save

Save

Save

Save

Save

Save

Fretwork Garden Fence

Fretwork Garden Fence

Perseverance really does pay off, and I am so happy with this little fretwork garden fence I built this weekend.

Fretwork Garden Fence Close

It was probably not the best project for this novice at DIY to start with, but I really am happy with how this second attempt at the idea turned out!

Fretwork Corner Garden Fence
My first attempt was a complete failure.

After last weekend’s complete failure at building a garden fence you would think I’d just give up, but I still couldn’t get the idea of making this fretwork garden fence out of my head.

I went back and read the instructions for the fretwork folding screen that inspired the idea, and they called for 2 1/2″ screws.

After pounding post in
I really should have read the instructions!

On last weeks failure I used 2″ screws, which might explain why nothing was holding together. So this weekend I figured since I still had a pile of 2 x 2’s leftover I would try it again – with the right screws and glue for good measure.

Fretwork Garden Fence
The dogs will be munching on my calibrachoa again.

I also made a few changes to the measurements. The fence is shorter and the center squares are just a bit smaller. In order to avoid having a post where my eaves trough drains, I am keeping it as two separate sections.

I convinced myself that I just needed to take my time and it would work. And it mostly did, but it took most of the weekend to complete one section and partly assemble another one. Granted most of that was the sanding, but this was still definitely not a quick project.

Lumber Cut
Halfway through cutting my pieces I finally figured out that if I cut each piece more slowly there were less splinters on each cut.

Friday night I cut my pieces and started sanding.

Sanding

And sanding and then sanding some more.

All Pieces Stained
Stain isn’t so different than paint – it really does need that second coat to look nice.

On Saturday I finished sanding every piece and then stained all the wood. After my first attempt at using stain last weekend, I am fully sold on staining wood before assembling it. I kind of want to stain my deck now too.

After seeing how pretty the stain looked, I was so excited to start putting everything together I hardly slept Saturday night. I just couldn’t wait for morning to get started.

Center Square Pieces

I attached all of my 4″ pieces first. I used some scrap pieces to brace against and keep everything uniform.

Center Squares assembled

And then I assembled all the middle squares. Which is when the crap hit the fan. It seems someone (me) cut all the 4″ pieces at 4 1/8″, which across the width of the panel adds up to 1/2″. It was enough to really cause a problem, and problems on no sleep are not cool. If everything had been measured properly, or at least checked and fixed before starting to put it together, I probably would have finished both sections today. Maybe I’ll get the next one put together one night this week.

Tools Used:

  • Orbital Sander
  • Miter Saw
  • Impact Driver
  • Drill

Materials:

  • Glue
  • 2 1/2″ Screws (attach the two 4″ pieces to the center upright last – they are the only ones that have to be driven in at an angle)
  • 2 x 2 x 8″ lumber. I lost track of how many on this second attempt, I think it took 7 for two sections. I used spruce, but would look for something better if I were to do it again. Whatever I saved in cost, I wasted in time sanding.
Garden Fence Panel
Don’t forget to add whatever length will be in the ground to each end piece!

Fretwork Garden Fence

After spending two weekends on this idea it’s so nice to have something I’m happy with!

If you enjoyed this post, don’t forget to share it with your friends! For more just like it follow me on Pinterest, Facebook and Twitter or sign up for regular updates by email.

If you have ever thought about starting a garden or craft blog of your own see how easy it is >>here<<.


Save

Save

Save

Save

Save

Save

Save

Save

Save

Save

Save

Save

DIY Fence Fail


Fretwork Corner Garden Fence

I spent the weekend making these two sections of a fretwork garden fence. I came up with the idea when I saw this really pretty DIY Geometric Fretwork Screen made from 2 x 2 lumber while scrolling through Pinterest.

Sidebed front corner 2

Last year I put in this cheapy wire fencing that I always think of as ‘granny’ fencing to try to keep the dogs from stomping all over my plants and eating them. It didn’t really work that well, because both dogs just hopped over it when they wanted to graze, or avoid walking in the grass, or (I’m looking at you Louie!) to poop on my plants.

They’ll happily run through a muddy ditch, but wet grass must be avoided at all cost!

Over the winter, cats being cats and dogs being dogs, my retriever managed to get one section hooked in his collar. He was the sorriest looking dog ever standing at the bottom of the stairs with 26 feet of wire fencing trailing behind him.

So that’s gone.

Ever since my perennials started popping up this spring, I’ve been weighing (and pricing) different options to add fencing to my flowerbeds. I can’t keep hollering “Get off my flowers” every 5 minutes, it’s like trying to keep toddlers from eating sand. Except everything is either not to my taste or completely out of my price range.Fretwork Garden Fence 
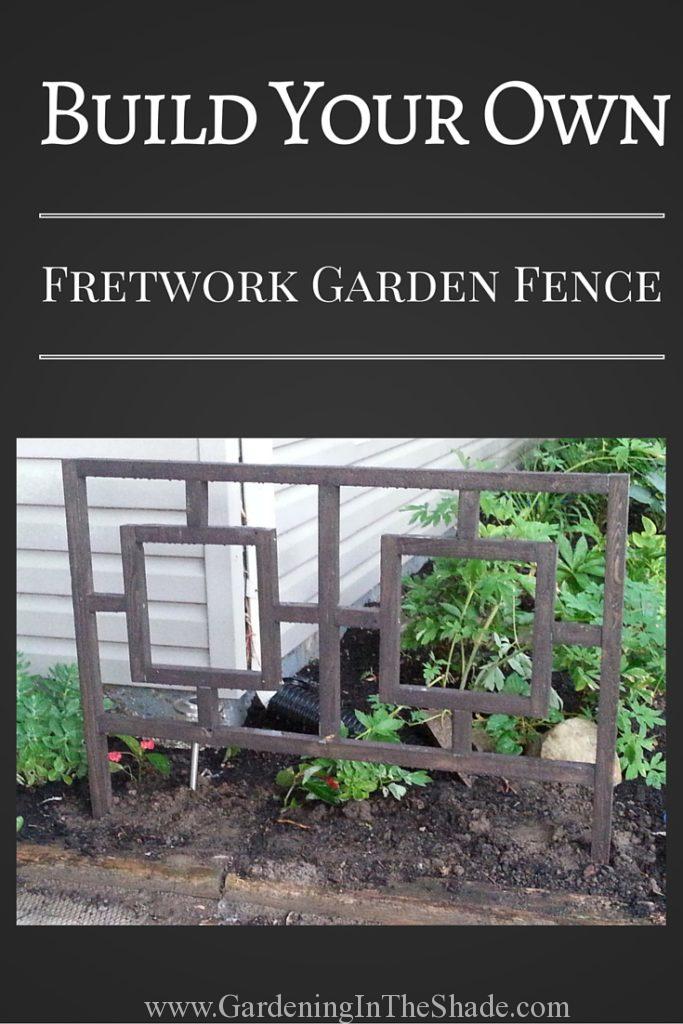
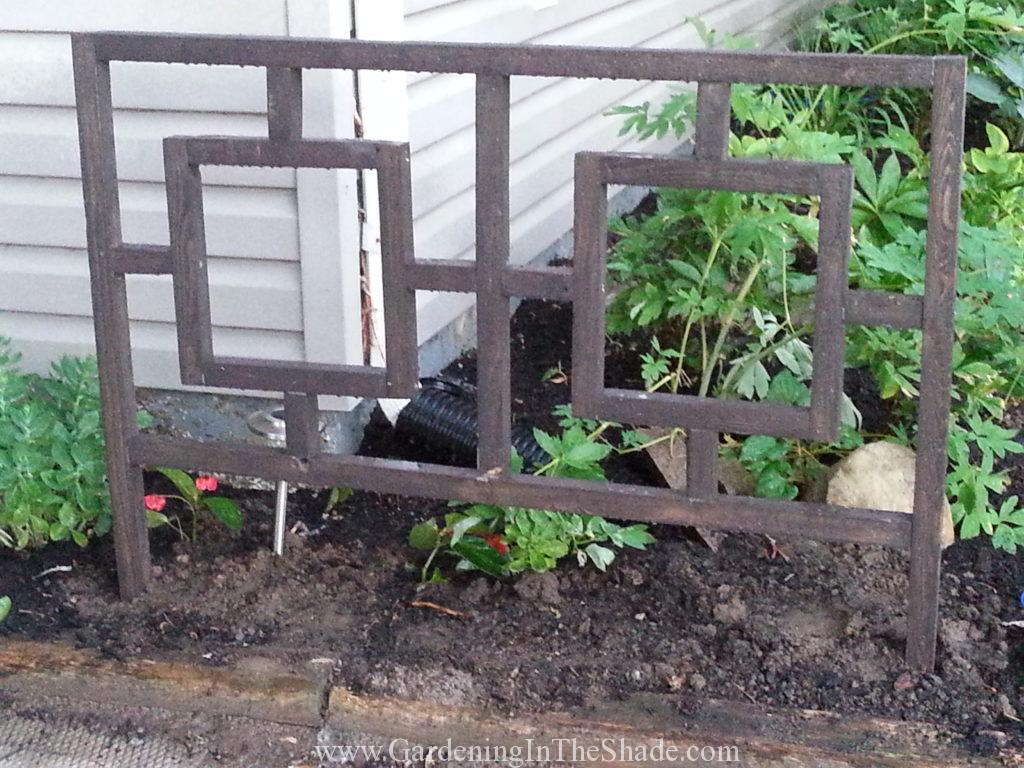
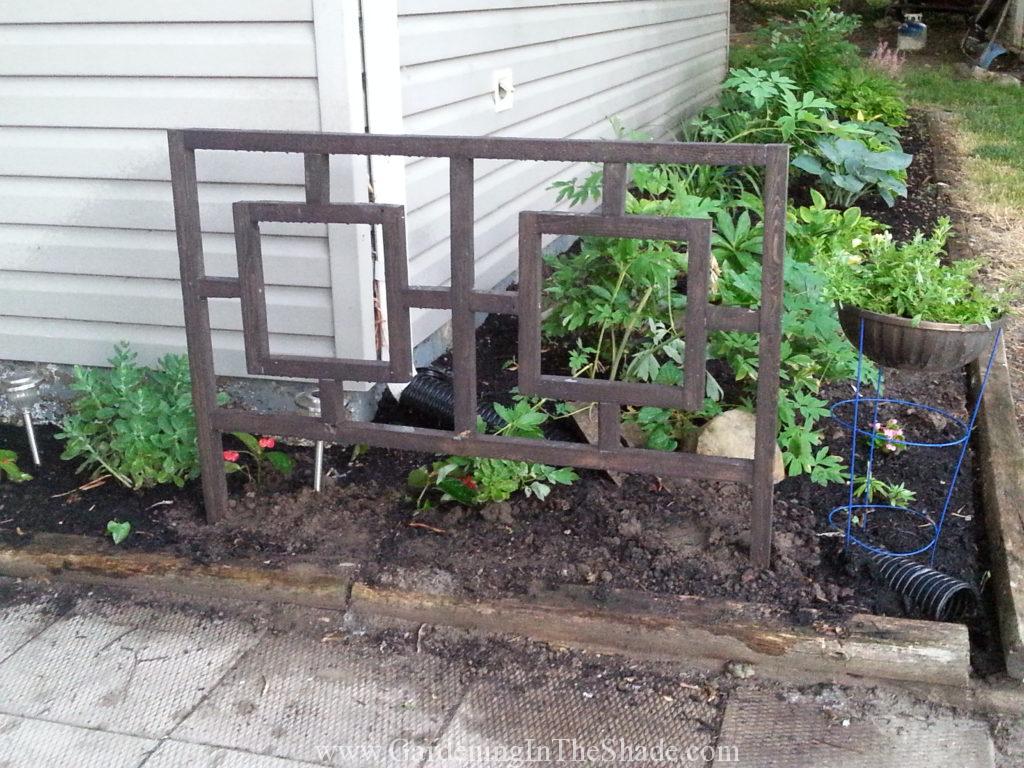
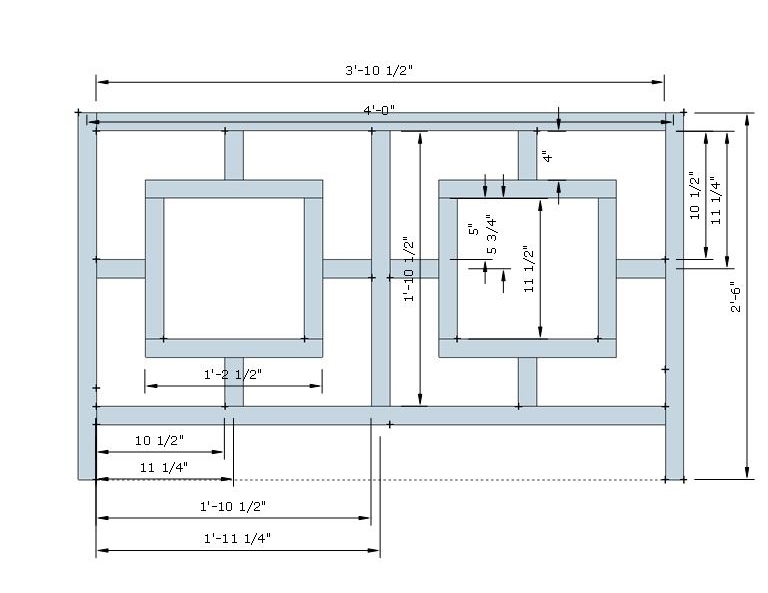
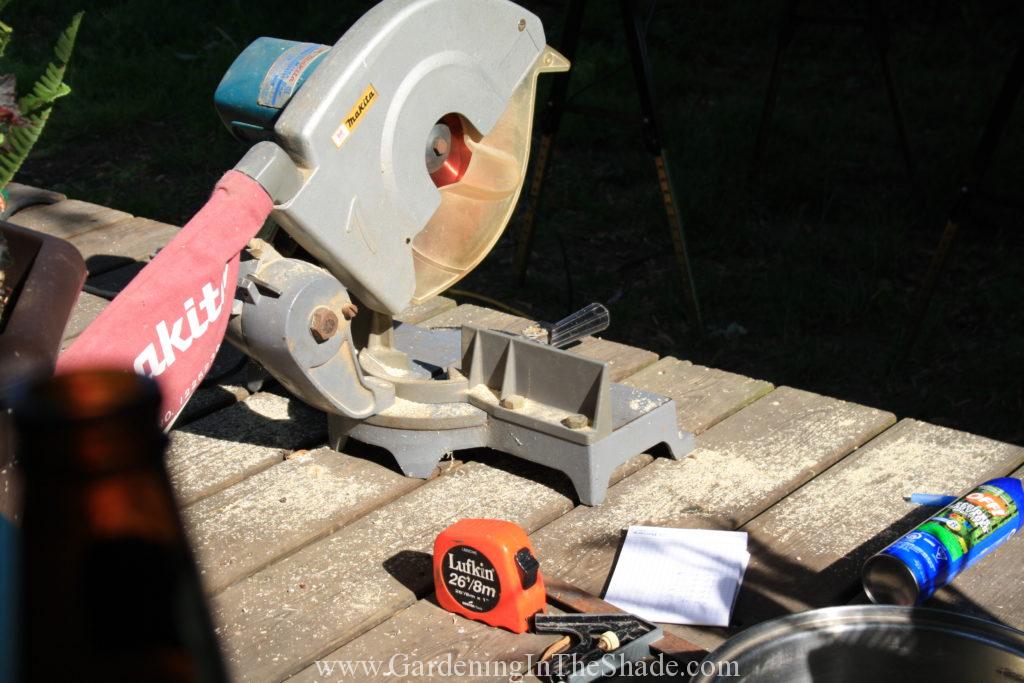
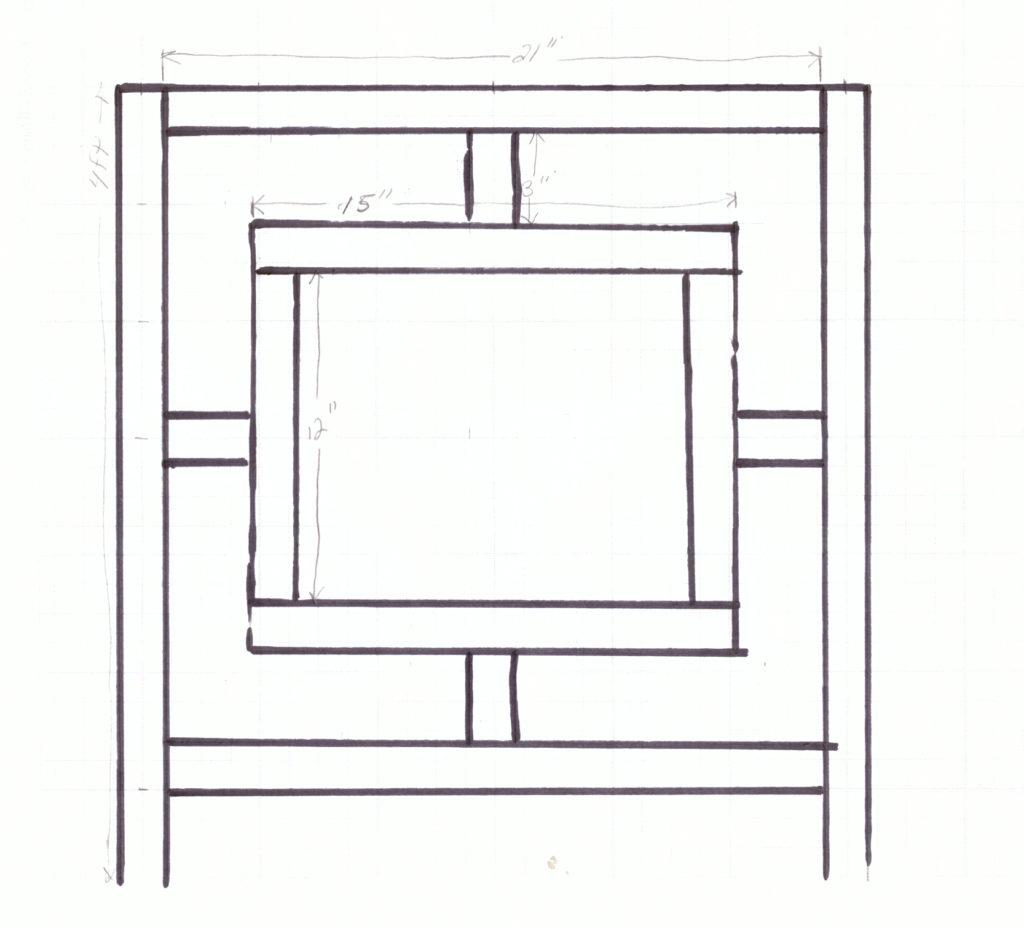
When I saw that folding screen I instantly visualized the look as fencing and worked up a rough plan based on 2 foot increments – one side of the bed is 24′ long, the other 26. Sketching up my own plans was probably my first mistake.

Miter Saw, Tape Measure and Beer

For tools I have a miter saw, an orbital palm sander, and a drill, along with the use of my son’s impact driver (That impact driver is amazing!) and that’s pretty much it, or at least all that was useful for this project. By the end of the weekend it was pretty obvious I really needed to have a table saw and a nail gun. Better plans too.

Fretwork Garden Fence Cut Lumber

I did a quick sanding of all of my lumber before using it because 2 x 2’s or at least the cheap spruce 2 x 2’s are usually pretty shitty and they have a stamp in the middle along with blue ends. Once I cut all the pieces, I sanded off any splintery ends.

Fretwork Garden Fence Assembly
I swear the next time I have my power washer out, I’m really going to offer to clean my neighbors siding for them. It’s looked like that for about two years now.

Then I started putting it together and I was kind of excited to see it starting to look almost like I had pictured it, until it wasn’t.

It was flimsy, and barely holding together. I honestly couldn’t picture it working at all as it was.

Painted Zinc Mending straps

So back to the hardware store, I bought some of those metal straps and corner brackets they sell and spray painted them black. Those straps add up pretty quick and bumped the price of two 4′ fence segments from around $20 closer to $50.

Originally the idea was to pound each post into the ground since they were only 2 x 2’s.

After pounding post in

Apparently that wasn’t a good idea either. If that had happened before I stained it, you would be looking at pictures of raw spruce 2 x 2’s.

This was my first time using stain and I know it looks horrible, but honestly I can’t even be bothered to try to fix it. The fence is just not going to work. For now it might keep the 80 lb adolescent German Shepherd from sitting on my sedums, but I can’t see it surviving a winter.

Nor can I see myself using this plan to finish fencing in both sides of the bed. Not only is it too rickety, it’s too tall. I think it would look better if the bottom rail were only 6″ off the ground. Plus if I have to use the pieces of metal all the way along, not only are they ugly (I can see them from my deck) but they’re expensive.

Do I still want a fretwork garden fence?

I still love the idea of how it could look. So I’m wondering if doing a few things differently would make it actually work.

Things like buying say 2 x 6, or 2 x 8’s and ripping them lengthwise so that I’m starting with better lumber.

Fretwork Garden Fence Alternate Plan

And things like altering the plans so the top and bottom rails were one single length instead of butting against that vertical piece in the middle or even using 4 x 4’s for the posts and 2 x 4’s for the top and bottom rails.

Definitely every place the pieces cross should have a dado so they can cross and be nailed together. And the spacers should carry through the center of the inside square instead of using the fiddly 3″ pieces I used.

Another thing I would need to do is account for the posts at each end in my measurements or find myself with an odd sized panel at the end of the run. Since I didn’t do that with the first sections, maybe it’s a good thing it didn’t work out enough to finish the garden. I would have ended up with a section roughly 9″ narrower than the rest of the fence sections at the end.

In its own way, learning how to work with lumber isn’t much different from learning how to sew. You get better at planning and measuring. Eventually you acquire more of the tools you need to do the job better or faster and sooner or later you either learn to sew or build stuff that looks good and works.

Or you find another hobby and buy the things you need.

In the meantime, for what I spent on lumber and hardware this weekend, I could have fenced the whole thing in granny fencing again. Heck, I could have even splurged on the 3′ tall stuff instead of the 2′ tall I used last year.

Save

Save

Save