Asymmetric Bag, Free Pattern and Tutorial

Asymmetric Bag Free Pattern and Tutorial

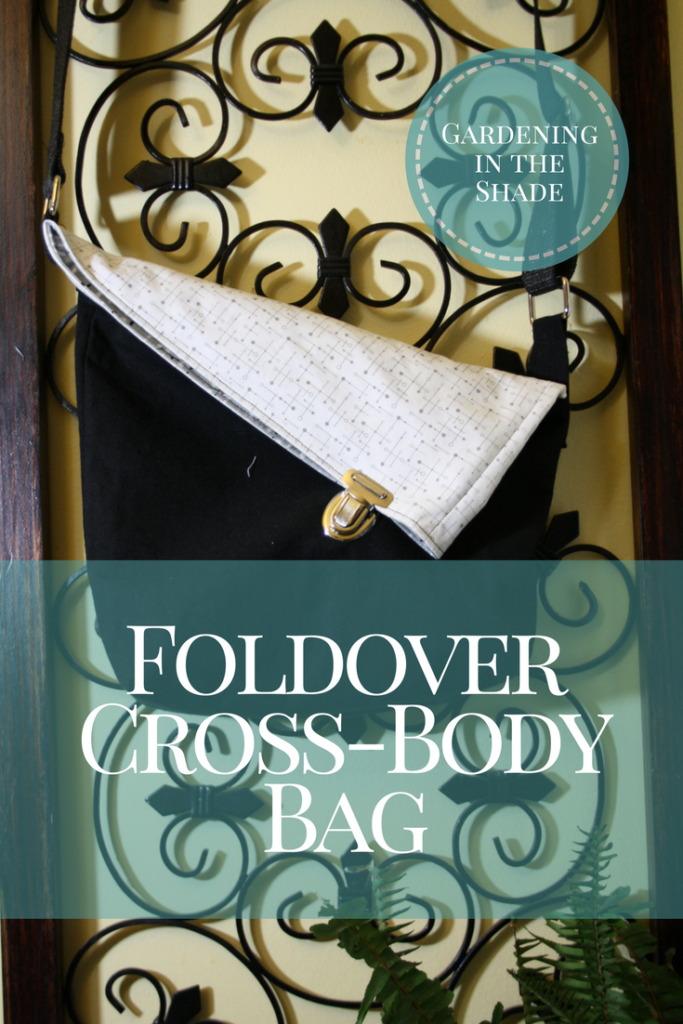
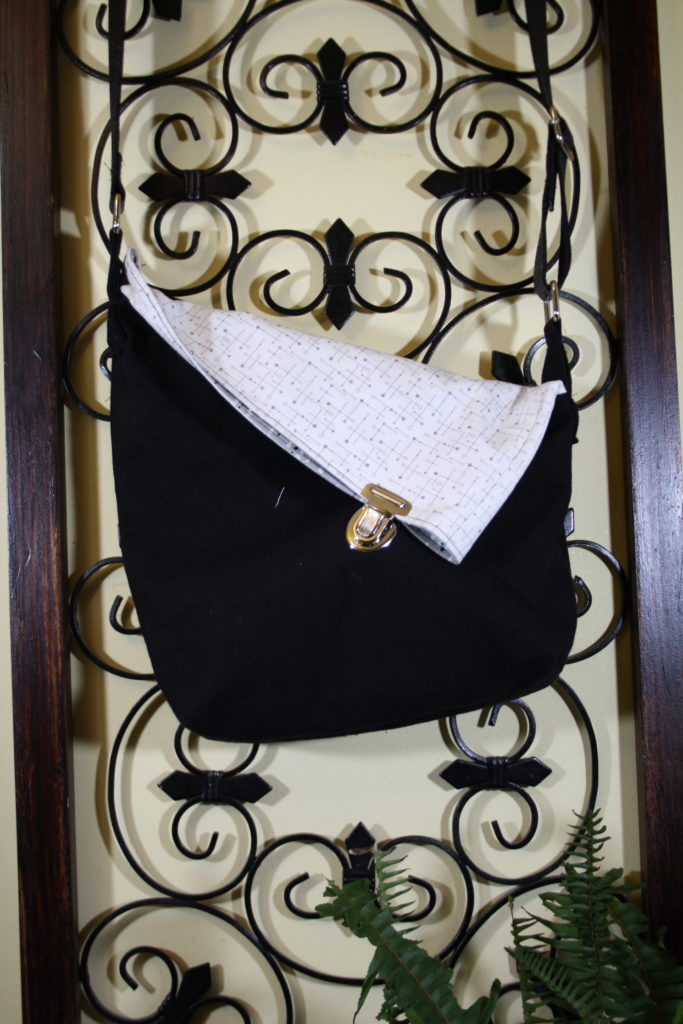
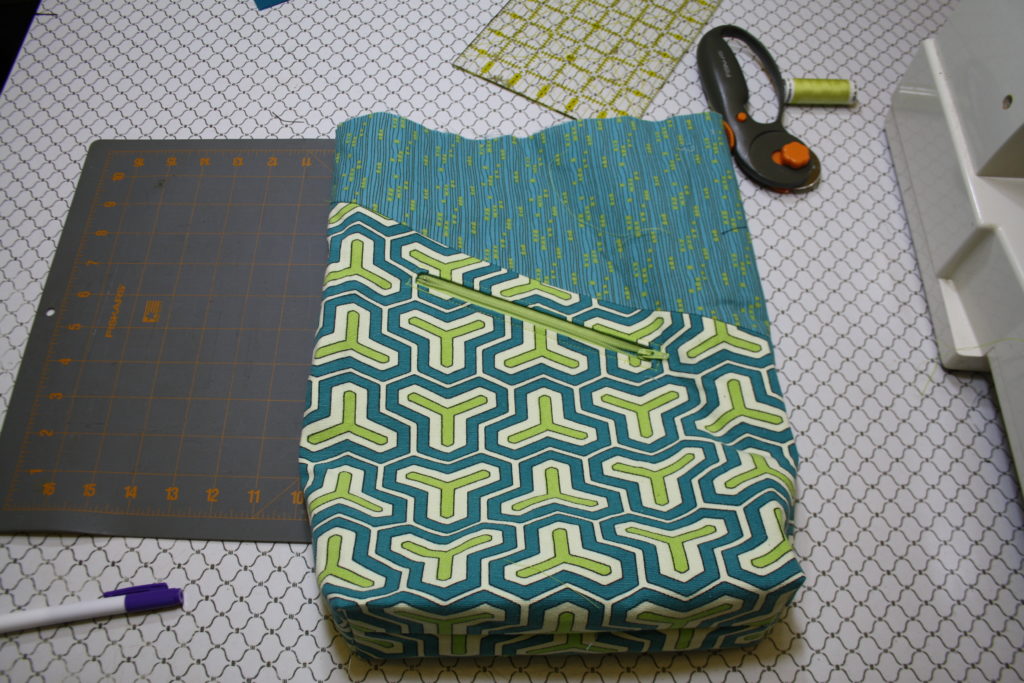
Finally! The tutorial and pattern for this bag I’ve promised. It was surprisingly time-consuming to redraw the pattern and make it nice and clean so it would make sense to everyone else. So, click here >>> >here< <<<  for the pattern. I don’t care if you make and sell a million dollars worth of these bags – just don’t post my pattern on your own site.

Materials for Asymmetric Bag:

  • 1 meter fusible interfacing.
  • 1/2 meter each of exterior fabric and lining fabric.
  • 1/4 – 1/2 meter of accent fabric (optional – you could make exterior in a single color)
  • 2 – 7″ zippers
  • your choice of bag hardware for strap and closure. There are so many possibilities and choices, it’s entirely up to you what you use.

Assembly of your asymmetric bag:

Attaching accent fabric to bottom of bag:

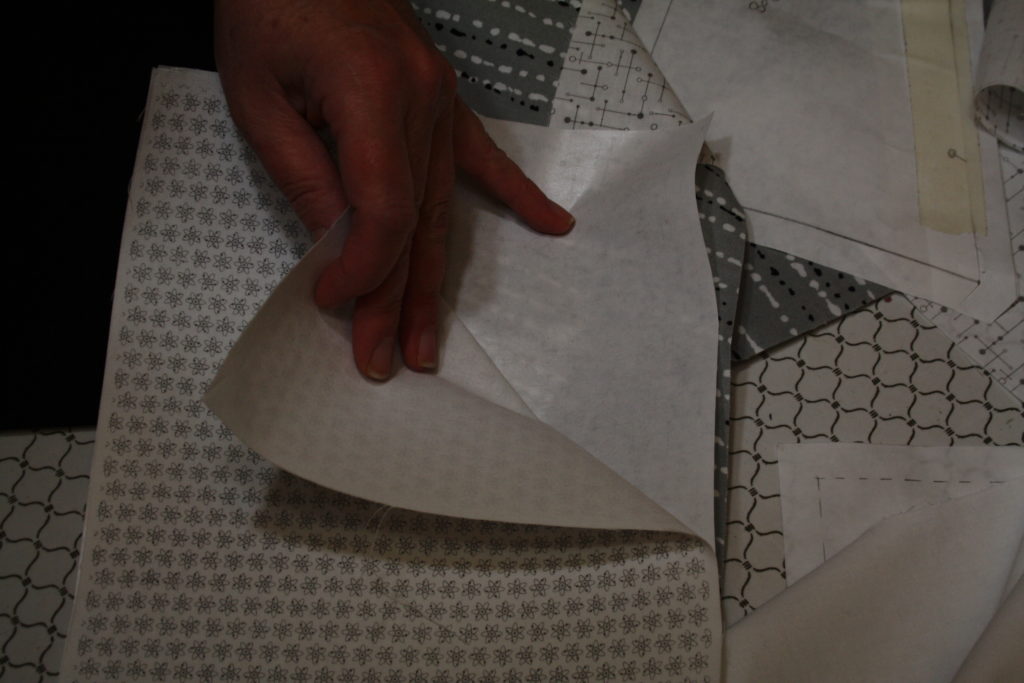
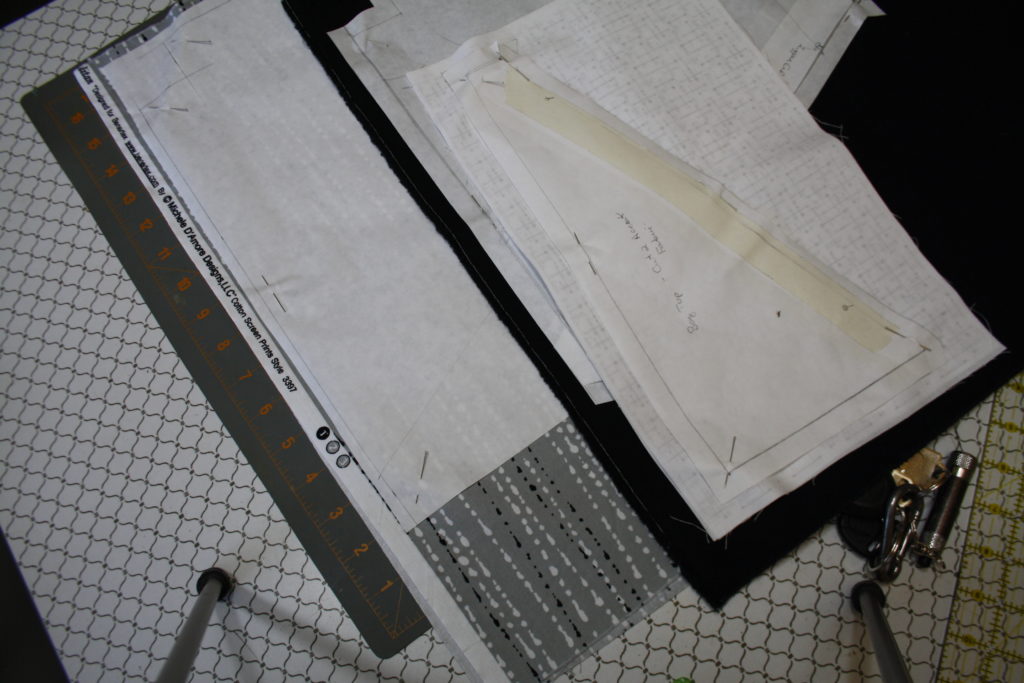
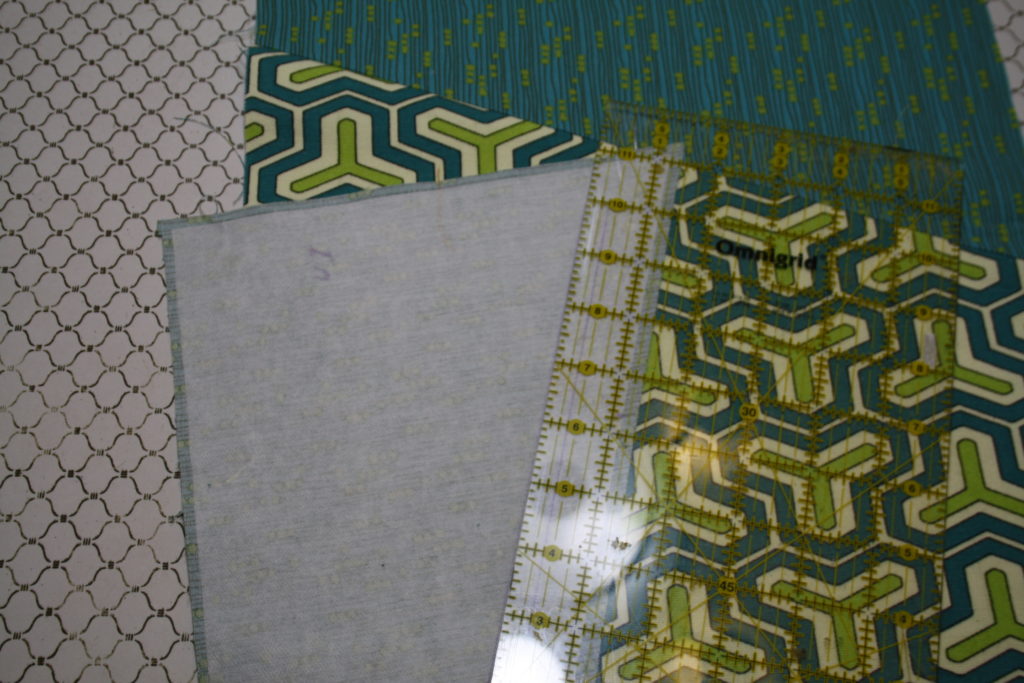
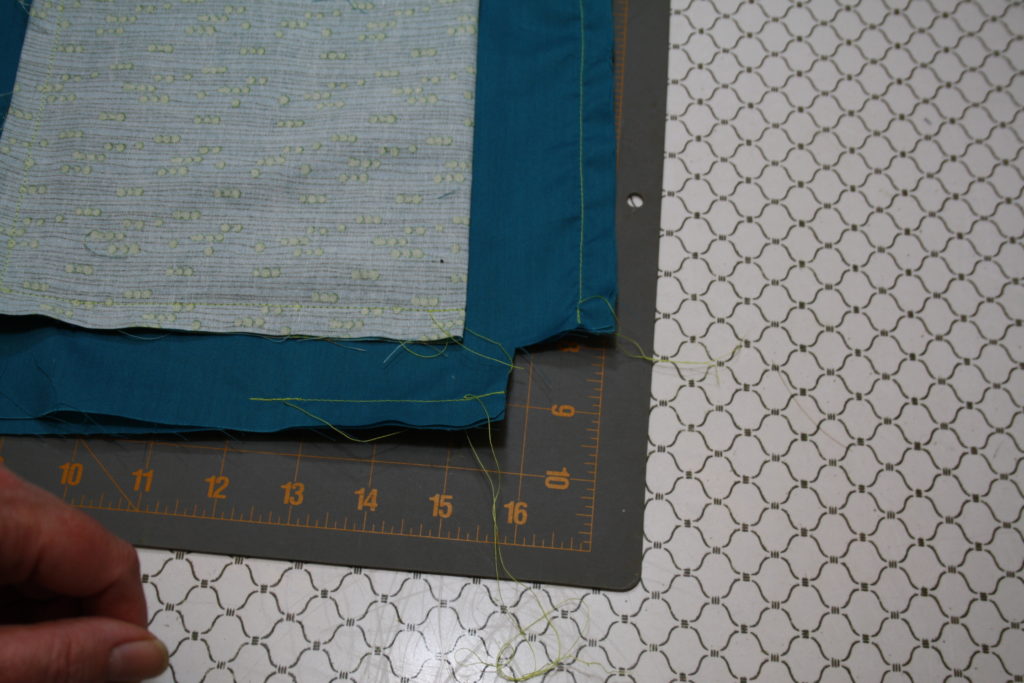
Once you’ve cut out all of your pieces, trim the fusible interfacing 1/4″ on all sides to reduce bulk in your seams.

Asymmetric bag - decide which half of exterior pocket to interface

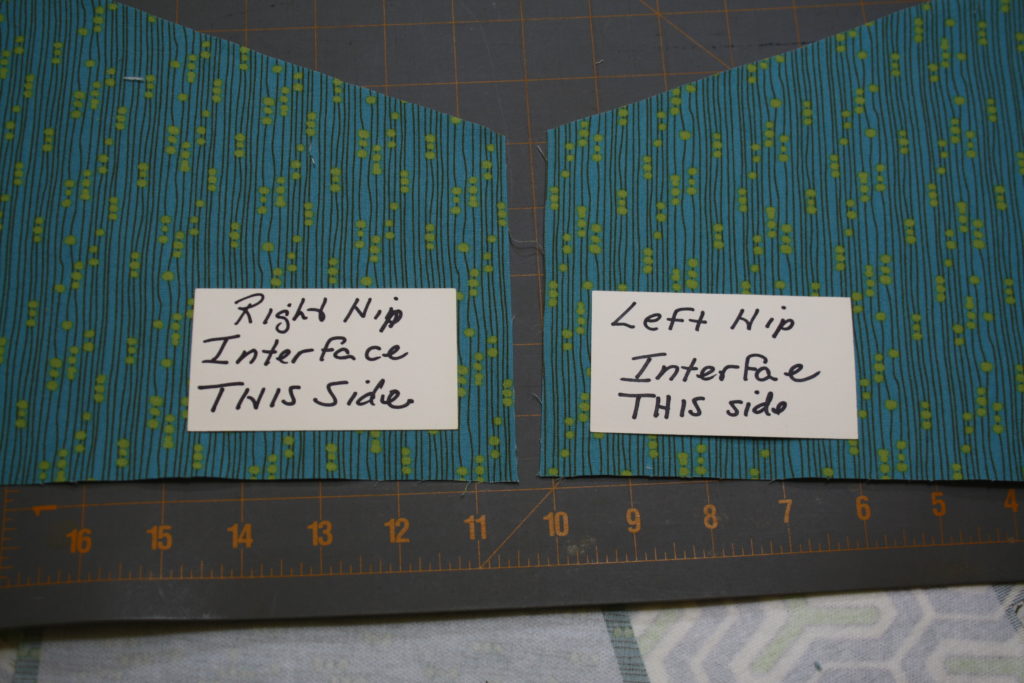
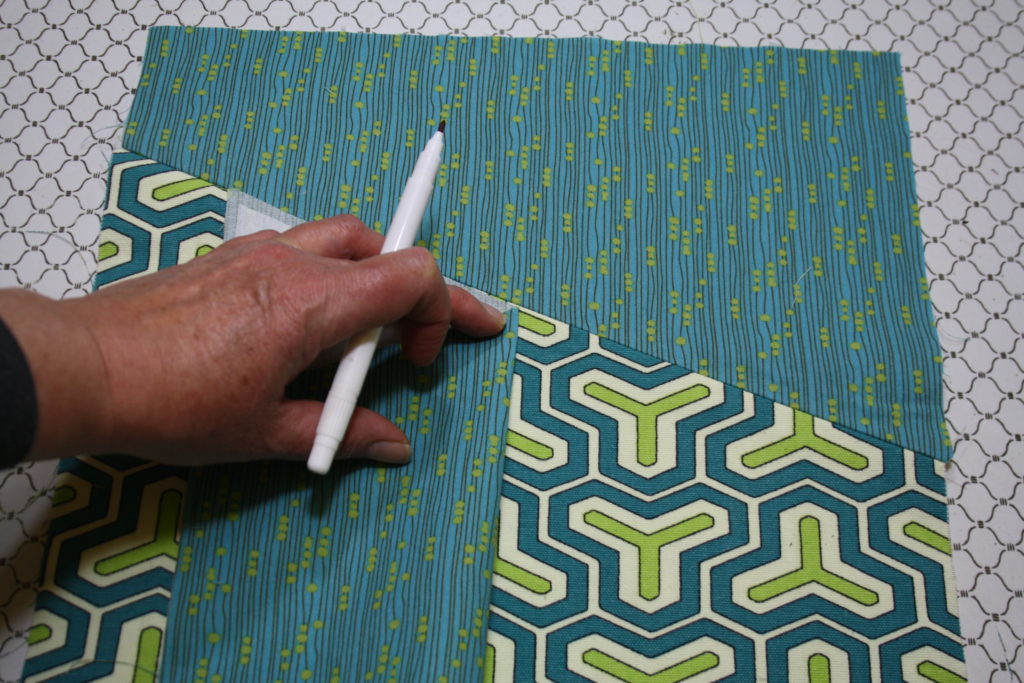
You will need to decide which side of the bag your exterior pocket will be on. Since it’s at an angle, it’s more comfortable to use if you follow my handy little Sharpie notes on the photos. Fuse your interfacing to all exterior pieces and half of each pocket lining.

Asymmetric bag - attaching accent fabric to bag exterior

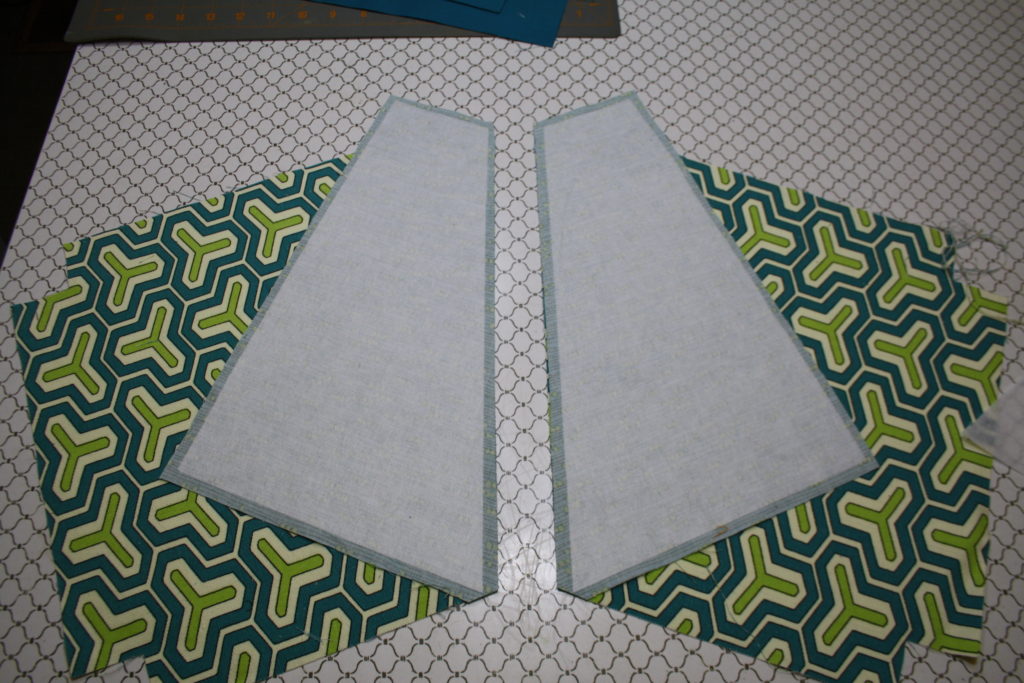
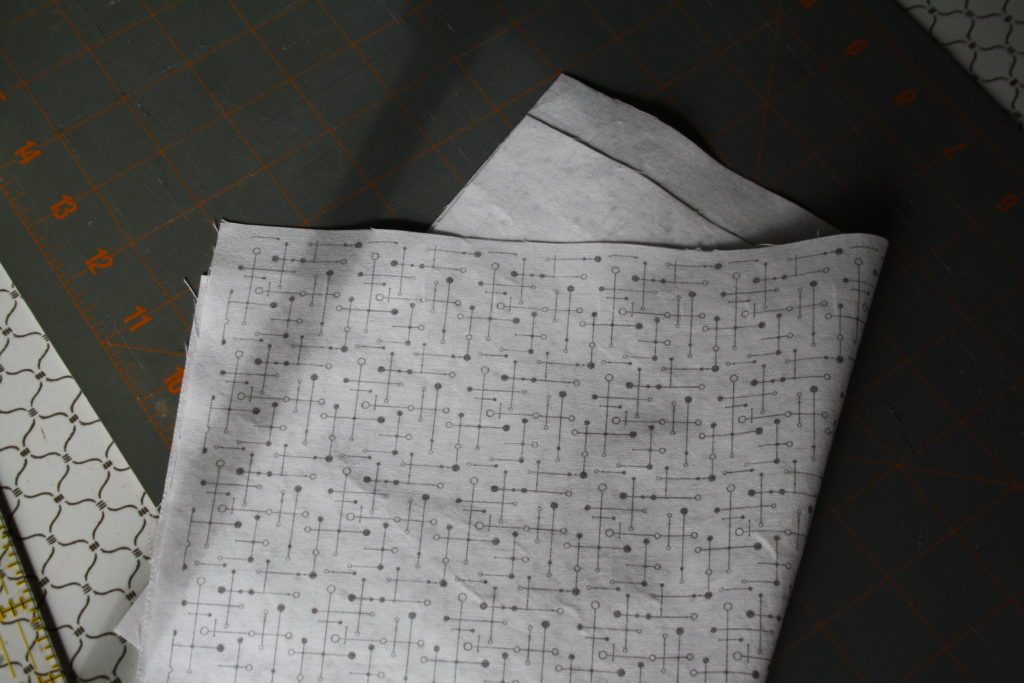
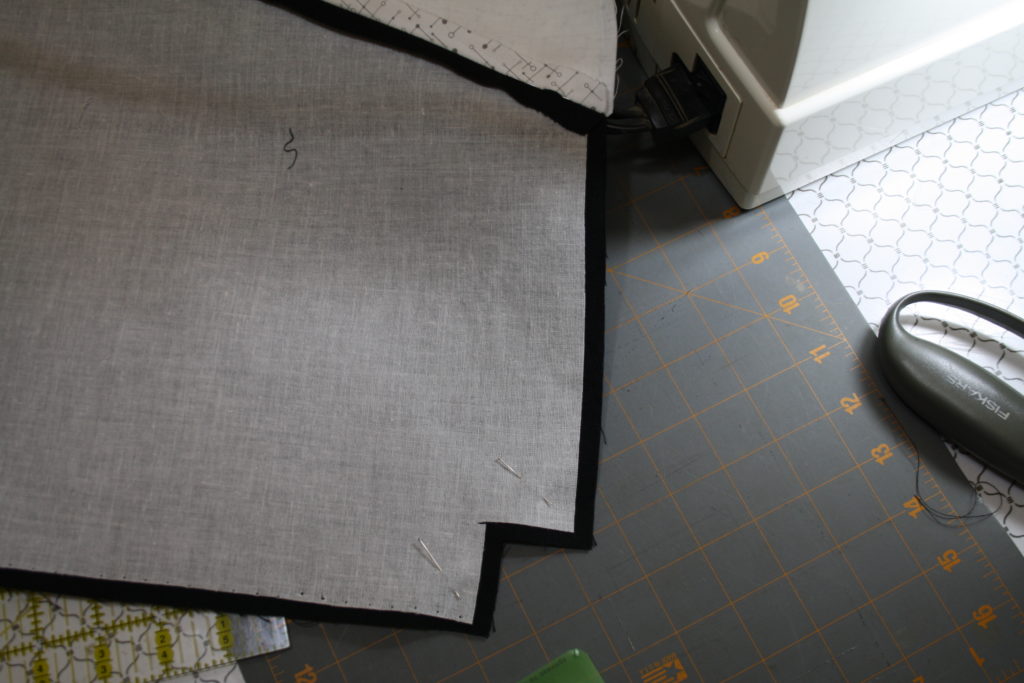
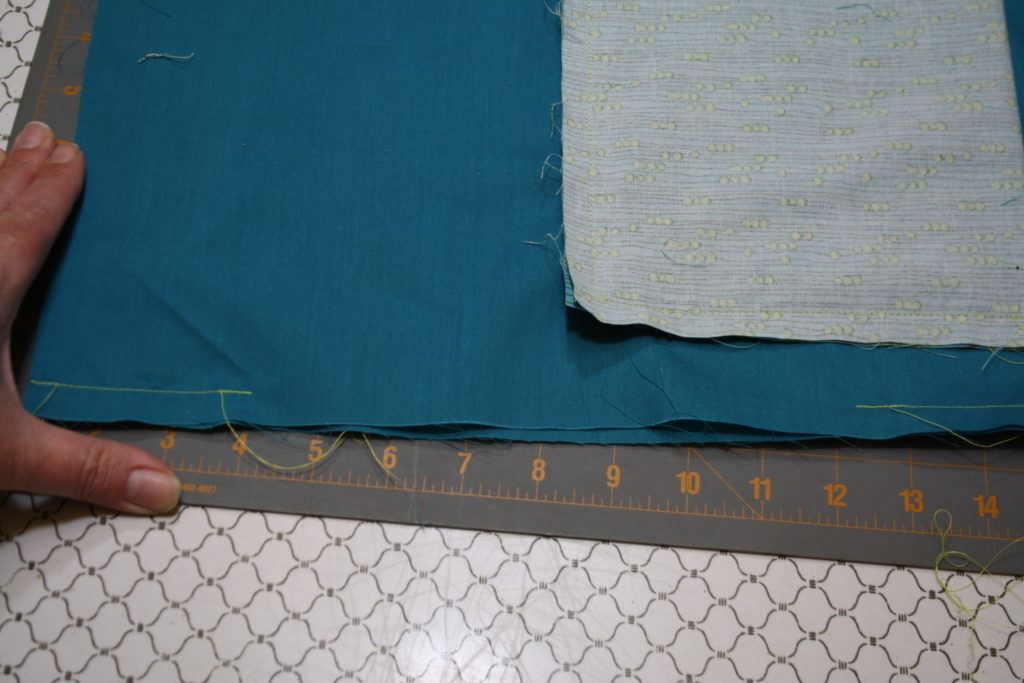
Once you have fused all of your interfacing, assemble the exterior. The photo above shows you how the pieces go together. Sew with a 1/2″ seam.

determining correct side for exterior zipper pocket

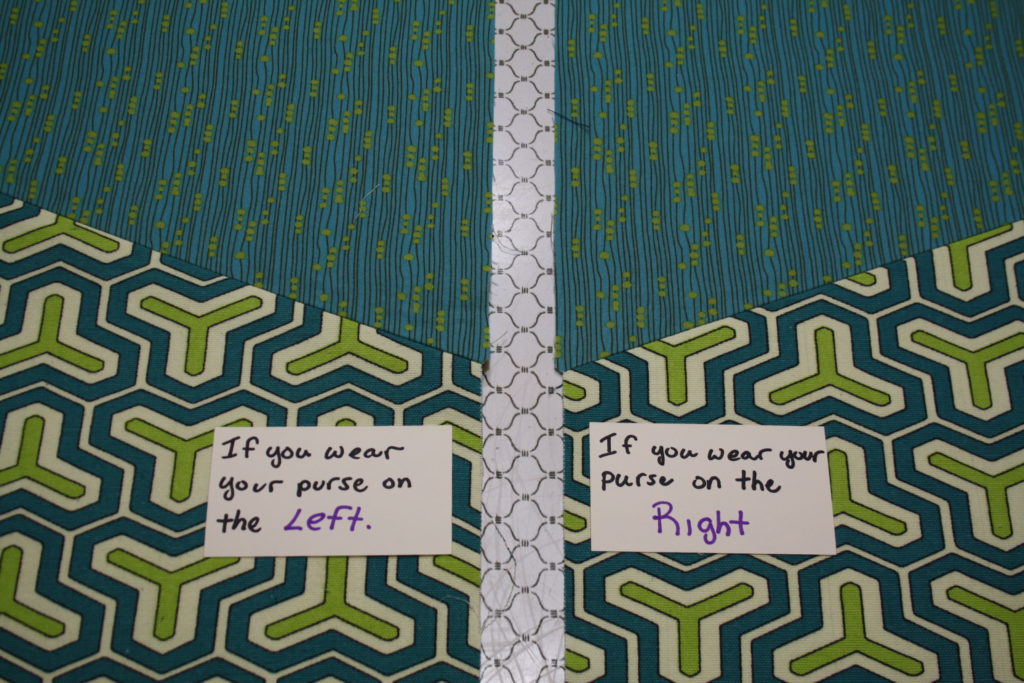
Another little Sharpie note for pocket placement.

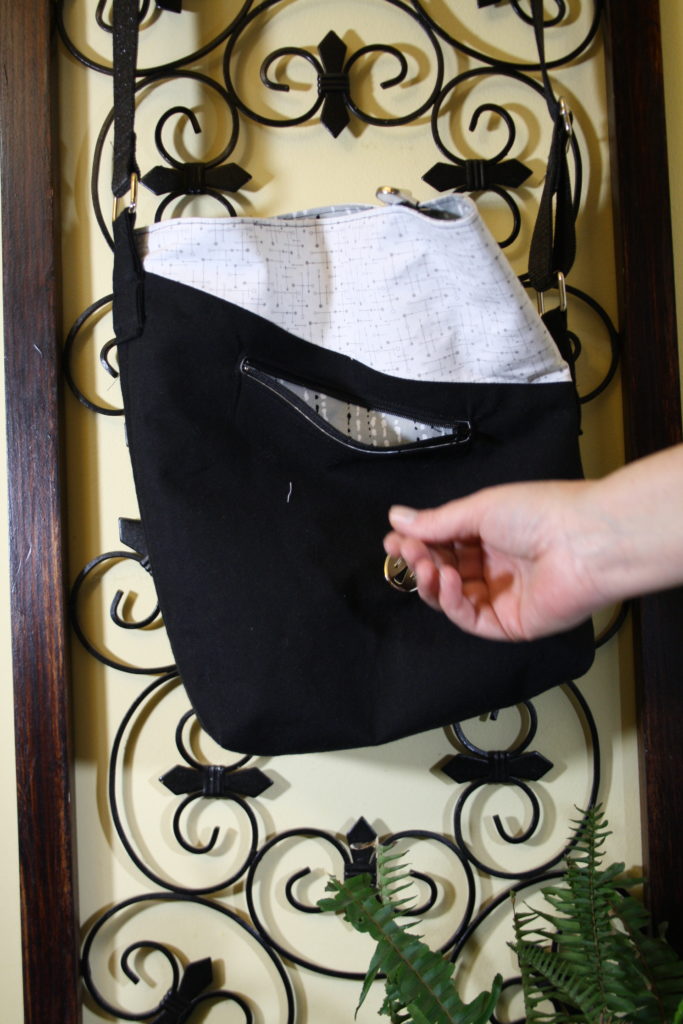
Inserting the zipper and outside pocket:

Mark center of pocket lining and bag exterior

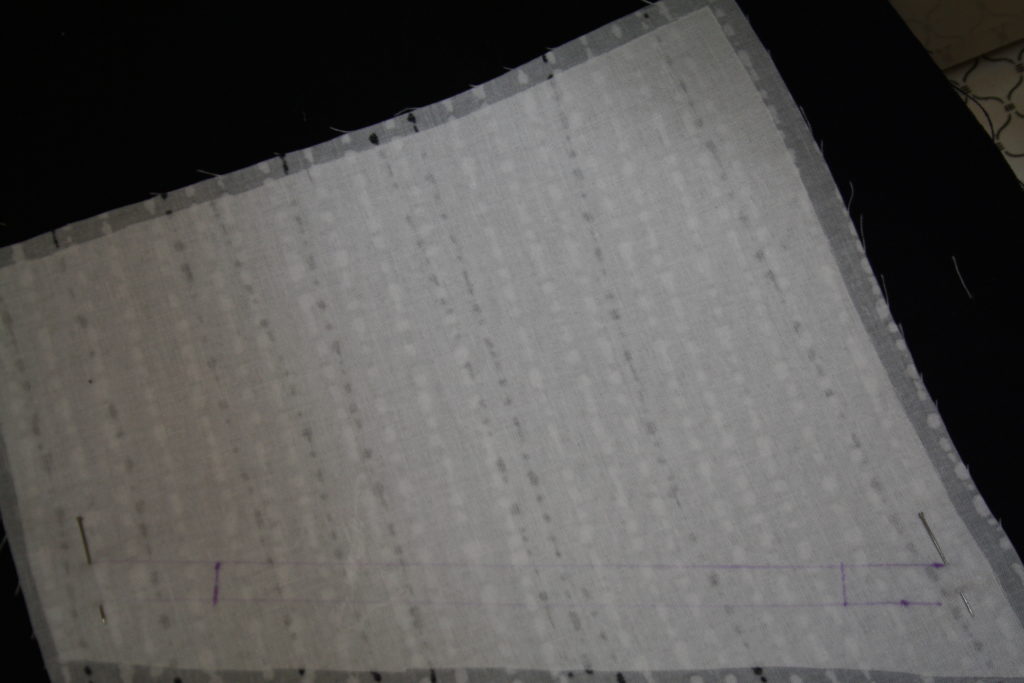
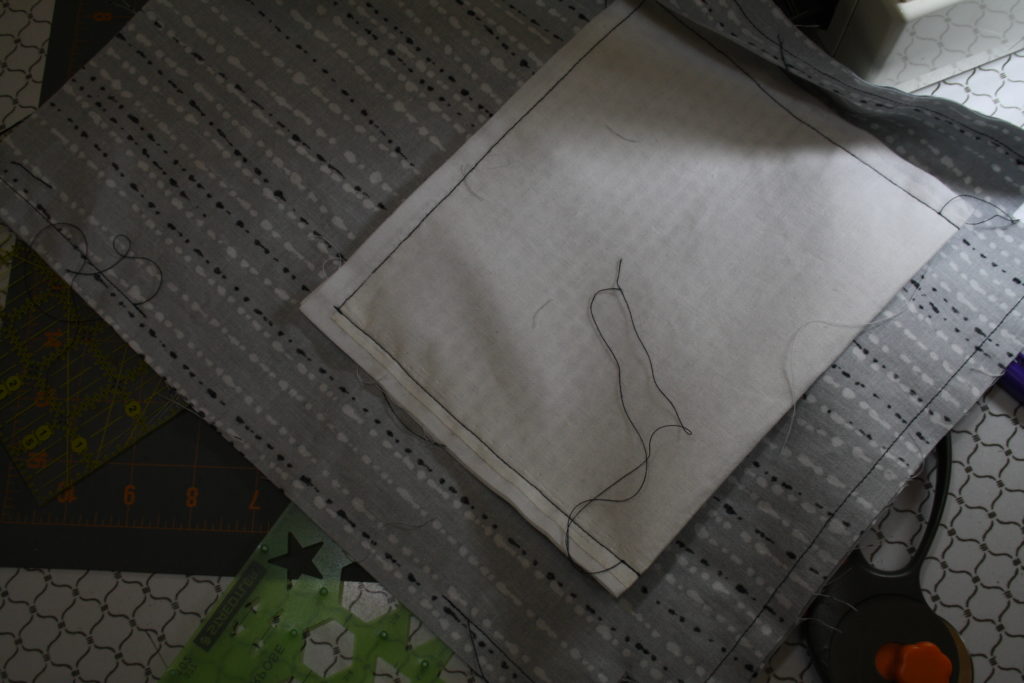
Find the vertical center of your pocket lining and your bag exterior.

mark 1 inch from top

Draw a line one inch from top edge on wrong side of pocket lining.

Draw another line 3/8″ from first line.

sewing and cut lines for zipper

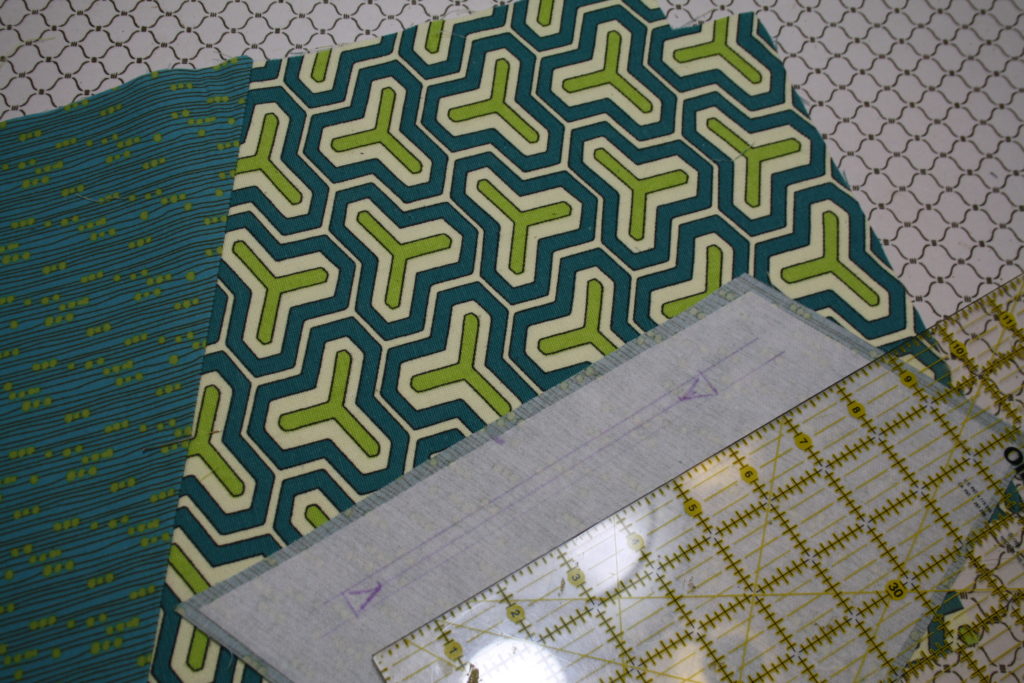
Mark each end 3 1/8 from center. You should finish with a long skinny rectangle 3/8″ x 6 1/4″ long. Mark your cut lines as shown. Pin to bag, right sides together, centers matched.

Sew all the way around with your stitch length set to 2.5 on the sides, but change to 1 from 1/2″ before corners until around the other side.

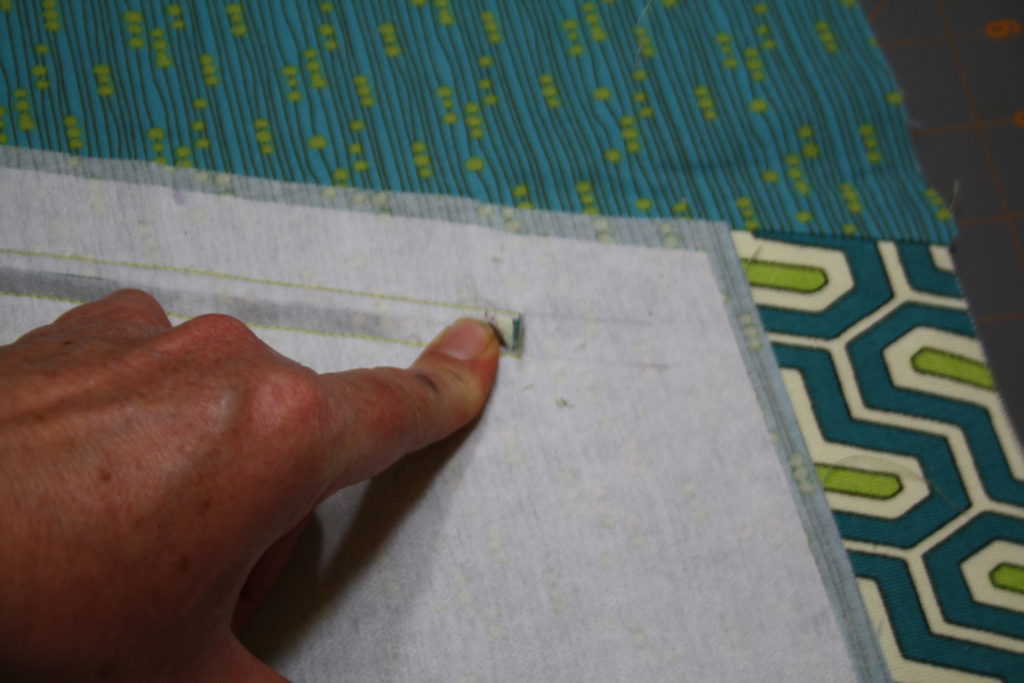
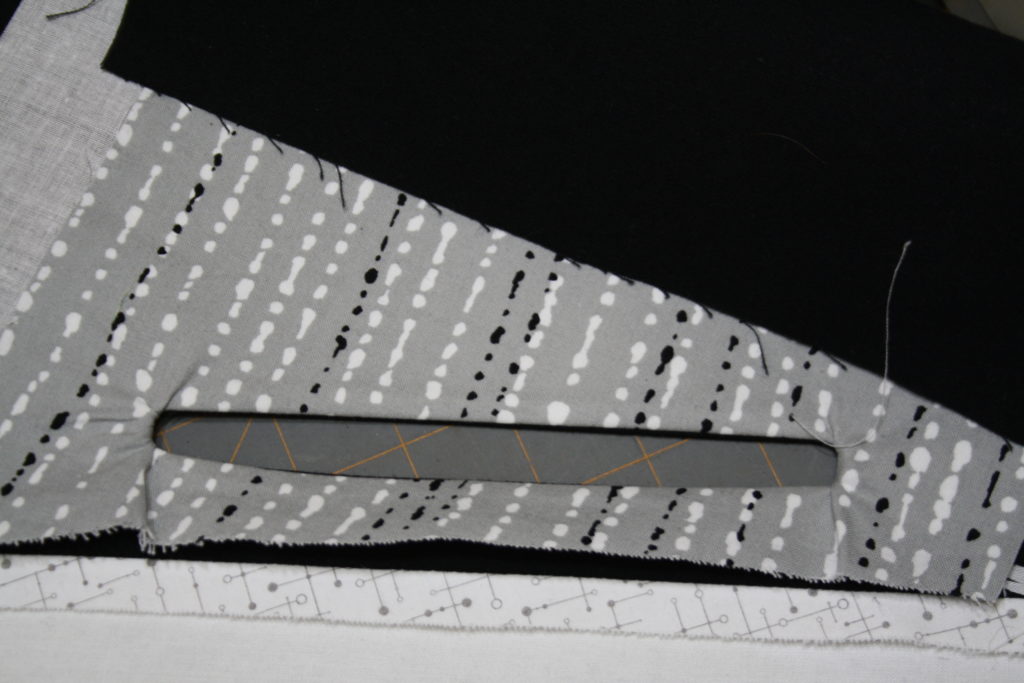
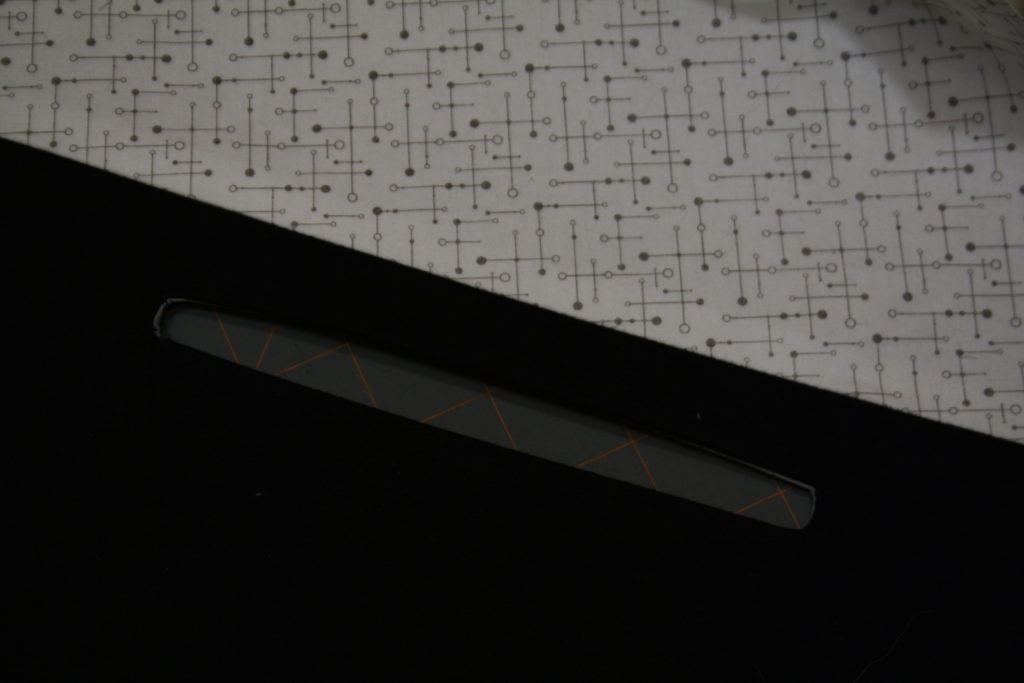
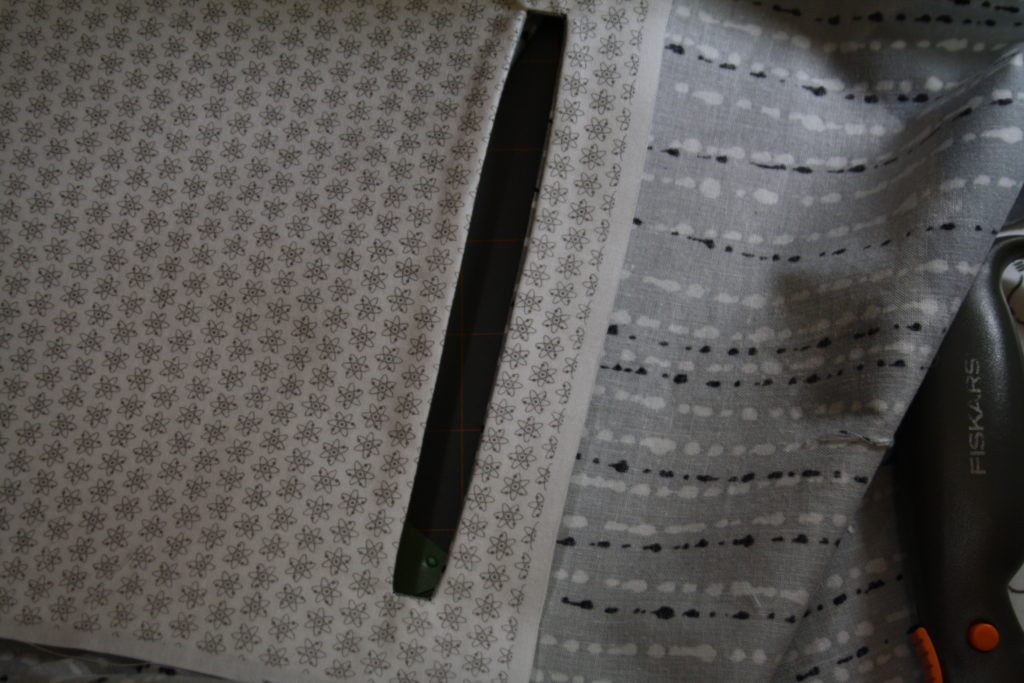
Cut down the center to 1/2″ from each side. Angle towards each corner as close as possible to stitching without cutting through. Flip the lining through to the other side and press.

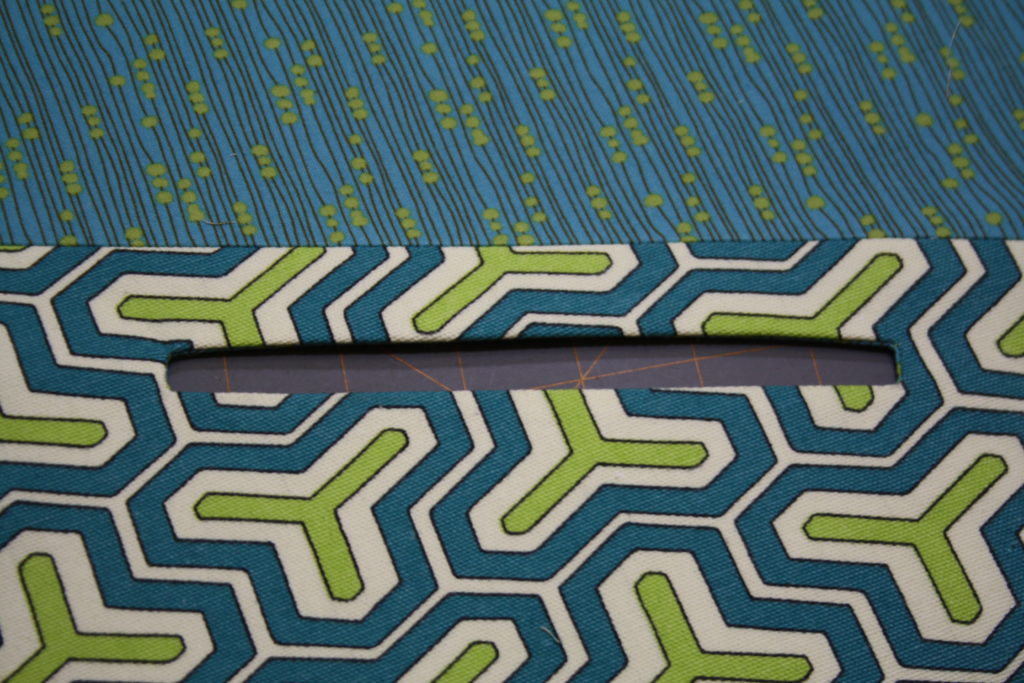
See how pretty that turned out?

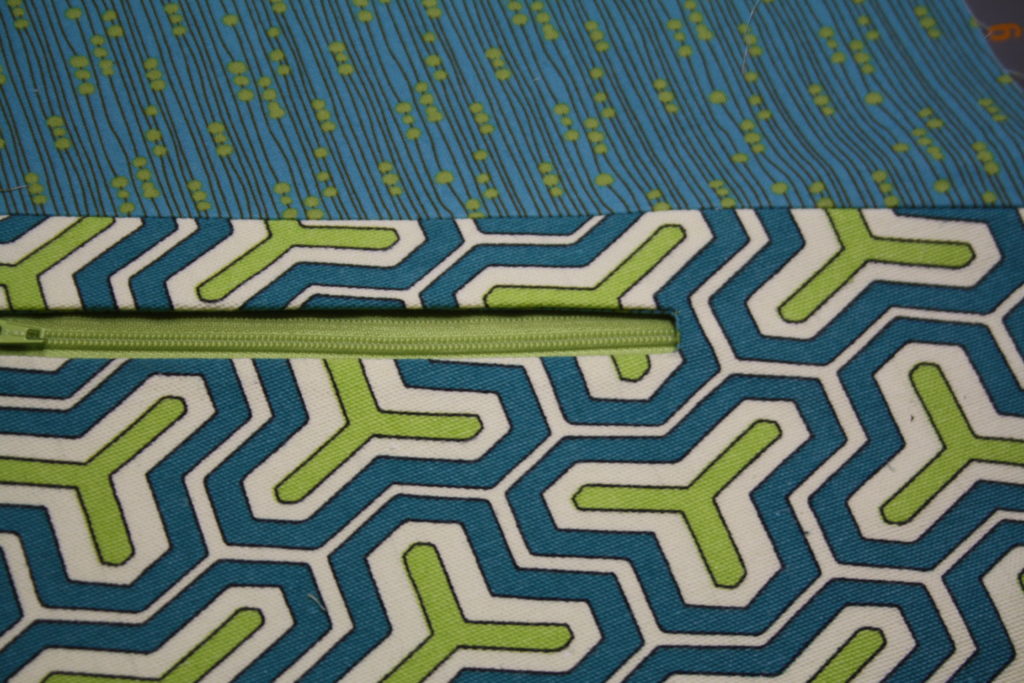
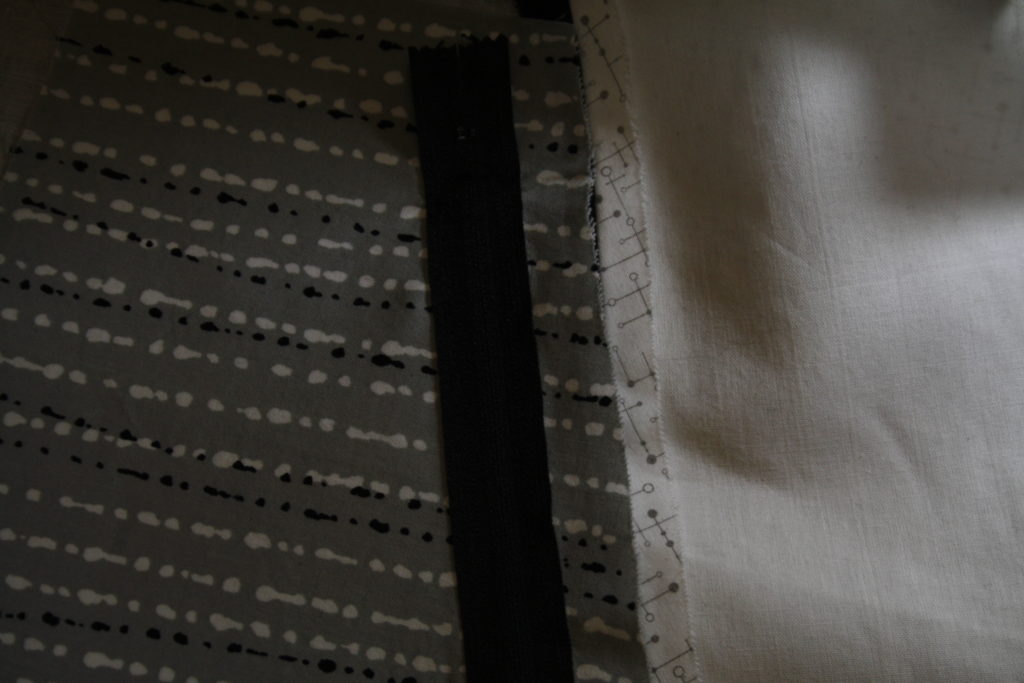
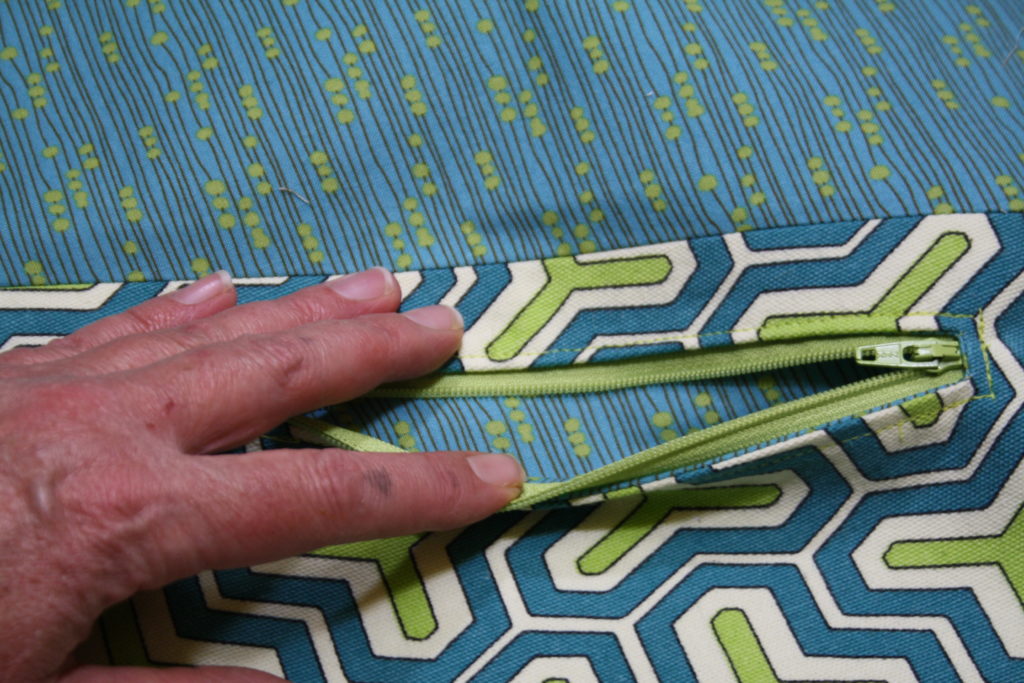
Center and pin your zipper underneath as shown and top-stitch through all layers. Sew each side first in the same direction then go back and sew across each end so your zipper doesn’t twist.

pocket lining - wrong sides together

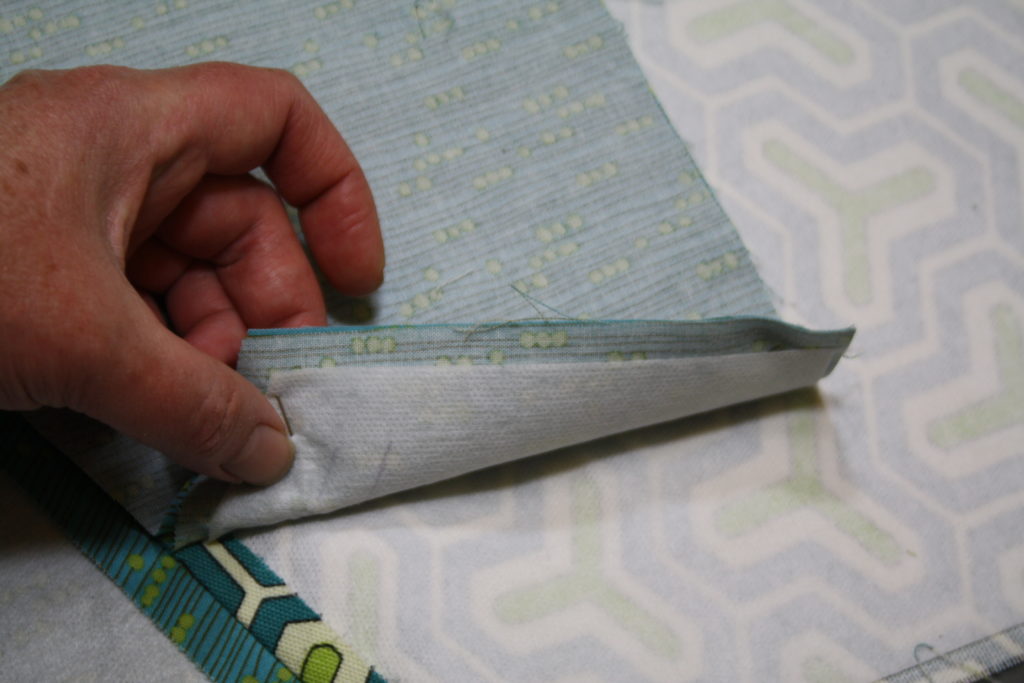
Pin the other half of the lining to your bag – wrong sides together and sew all the way around with a 1/2″ seam.

One pocket down, one to go!

One pocket finished! Only one more zipper to go, but first lets put the rest of the outside of this bag together.

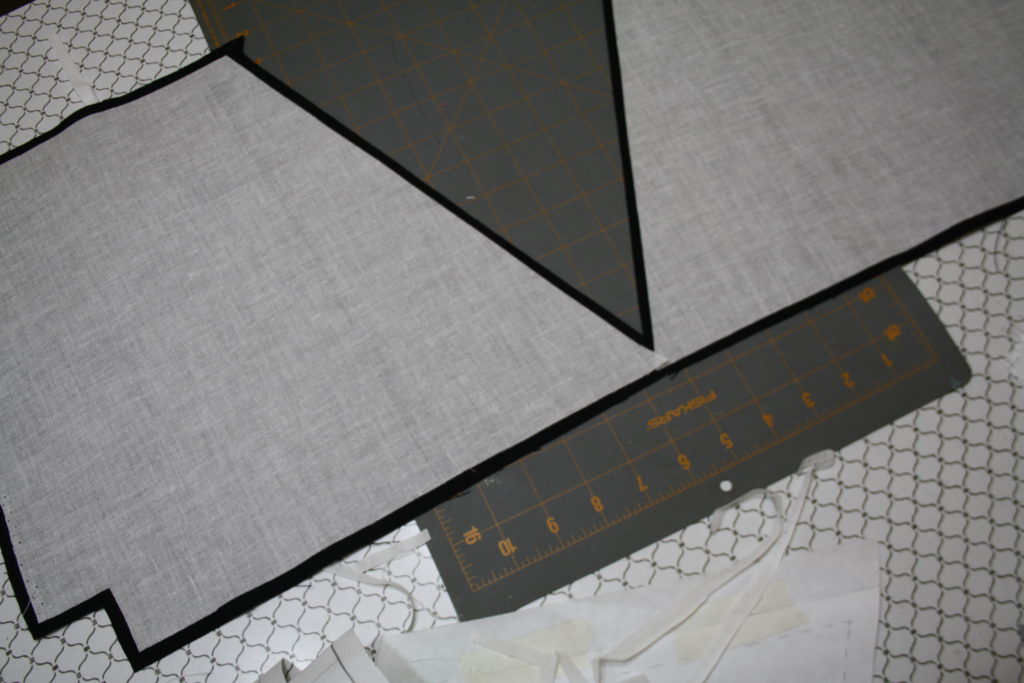
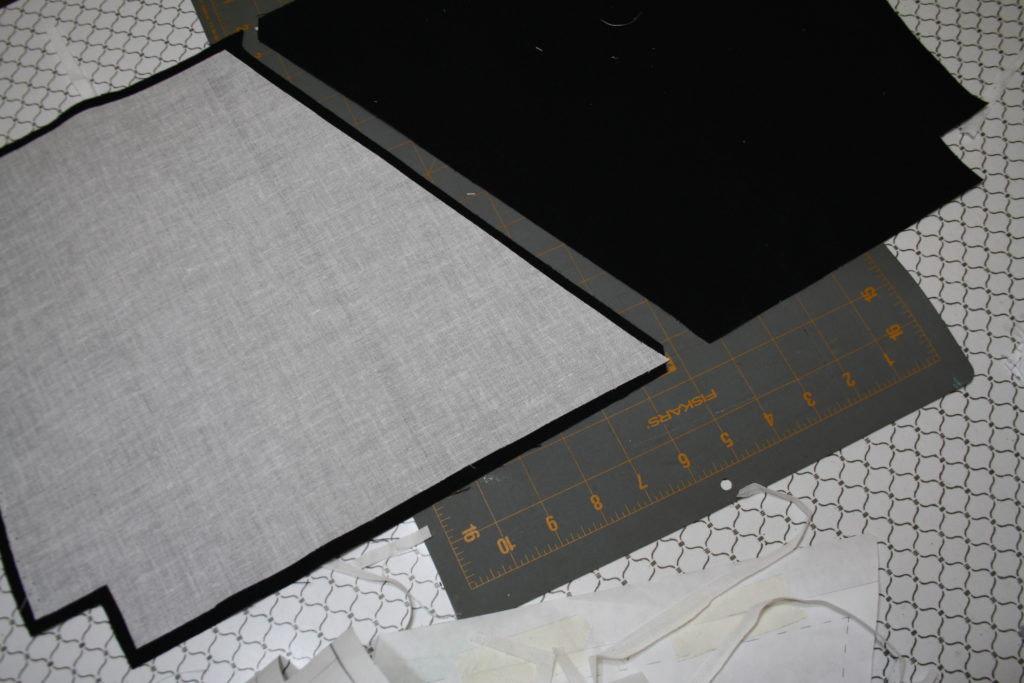
Finishing the outside of the bag:

Bag exterior, right sides together.

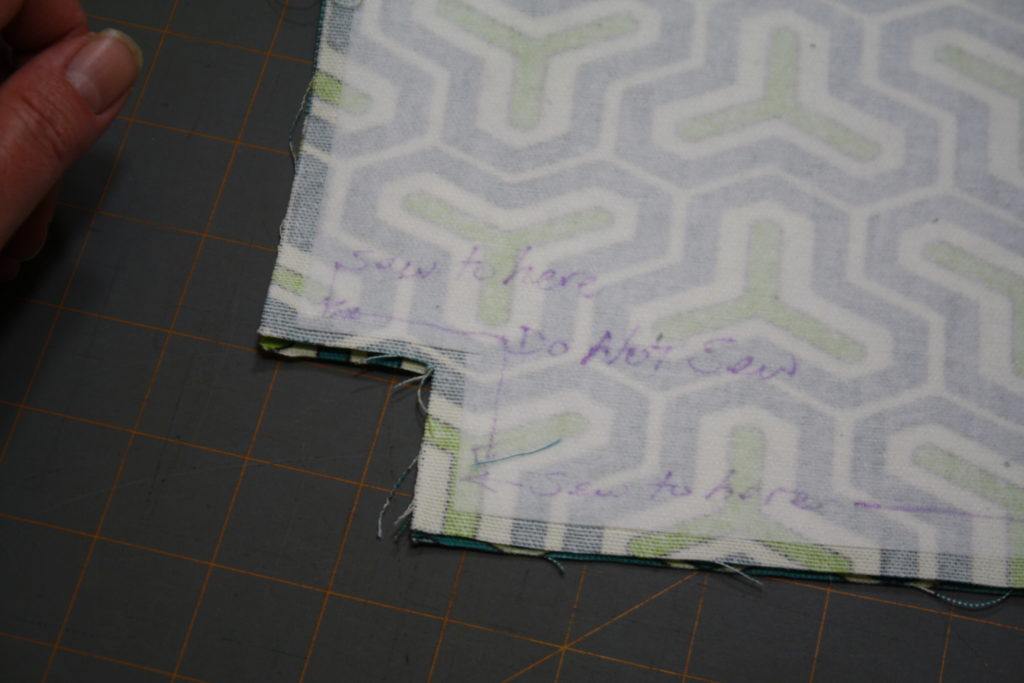
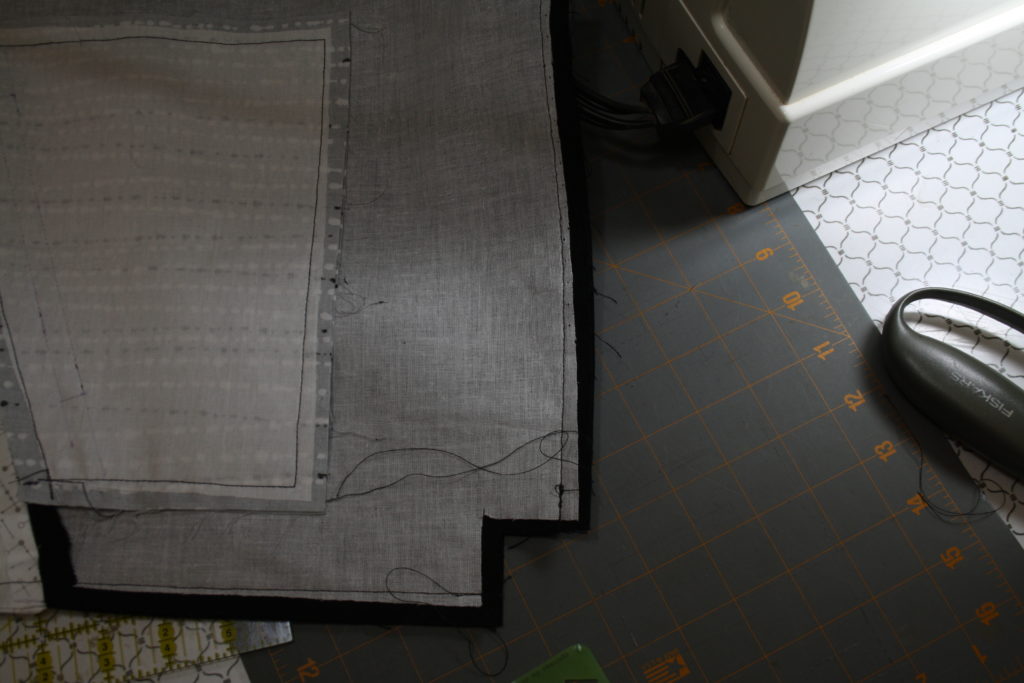
You will need to sew each side and the bottom, but leave the notched out part unsewn.

Corner left open

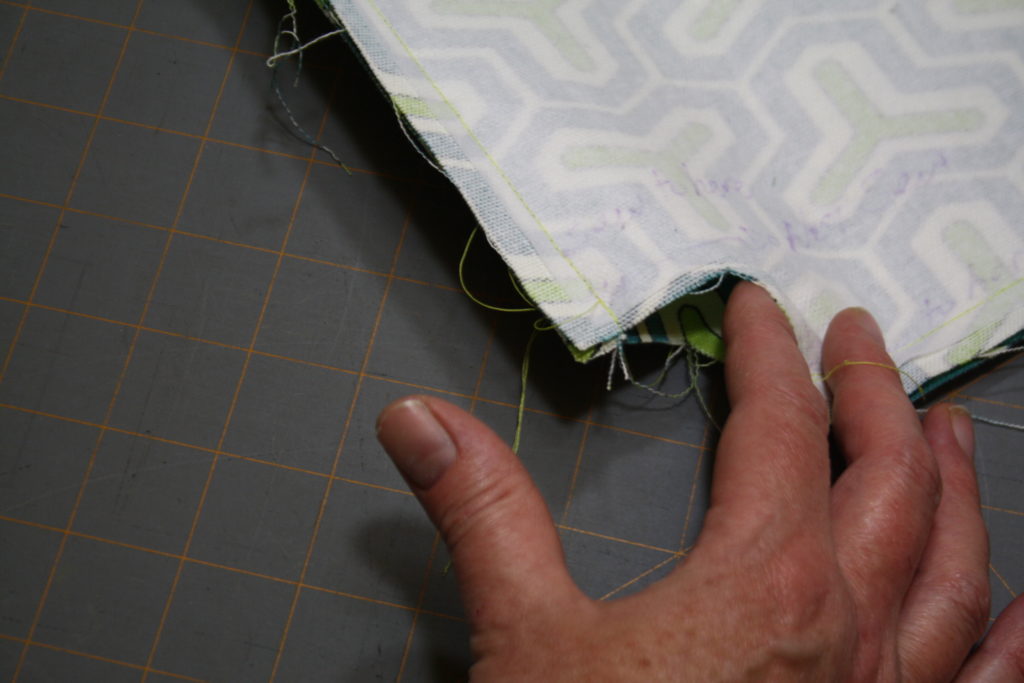
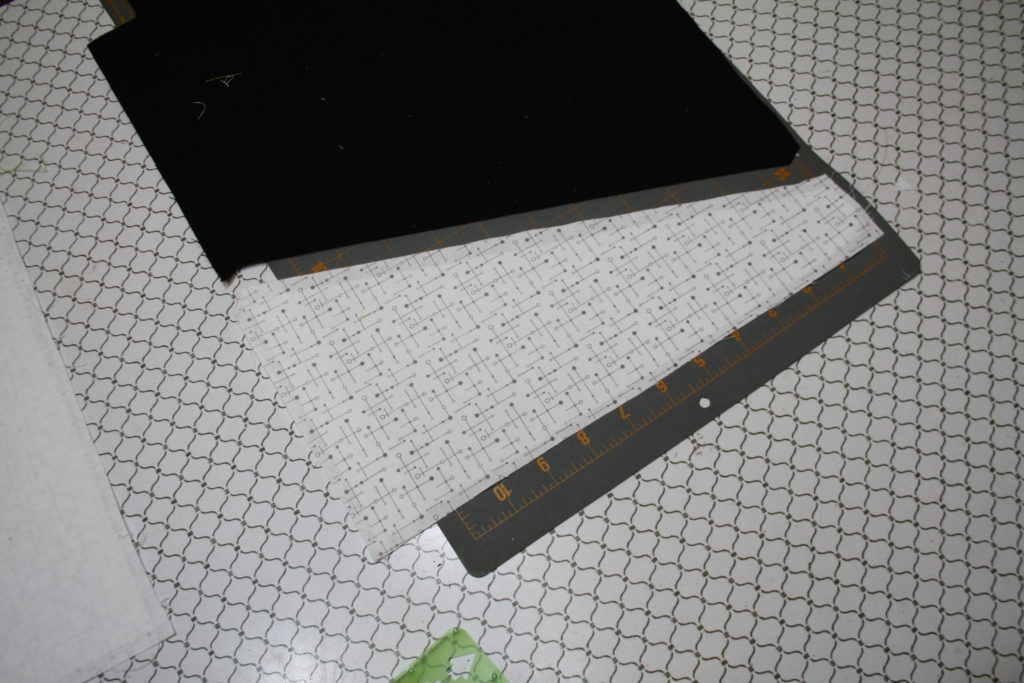
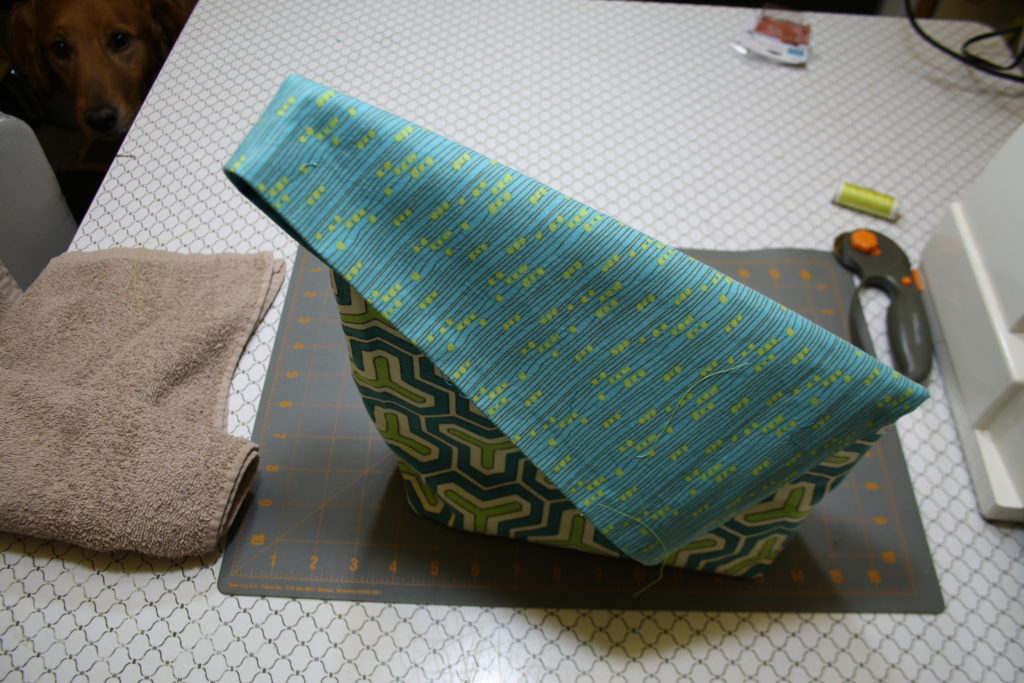
Press seams open. A rolled up towel can help with that chore, just use it like a mini ironing board shoved inside the bag.

refold corner and sew across

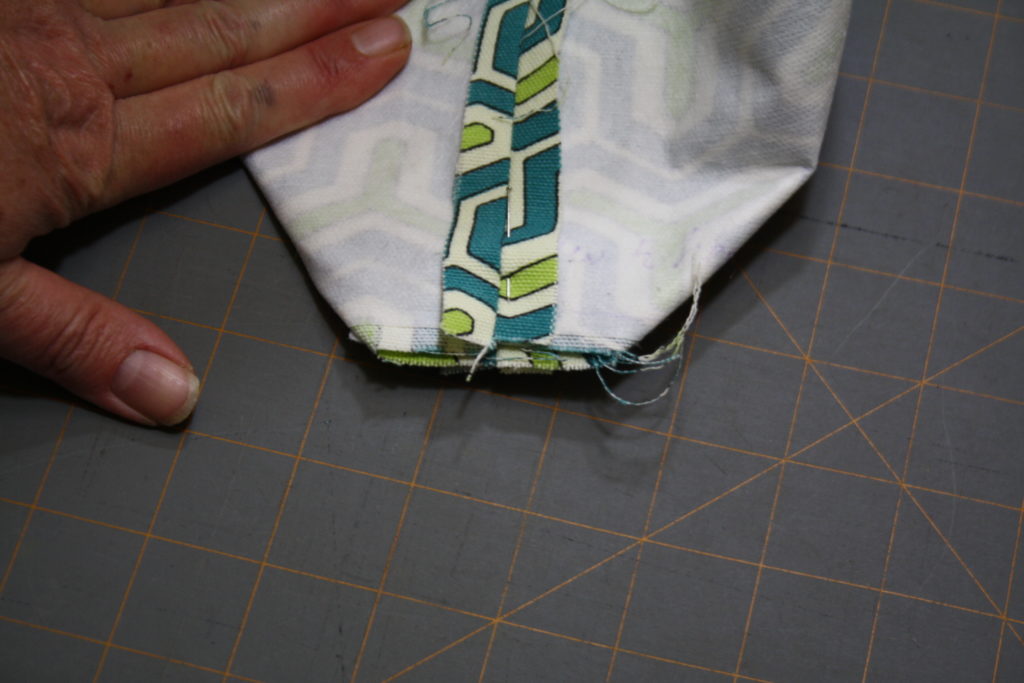
Refold the bag and sew across your corner.

Finished exterior

Congratulations! You’ve finished the outside of your bag.

Putting the lining and inside pocket together:

Lining assembly

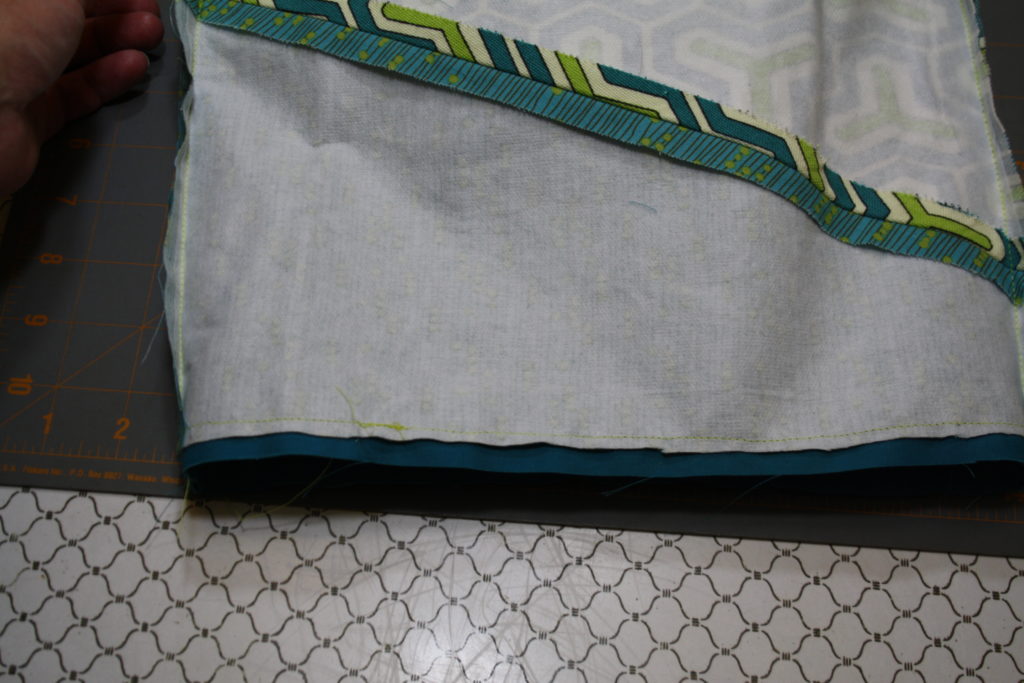
For the lining, attach the pocket to one side with the bottom at least 3/4 of an inch above corner notches of bottom. Assemble both halves of the lining, exactly the same as the outside of the bag except you need to leave an opening along one side for turning.

Opening left in side

Do stitch the top and bottom of that side though.

Finishing off:

Pin and sew lining to exterior - right sides together

Pin lining and exterior – right sides together and sew 1/2″ seam. Trim away 1/4″ from exterior seam allowance to reduce bulk, then turn right side out, press, and topstitch.

All that's left is the strap!
That’s my sweet boy Louie photo-bombing in the corner.

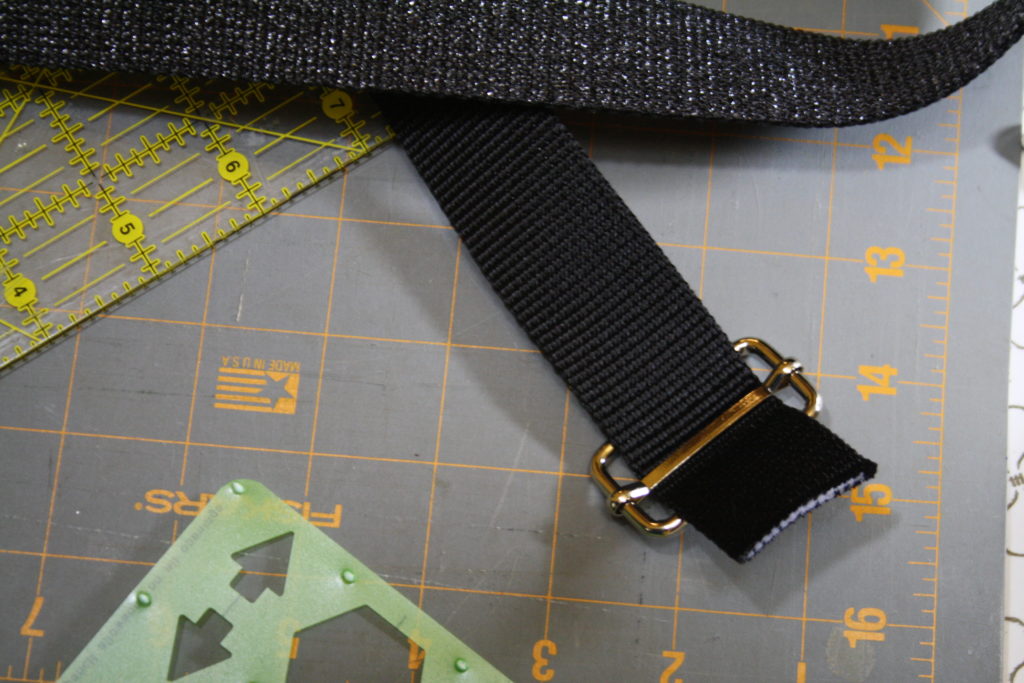
All that’s left now is the strap!

Making strap from fabric

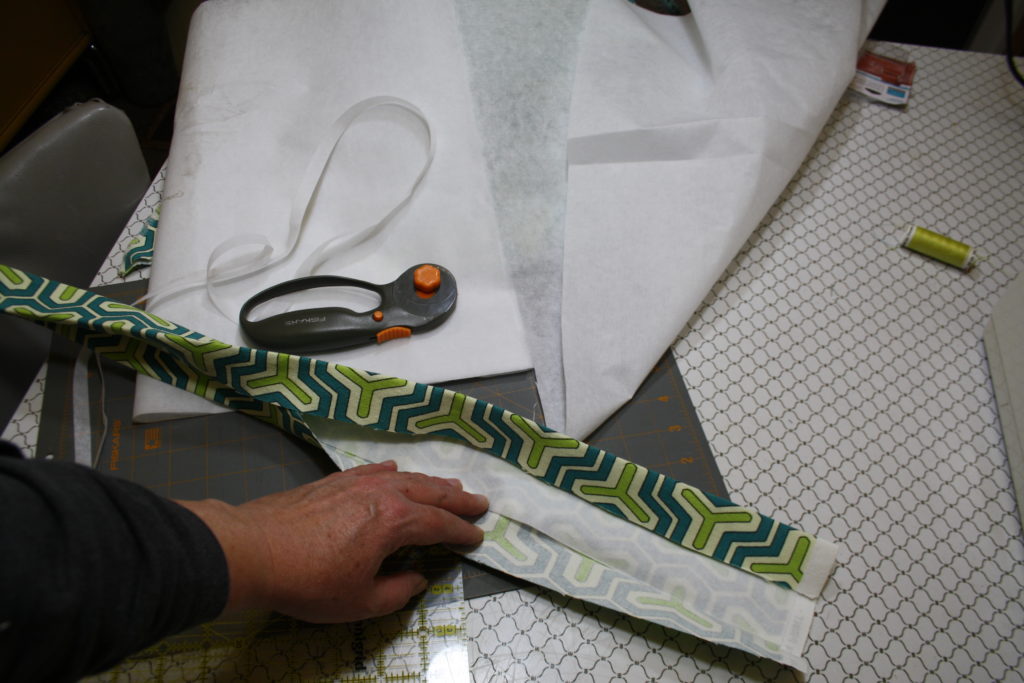
I could not find a good match in webbing for this fabric, so I made a strap using the fabric. There is an extremely good tutorial for making bag straps >here<.

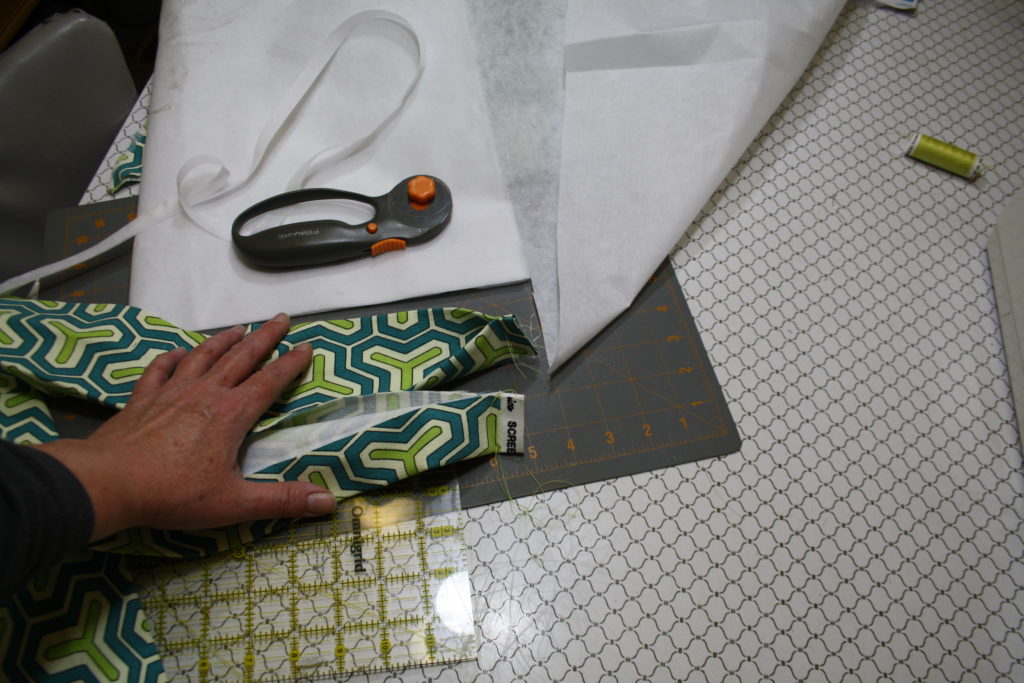
The only thing I did differently was seamed the ends for a neater finish.

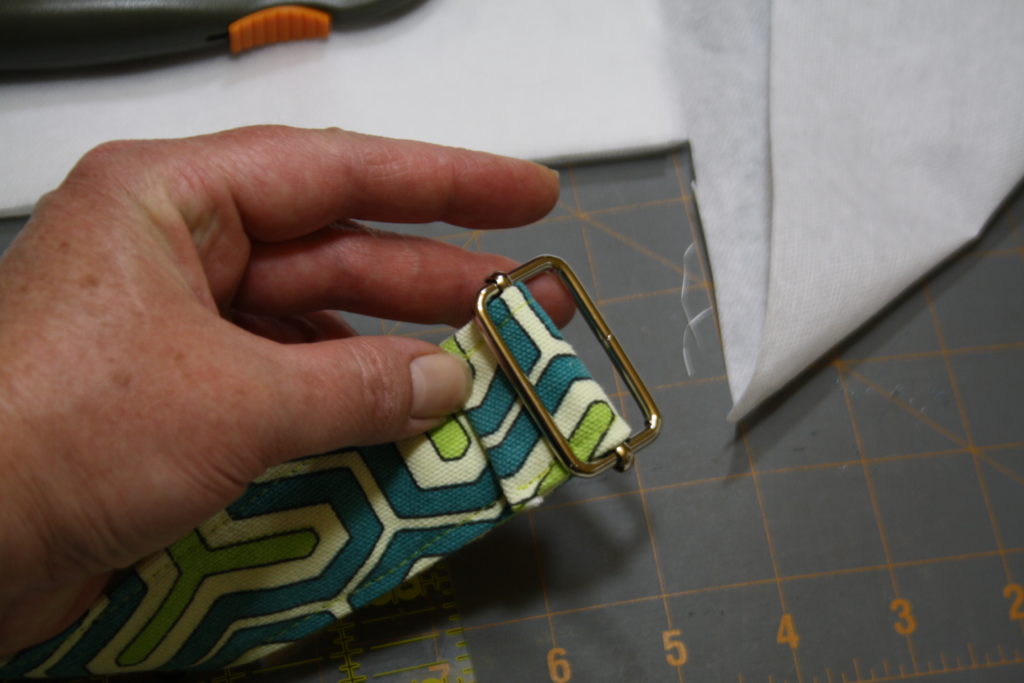
Attach your strap just below the accent fabric on each side.

Asymmetric Bag Free Pattern and Tutorial

And that’s it! What do you think of this fabric? It is the weirdest thing – I hate the colors of it at night, but love them during the day.

If you enjoyed this post, don’t forget to share it with your friends! For more just like it follow me on Pinterest, Facebook and Twitter or sign up for regular updates by email.

If you have ever thought about starting a garden or craft blog of your own see how easy it is >>here<<.

Save

Save

Foldover Cross-Body Bag

I am so happy with this cross-body bag I made! If you’ve got a keen eye, you’ll see I’ve once again used the MCM atomic prints created by Joe of Ambient Wares – you can download it for free >here< and see the adorable MCM plant stands they made with it! They even have hairpin legs!

Printing on Fabric with a laser printer!

I printed their designs on fabric using a black & white laser printer.

So what you do is tear off a piece of freezer paper and with your iron set to highest setting (which unless you have a commercial/professional iron is nothing) and the steam off, press the shiny side of your freezer paper to your fabric.

Once it’s attached, trim your fabric/paper sandwich to either letter (8.5″ x 11″) or legal sized (8.5″ x 14″). I used legal for the bag. Go over all the edges again with your iron making sure it’s firmly attached together all the way around. Be especially certain at the edge that will feed into the printer.

Use a sticky lint roller to make sure there are no loose threads or lint on the side you are printing. Set your printer to print best quality and using your bypass tray, print your design on the fabric. The freezer paper backing should just peel away.

I did some test pieces and washed them to test if the design would be colorfast. I discovered as long as you go over the design with a hot iron first to set it, on my fabric the design stayed through washing.

Making the cross body bag.

This is just an overview, I want to tweak the pattern and test it a bit more before I do a full tutorial, but I purchased 1/2 meter each of my 3 different fabric choices.

I had already drafted my pattern the night before, so I pinned everything out and cut my pieces.

With no clear right or wrong side, I kept questioning if I had it right. I expected the pieces to look more like the pieces of a puzzle when they were side by side.

I interfaced the exterior fabrics and pocket linings with fusible interfacing. There was a time I would have had black interfacing for my dark fabric, this time I had only white and it worked out fine.

I attached my accent piece to the top of each plain piece to make the front and back of the bag.

Then I marked out the zipper placement on the pocket lining.

Here is the lining turned to the inside of the bag.

How it looks on the outside. More lighting would have been nice!

Zipper placement!

Pin the bag at the corners and seams, right sides together. Don’t sew the notch between the pins.

Press everything open.

Shift the fabric around, seams together and sew across the notch to shape the bottom of the bag.

Here I’m inserting the zipper and interior pocket.

You sew it into a pocket after inserting the zipper. Once I had the zipper in, I sewed the lining together in the same way as the exterior, but with an opening left in the side for turning.

The strap is adjustable so you can use it as a regular purse but I prefer the convenience of a cross-body bag. I love this sparkly webbing.

Here you can see how the exterior pocket is under the flap. I love how nicely the lines & dots atomic pattern and the lining fabric play together.

The buckle is rather cool, even if the quality was somewhat disappointing.

I’m so happy with the way this cross-body bag came together! I can’t wait to share the pattern and a full tutorial with you!

If you enjoyed this post, don’t forget to share it with your friends! For more just like it follow me on Pinterest, Facebook and Twitter or sign up for regular updates by email.

If you have ever thought about starting a garden or craft blog of your own see how easy it is >>here<<.

Save