Canada Greener Homes Program, My Experience

I’ve been busy this last while making some upgrades to my house through the Canada Greener Homes Program.  You guys, this has been a process! Parts of it were super cool, parts of it were nerve-racking and it is, or at least it was for me, a lengthy process. But I’m almost at the finish line, so I figured I would share how the program worked for me, the retrofits I had done and a bit of a timeline.

If you’re not familiar with it, the Greener Homes Program is a grant of up to $5000 that the Canadian Government is offering for to homeowners who make improvements to their home to improve it’s efficiency and/or reduce fossil fuels consumption.

Why I applied to the Program

Some time ago, my central air died. The outdoor unit or “condenser” developed a leak and could not be repaired. Because my system ran on an older refrigerant, I would have to replace the entire system at a cost of $4000 – pre-Pandemic. I just could not see my way to paying that much to add central air to a 25+ year old gas furnace. While researching the most economical to run portable/window air conditioners (Midea U-Shaped Smart Inverter Window Air Conditioner for the win) I kept seeing heat-pumps come up, and by chance remembered the Greener Homes Program. And – jackpot – heat pumps are eligible!

Greener Homes Program Eligibility

To be eligible you need to be a homeowner and not have started or completed your planned work. That’s it. The program isn’t restricted by income or age. Personally, I feel the program design has too many barriers for anyone on a limited income to take advantage of it. Which is a real shame because there is also an interest free government loan available but again, barriers.

My Canada Greener Homes Timeline

  • May 29th 2022 – Application to the Greener Homes program submitted
  • June 16th 2022 – Application reviewed and officially approved
  • June 19th 2022 – Received email advising of the Canada Greener Homes Loan.
  • June 23rd 2022 – Pre-retrofit audit performed.
  • July 12th 2022 – Inquired with Service Organization on timeline to receive audit results. Advised 40-60 days was average.
  • July 25th 2022- I received my Home Energy Evaluation Report which was also uploaded to the Greener Homes Grant portal.
  • September 20th 2022 – I questioned the delay in processing my report.
  • September 22nd 2022 – The issue corrected, I was finally eligible to apply for the Greener Homes Loan
  • October 4th 2022 – Submitted Loan Application
  • November 14th 2022 – Loan Approved
  • December 8th 2022 – Loan Accepted
  • February 14th-16th 2023 – Crawlspace Encapsulation and Insulation completed.
  • February 21st-24th 2023 – Ductless Heat Pump System installed.
  • March 1st 2023 – Post Retrofit Audit
  • March 5th 2023 – Reports received but not yet available for NRCAN review
  • April 14th 2023 – Audit reports available for NRCAN review, my invoices etc submitted and balance of loan funding requested.
  • April 17th 2023 – Loan funding approved

Some final thoughts

I went into this process expecting I would be just looking at installing my heat pump around now, so in reality it went a bit faster than my expectations. But when the initial approval was processed so quickly, my expectations went up  and it still took nearly as long as I originally thought it would. There was also a bit of a glitchy delay between my pre-retrofit audit uploading and it actually being reviewed. Later applicants were actually beating me through the process. As of now, I still have not received anything from the government beyond a very small loan advance in December but I will update the timeline as things happen.

My understanding is the program has changed and new Ontario applications now go through Enbridge rather than NRCAN.

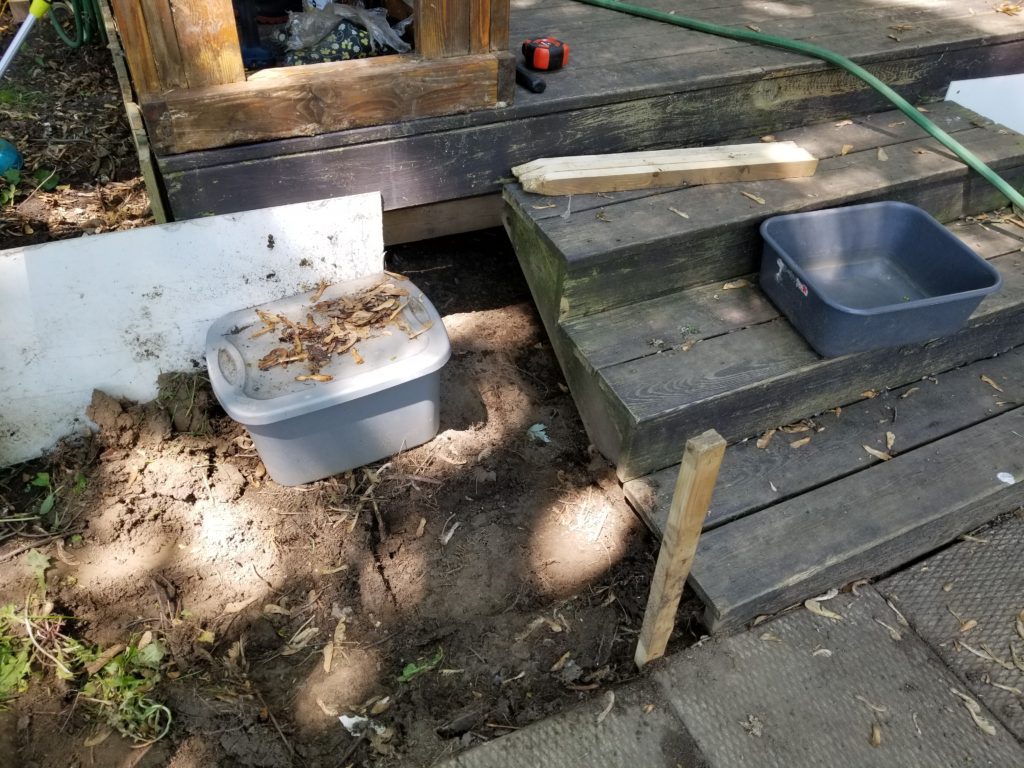
Sweat Equity – Levelling the Patio

I did not originally plan on levelling the patio on the weekend, but that is exactly how I spent my Saturday after a week where I learned – again – that the yard that kept in adult dogs, doesn’t keep in Gabby.

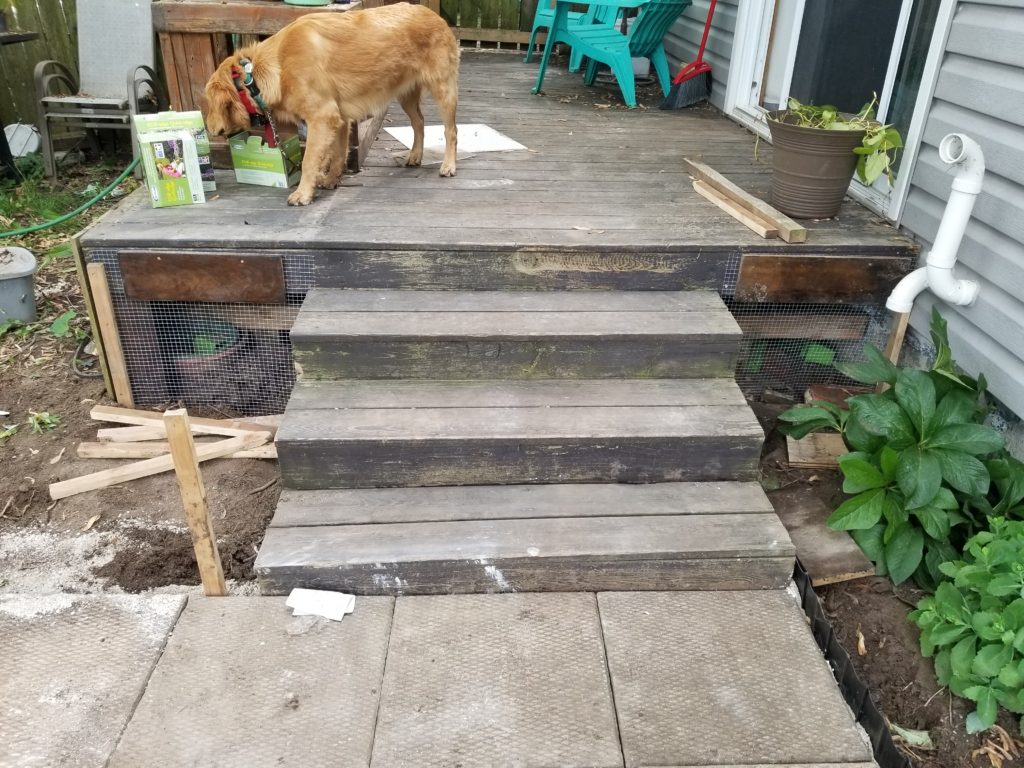
We skirted the front of the deck as an afterthought but not the ends. The reasoning at the time, no way could the dogs get through underneath with all the joists in the way. Gabby is a world class digger though and she persevered until she could. I tried barricading it but she was still getting out.

Please note, some links are affiliate links. Should you make a purchase through these links I will receive a small commission on the sale.

How it Started…

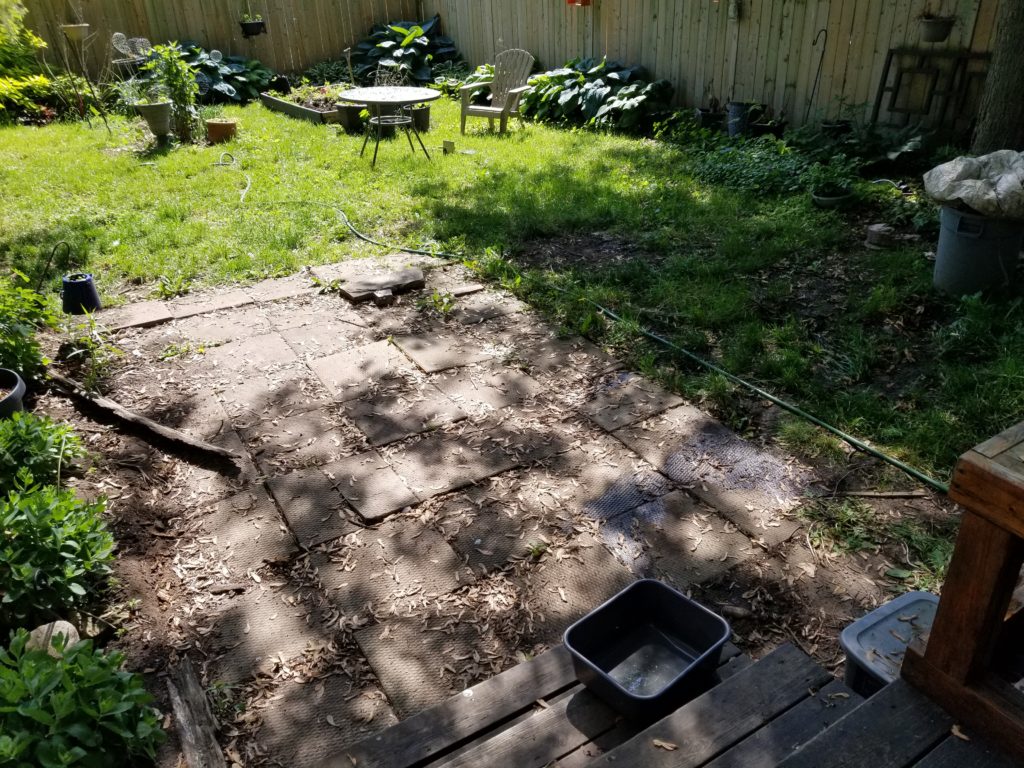
I could not work on the end of the deck and leave the patio as it was. Concrete pavers are affordable but definitely not trendy. They do the job – if they are level. Mine was looking pretty sad.

Levelling the Patio

So I went and bought 20 bags of limestone screenings – over two trips since they weighed 18 kg each. Roughly 40 lbs each for the non-metric crowd.

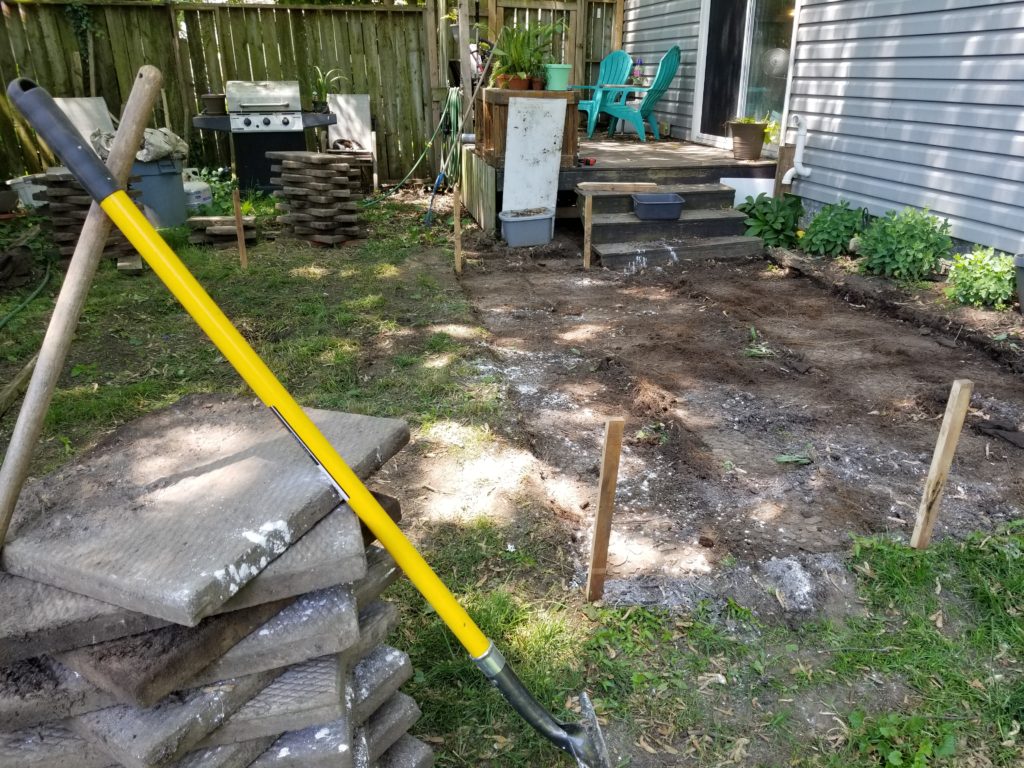
I pulled up all 40 pavers. All of the landscape fabric, because landscape fabric is terrible stuff. There were a bajillion ants living under it all.


Change of Plans

The first plan was to move the patio to the left and put a gravel path from the stairs between the garden and patio. I wanted to make the patio feel larger by separating the patio from the path to my side yard. But 20 bags of limestone screenings wasn’t enough so the plan changed.

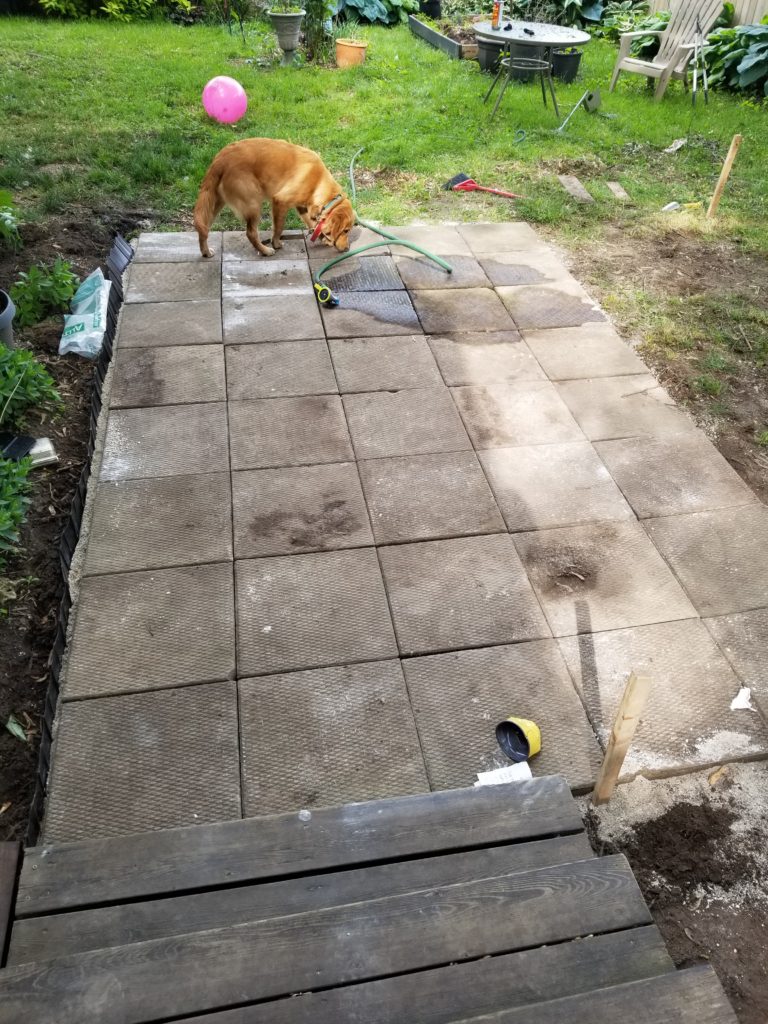
I spread my limestone and levelled it as best as I could, trying to keep it slightly angled away from the stairs and house. No picture, I forgot.

Still too narrow for a table and chairs, but it’s no longer full of trip hazards and more importantly, it drains. The next time I pull out my pressure washer, I’ll be able to clean up the pavers without flooding the patio.

Closing off the end of the deck didn’t exactly follow plans either. The stairs are sound for now, but won’t be for much longer, so this is a temporary solution until I get to rebuilding the stairs. As you can see, the entire deck needs to be stained again too.

Now I just have to figure out how to stop Gabby from digging up the rest of the yard. Any ideas?

Wash your Vinyl Siding Already

I see you out there with green crud growing all over your siding and it’s time to wash your vinyl siding. You can absolutely do this yourself! And even though they are nice to have you can absolutely wash vinyl siding without a pressure washer and without it costing a lot.

I’m going to talk about how I’ve washed my siding over the years starting with the cheapest method and then talk about why I switched to an electric pressure washer. No matter how you wash your siding it will take a good chunk of the day – even with a pressure washer. But washing siding is not something you need to do every weekend, once or twice a year usually does the trick.

Please note, all links below are affiliate links. Should you make a purchase through these links I will receive a small commission on the sale.

Wash Vinyl Siding the Cheap way

This method requires the least investment in equipment and is my second favourite method. I prefer it over using a gas pressure washer even. It requires the least amount of storage space and most of the items have more than one purpose. Extension poles are great to have around for painting ceilings even.

All you need to start is a hose with a good spray nozzle, a bucket, a telescopic extension pole – like these – long enough to reach your eaves, and scrub brush to screw on the end of your pole. You could, depending on your storage space and budget, add a pump sprayer like any of these to your equipment. They are a nice to have for spraying detergent directly on siding and skipping the bucket.

Put soapy water in your bucket. You can buy special detergents or you can use just dish soap or an all purpose cleaner. Any dish soap will do, blue dawn is just dish soap coloured blue, not a magical potion. Some people like to use a bit of bleach in the water too.

Work from top to bottom, one side at a time. Extend your pole to the correct length and attach the scrub brush.  Rinse your siding and dip your brush in the soapy water and start scrubbing from side to side. Work your way down the wall rinsing as you go.

That is it. That’s all you need to do to get rid of the green crud that’s been growing on your siding. Spider shit might take some extra elbow grease. This has been my preferred method of cleaning my vinyl siding for years – even when I had a gas pressure washer. I will explain why in the next section.

Pressure Washers – Gas or Electric?

So here’s the thing. I used to be adamant that the only pressure washer worth buying was a gas powered one. But 3 years ago I bought a Karcher Electric pressure washer and I have no regrets.

I have owned 2 different gas powered pressure washers and while I can’t speak for the high end gas pressure washers I can honestly say that if you’re looking to spend under $500, none of the gas ones you can afford are worth it.

Using a gas pressure washer to wash vinyl siding

Gas pressure washers are cranky beasts.

  • They want new spark plugs every year.
  • They are hard to start. They are impossible to restart if you have to stop to add gas. You have to let them sit and sulk for a while before they’ll start working again.
  • They are a pain to store – you can’t bring them inside your house because of the gas. So if you don’t have a climate controlled storage space they have to be winterized.
  • And lastly, each one I have owned worked fabulous the first year but performance declined year after year until a hose nozzle with a really good jet spray would work just as well.

Using an electric pressure washer to wash vinyl siding

Electric pressure washers these days have just as much power as the cheaper gas ones and are so much easier to use.

  • They are quieter and easy to start – just turn them on.
  • They automatically shut off the pump when the trigger is released so the pump lasts way longer.
  • They easy to store – with no gasoline to worry about you can bring them indoors no problem. Just store away from sources of direct heat that might dry out o-rings and such
  • Performance stays consistent – year after year.

The Karcher I have seems to be discontinued but it was very similar to this one. There are quite a few useful attachments you can get too. The ones I use most are the extension pole and the one that has an angled head to reach into eaves troughs and clean the undercarriage of cars.

On the model I have, the only cons I’ve seen are:

  • The pressure hose is very stiff and cheap feeling
  • The connector to attach your water hose is very flimsy. Replacements are available but I always remove it before moving the pressure washer and then move the hose separately.
  • There is an integrated GFCI in the plug so it will not fit into boxed outdoor plug receptacles – I have to use an extension cord.

Whichever you use, just start at the top of the wall and work your way methodically to the bottom. Closed toe shoes are a really good idea – especially if you’re pressure washing a deck. Trust me – spraying your toes by mistake effing hurts. And if you are pressure washing anything wood – make sure you don’t get too close with the wand or it will make the wood rough and splintery.

So go wash your siding already. You will like your house so much more when it’s clean.

Ch-ch-ch-ch-changes

It’s been a minute or two and just like gardens change over time, along the way so has life.

Sometimes plants die.

Usually I expect it to be the hardy hibiscus, but they are just late to rise in the spring. Still plants go missing over the winter, sometimes I remember what they are and other times I don’t notice right away.

Losing my dog Louie in February of 2020 was just brutal. I knew from the time he was a puppy I would only get to be with him for a short time, I just didn’t expect it to be quite so short.

One day after a bath we found some lumps on his neck, and then more behind his knees. The vet confirmed what I already knew and even though he was just 9 1/2, lymphoma took him anyway.  I was just lucky enough to get a month to spoil him silly and even luckier to have him pass gently at home so we could have one last cuddle.
Sometimes plants outgrow their spaces.

Or sometimes the conditions change in their spaces. I have one bed that continues to be taken over by maple roots. It’s too hot, the soil is too poor. The plants will have to move while they are still alive. And of course there is always the little tweaks to be made – a plant that was right sized one year is suddenly too big, or hidden behind a shrub that formerly framed it perfectly.

In October of last year, my oldest boy decided it was time to leave the nest and bought a house with his lovely girlfriend.

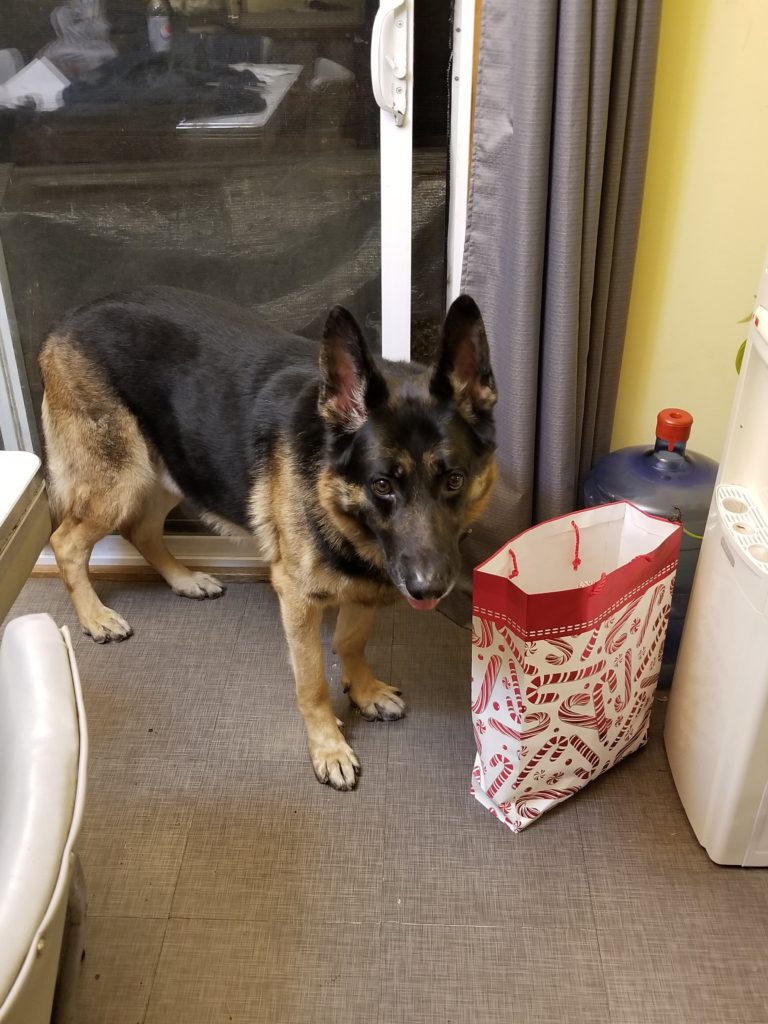
Of course his German Shepherd – Jack – moved with him. Suddenly I found myself dogless. Jack was never a dog I would have chosen for myself but he did help fill the giant hole Louie left behind. Jack can be a genuine pain in the ass and has to be locked in a bedroom when company comes, but I did miss him once he was gone. I did not miss having my patio door opened at random times or the piles of dog hair.

Sometimes there is a gap to fill.

I have 2 Hillbilly Blues Hosta in search of new homes. Luckily there are 2 perfect places for them around my Japanese Maple. I believe there used to be a variety of Heuchera there, but last summer was hot and dry and this year they aren’t there.

In January, I went to look at a litter of Goldens and came home with this little girl.

Her name is Gabby, or Gabby-girl, or just Girly, but when she’s bad it’s Excuse me Ma’am!

I brought Louie home as a puppy just before I turned 40. I am now 51 and while I’ve enjoyed the majority of it, I’m not sure I would do it again at 60.

However potty training was quick – I credit the fenced yard. Teaching her to stay off the couch has not been nearly as quick.

The benefits she has brought to my life are hard to count, but one of the biggest is her daily walks. After years of living life mostly sitting down, it’s been good to get moving again. Even if our walks are still on the short side.

Visiting the dog park and casual conversation with other dog park people has been a huge mood booster for me. I couldn’t tell you a single persons name – only their dogs name. More importantly I have no idea what their political beliefs or covid beliefs are. We just walk the track and yak about our dogs. It is lovely beyond belief.
 

Sunday and The Incompletes

I really haven’t made or done anything new since I completed my broken shovel waterfall. I have a couple projects I’m working on right now, but they’re both multi-step projects and I’ve spent a lot of time waiting for stuff to either dry or cure. Unfortunately I have a busy week coming up so they probably won’t be finished or on the blog this week. There’s always next week though!

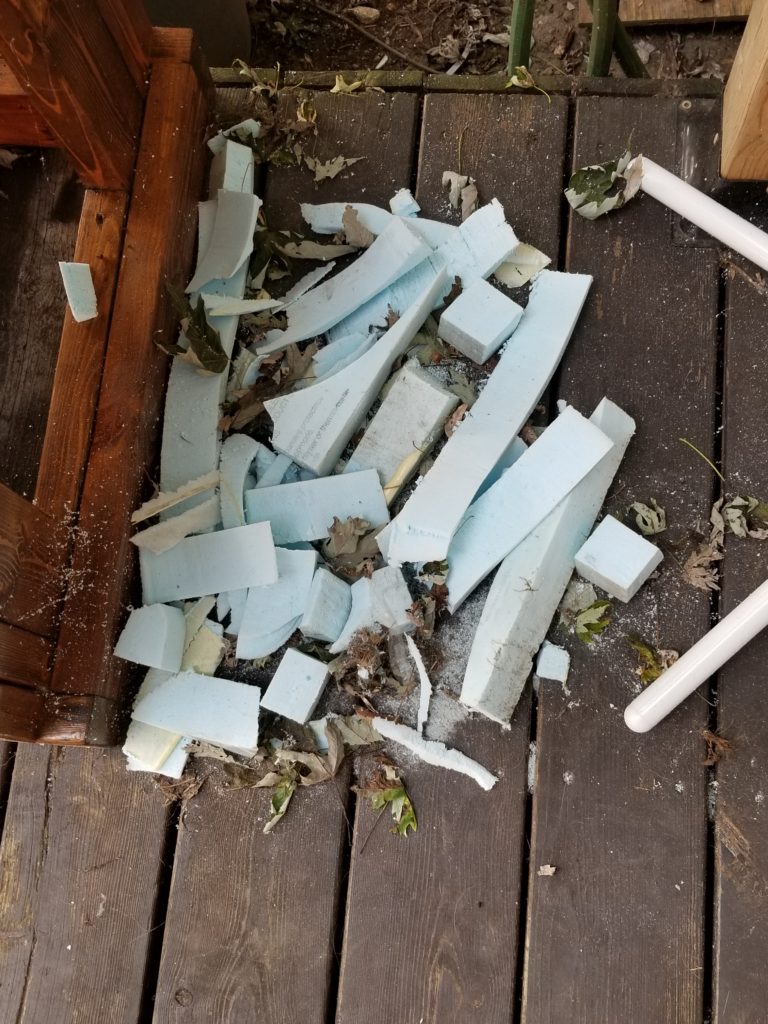
One of my projects involved first carving SM Blue foam. What a mess that makes! It’s pretty easy to shape, I mostly sanded it to the shape I wanted, but there was foam and dust everywhere.

Once I had my shapes, I needed to make molds of them. I used a tip seen on Made by Barb to mix silicon and corn starch. Honestly, when she says it smells strongly of vinegar, she’s not exaggerating. We’re talking about a vinegar smell that slaps you right in the face! She makes some really cool stuff though so go check her out.

Learn something new…

Okay this may not be new to you, but it was very new to me. My ex-husband is a plumber and whenever he did any caulking, he always spit on his finger and then used it to smooth the caulking.

I have never in my life had enough saliva in my mouth to even spit much less smooth caulking with it. So there are tools you can buy that will smooth it for you but sometimes the tools won’t fit where the caulking needs to be smoothed. I’ve tried using just water, but water is not saliva and on it’s own doesn’t work. But then I saw this recipe for making silicone molds that uses dish soap and the light bulb went on.

If you add some dish soap – any dish soap people, there’s nothing magical about blue dawn – it adds enough slip that you can dip your fingers in the soap water and smooth the caulking without the silicone sticking to your fingers.

Failure is still an option…

One of the things I most dislike about multi-step projects is that completing any of the steps successfully doesn’t guarantee the final project will work. So I carved my shapes and they came out beautifully, just like I wanted. I’ve made my molds, and they worked in spite of some kinks and the frustration of trying to work on something fiddly with flies biting and neighborhood dogs barking. What I wouldn’t give for a garage!

Biting Flies

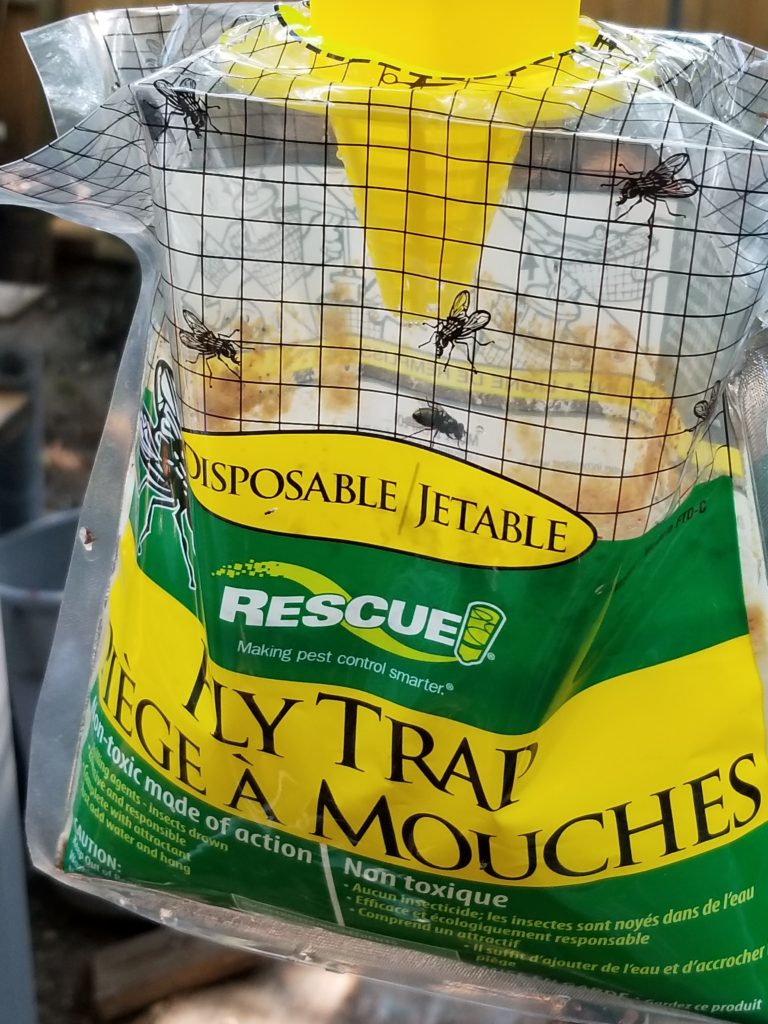
On the topic of flies biting – they are horrible this year. We’ve never had them so bad. But I found these disposable fly traps at TSC Stores and they work. They stink – like rancid grease – but they work. The included bait even draws in those gnats that are always hanging out around the dogs butts so I call that a win. It seems to be helping, I have two in my yard. They’re supposed to be good for 30 days so we’ll see how it goes.

Have a happy Sunday and hopefully in another week I’ll have a successful project to share.