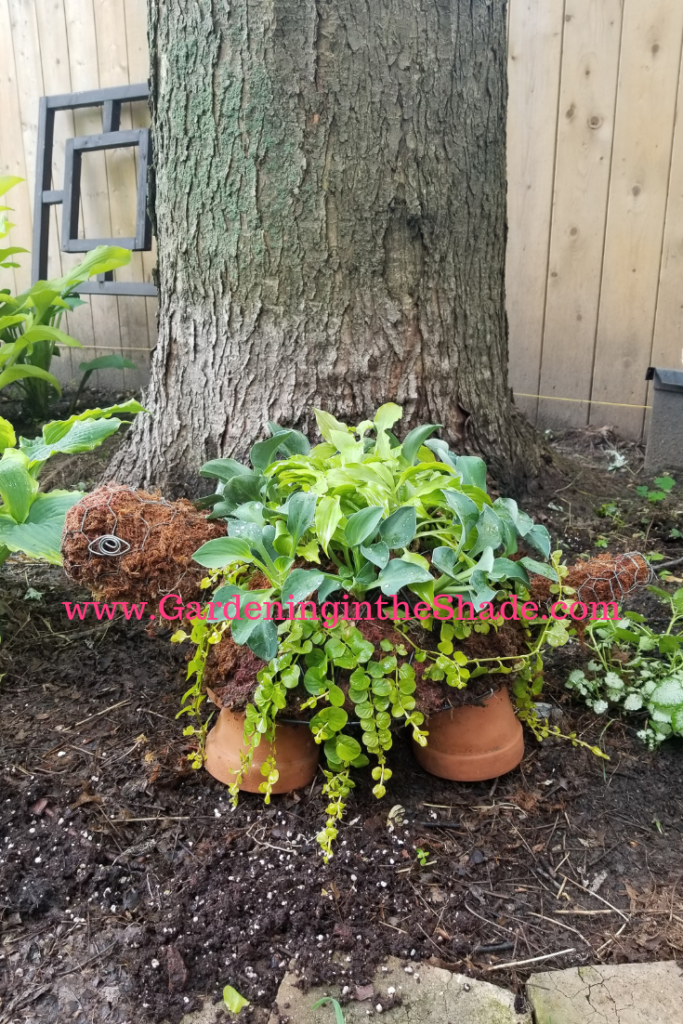
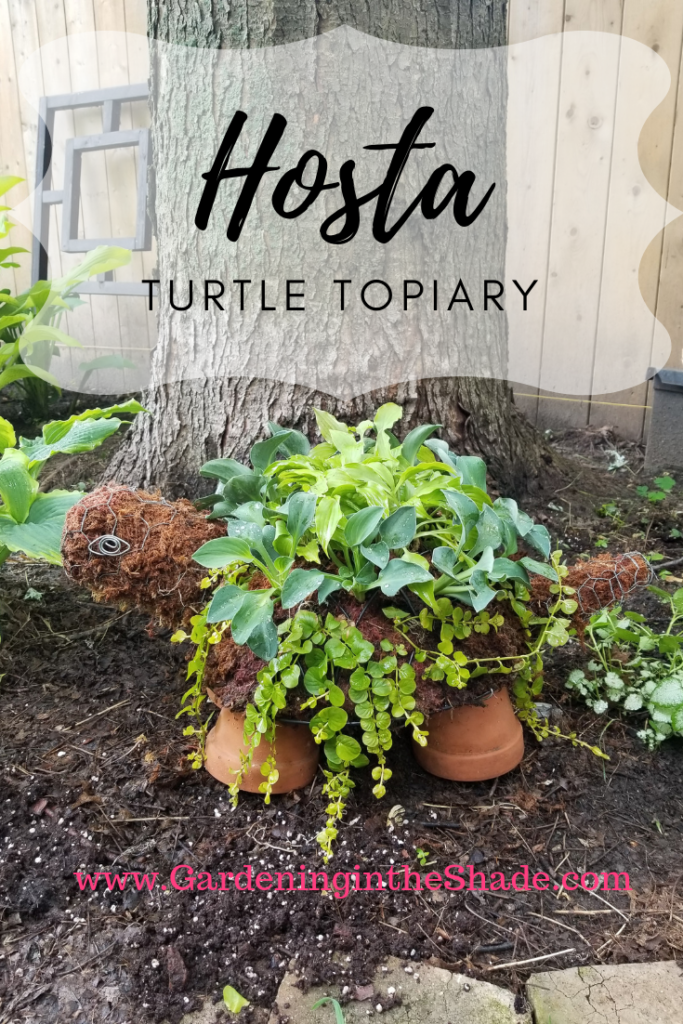
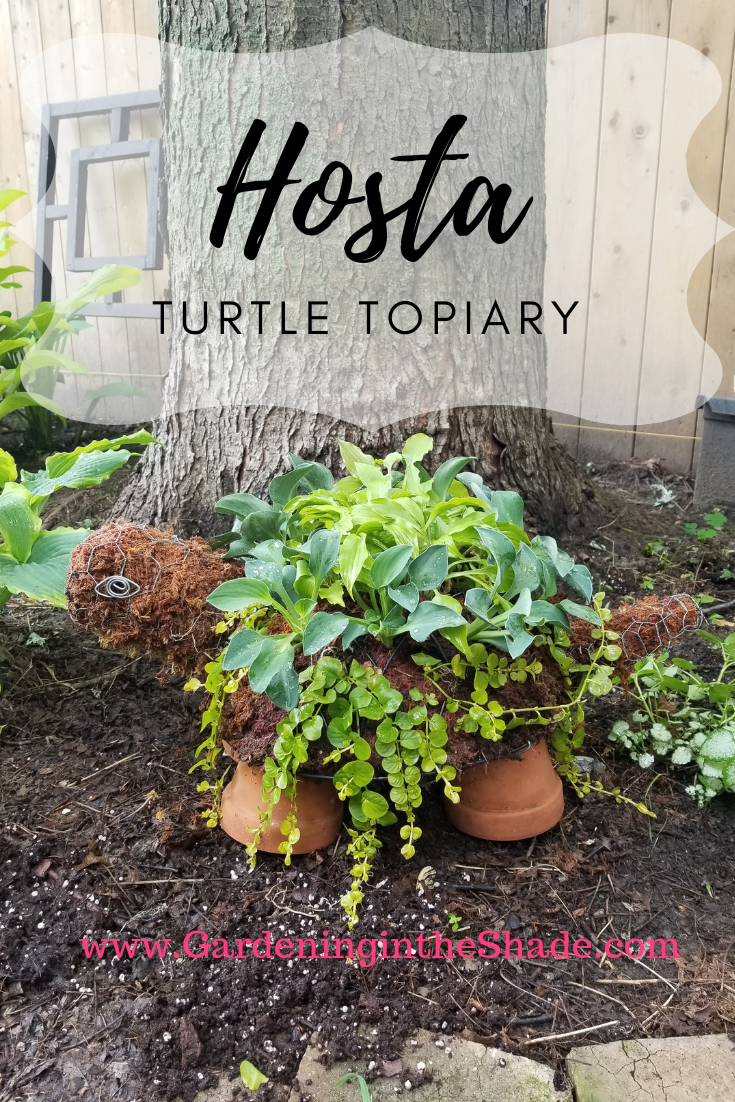
We’ve had so much rain this spring, I really haven’t accomplished much in the garden. But we finally had some sunshine on Sunday so I made a Hosta Turtle.
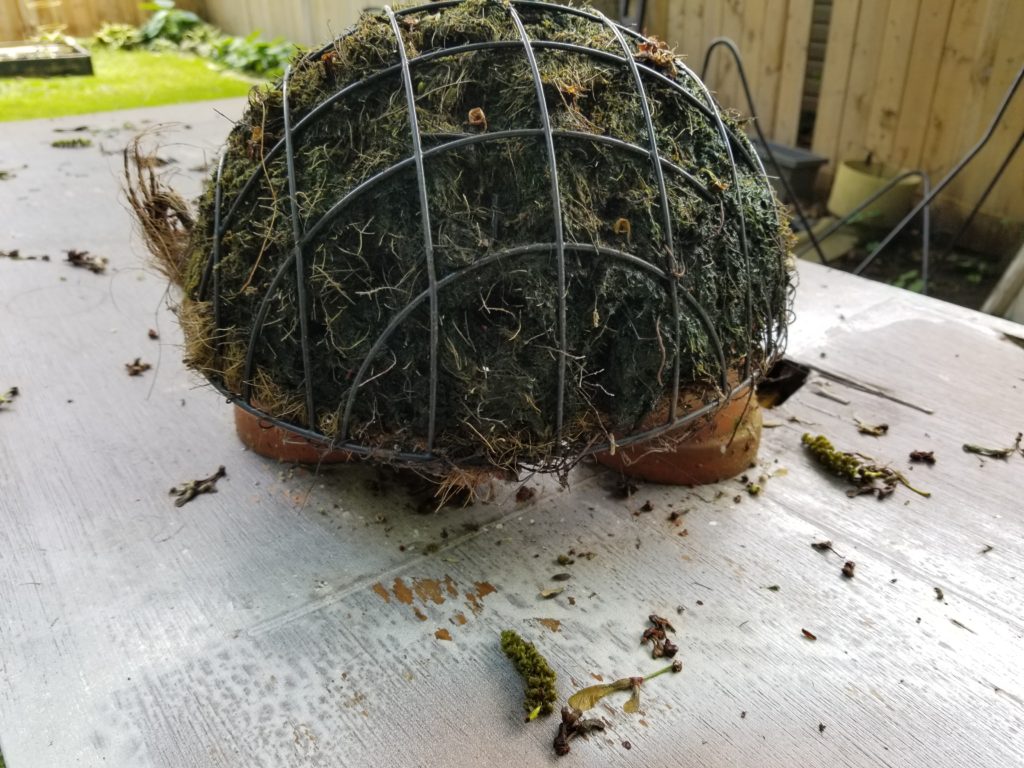
Fred the turtle was looking pretty rough after the winter this year. He’d been kicked around and was missing a leg, along with his tail and his head. None of the Hens and Chicks were left, thanks to boy dogs peeing on all the things, so today he got a do-over with a twist.
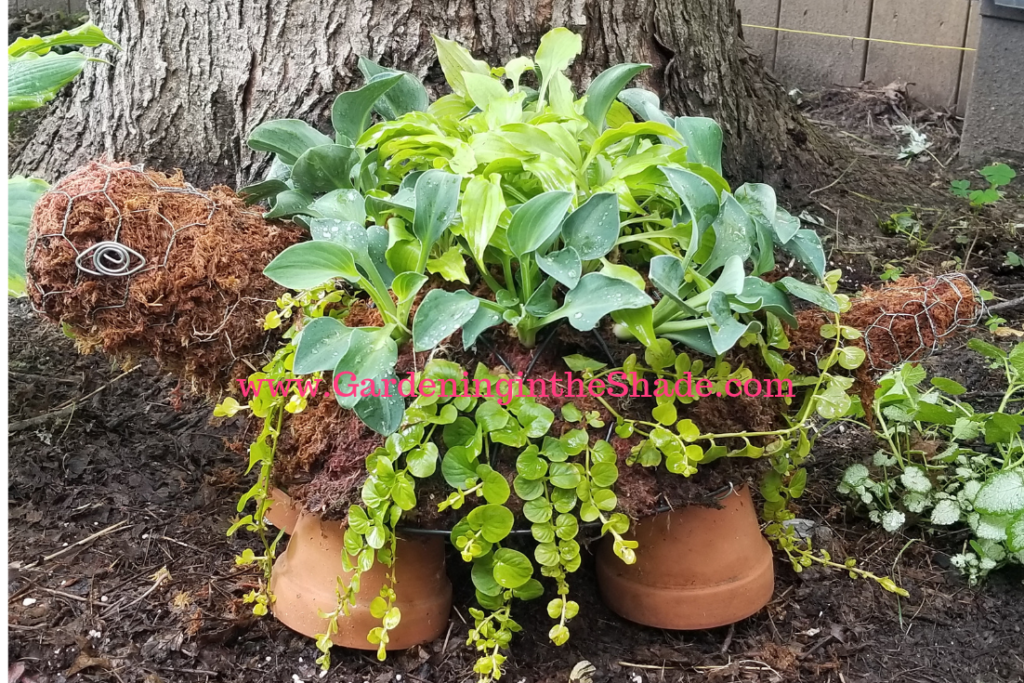
I meant to try this a long time ago – a Hosta turtle. It works out perfectly, because under the maple tree where he’s located there are too many surface roots. I had a Hosta ‘Sun Power’ there, but the maple tree roots eventually choked it out.
Miniature Hosta
All hosta are highly collectible, from the giants right on down to the miniatures.
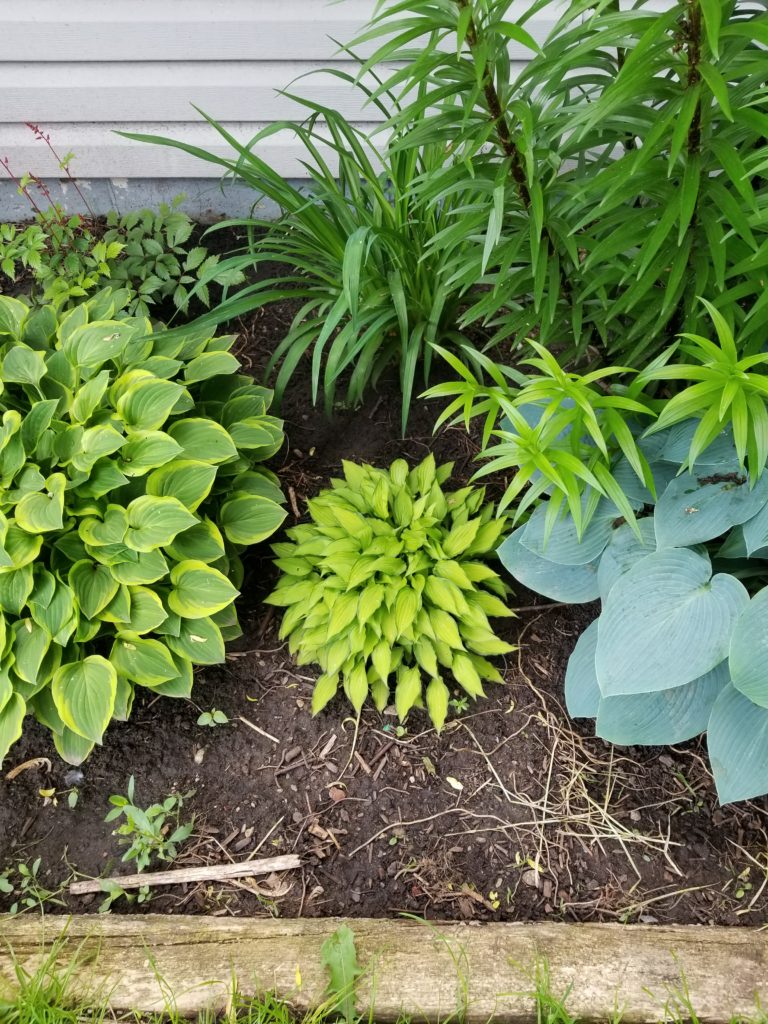

The one above has a narrow green edge around the leaves. Here it is pictured next to Golden Tiara to give you an idea of the size.
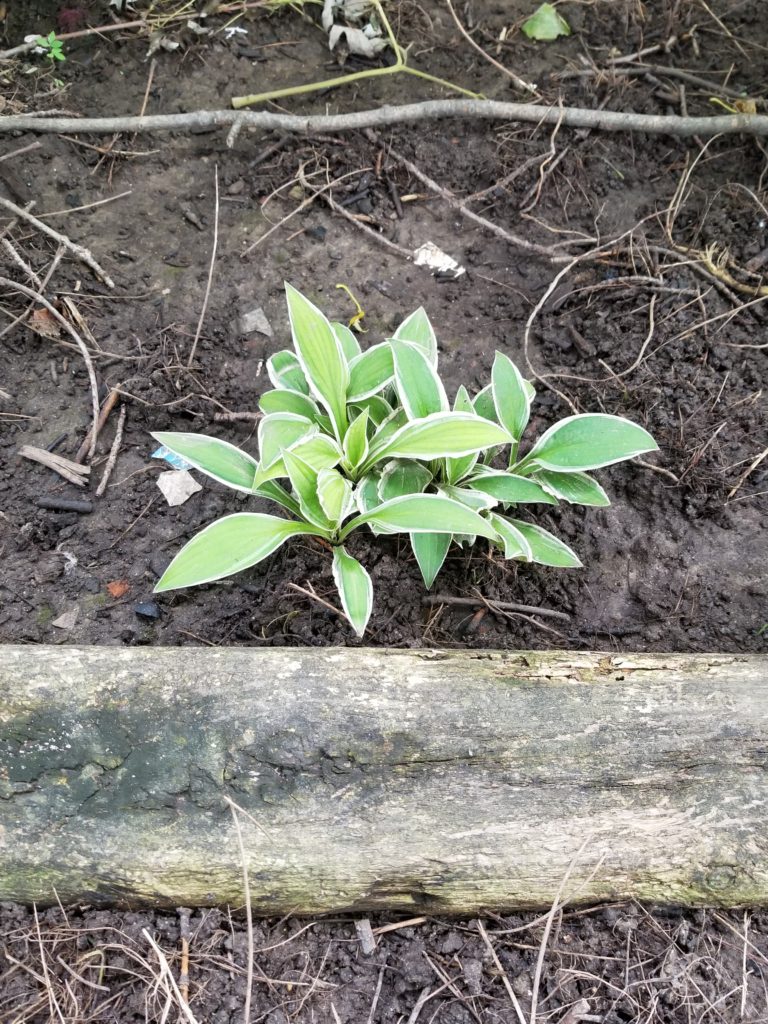

Miniature in green with a white edge on the leaves.
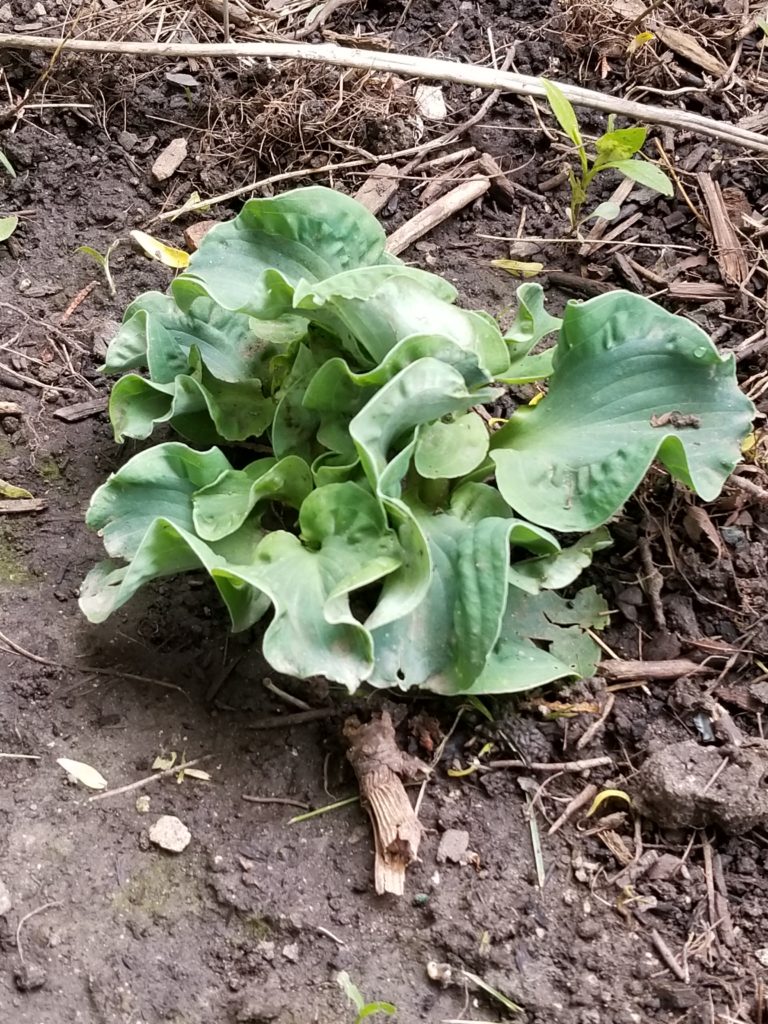

The blue crinkled leaves of Church Mouse
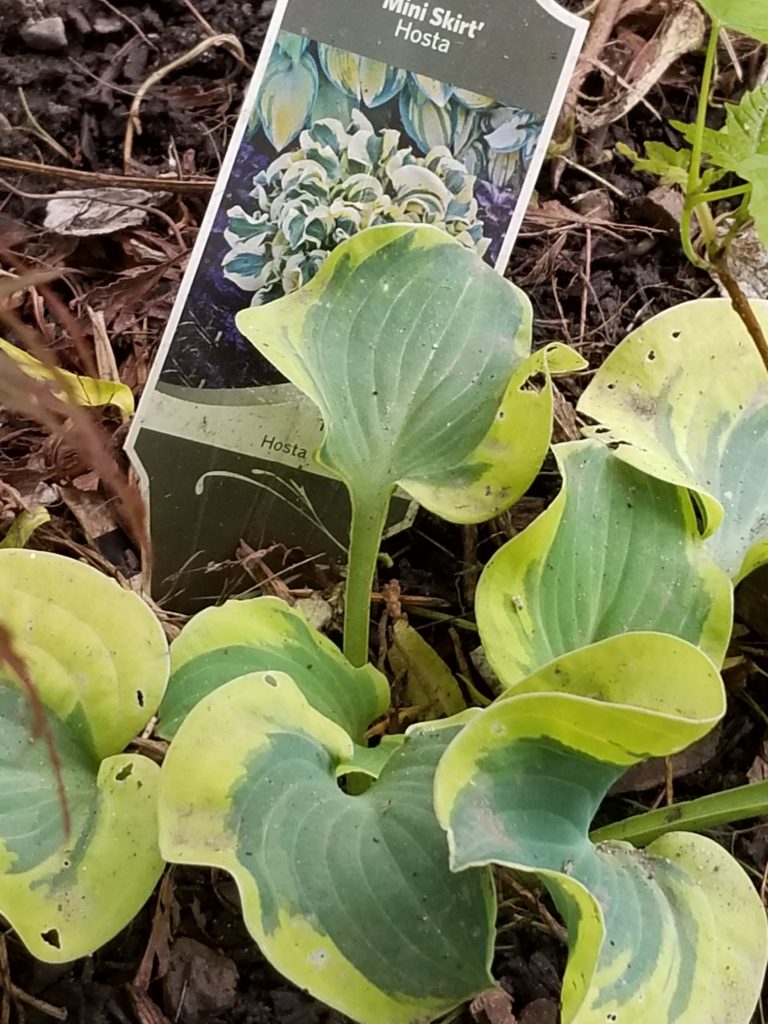

Mini Skirt, showing cream for early spring it will brighten to white and blue as the season goes on.
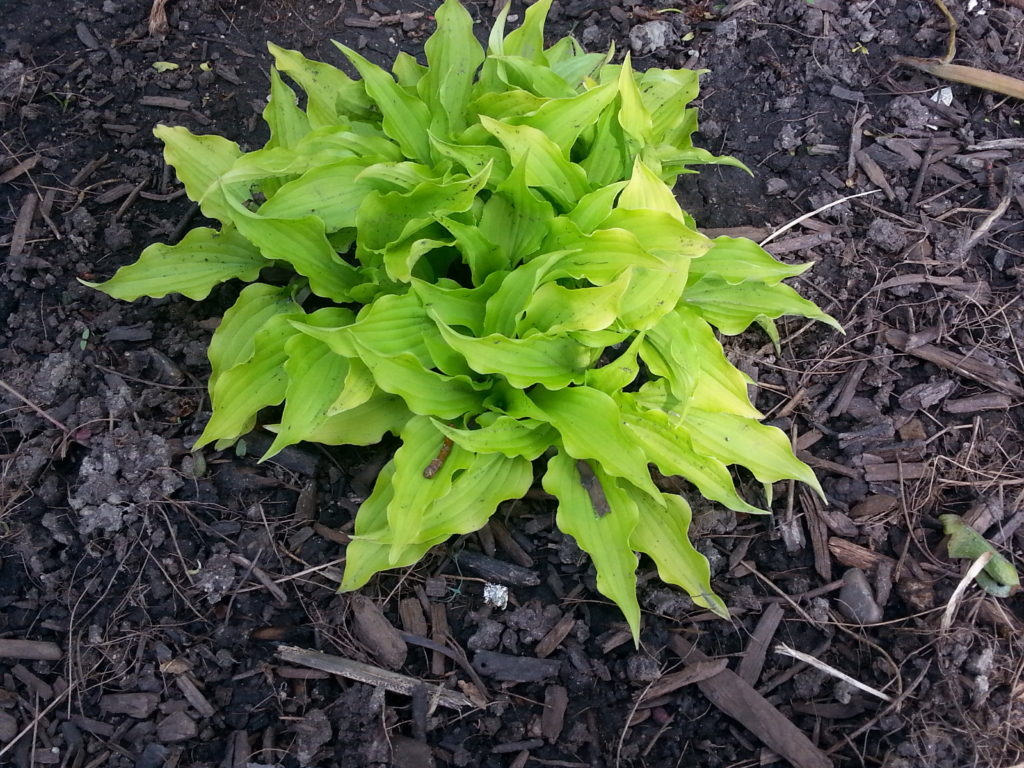

I used a few pieces from this mini-Hosta from the garden. I don’t know which variety it is but it’s quite small, along with some Blue Mouse Ears.
Materials:
You can buy a lot of the supplies at the dollar store. The sphagnum moss can be a bit harder to find, try nurseries, any place that sells orchids may have some. Sometimes you’ll find it in the reptile section of pet stores – it’s used for bedding. I’ve included some links below that may be helpful but please note – they are affiliate links.
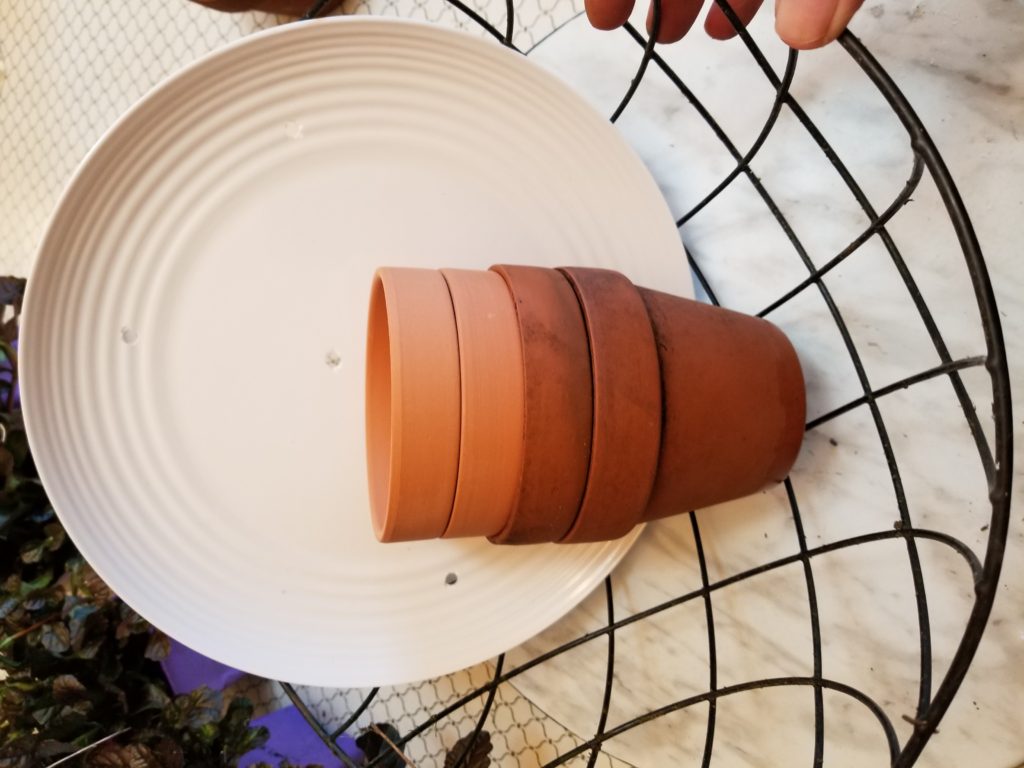

- 4 – 4″ Clay Pots
- 12″ Wire Hanging Basket
- Plastic saucer or plate to fit bottom of basket. I used a melamine plate from the dollar store and drilled drainage holes.
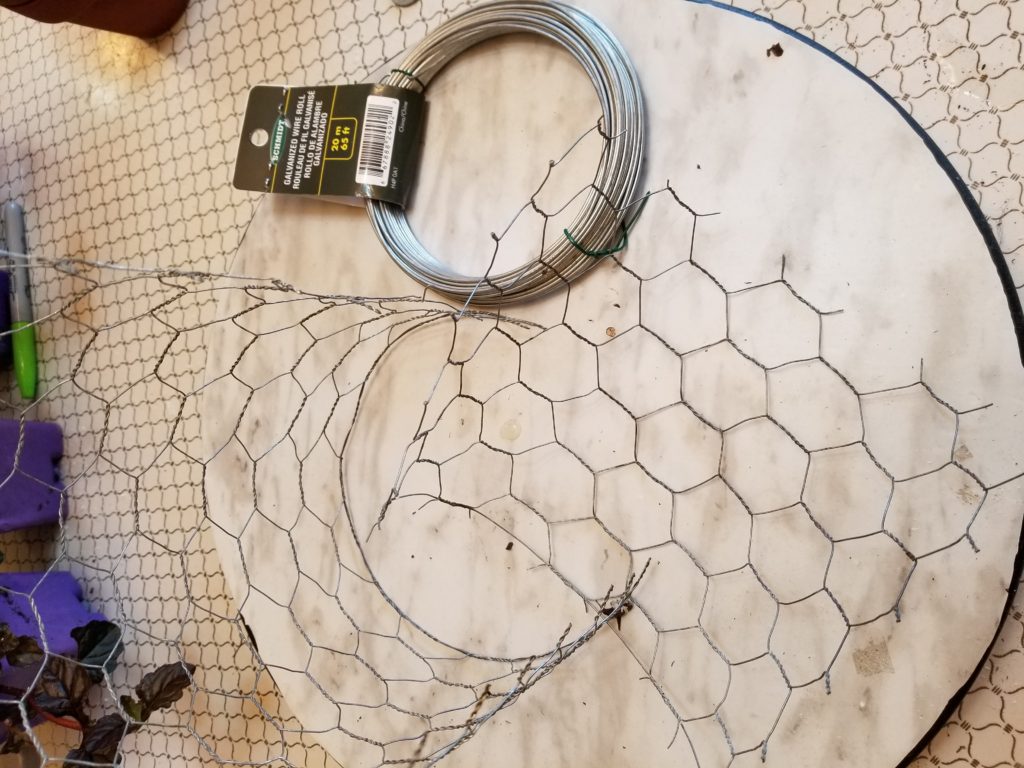

- florist wire
- 2 pieces of chicken wire, 1 approximately 12″ x 8″ and another around 10″ x 6″.
- 4 washers.
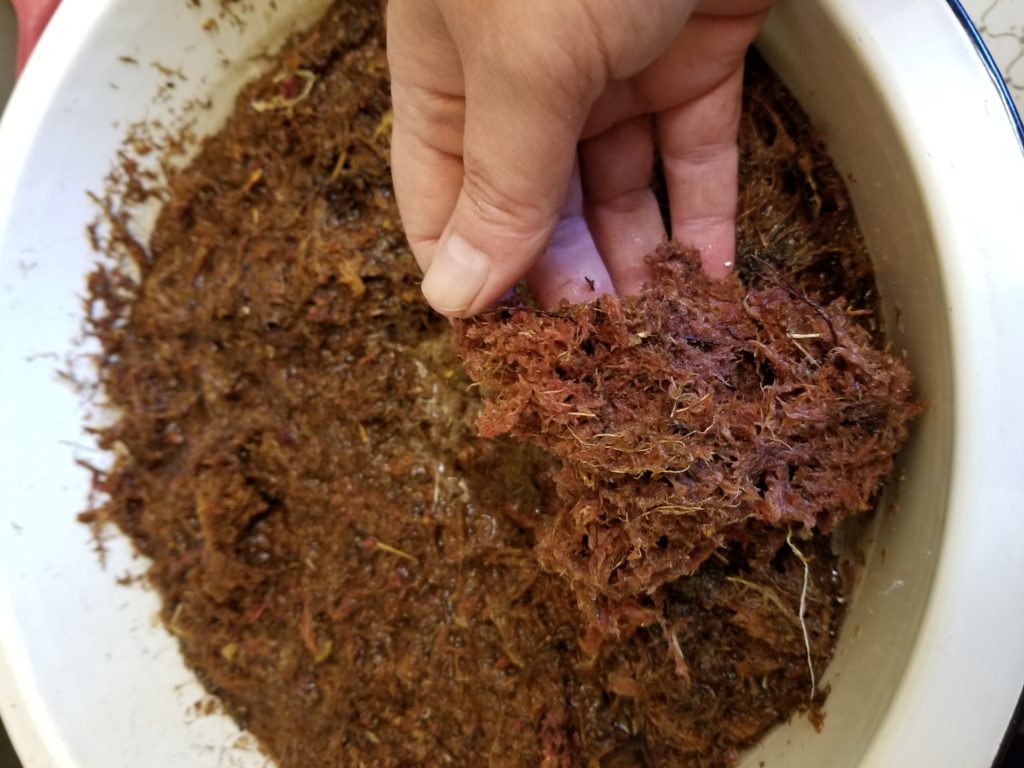

- Sphagnum Moss
- Potting soil.
Directions:
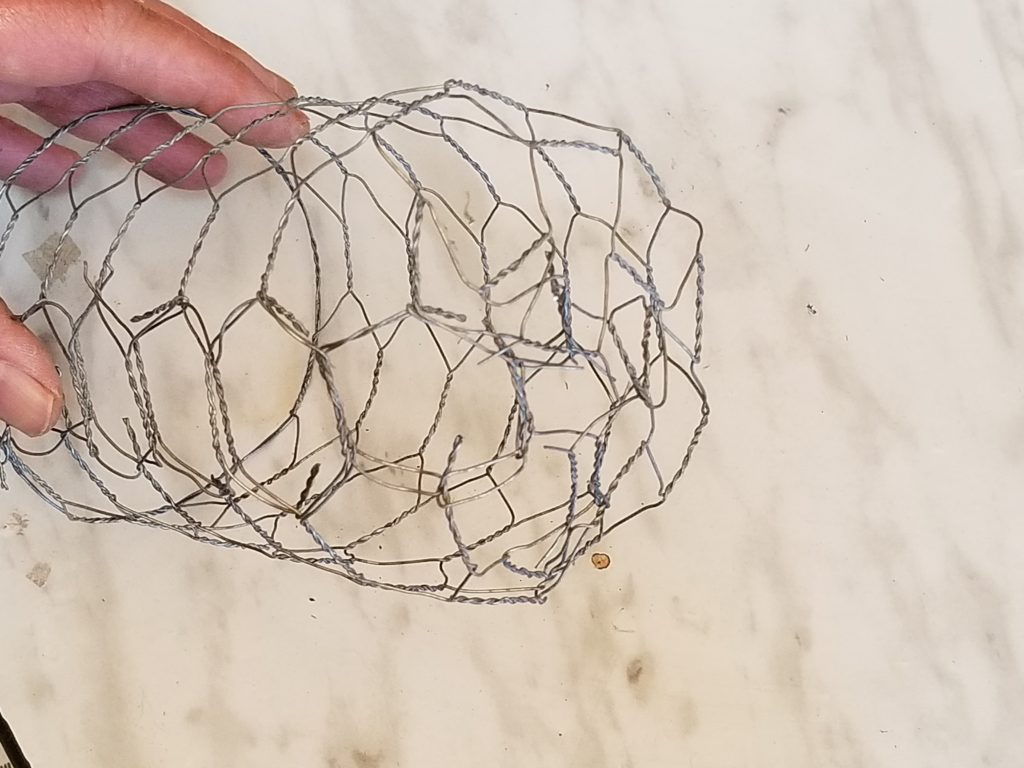

Form the larger piece of chicken wire into a tube and close one end.
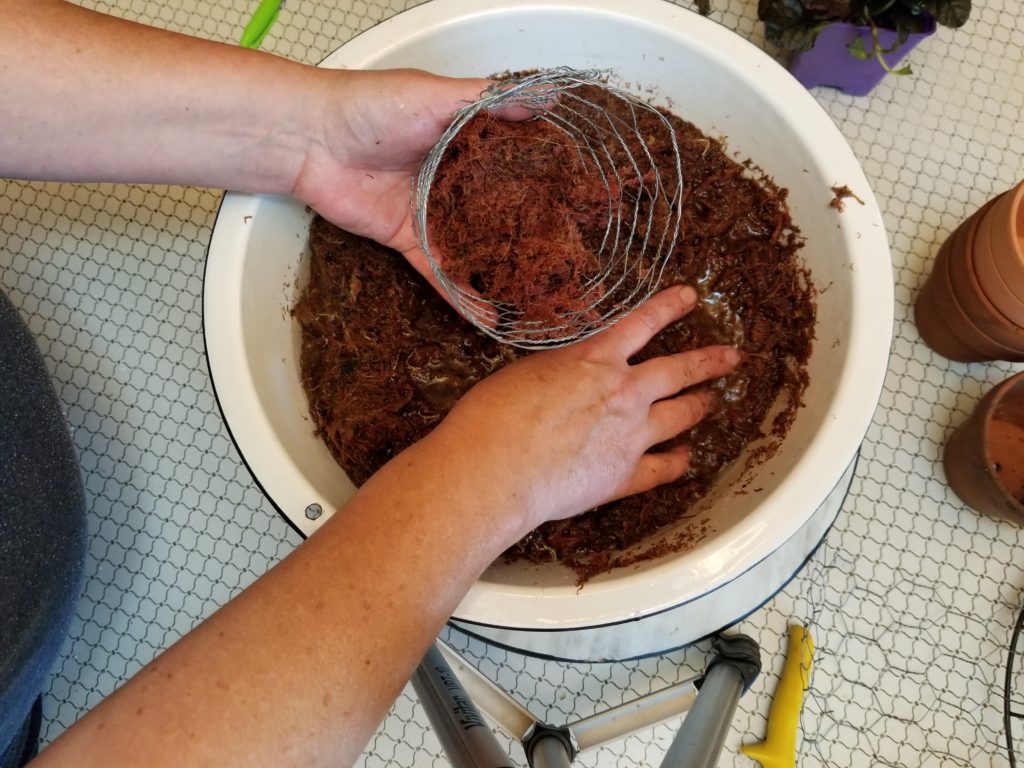

Fill the head with moss.
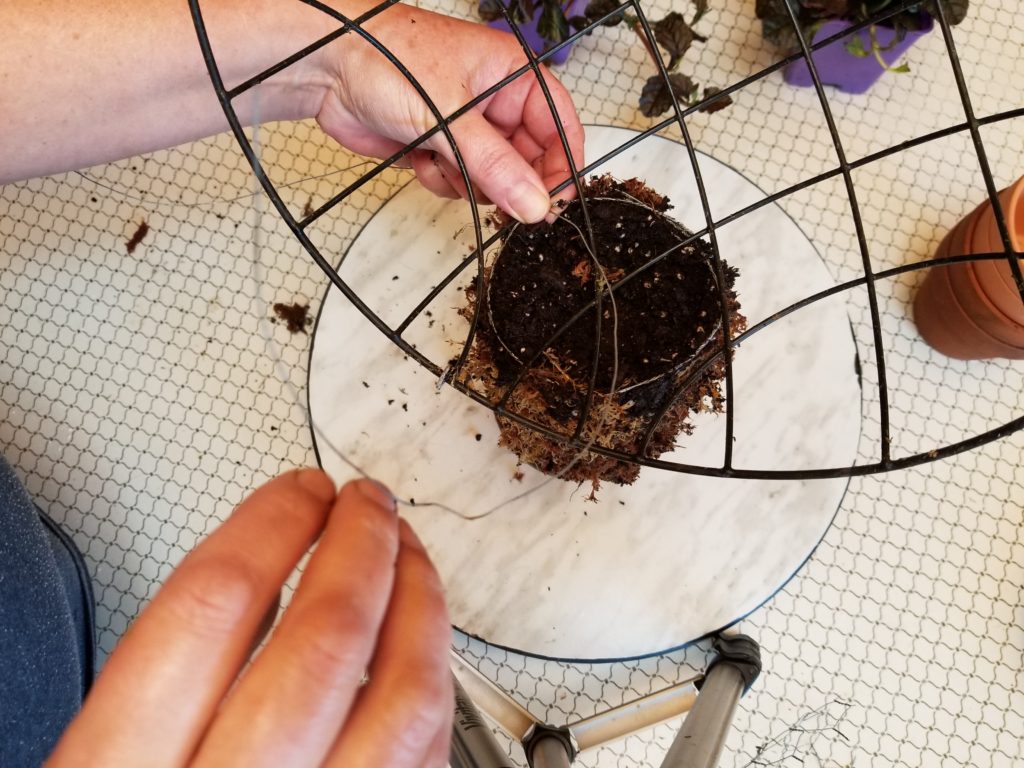

Use the florist wire to attach the head to the basket.
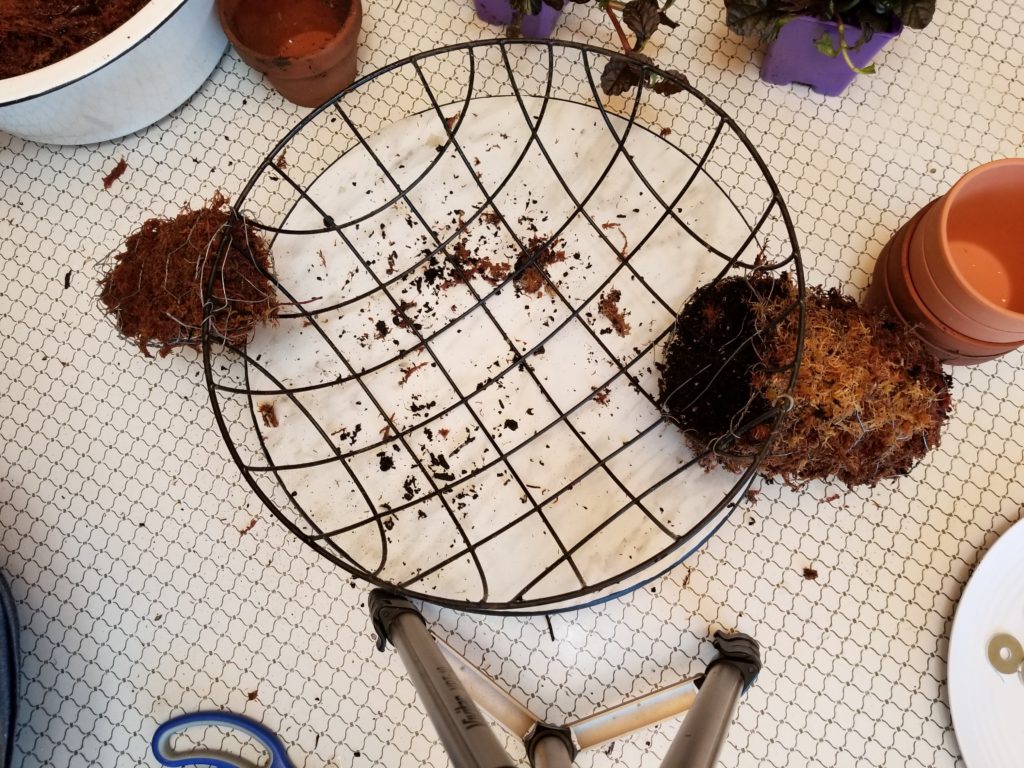

Repeat with the smaller piece of chicken wire to make a tail.
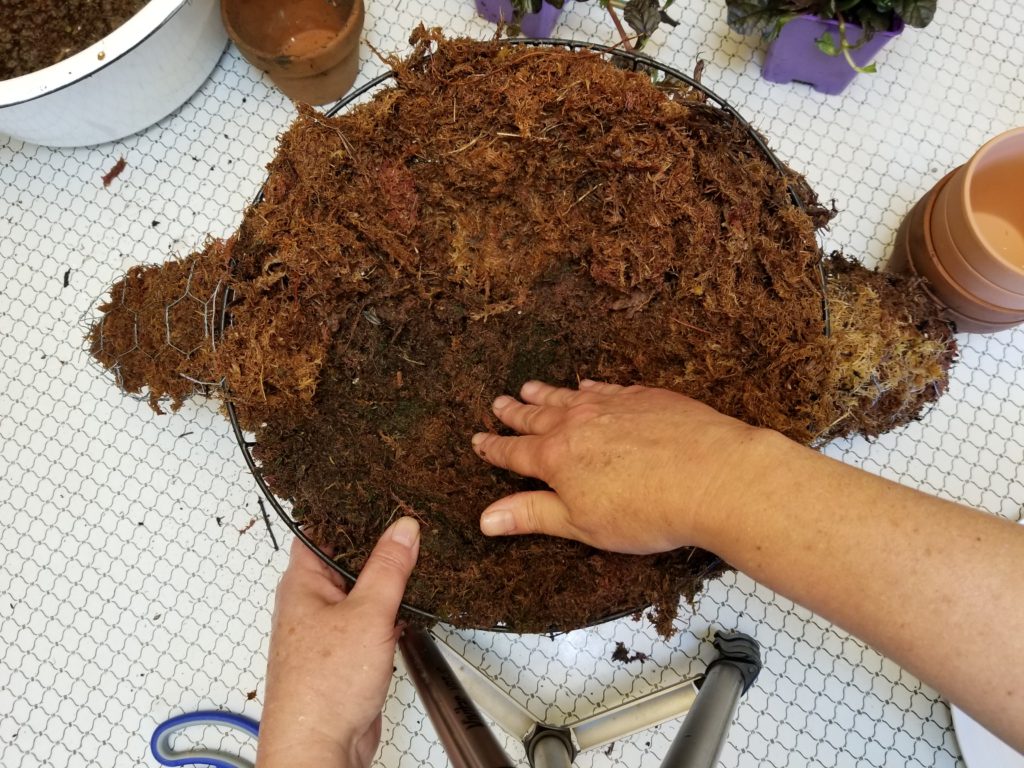

Line the basket with moss, leaving a space for the potting soil, then set aside.
If you haven’t already, drill your bottom plate or plant saucer. You will need one hole for each leg plus some drainage holes.
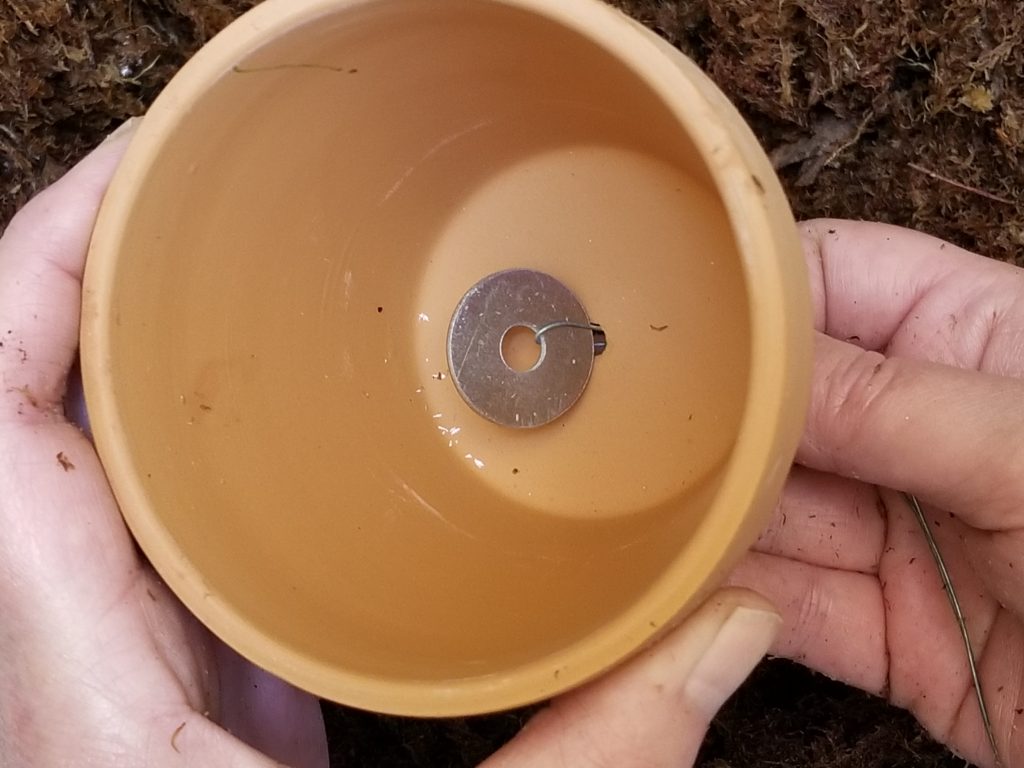

Thread a washer onto some florist wire and up through the bottom hole of the clay pot.
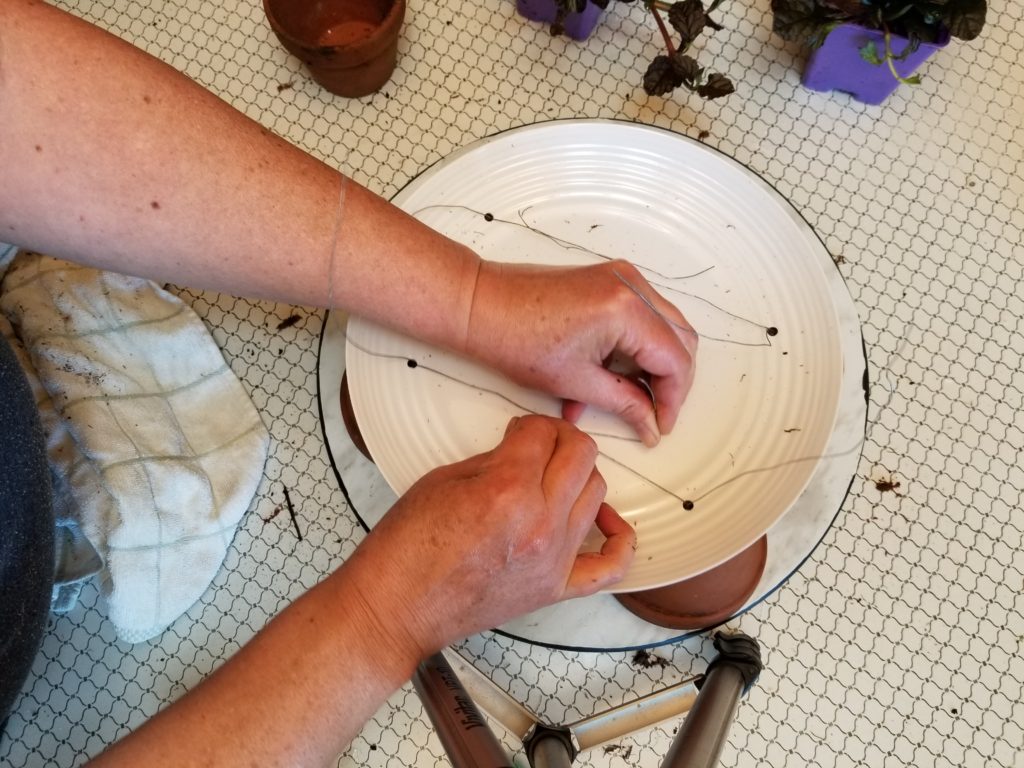

Thread the wire up through your bottom saucer/plate. Secure all 4 of the feet. You can see that rather than have them attached at 12, 3, 6, and 9 o’clock, it’s more 1, 5, 7, and 11 o’clock.
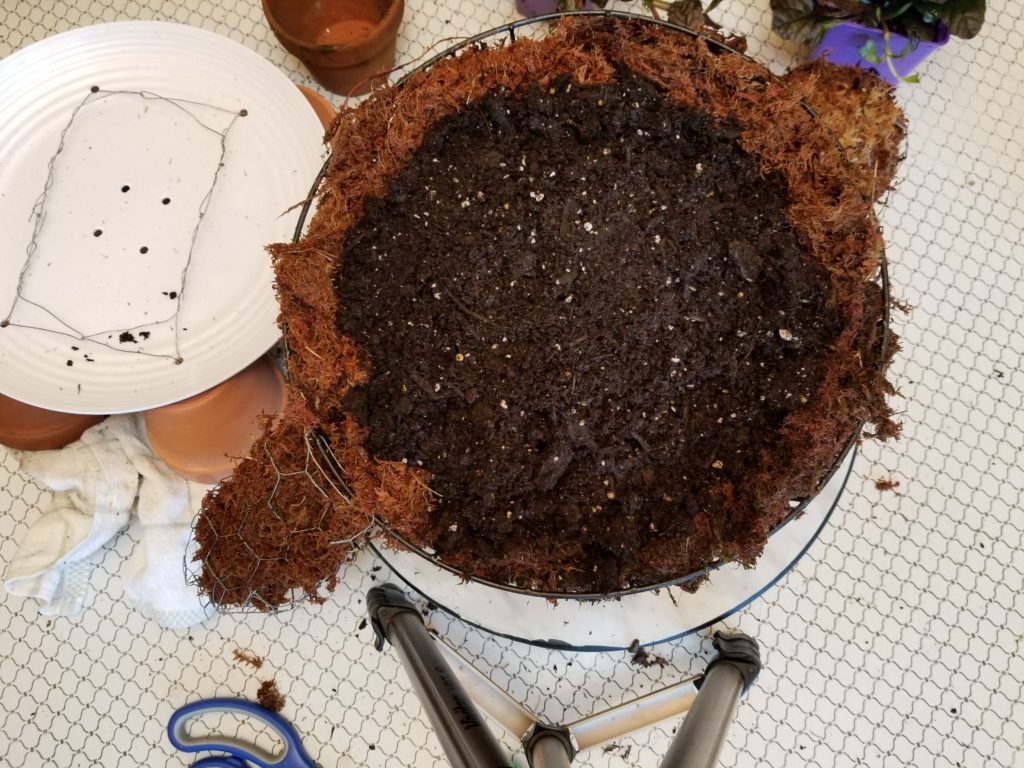

Fill the turtle shell with potting soil.
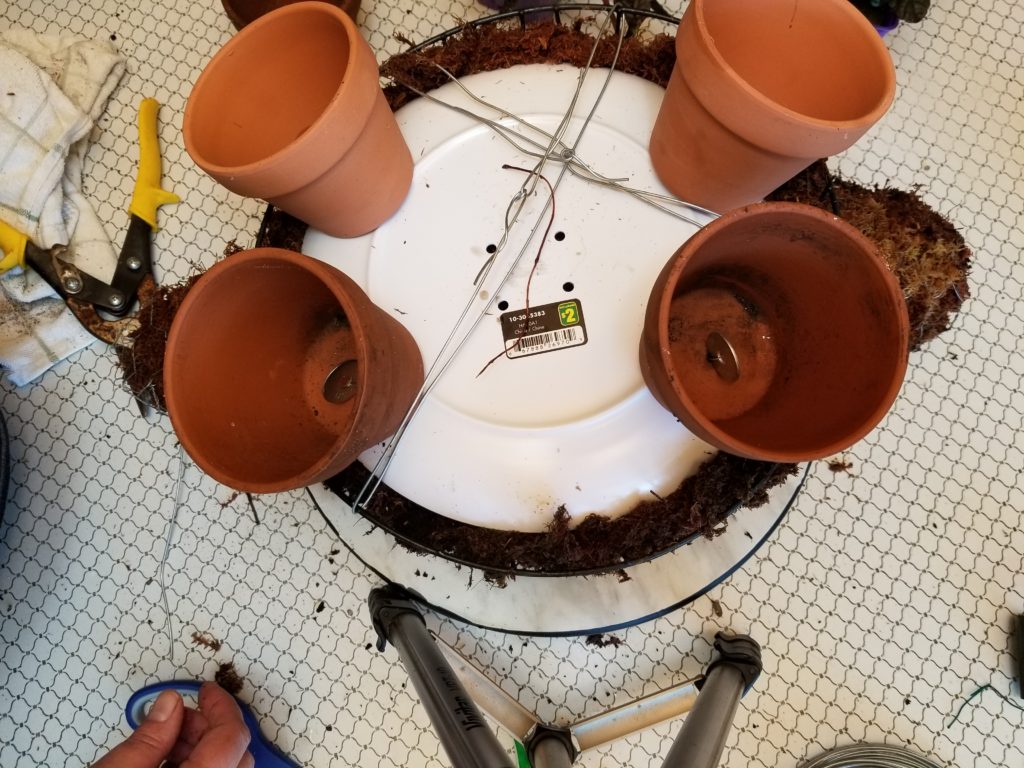

Use florist wire to secure the saucer in place.
Plant your Turtle!


I added some creeping jenny for the bottom half of the shell – just so you know, it will root down where it touches the ground and it is a perennial.

Like the look of Mini Hosta and looking for more planting ideas? Check out some of my other ideas here – Mini Hosta
Sharing this post at DIY Show Off!


Spectacular! I am going to make one after I get all parts accumulated!
I also live in Ontario! I bought a turtle shell like this on Maxsold and had no idea what to do so I appreciate your help. Thank you!
This is so cute! Very creative! 🙂 Thanks for stopping over to my blog, Thrift Diving, and leaving a thoughtful comment on my belt mail organizer! 🙂
Thank you so much!
How adorable is this! Excellent tutorial too. Thank you for sharing your adorable hosta turtle with us at the Talk Of The Town Party! Pinned 🙂
Thank you!