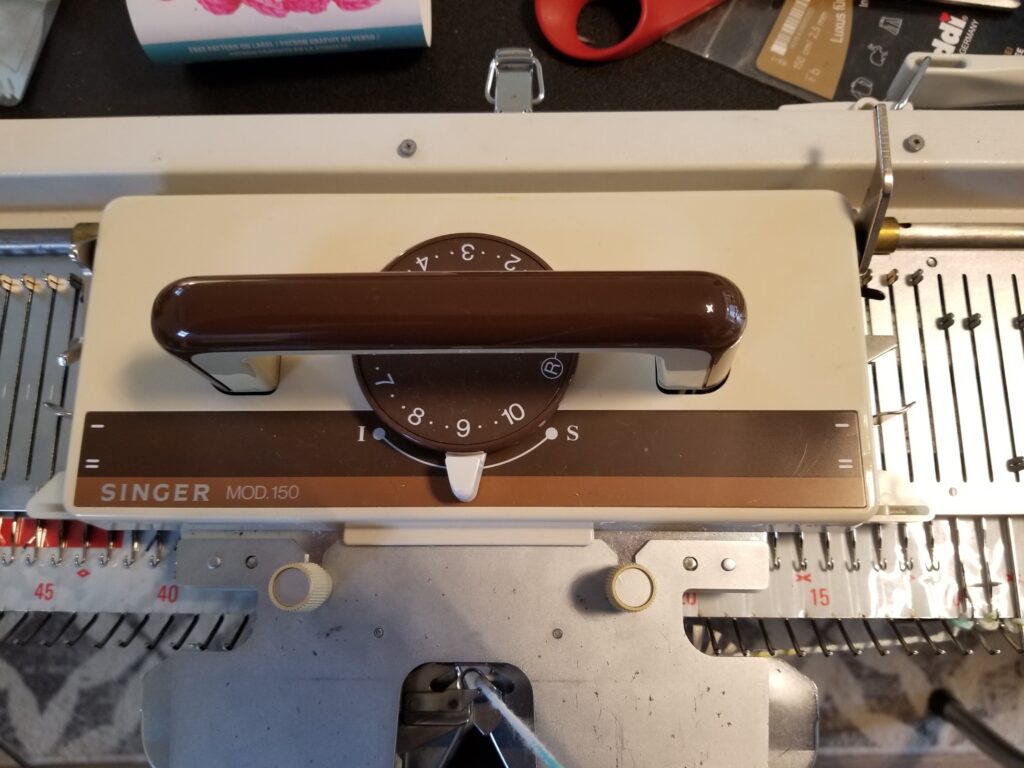
There are so many things I wish I had known before I started buying vintage knitting machines. Things like never buy a machine displayed in a basement with visible moisture issues. That would be me when I bought my chunky Singer SK-150.
 It’s usable after lots of elbow grease, I’ve even knit dishcloths on it. But it’s still a junker machine. Even after spending $50 replacing most of the needles because they were so rusty it still needs more.
So this post is all about what I wish I knew then.
Buy From a Machine Knitter
Of the 3 machines I have, the one that was in the best condition was the one that came from someone who actually used the machine. The woman I bought my first machine from may have tried it, but she never really used it. They did however oil it before listing it. Unfortunately they did not clean it first and what a mess that made.
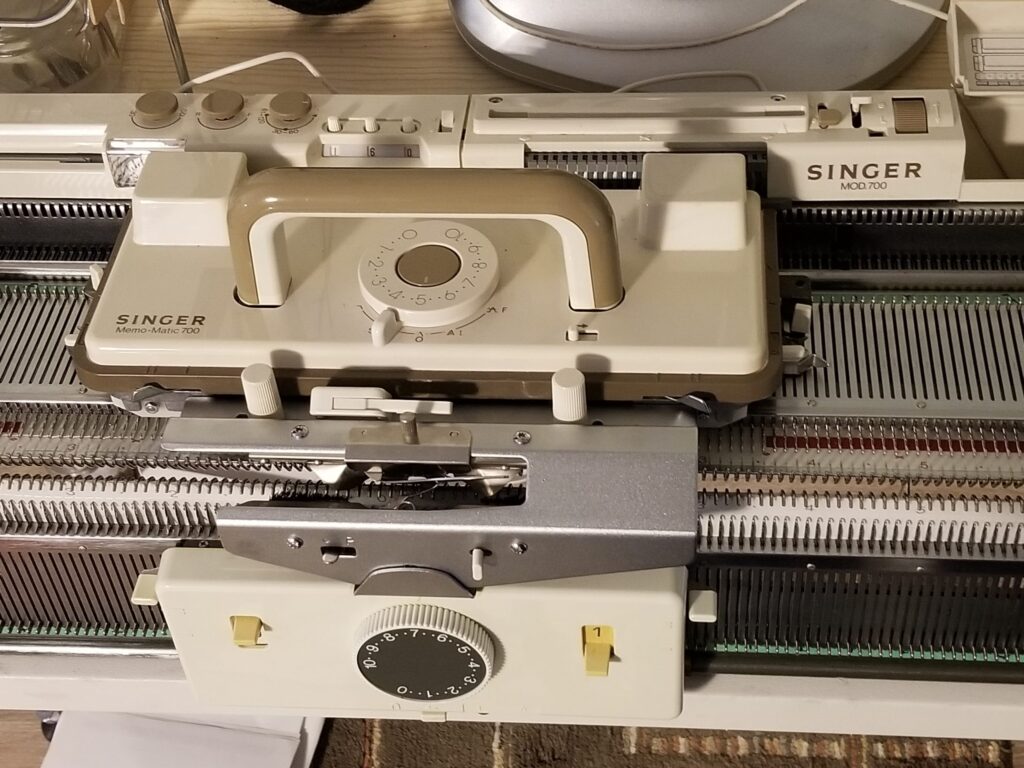
 When I brought my Singer 700 home, I did a full tear-down of the carriage to remove felted yarn fibers and actual yarn from around the spindles of the patterning drum. I also replaced a lot of the needles on both beds because it had been used by someone who did not know what they were doing – before me that is, since I had no clue what I was doing when I first used it either.
Don’t expect to just start knitting immediately
Unless you’re buying your vintage knitting machine from a business that specializes in them, don’t expect to just set it up and go. At the minimum before you try to knit with the machine, you will need to check the sponge bar or needle retaining bar is in good condition. Ideally you should do a full inspection of the needles and a give it a good cleaning. If you use your machine, you will need to maintain your machine so you may as well start right. There are loads of resources, many of them model specific, on YouTube. The video below is old but a fabulous resource.
Is everything that came with the machine there?
There are some necessary accessories to knitting machines and more if you’re buying one with a ribber attachment. Some accessories are brand specific – Brother machines typically come with a cast on comb, Singers do not. Replacing any of the ones you really need might not come easy. You will spend a lot of time searching for missing bits and pieces and the cost adds up.
The best way to find out what should come with a machine is to download the manual for the model you are looking at before you go to see it. There will be a list of items that come with the machine at the beginning of the manual. Don’t forget to research any optional attachments that are coming with the machine so you can be sure to have all of their parts and and accessories. Manuals for most machines and even many attachments are available at Machine Knitting Etc.
At a minimum you should expect the following:
Please note all of the links below are affiliate links.
Clamps
Your machine must be clamped to a surface to use it. It should come with ‘C’ clamps and if there is a ribber, a special angled clamp that tilts the machine to the proper angle for using the ribber. If you’re buying a machine with a ribber you need both sets of clamps to set up your machine.
Weights
Claw weights for the main bed – ideally 5, and if it comes with a ribber, barrel weights – 3 large and 2 small. Keep in mind this is the minimum needed. You will probably be scouring Amazon for extras.
Needle pushers
My Brother machine should have come with one needle pusher, my Singer 700 came with 3 and I think the Chunky came with 4. These help you pull your needles forward either as a group or in a variety of staggered and alternating positions. Chunky pushers don’t work on standard machines and vice-versa. They are also brand specific – Brother needles have bigger butts so the Singer pushers don’t work very well for Brother machines.
Transfer tools
Each of mine came with three transfer tools plus a latched hook. These are specific to the gauge of your machine.
Cast on combs.
Brother machines come with a cast on comb, Singers do not. But if you have a ribber, then you need a different type of cast on comb. Usually in 2 lengths – one for the full bed and a shorter one for knitting narrower projects.
Goes without saying (almost)
Unless you’re buying a super cheap parts machine, the yarn mast, carriage and sinker plates along with any model specific plates or cams etc. If it comes with a ribber – the carriage for that and the arm that connects the two carriages.
Check the needle bed carefully
Storage matters a lot! A machine that was stored on it’s end could have a bowed or warped needle bed. A machine that was stored in a damp place could have rust. A bit of rust on the needles is one thing but rust anywhere on the needle bed is a red flag. If the plastics have yellowed this is strictly cosmetic. The plastics used in these machines were not UV stable so yellowing is likely due to sun exposure. If the plastics have not yellowed, be mindful to cover the machine when not in use and keep it out of direct sunlight. And never ever store your machine on it’s end. Always store them flat.
This is by no means an exhaustive list, just a few things I wish I had known beforehand.

