Gorgeous Instant Patio Planter!

It was so hard to pick just one title for this instant patio planter project, because I had so many contenders. Here are just a few of the ideas I discarded

  • No Place to Hang a Plant? No Problem!
  • Hanging Baskets That Don’t Dry Out!
  • I Like Big Pots and I Cannot Lie!

The last one is my favorite.

Anyhow, if you have ever experienced any of the following, this project is for you.

  • You are hosting a spring party and none of your planters are pretty yet.
  • You bought a hanging basket on impulse and then remembered after you got home you don’t have anyplace to hang one.
  • You wanted to buy a hanging basket because it was beautiful, but you didn’t because you have no place to hang one and now you’re sad.
  • You buy hanging baskets every year and then before you get to enjoy them, the weather turns scorching and even though you water twice a day, every single plant shrivels and dies while you are at work.
Step 1 – buy a gorgeous Hanging Basket at your garden center.

Purchased Hanging Basket

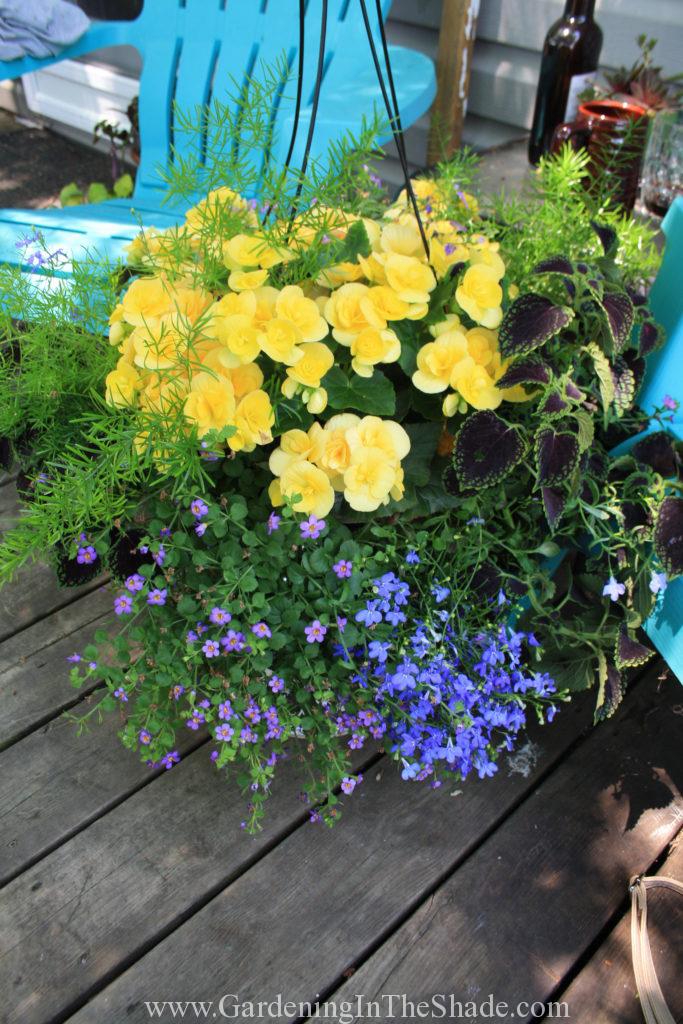
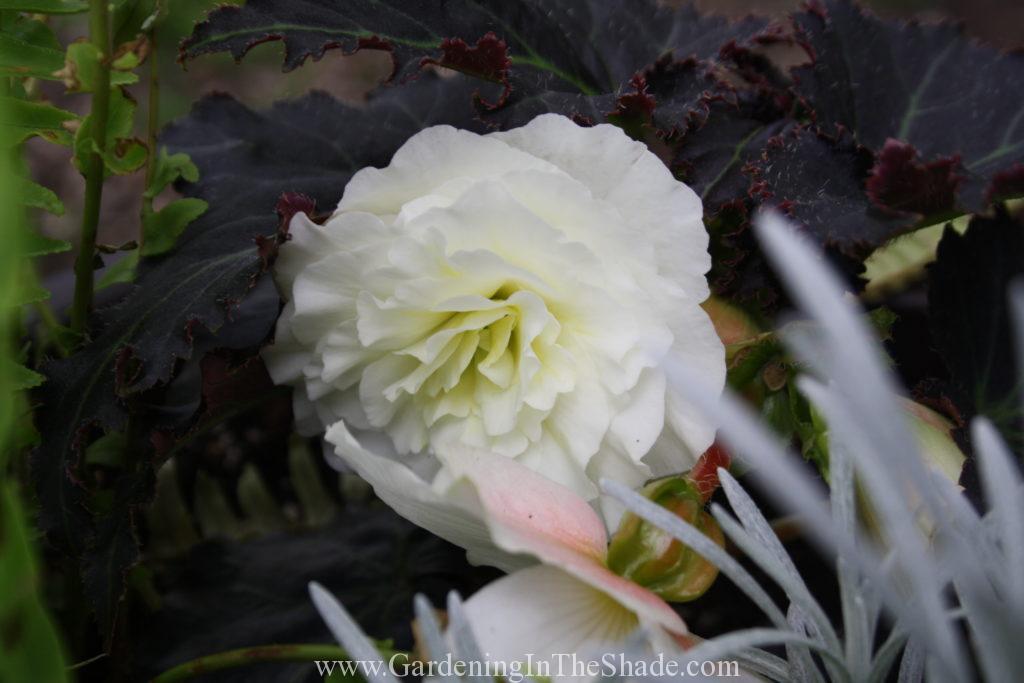
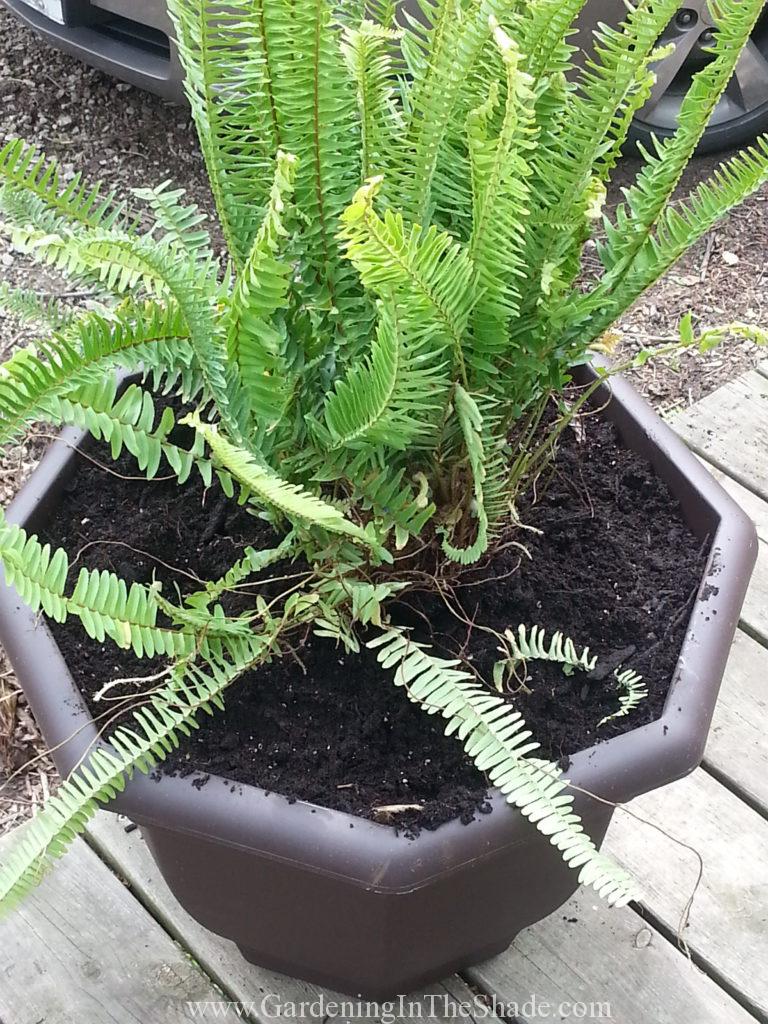
I have this beauty sitting on an upside down pail so none of my spillers get broken. You can see in the photo evidence of my favorite patio pastime.

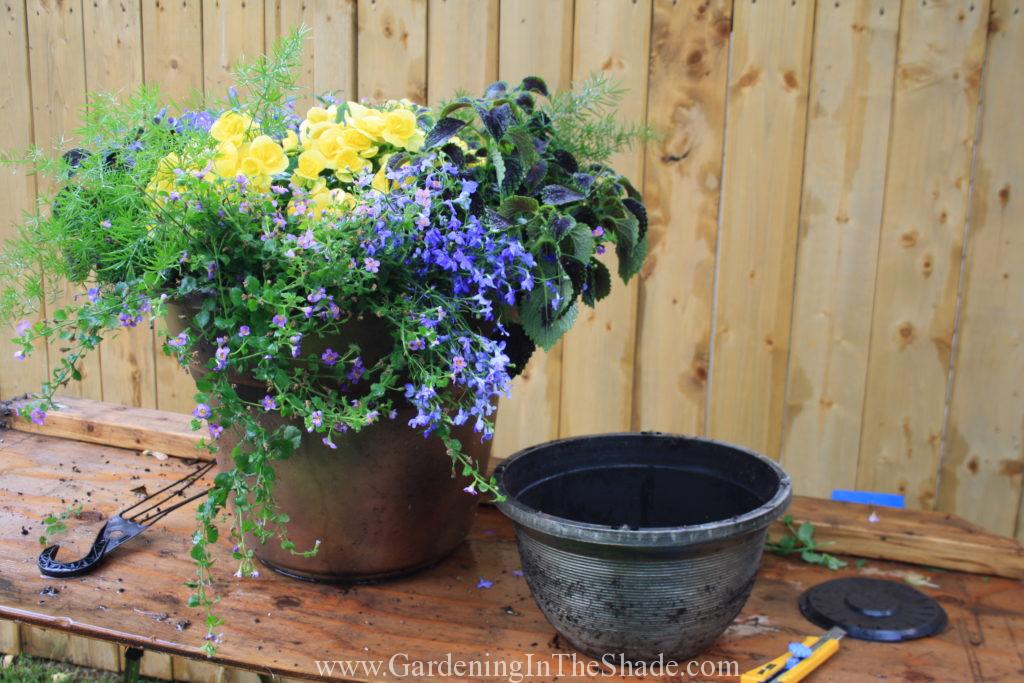
So you could take the easy route and just drop that hanging basket into an urn or tall planter – pot and all.

Purchased Hanging Basket set into an Urn

And you can see it will look nice if you do that, but only for a while unless you dedicate yourself watering. See first photo for evidence that I prefer to enjoy my patio in other ways.

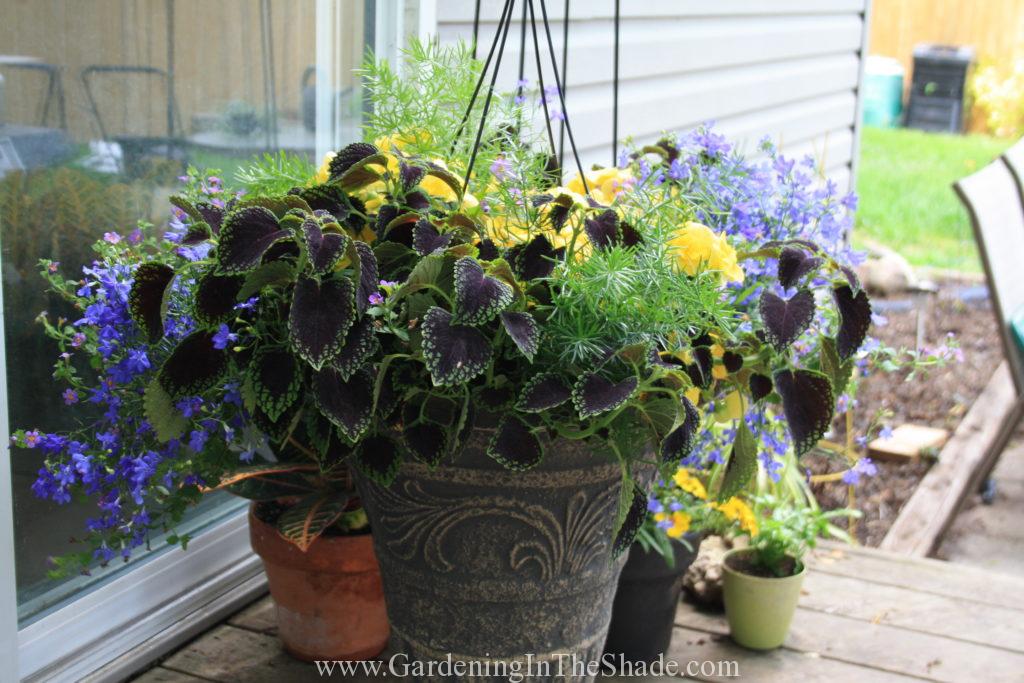
If you do take the easy way out buy a premium planter, one that comes in a bigger and deeper pot will last longer. And for Pete’s sake, at least remove the hangers from the pot. It’s easily done and looks so much better than having a purposeless hook in the middle of your planter. 

The problem with going the easy way is unless you water twice a day, your planter will still shrivel up and die as soon as you get some hot weather. By the time you bring it home, there isn’t enough soil left in a 12″ hanging basket to sustain the numbers of plants that it holds. The planter above has 8 plants in it! Plus, plants in greenhouses grow best with a light fast draining soil which isn’t always the best for at home. Instead you need to…

Step 2 – prepare a BIG planter with soil.

Use good soil that has lots of organic material in it. Soil that will hold moisture well and is easy to re-wet if it happens to dry out.

Somehow, between finding out the battery on my camera needed charging and the sudden monsoon that happened during this project, I missed taking a photo of this step so here is an awesome video instead. He likes big pots too.

You really want to have that planter prepared perfectly before you go to the next steps – trust me!

Step 3 – remove the hangers from the pot.

Remove the hangers

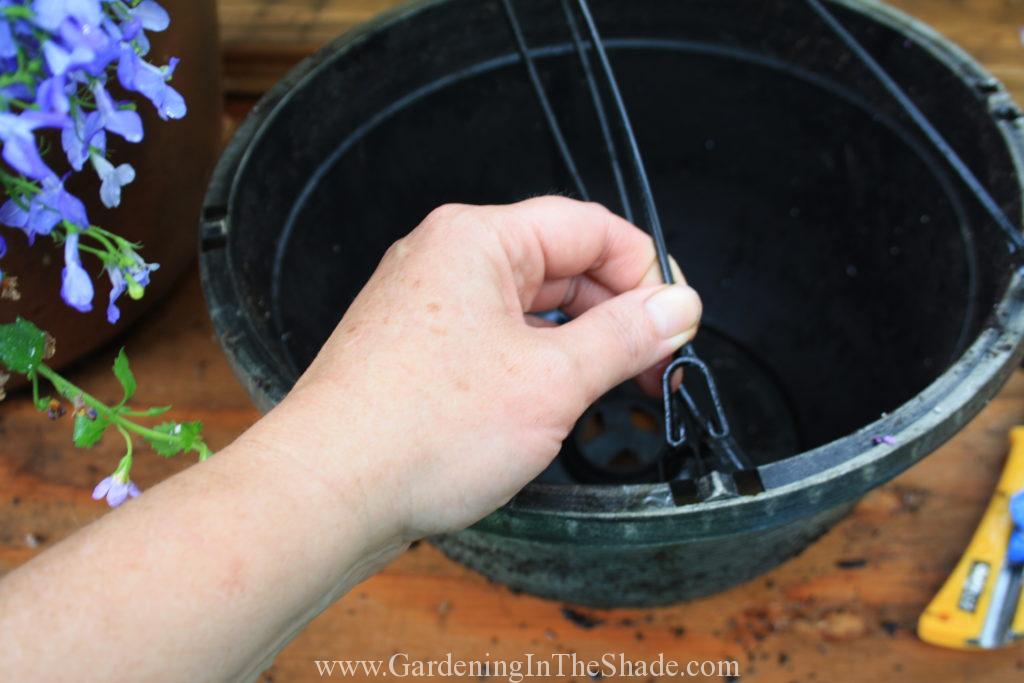
You will have to carefully reach through the foliage to do this, but basically you push the each strand down as far as it will go with one hand to unclip the hook part. With the other hand reach under the rim of the planter and spread the clips apart and while keeping them spread out, pull it up with the other hand. Or if you’re going to throw the pot away, just cut the hanger off.

Step 4 – the tricky part!

If you still don’t have your planter ready with soil and a planting hole, you’re gonna regret it!

Hand in middle of planter

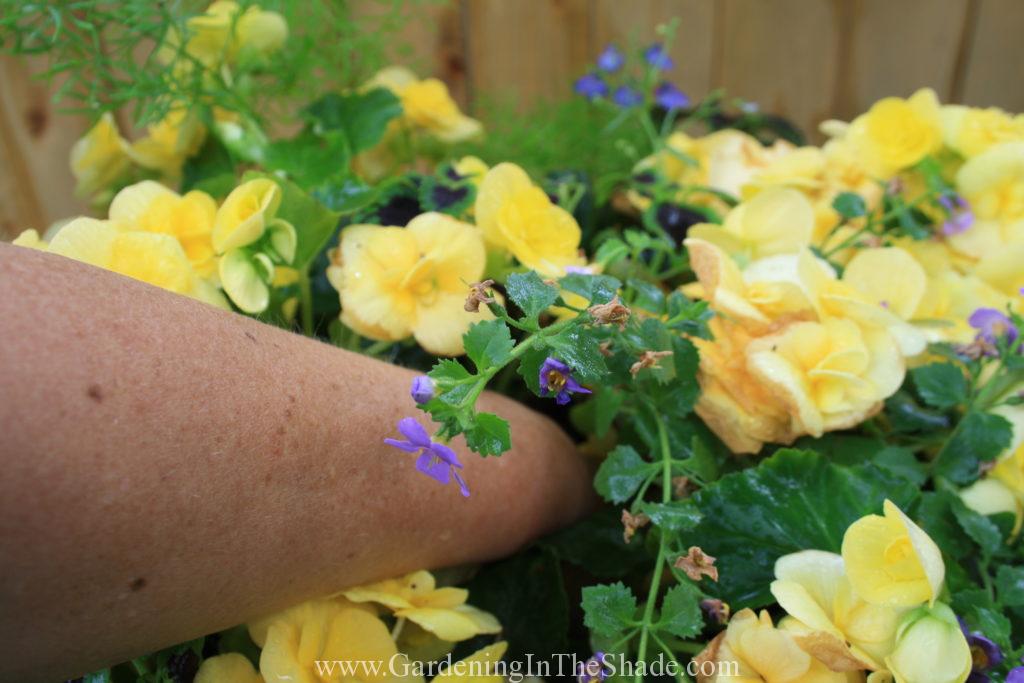
Carefully thread your hand into the center of the planter. You will need to flatten your palm against the soil without crushing any plants. Spread your fingers out as much as you can.

Step 5 – Flip me over and..

Pull Pot off

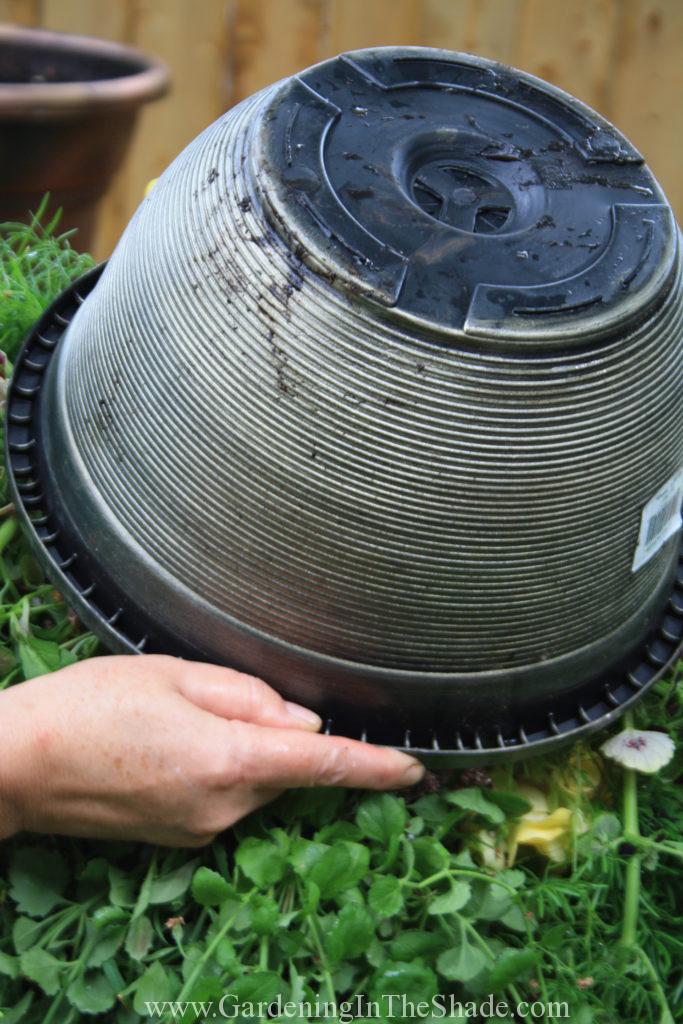
Very rarely will it ever just ‘pour out’. Keep the top of the plant balanced on one hand while you pull the pot off.

Remove Saucer

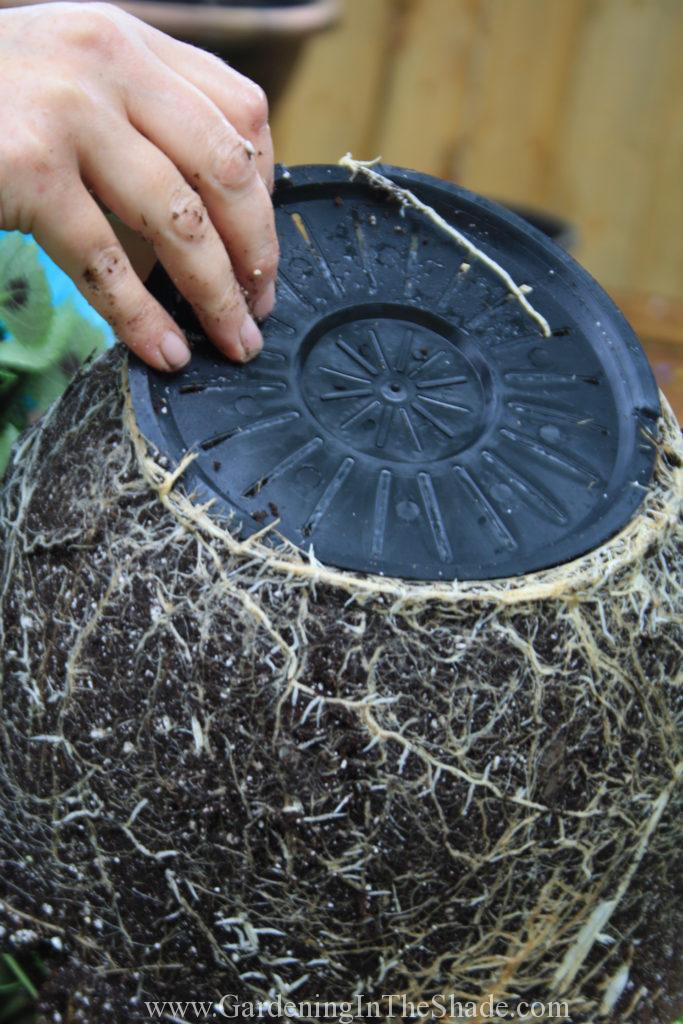
Remove the drainage saucer. The root ball on this one is gorgeous, but it was in a 12″ basket that was nice and deep instead of the typical 2 for $25 10″ basket.

Step 6 – replant it.

Carefully flip the plant into the planting hole you have prepared in your planter. Gently reach under the foliage and tamp soil around the root ball.

Instant Patio Planter

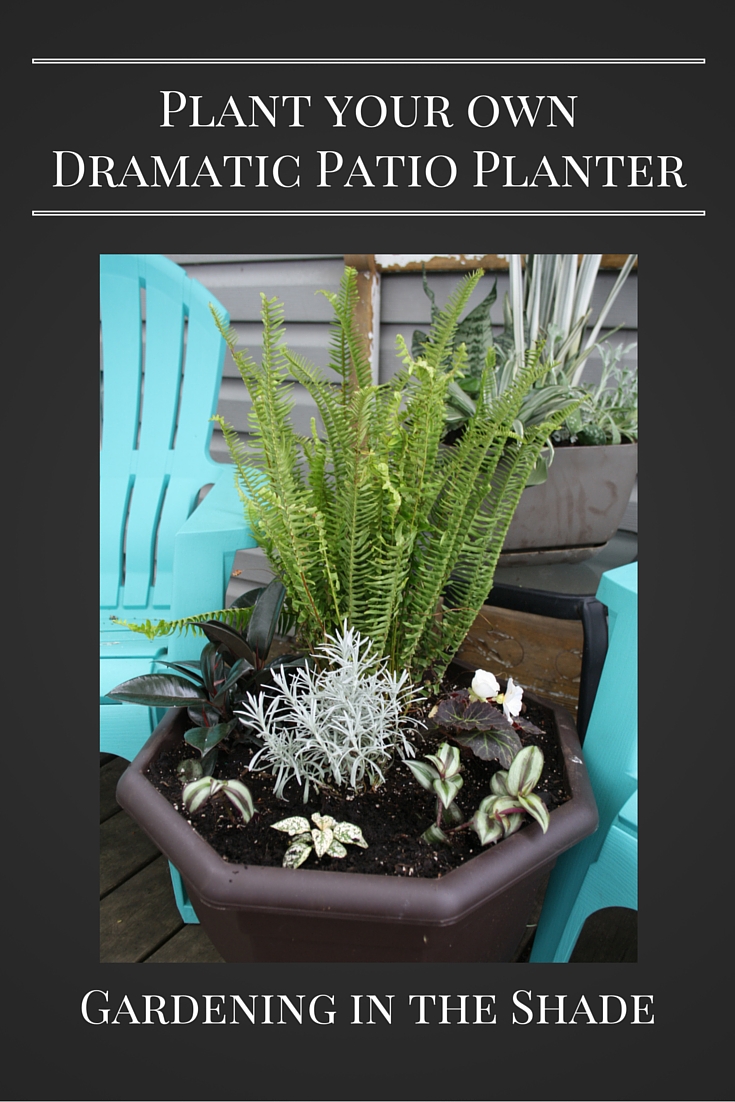
Presto – Instant Gorgeous Patio Planter!

Step 7 – move the planter to it’s new home.

This one is going over by my mailbox where the dogs can’t reach it, because according to my dogs, blue flowers are the tastiest.

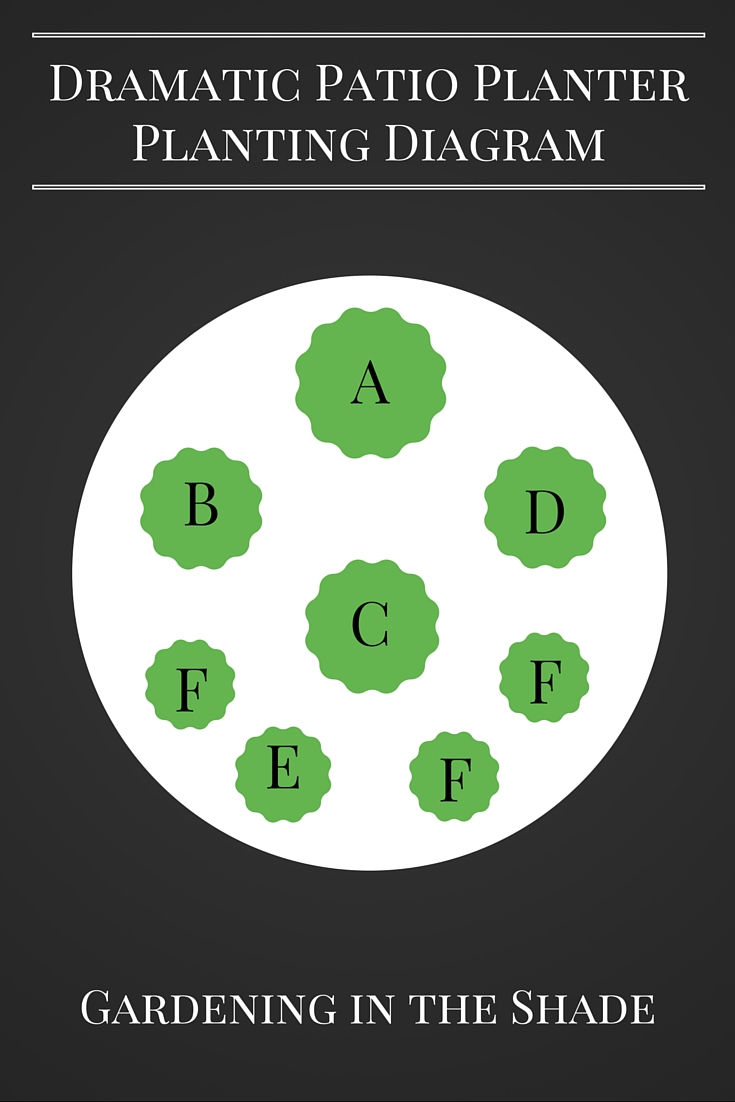
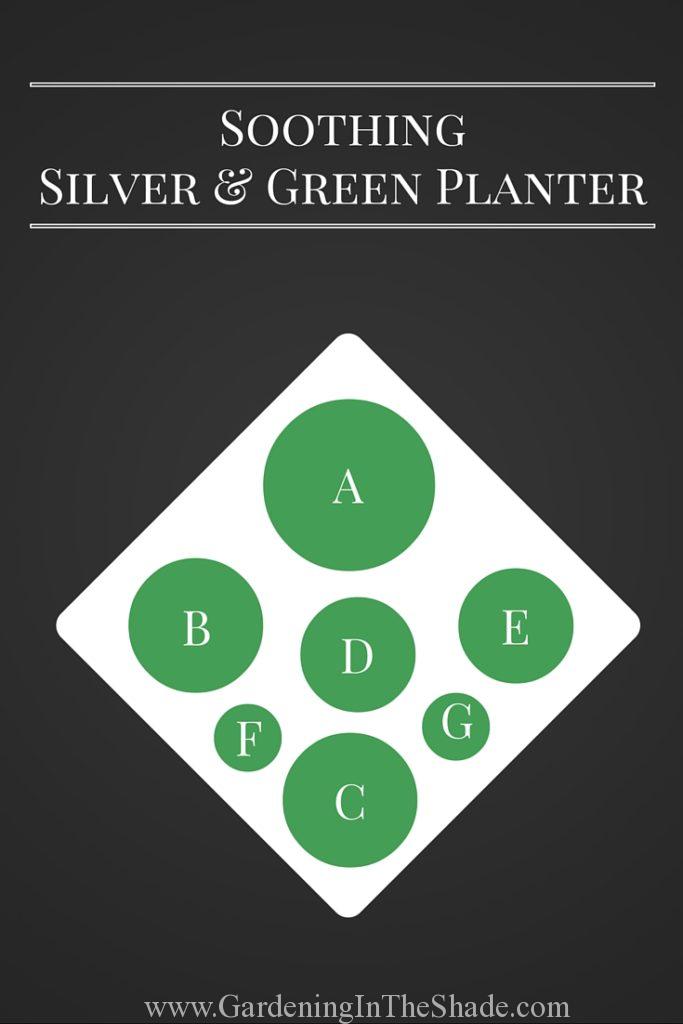
The Who, What and How Many!

This planter contains:

  • 4 Yellow Begonia
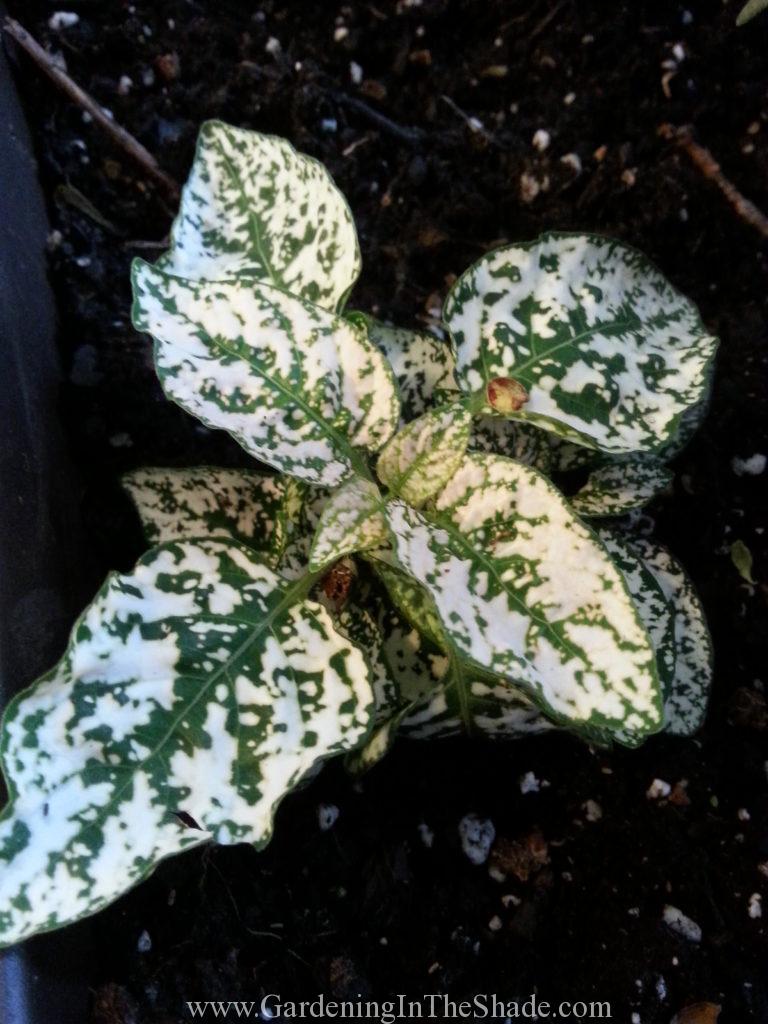
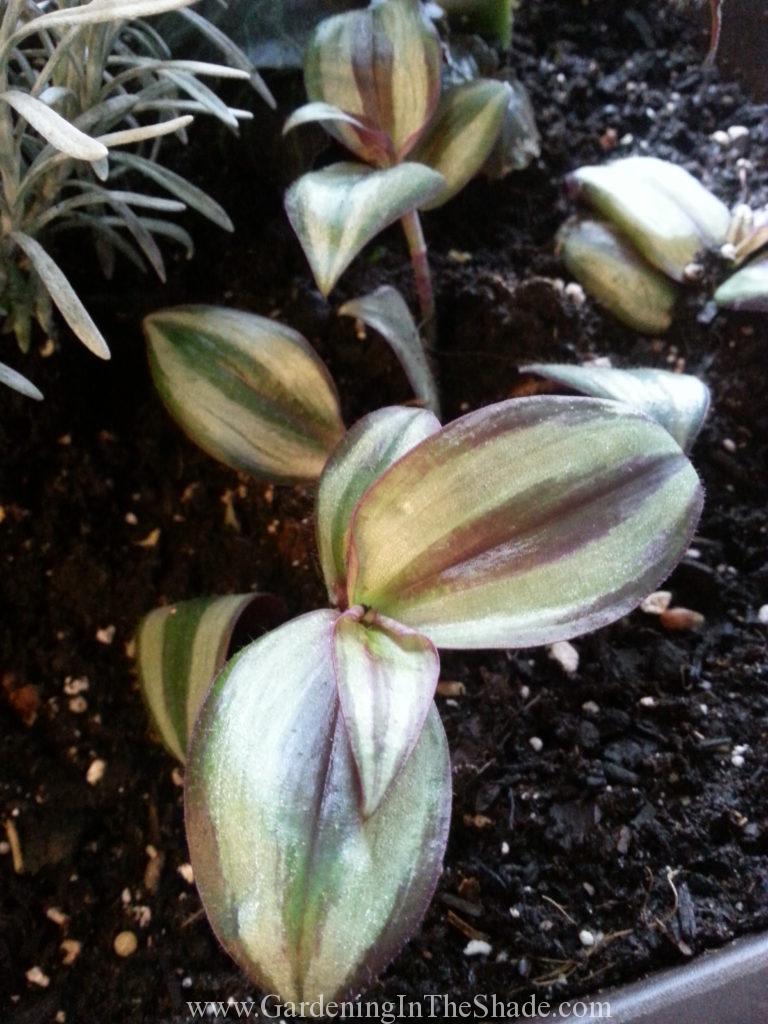
  • 2 Coleus of a mounding or trailing type.
  • 2 Asparagus ferns
  • 2 Lobelia
  • 2 Bacopa

It won’t last all summer, or at least not all of it will. As soon as we have a hot spell, the Bacopa will ‘stall’ or stop flowering. They always do when it’s hot. Some varieties are better in heat (the Betty series of bacopa will still have at least some flowers), but Bacopa is not a heat lover. Even worse, without flowers there is nothing attractive about Bacopa. Lobelia, depending on the variety, can also stall. The coleus, begonia and fern are most likely to last through August, but remove any flower spikes from the coleus – they are not attractive.

Stupid Bugs

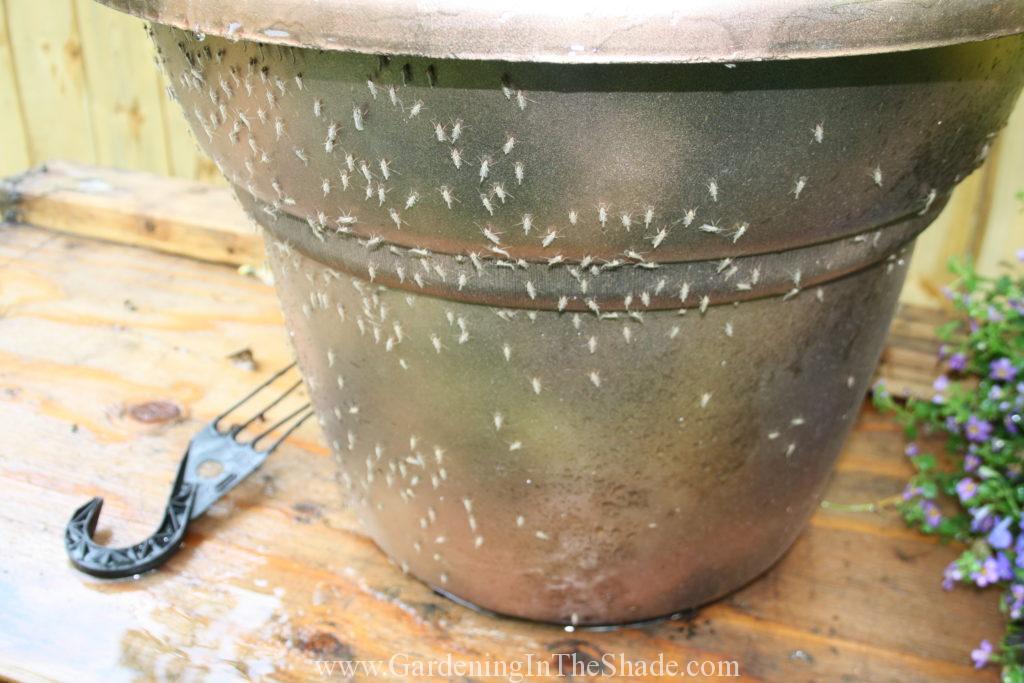
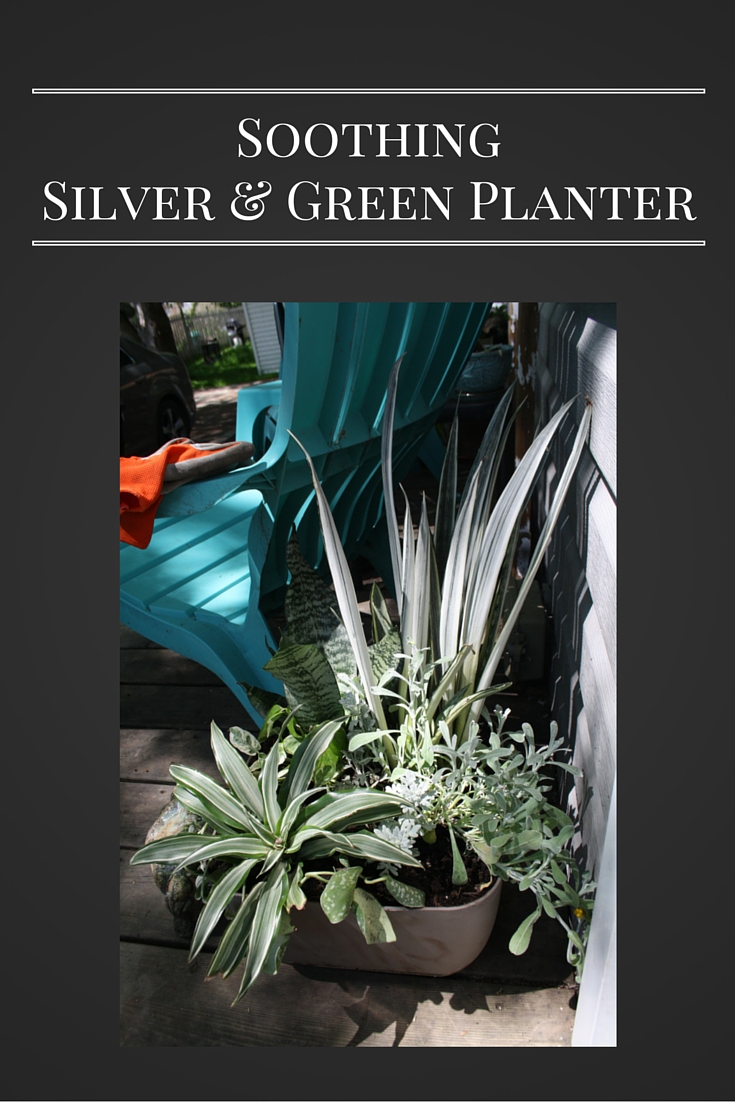
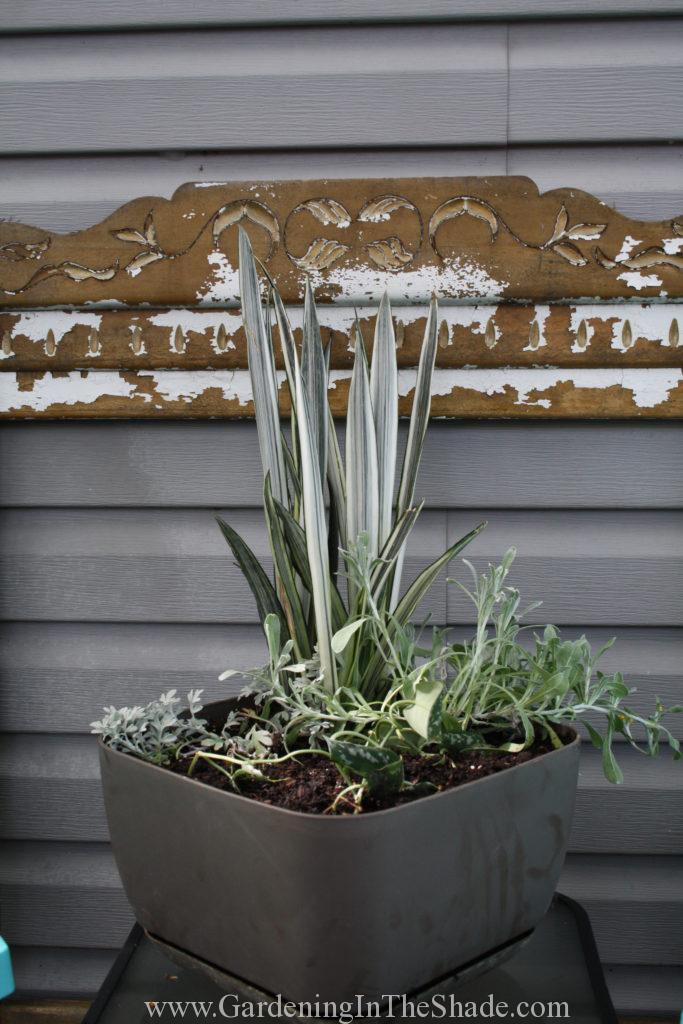
The planter I used is a shabby old plastic planter I spray painted black last summer. After a winter under the deck, it was looking shabby again so I spray painted it in a deliberately blotchy pattern with brass and copper colored spray paint. The metallic paints give the planter a nice gleam in it’s super shady spot. It looks even nicer now that those stupid little flies are gone again.

If you enjoyed this post, don’t forget to share it with your friends! For more just like it follow me on Pinterest, Facebook and Twitter or sign up for regular updates by email.

If you have ever thought about starting a garden or craft blog of your own see how easy it is >>here<<.

Save

Soothing Silver Green Planter

Soothing Silver Green Planter

I broke every rule when I planted this soothing silver and green planter so I’m hoping it doesn’t wind up teaching me a lesson. The first broken rule is of course – I’ve mixed full sun plants in with shade plants. What really worries me though is that I completely forgot to think about the water needs of each plant.

Silver Green Planter – The Inspiration

White and Green Snake Plant

It all started with a gorgeous white and green snake plant I spotted at one of my local garden centers. I absolutely had to have it. I knew snake plants do well in low light, but I didn’t realize at the time how susceptible they are to over watering.

Artemesia Silver Brocade

Then I added an Artemisia Silver Brocade, a full-sun perennial with pretty silver green, almost white foliage.

PW Flambe Chrysocephalum

And just because I’ve never had one and I feel it is a sorely underappreciated plant, I threw in a PW Flambé chrysocephalum, an annual calling for…? You guessed it – full-sun. It’s also susceptible to crown & stem rot when grown in cool, damp conditions, say like a jam-packed planter? But it does have that silver green foliage along with the unusual bright yellow flowers.

incomplete silver and green planter

I added a silver and green variegated pothos slip to the mix and then threw it all into this square pot. Aside from the woeful lack of research I put into my plant choices, something else was missing. So I headed off to a local greenhouse that grows and sells tropical plants, and promptly purchased a bunch of 4″ plants I didn’t need, along with the ones I used to finish this planter.

Silver and Green Plants

Silver Green Planter – The Plants:

A & B are both snake plants. The taller, vertically striped white and green one that started it all, and a second shorter one (to the right in the top photo above with silver and green horizontal variegation. If I manage to not drown the poor things over the summer, both will do well over-wintering indoors.

C is a Dracaena. Another tropical/houseplant that does well in my house. Shown to the left in the top photo above. It’s basically just a fancier relative of the spike that appears in just about every geranium planter ever seen.

D is the Artemisia Silver Brocade, a full-sun perennial, and E is the Flambé, a full-sun annual.

F & G are both varieties of pothos. F is a white (not cream or yellow) variety called Glacier while G is a silver and green variety sometimes called Satin Pothos.

Silver Green Planter – The Planting Diagram

Silver and Green Planting Diagram

At the moment it’s a pretty planter, but it will be interesting to see how it does over the summer and what is still alive in the fall. I think the biggest concern will be making sure I don’t over-water this planter.

If you enjoyed this post, don’t forget to share it with your friends! For more just like it follow me on Pinterest, Facebook and Twitter or sign up for regular updates by email.

If you have ever thought about starting a garden or craft blog of your own see how easy it is >>here<<.

Save

Plant Your Own Dramatic Patio Planter!

Dramatic Patio Planter Post Cover

It’s time to raise your trowel and solemnly pledge that you will plant at least one exciting or dramatic patio planter this year. Petunias are pretty, Geraniums are showy, but aren’t you just a teensy bit tired of having the same old same old in your outdoor living space?

I know I am! I’m especially tired of  those spikes that are in every damn thing, so this is what I planted in the four 20″ planters on my deck instead.


Plant Your Own Dramatic Patio Planter!

Dramatic Patio Planter Plants

The Plants:

Fern after splitting

A) Kimberley Queen or Australian Sword Fern

I purchased one large Kimberley Queen fern and divided it into four plants, one for each planter, for some green. Ferns do well in shady spots outdoors, like the shade of the large maple tree that keeps my deck comfortable for the summer.

Peace Lily
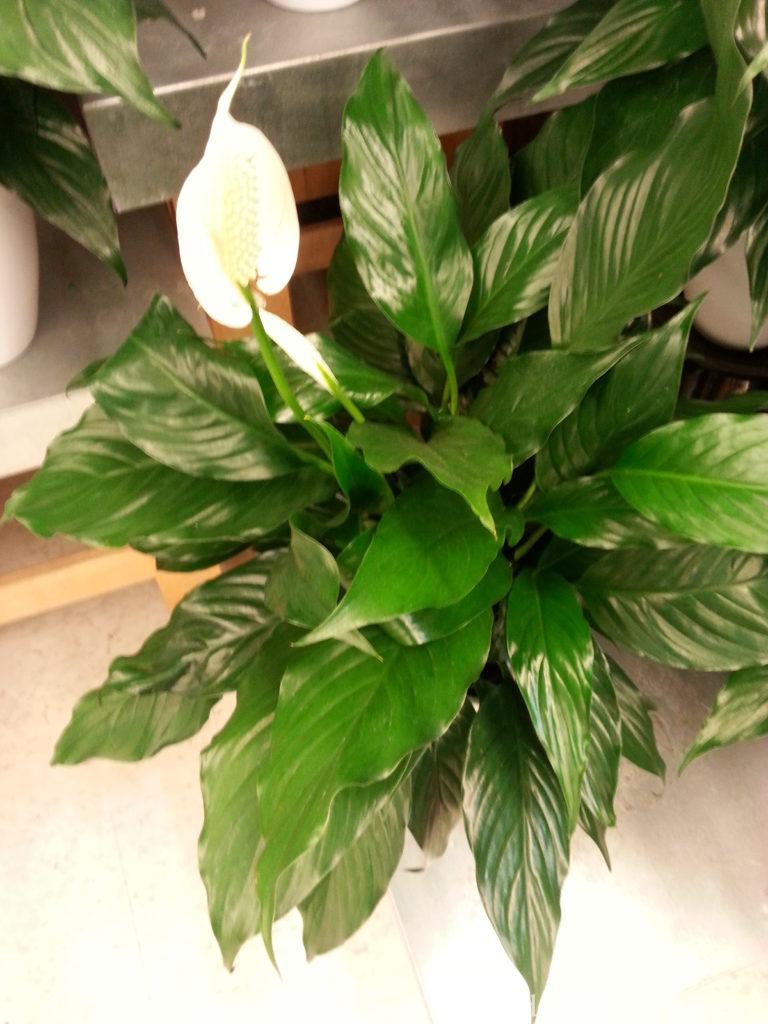
Or you could use a Peace Lily

Anthurrium

Or an Anthurium


2016-05-15 12.22.21

B) Rubber Tree or Rubber Fig

Another Tropical house plant, I love the way the dark shiny leaves look in my planters. My only concern is it may grow too slowly to keep up with the rest of the plants over the summer, but let’s face it nothing grows very fast in the shade.

Elephant Ears

Or you could use one of these black and silver elephant ears


2016-05-15 12.22.27

C) Silver Spike Helychrysum

Sold as an annual for full sun, this is another gamble, at best my deck could be a part-sun area. Since it’s grown for foliage instead of flowers, I’m hoping it will prove me right this summer and behave itself. Or I could end up with a leggy mess.

You could also use Artemesia Silver Mound or a Calocephalus Silver Bush. These are still all full-sun plants, but I’m already stretching planter boundaries anyway. Live dangerously!

My inspiration for this planter actually came from a landscape planting I saw of Calocephalus Silver Tumbleweed paired with a black Ajuga. It was striking but Ajuga in the landscape is living too dangerously for me.


2016-05-21 15.33.30

D) Non Stop Mocca White Begonia

Hang around for a bit and you’ll find out Non Stop Begonias are one of my favorite plants and that I usually avoid white flowers. The brown marks on spent flowers are so much more visible on white. But – I received 3 of these as samples so free plants – obviously.

Or you could use any dark-leaved begonia in a color of your choice. A begonia matched with an Anthurium of the same color would look sweet!


2016-05-15 12.23.08

E) Polka Dot Plant

I wish I could use almost any other plant than polka dot plant here, but I haven’t found anything else with that much clear white in the foliage. If you’ve got a suggestion for an alternate plant be a pal and share in the comments.


2016-05-15 12.23.00


F) Tradescantia (Wandering Jew)

Another tropical house plant, tradescantia makes a really nice spiller in planters. I especially like this silver and green variety. You can bet I’ll over-winter some cuttings from these so they’re handy for next year.


The Planting Diagram:

Dramatic Patio Planter Planting Guide

Looking for more planter ideas? Check out the links below:

Happy Gardening!

If you enjoyed this post, don’t forget to share it with your friends! For more just like it follow me on Pinterest, Facebook and Twitter or sign up for regular updates by email.


Save