
I could really care less that my lawn is full of dandelions and creeping charlie, so I’ve never used herbicides to keep my lawn looking lush and green. But (cue up the booing and hissing) Roundup has its place in my tool shed.

Recently I’ve learned that taking the time to bring in loads of compost every year and amend the soil makes weeding easier. I’ve also learned that by sticking to plants that grow well where they live they help choke out weeds and that a few minutes of weeding every day, especially early in the season, can have a huge impact by letting the plants get ahead of the weeds. But there are still situations where I’m going to use an herbicide.
Preparing New Garden Beds
Laying down layers of newspaper or cardboard before planting a new bed probably does help, as does landscape fabric. Neither will completely eliminate weeds from coming up through your planting holes. Also all of those options can make it a royal PITA to add plants or even just to move what you’ve already got around. We tried the newspaper method a few years ago and then I spent hours trying to keep bindweed out of my daylilies. That garden ended up getting mowed down with the lawnmower.

Now when I need to prepare a new bed I spray the area about a week to 10 days earlier, then top dress with compost and plant. Weeding is not my vocation and it’s a bitch to get any weeds out of clay soil. By giving myself a fresh start, all I have to do is stay on top of things.
Rescuing Overgrown Gardens

This disaster was last year’s project. At the time all I had on hand was some very old Killex. It didn’t do the job and even a year later I’m regretting that I didn’t make the effort to go and get some Roundup before I started and here’s why.

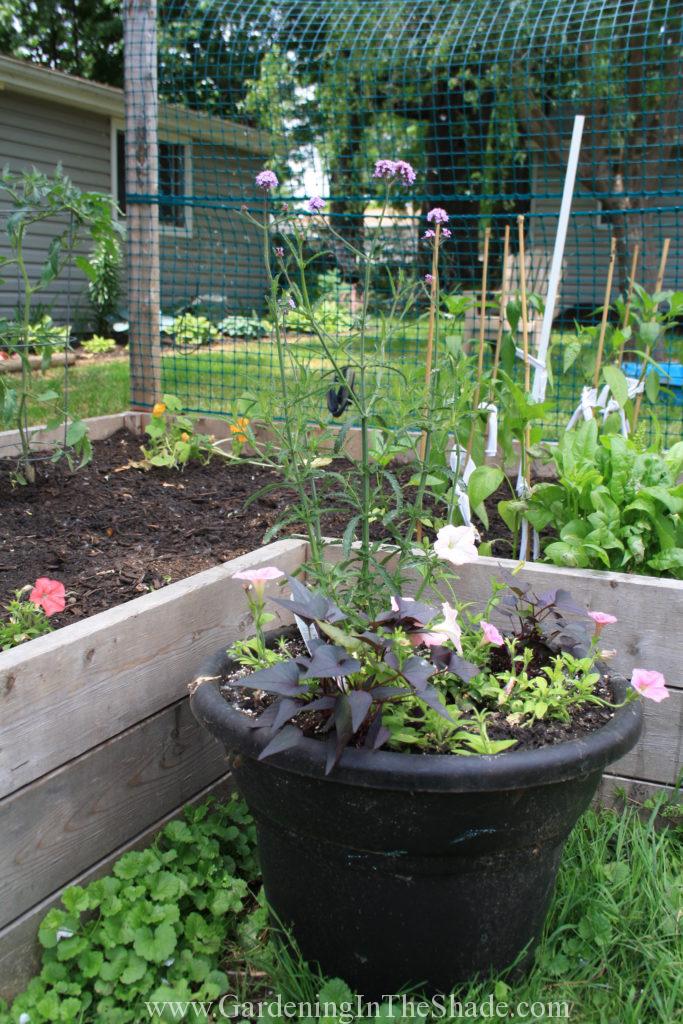
This is that same bed right after we planted it.

Here it is again in September of the same year. See all those dull green heart-shaped leaves? That’s Chameleon weed. Usually it has red, cream and green variegated leaves, but mine has reverted to green. You can’t dig it up because every single piece of root left behind will make a new plant and more roots. There wasn’t a trace of it before we planted this bed, but those roots kept on going.

So this spring when it was showing itself before the perennials, I started spraying it.

I will probably be spraying it all summer and maybe next year too. Chameleon weed is just that much of a bitch. At this point, I don’t care if I have to go around with a jar of Roundup and apply it to every Chameleon weed leaf I see with a q-tip weekly, I want it eradicated.
Seriously – never ever plant chameleon weed.
Foundations and Fences

Up close to the house, it’s very hard to maneuver to dig up weeds and get all the root. Worse my house is an old winterized cottage, which means it’s not really a true foundation. Instead it’s a ‘rat wall’, block they added after building the house, which means a lot of weeds are actually growing under the house and sending out runners for the outdoors every spring. Lily of the Valley will grow in a dark crawl space and I’m betting that chameleon weed can too. Now I purposely have a clear strip between the foundation and my desirable plants to make it easier to spray along the ‘foundation’.

Fences make good neighbors, but even the best neighbors don’t always keep up with their side of the fence line, especially if they have a hedge on their side of the fence. For years all of my neighbors were either too elderly to keep up with their yards or too transient (there are a lot of rental properties in my area) to care that much. Spraying the fence line just once a year, or at the most twice, helps keep their weeds from becoming my problem.
Ill-Conceived ‘Ground Cover’ Plantings
When ‘ground covers’ became a hot new gardening trend I drank the Kool Aid. Ground covers, they told us, could eliminate weeds by choking them out and free us from our lawn mowers. Thankfully I didn’t replant my entire yard in English Ivy and Vinca Vine, but I did plant a dark and dank shady corner of it that was difficult to mow. The problem was, they never did choke out the weeds and that area just became even harder to look after.
English Ivy will grow up the side of a building – like my garden shed – and adhere to it so strongly it can pull the siding off when you remove it. Vinca Vine has wiry stems that practically cut into your fingers when you try to pull it. All of it becomes this mass of plant with roots everywhere. Suffocating it by covering it with a tarp (or an old area rug – true story) will get rid of most of it, but not all of it. Rather than see the entire corner taken over again, I used Roundup to take care of the scragglers that were left.
I regret nothing.


 When I saw that folding screen I instantly visualized the look as fencing and worked up a rough plan based on 2 foot increments – one side of the bed is 24′ long, the other 26. Sketching up my own plans was probably my first mistake.


