Heuchera Black Pearl

Heuchera Black Pearl

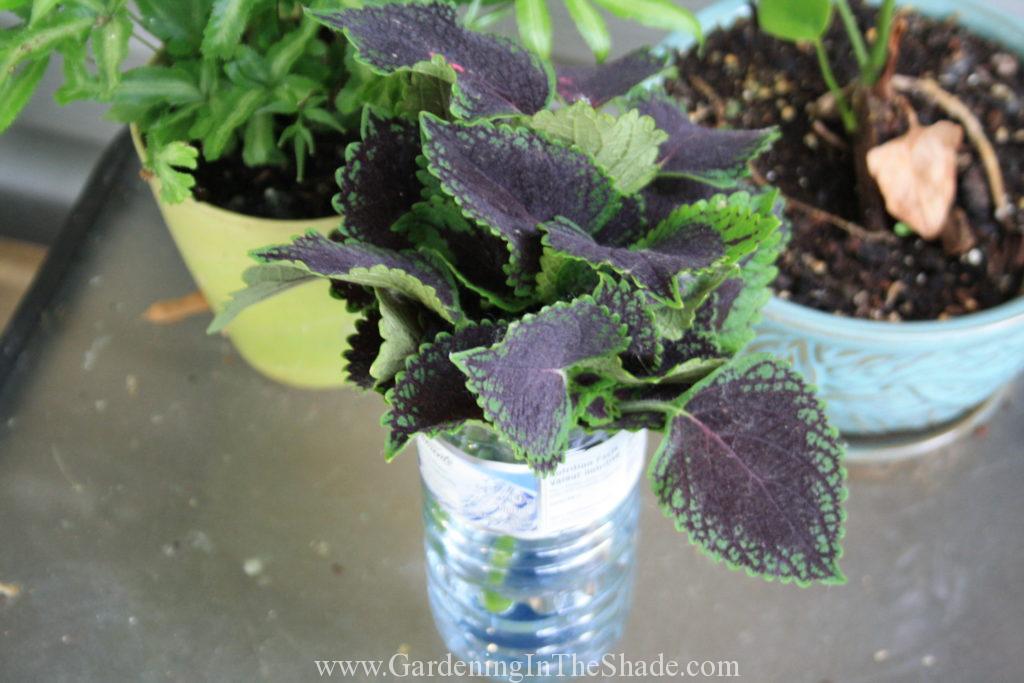
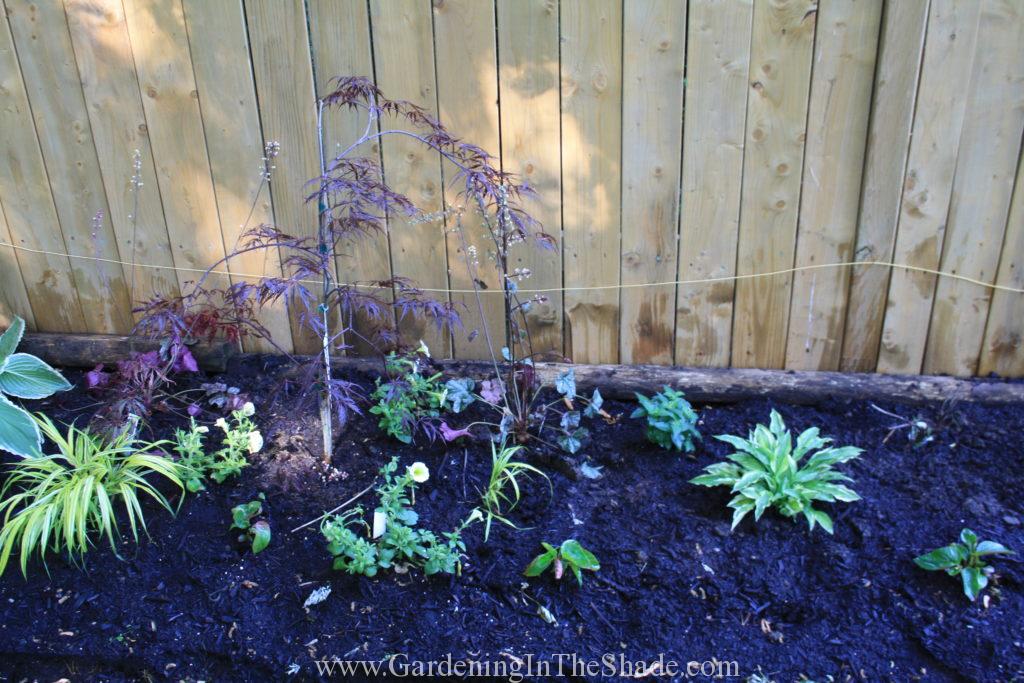
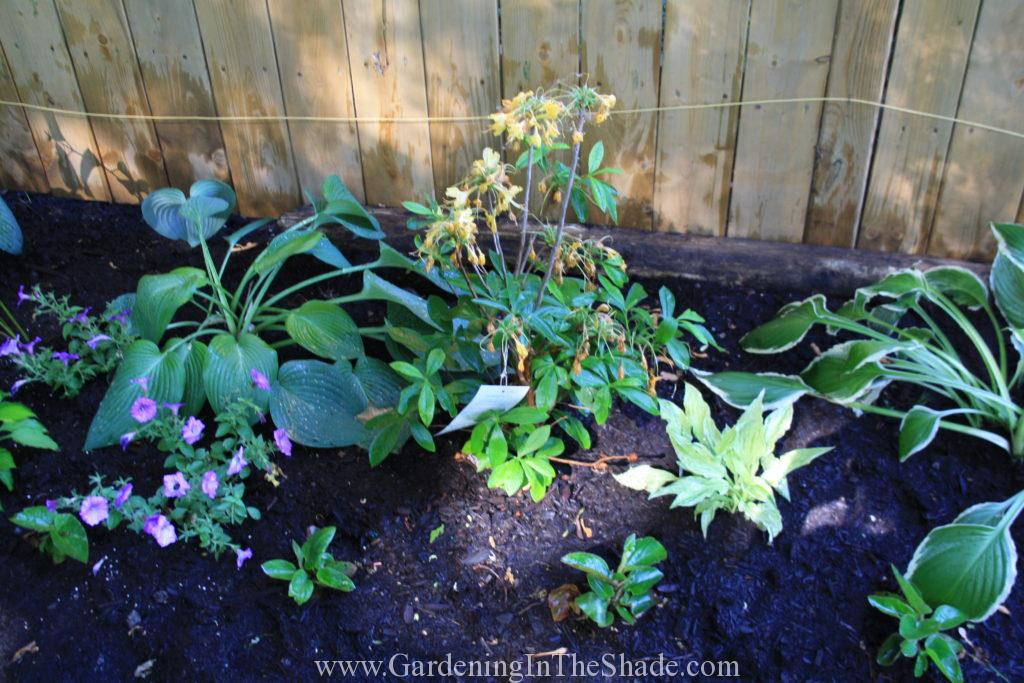
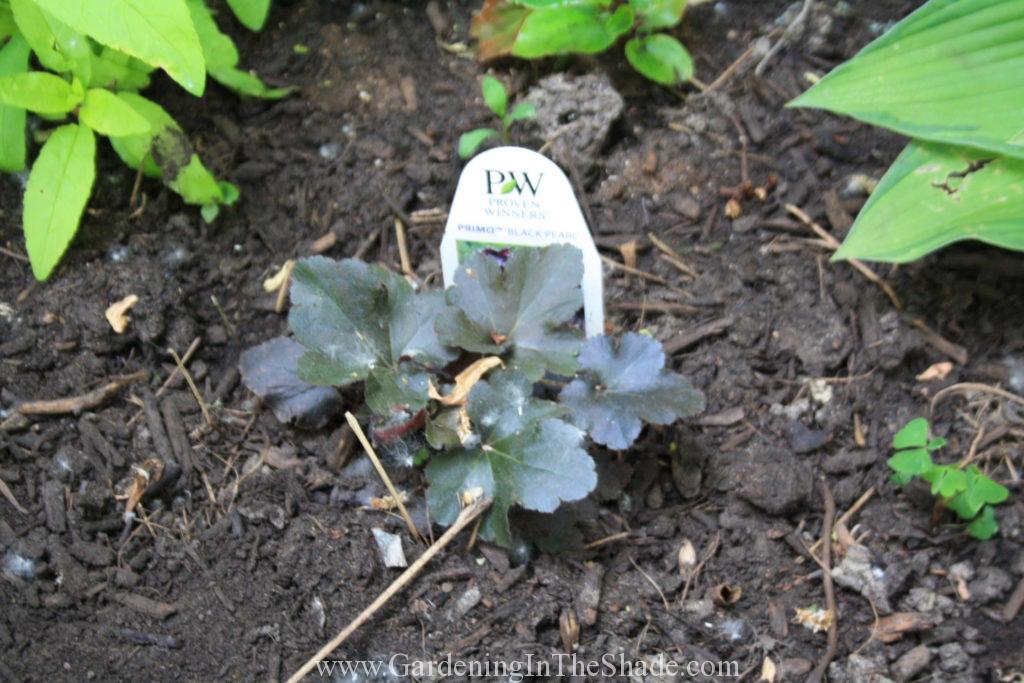
I’m not sure how I feel about this new Heuchera in my garden. It’s a Proven Winners variety called Black Pearl. Black Pearl has black leaves (who would have guessed that?) with purple undersides. Flowering is later in the season, around midsummer, and it flowers white with a pink calyx.

I have it in a fully shaded spot which seems to cause the topside of the leaves to show as more olive than black. What is troubling me though is what to plant around it to make the black foliage pop.
Heuchera Black Pearl (2)

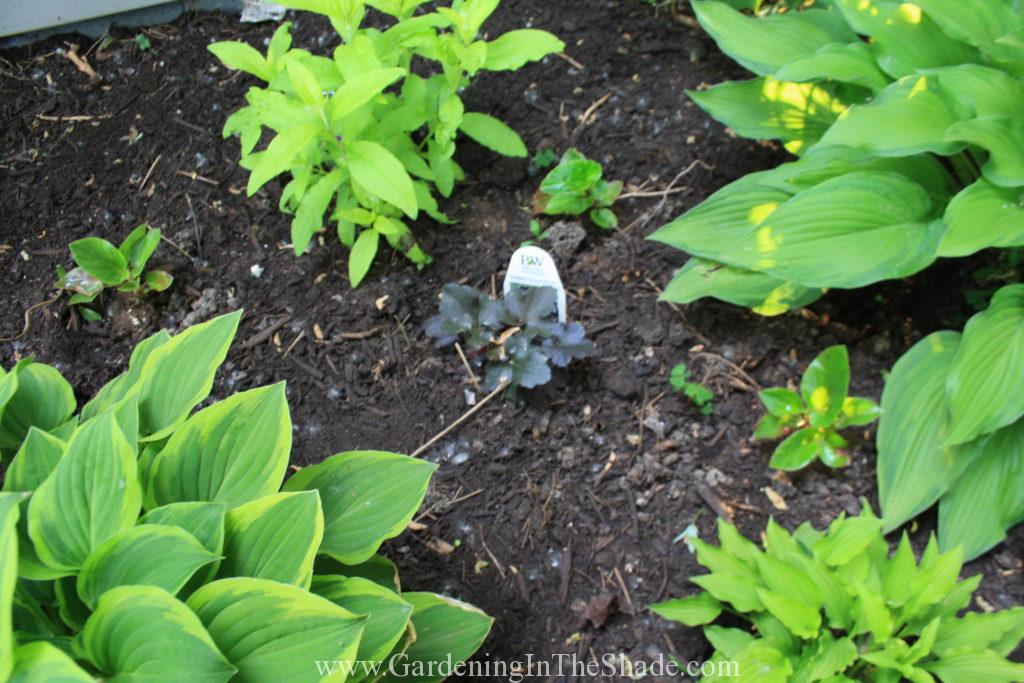
I’ve kept my beds top dressed with compost instead of mulch, so the soil is black. Which makes the dark foliage of Black Pearl fade into the ground. I feel black foliage should offer dramatic contrast against its surroundings and I’m struggling with companion plants that will make that happen.

Heuchera Black Pearl has better heat and sun tolerance than other dark-leaved varieties. It does well in the landscape but I think the color of Black Pearl would be easier to display in a container. It’s a shorter Heuchera, only reaching 8-10″, so it would be hard to plant in front of it. Tomorrow I’m going to try moving it to improve its visibility in the garden.

I have two Brunnera Jack Frost that I could plant it in front of, or I could try a grouping of three Heuchera, and plant Black Pearl with Silver Scrolls  Purple Petticoats. Silver Scrolls has a very complimentary but lighter leaf color, and Purple Petticoats would accent the purple undersides of the leaves nicely. Both are slightly taller at 12″ so Black Pearl would be a bit shorter and possibly work well in front of them.

It’s tricky to decide how it will all look when none of the plants involved are mature plants. At maturity the leaves of Black Pearl will have ruffled edges so perhaps next year the purple undersides of the leaves will be more noticeable and differentiate it from the background of dirt.

If you enjoyed this post, don’t forget to share it with your friends! For more just like it follow me on Pinterest, Facebook and Twitter or sign up for regular updates by email.

If you have ever thought about starting a garden or craft blog of your own see how easy it is >>here<<.

Save

Save

Save

Save

Save

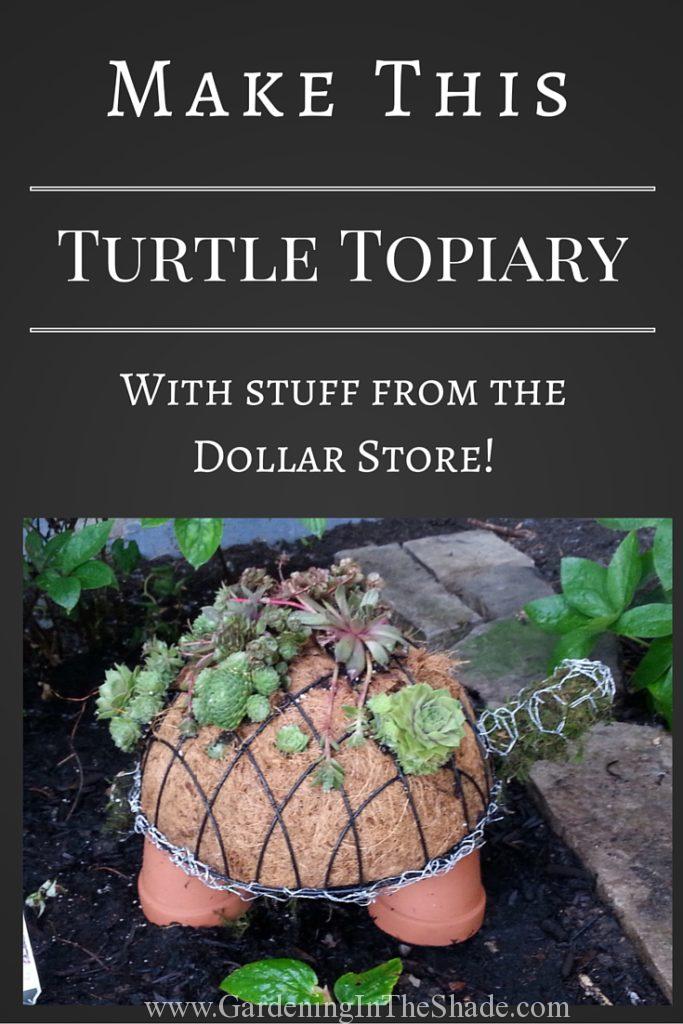
How to Make A Succulent Turtle Topiary

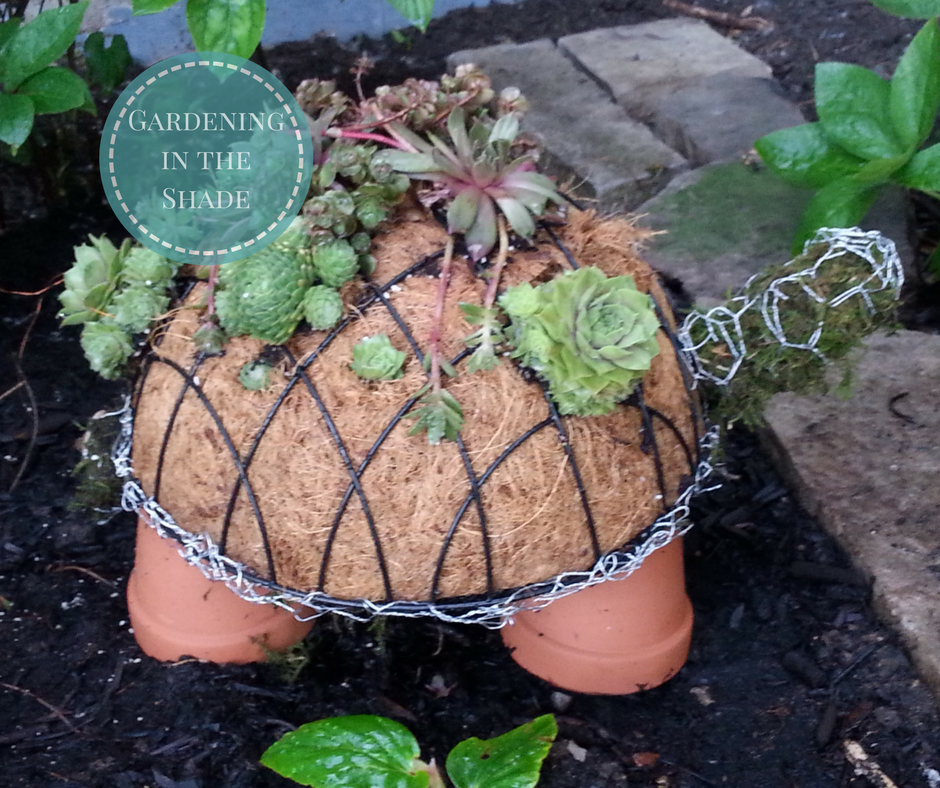
Succulent Turtle Topiary

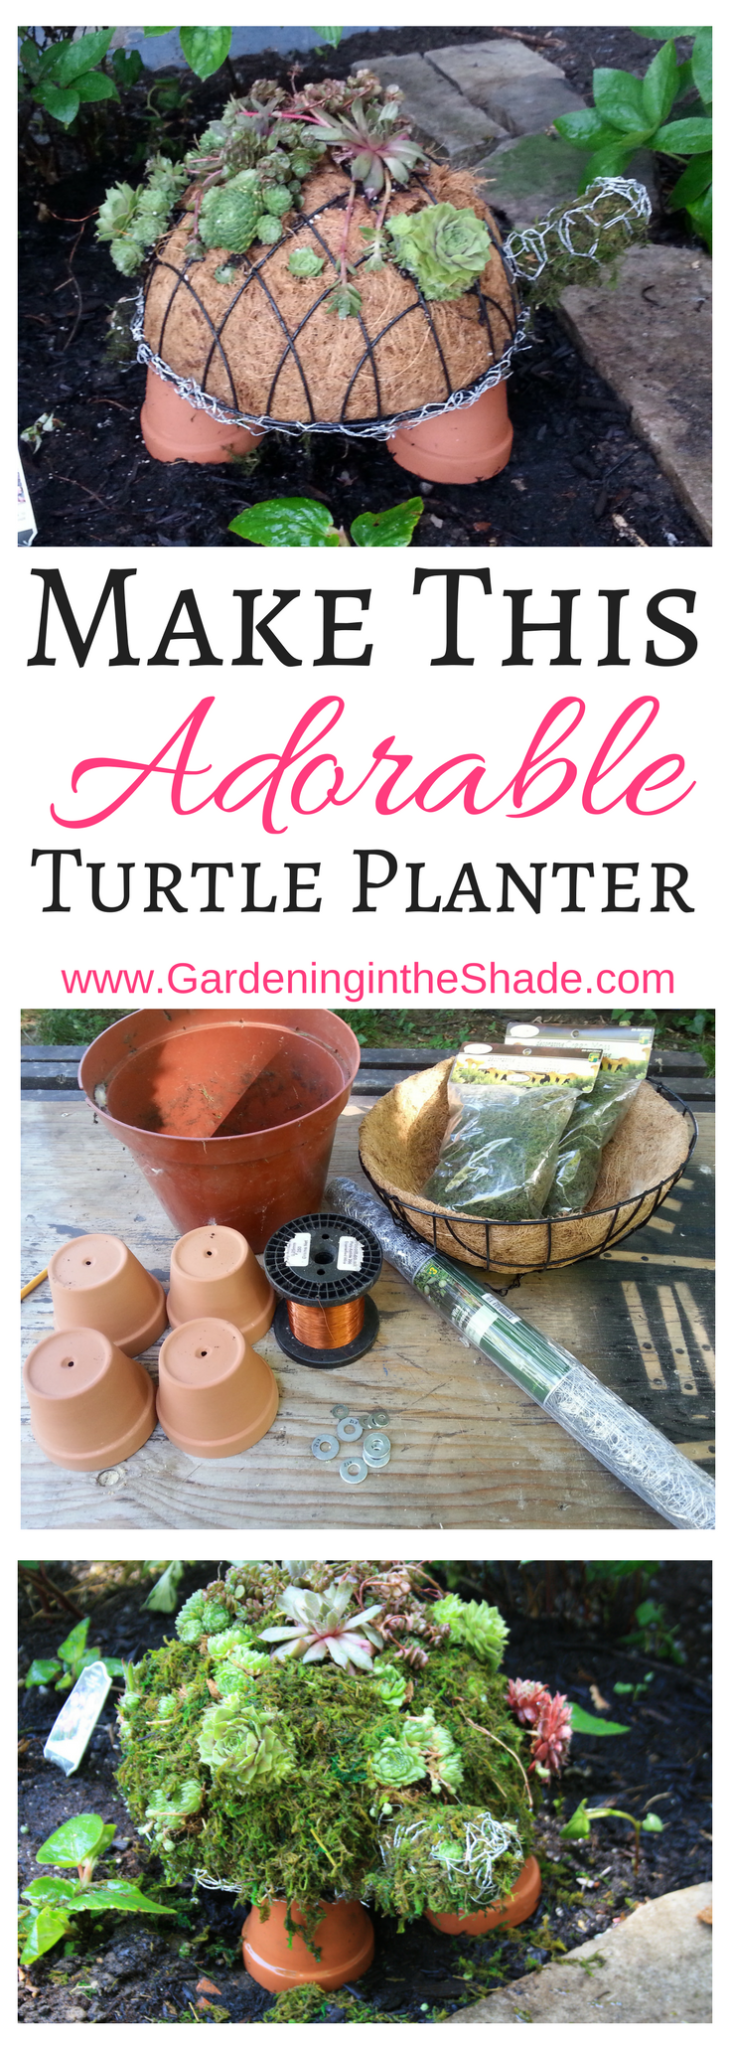
Scrolling through Pinterest, I happened to see a pin featuring a topiary – it was a super cute Succulent Turtle! Unfortunately it was a dead-end pin, but it was so adorable that I felt like my garden really needed a turtle. So I figured out how to make one.

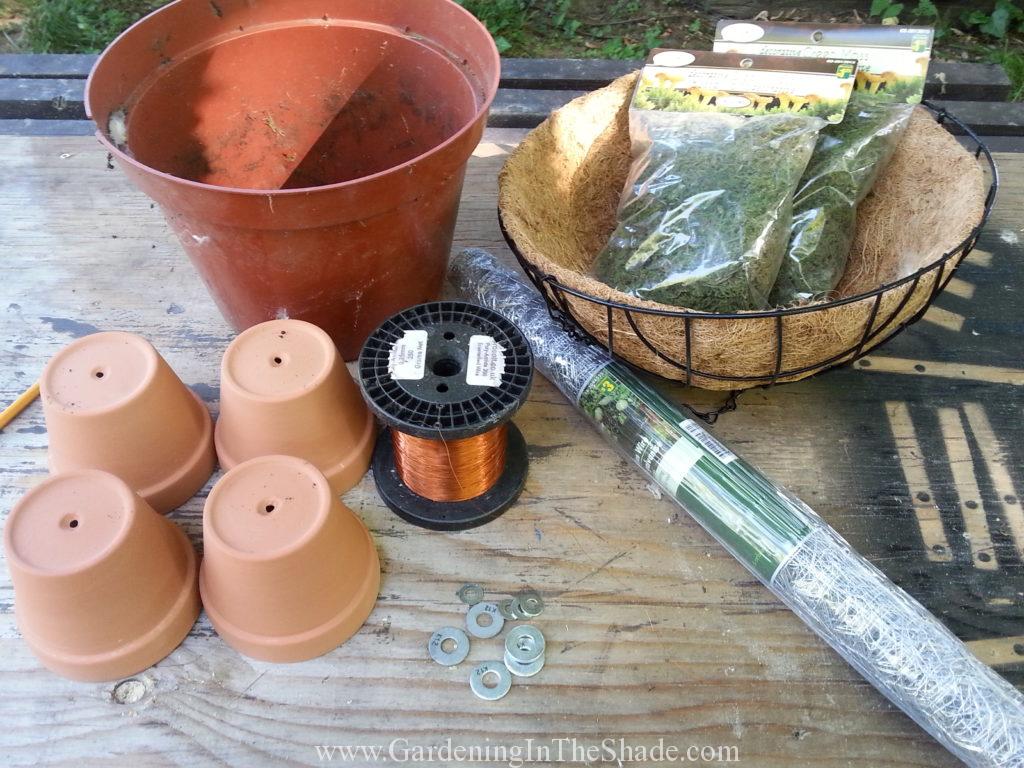
What I used to make my Succulent Turtle

Materials to Make A Topiary Turtle

Materials:

Most items are available at the dollar store during the gardening season or you can purchase them from Amazon. Please note, these are affiliate links.

  • 12″ wire hanging basket with coco liner
  • 4 – 4″ clay pots
  • Sphagnum moss
  • A small roll of chicken wire
  • Succulents. I used Sempervivum (Hens and Chicks) for my turtle.
  • Washers, wire and an old plastic pot (or a sheet of coir or landscape fabric big enough to cover the top of your wire basket)
  • Snips to cut the wire.
  • Hens & Chicks for winter hardy arrangements or assorted succulents if winter hardiness is not a concern for you. Here is a link for a blue & green assortment and another one for a green assortment. Within the US, these links will take you to live plants offered by Shop Succulents through Amazon. Outside of the US, you might get other sellers that I have not vetted. Within the US there is a company called Simply Succulents.  I highly recommend you check them out. They have some very cool topiary forms and plant collections.

Make the Topiary for a Succulent Turtle:


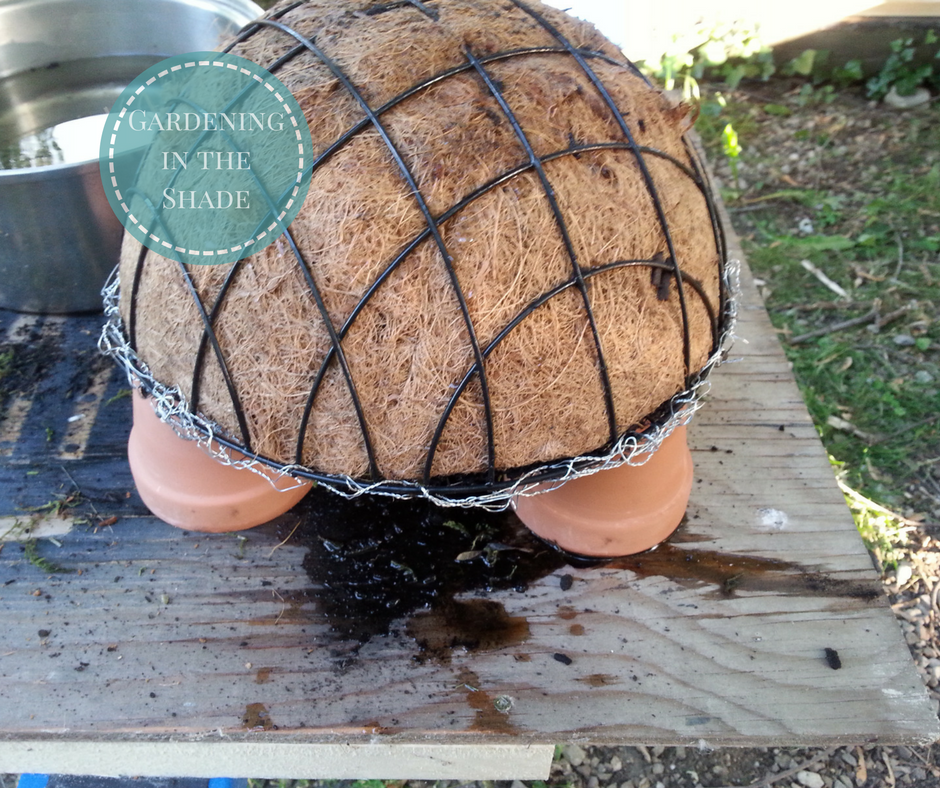
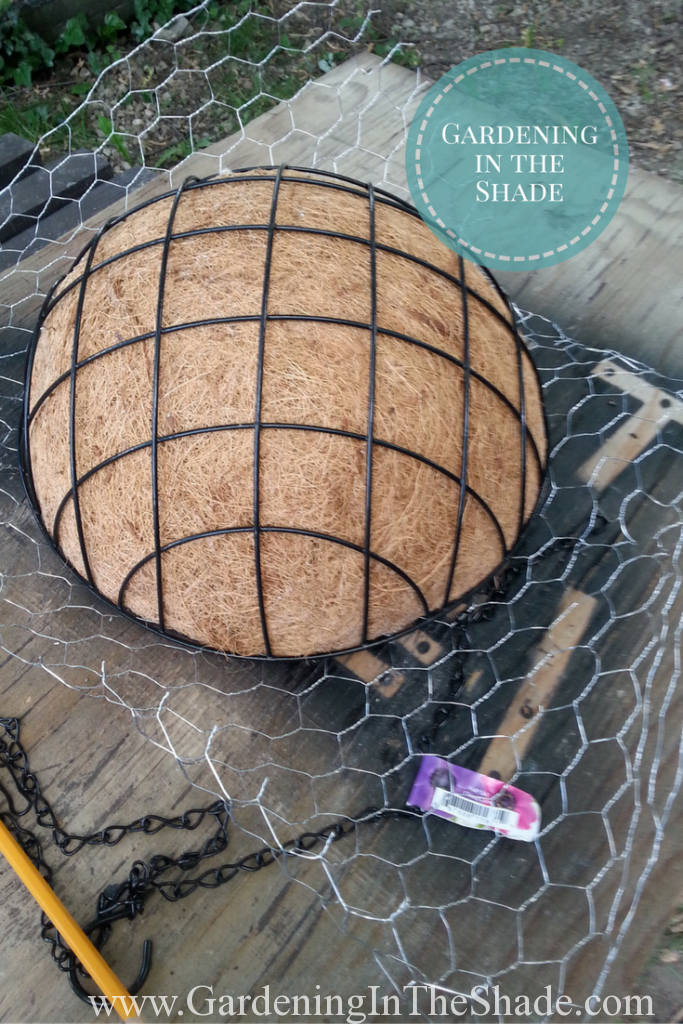
Measure a square of chicken wire slightly larger than the basket. Then fill the basket with soil and water and cover the belly with landscape fabric or coir to keep the soil in. Next you fold and attach your mesh to the rim of the basket, using florist wire to ‘sew’ it together.

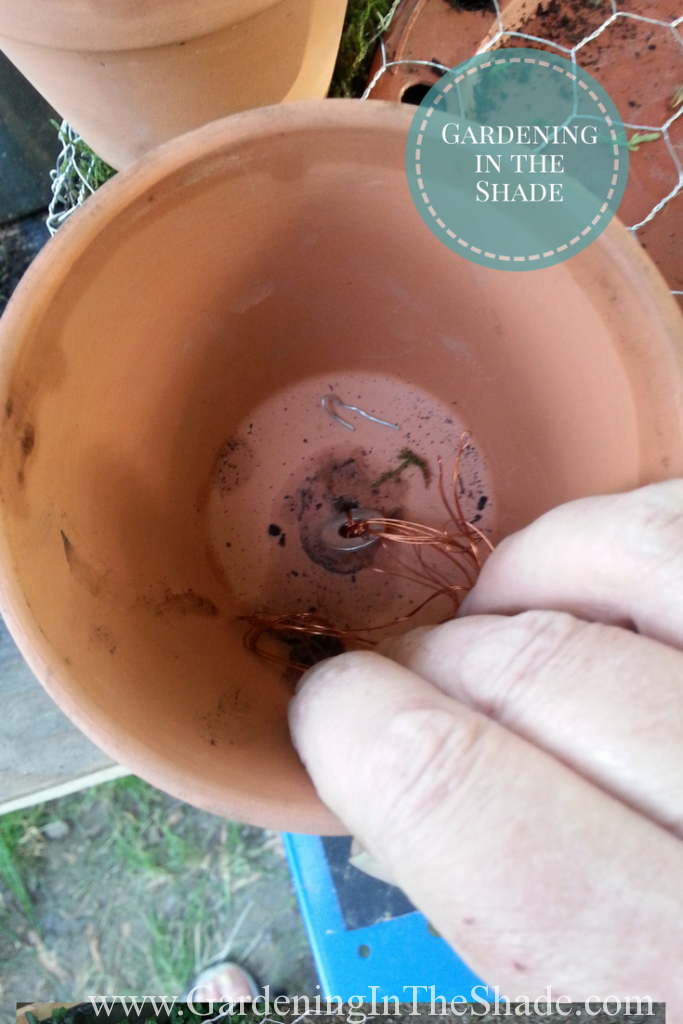
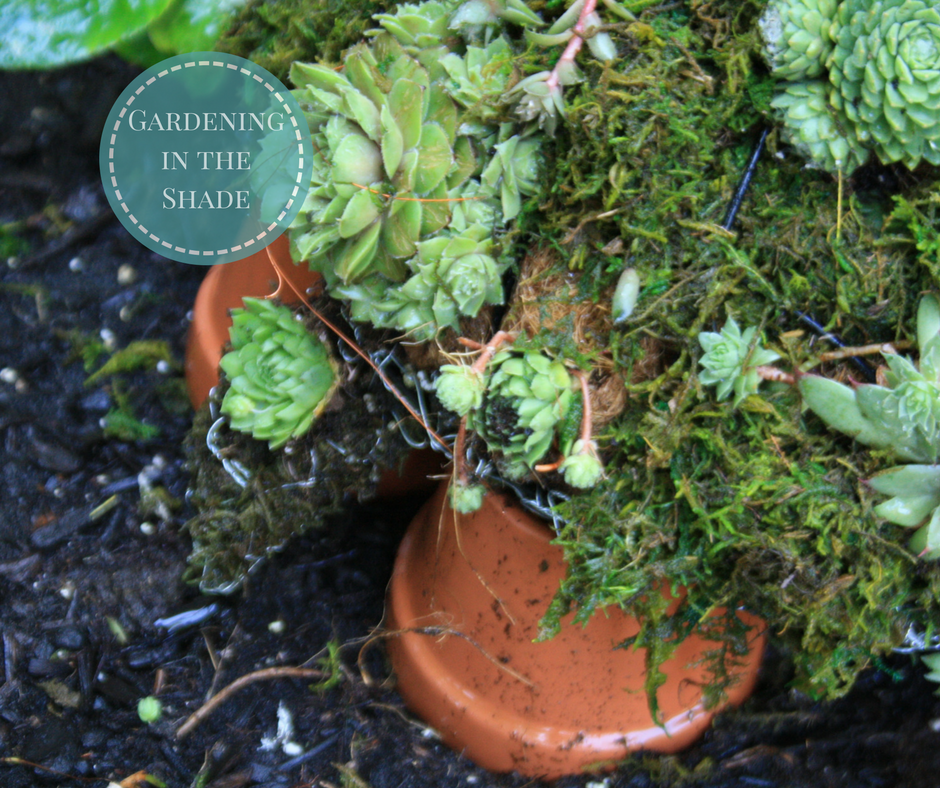
Use wire and a washer to attach each pot to the chicken wire belly. The ‘legs’ are not placed equally around the pot. Two are more together at the front and two at the back, just like they would be on a real turtle.

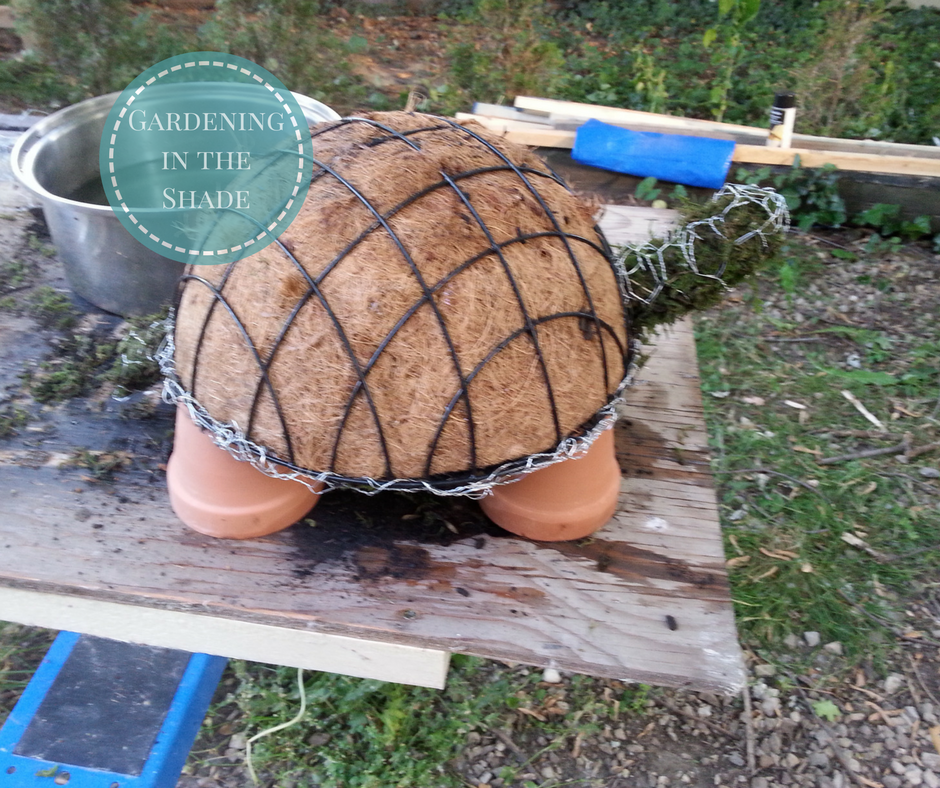
For the head I rolled a piece of chicken wire into a tube and shaped it into a turtle head. The tail is a flattened cone shape.

I stuffed them both with sphagnum moss before attaching them to the ‘shell’ with florist wire. The head at the front of the basket (looking up so he isn’t a moping turtle), and the tail to the underside.

Plant Your Succulent Turtle!

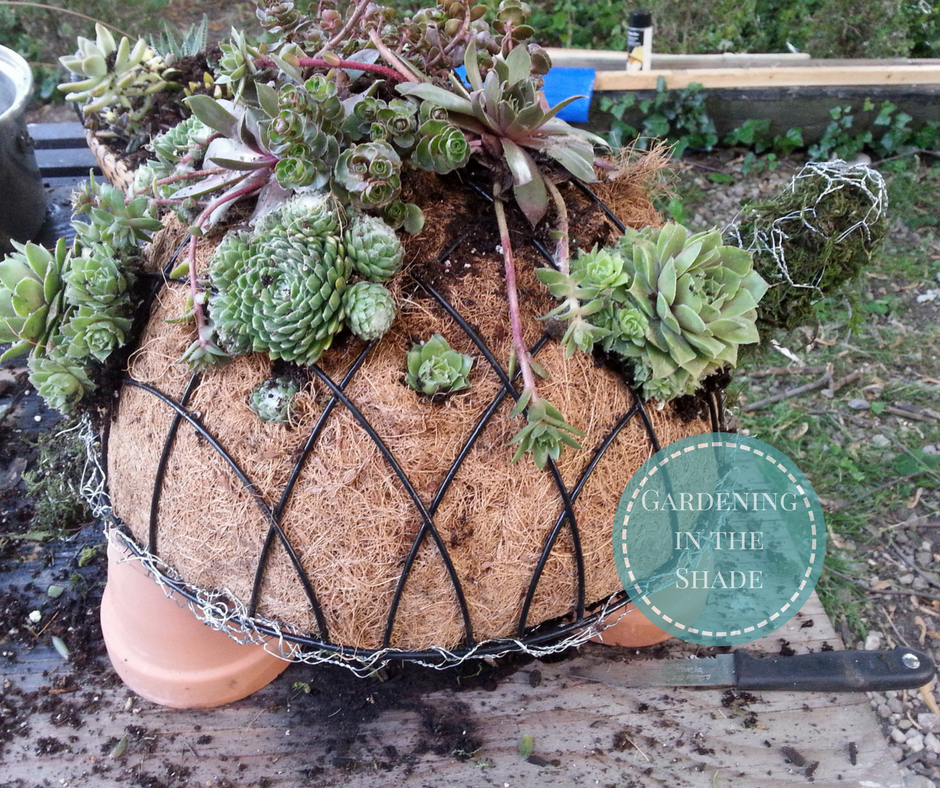
Then I slashed the coir (which sounds easier than it was) and stuffed the plants in.

You could paint the clay ‘legs’ or even glue sphagnum to them if you prefer, but I decided to leave mine natural.

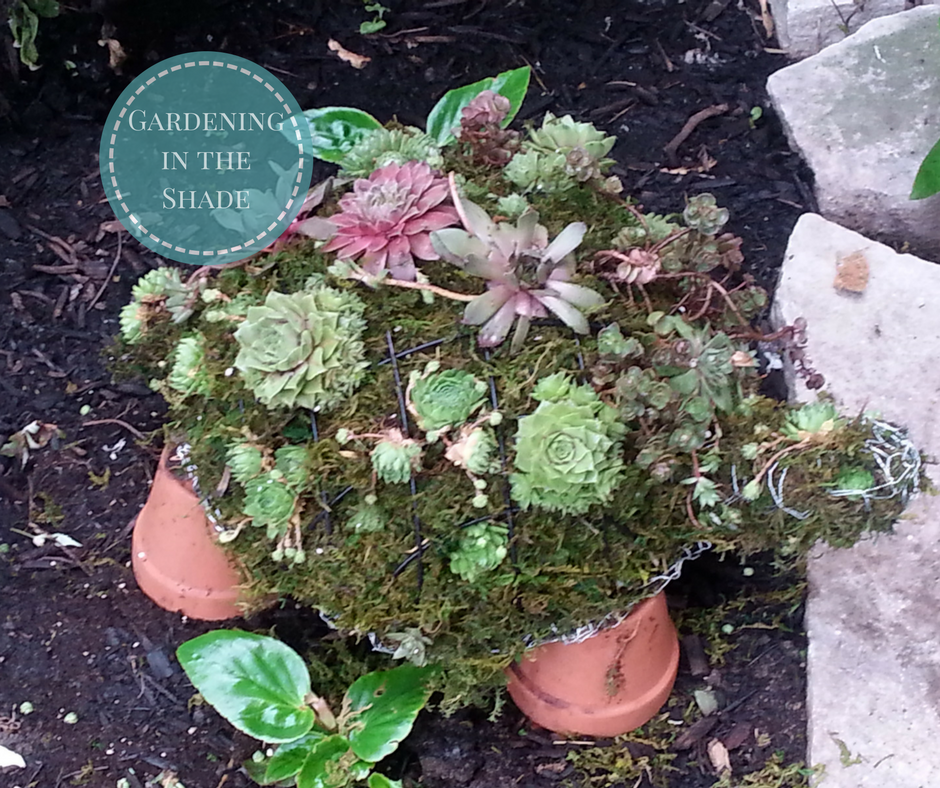
I’m kind of pleased with my succulent turtle, even if his ‘shell’ is still a little bare. By the end of July, the Dragon Wing Begonia will be all around him and he’s going to look so cute nestled in there.

If you prefer a more natural look, line the basket with sphagnum moss instead of the liner it came with.

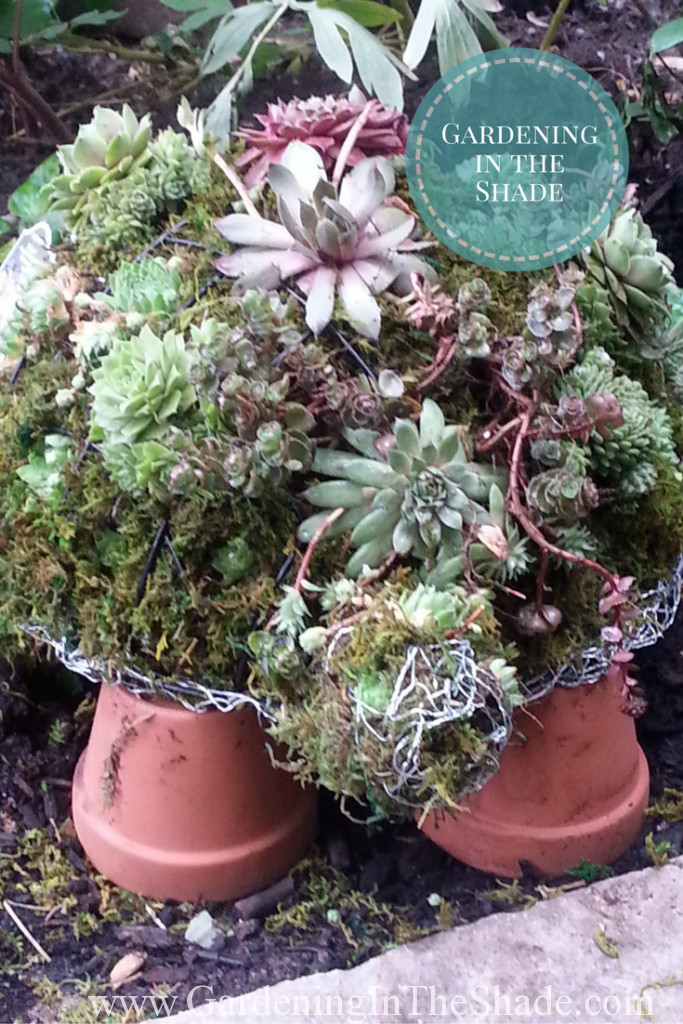
See how cute his little tail is?

I believe I shall name him Fred. I can hardly wait to see how Fred’s shell grows. He’ll be amazing.

More turtles? Check out my favorite one yet! It’s planted with Mini Hosta!

You might also enjoy my Tomato cage Mannequin or my Mini Turtle.

See how easy it is to make this turtle succulent planter for your garden!If you enjoyed this post, don’t forget to share it with your friends! For more just like it follow me on Pinterest and Facebook or sign up for regular updates by email.


Save

Save

Save

Save

Save

Save

Save

Save

Save

Save

Save

Save

Save

Save

Save

Save

Save

Save

Save

Save

Save

Save

Save

Save

Save

Save

Save

Save

Save

Save

Save

Save

Save

Save

Save

Save

Save

Save

Save

Save

Save

Save

Save

Save

Save

Save

Save

Fretwork Garden Fence

Fretwork Garden Fence

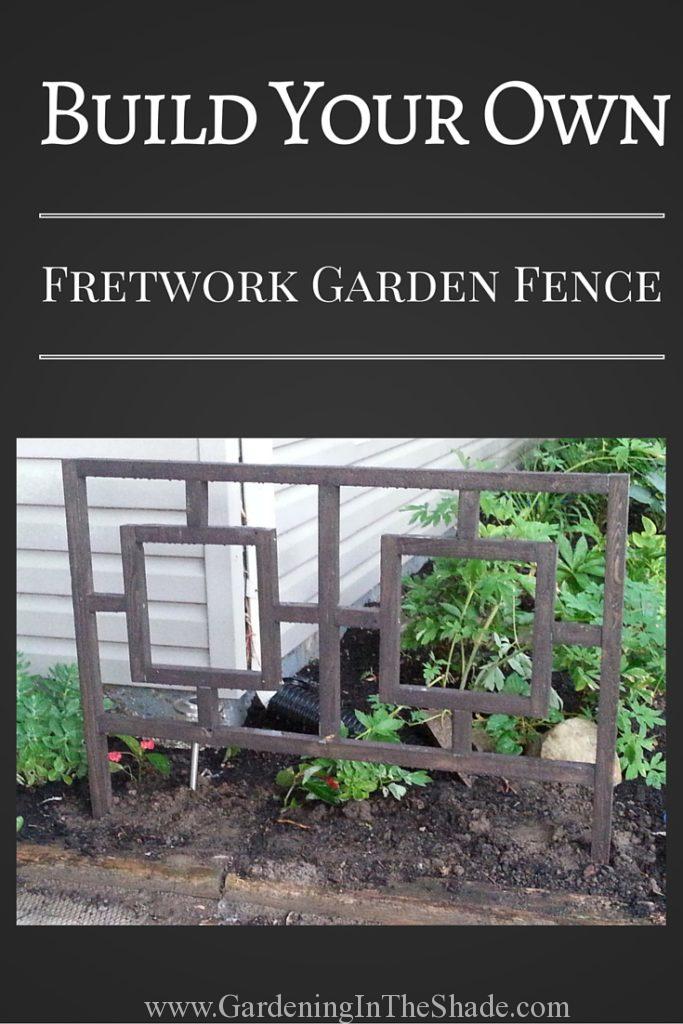
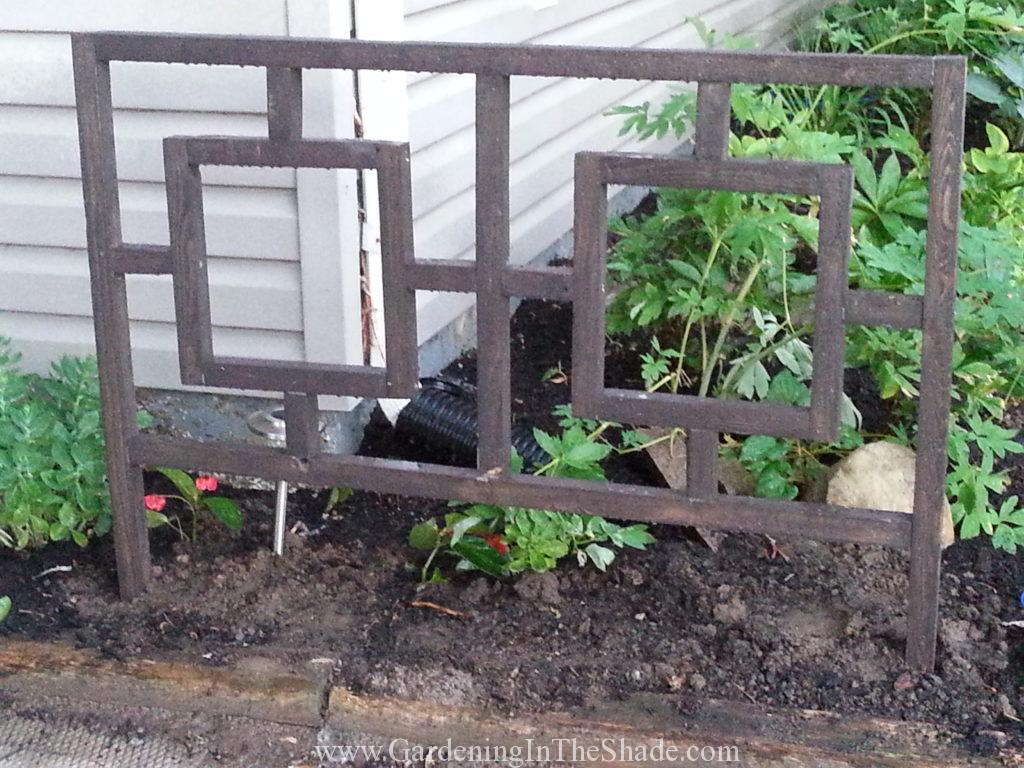
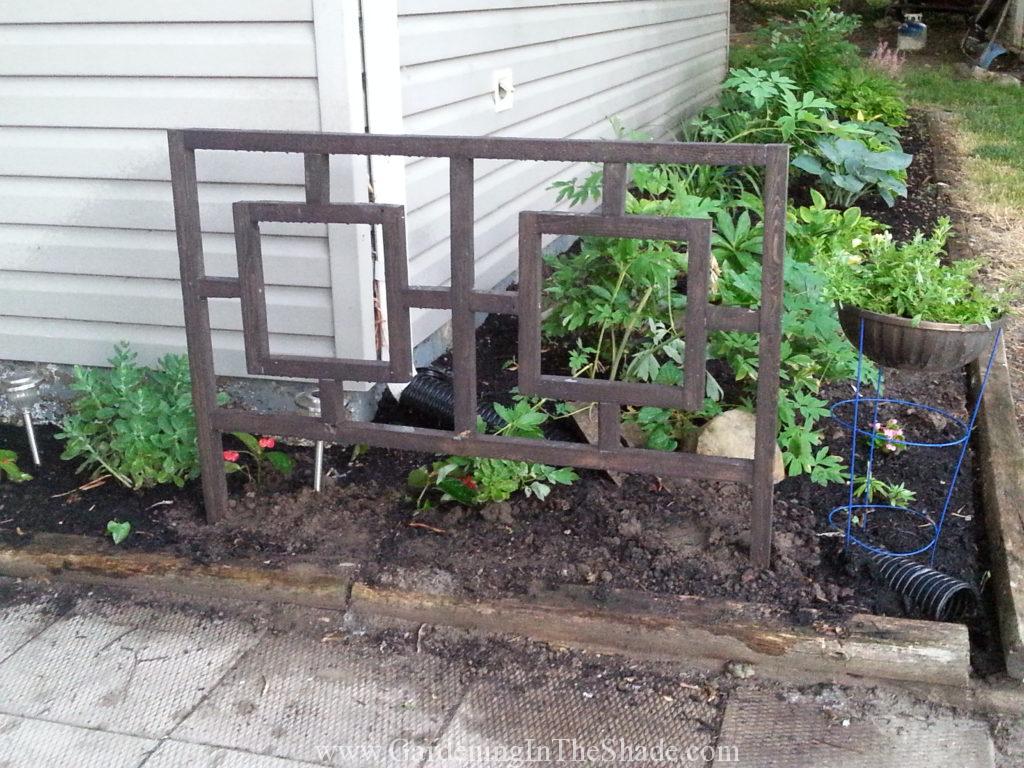
Perseverance really does pay off, and I am so happy with this little fretwork garden fence I built this weekend.

Fretwork Garden Fence Close

It was probably not the best project for this novice at DIY to start with, but I really am happy with how this second attempt at the idea turned out!

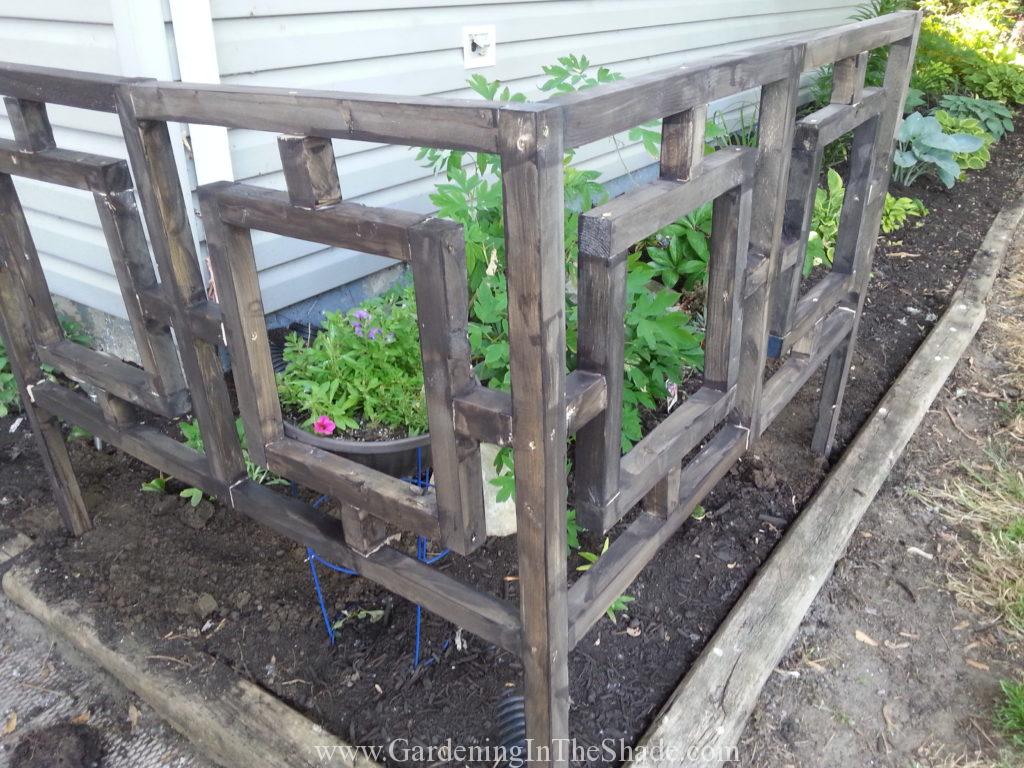
Fretwork Corner Garden Fence
My first attempt was a complete failure.

After last weekend’s complete failure at building a garden fence you would think I’d just give up, but I still couldn’t get the idea of making this fretwork garden fence out of my head.

I went back and read the instructions for the fretwork folding screen that inspired the idea, and they called for 2 1/2″ screws.

After pounding post in
I really should have read the instructions!

On last weeks failure I used 2″ screws, which might explain why nothing was holding together. So this weekend I figured since I still had a pile of 2 x 2’s leftover I would try it again – with the right screws and glue for good measure.

Fretwork Garden Fence
The dogs will be munching on my calibrachoa again.

I also made a few changes to the measurements. The fence is shorter and the center squares are just a bit smaller. In order to avoid having a post where my eaves trough drains, I am keeping it as two separate sections.

I convinced myself that I just needed to take my time and it would work. And it mostly did, but it took most of the weekend to complete one section and partly assemble another one. Granted most of that was the sanding, but this was still definitely not a quick project.

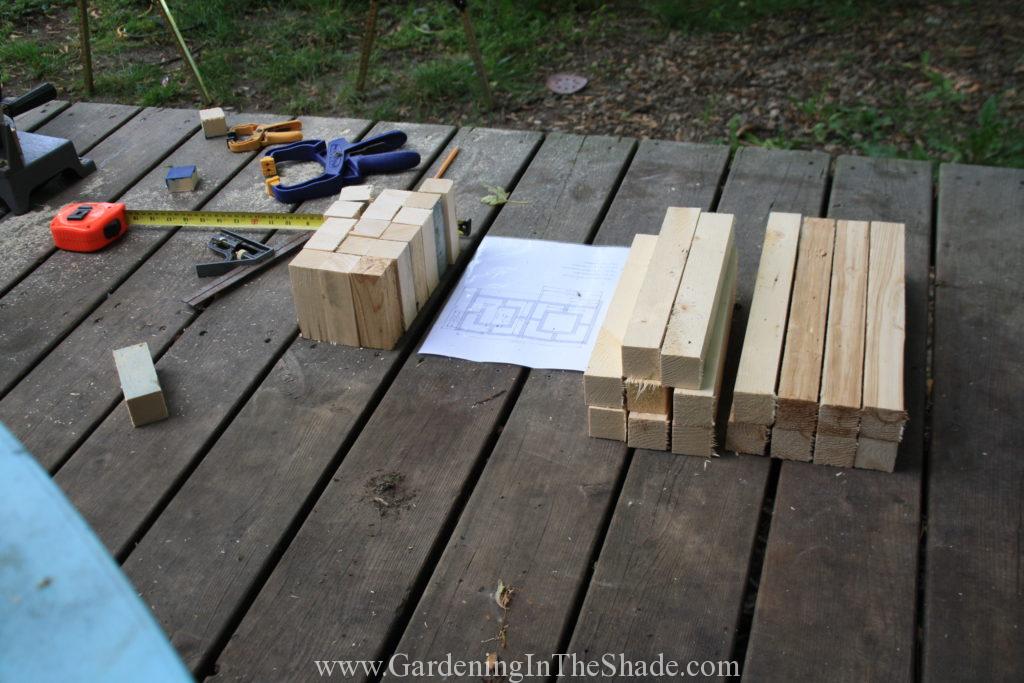
Lumber Cut
Halfway through cutting my pieces I finally figured out that if I cut each piece more slowly there were less splinters on each cut.

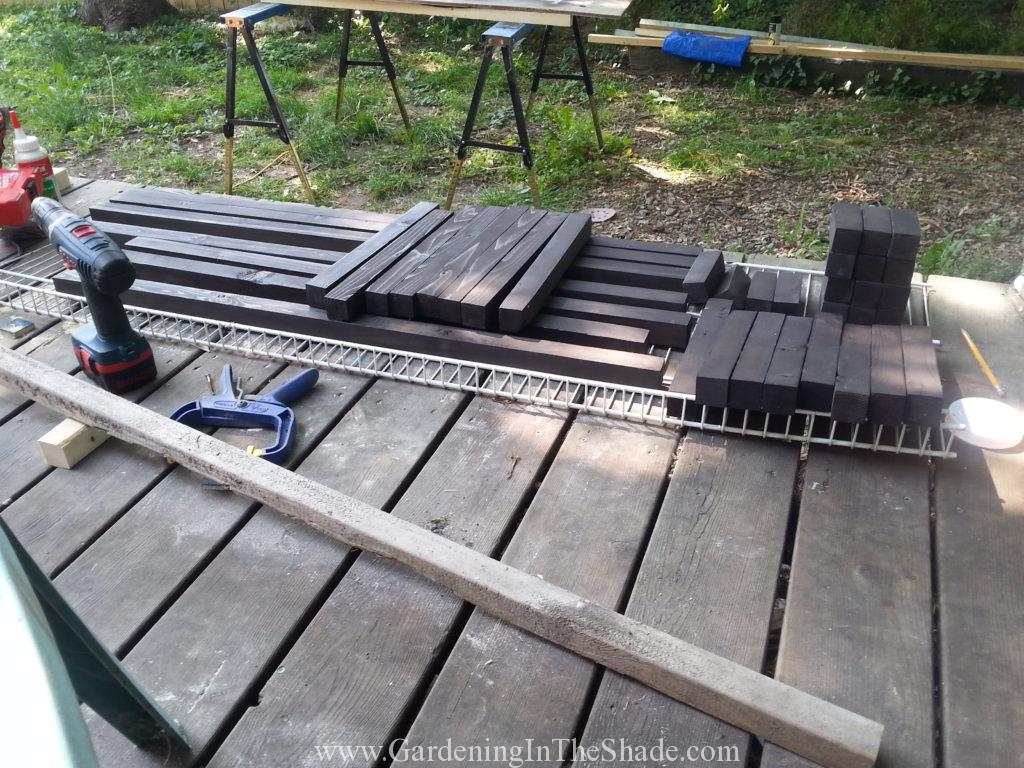
Friday night I cut my pieces and started sanding.

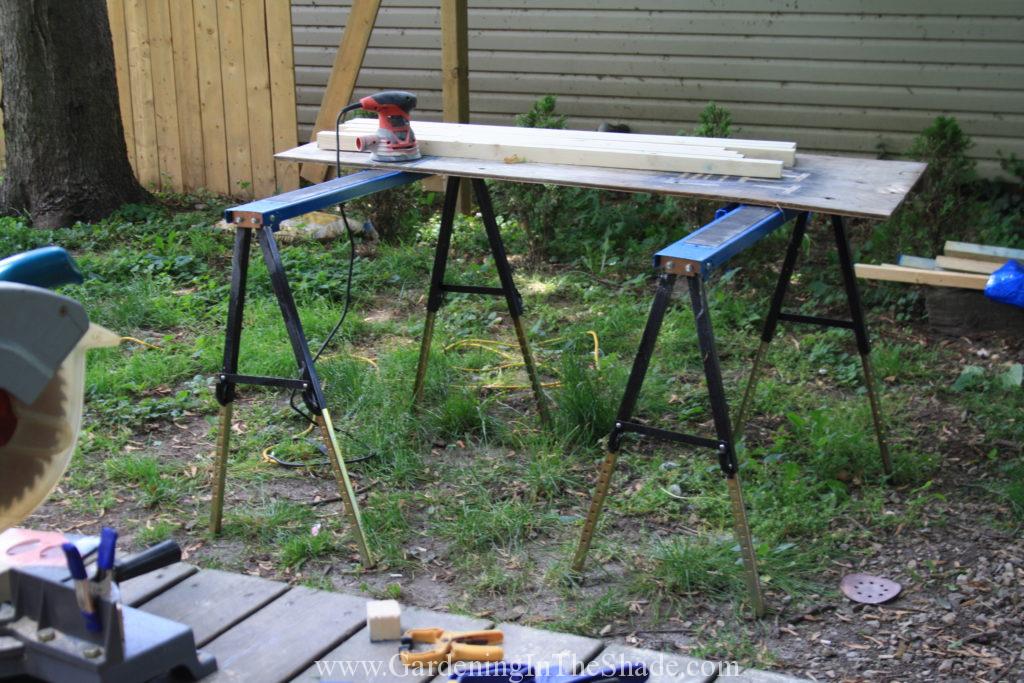
Sanding

And sanding and then sanding some more.

All Pieces Stained
Stain isn’t so different than paint – it really does need that second coat to look nice.

On Saturday I finished sanding every piece and then stained all the wood. After my first attempt at using stain last weekend, I am fully sold on staining wood before assembling it. I kind of want to stain my deck now too.

After seeing how pretty the stain looked, I was so excited to start putting everything together I hardly slept Saturday night. I just couldn’t wait for morning to get started.

Center Square Pieces

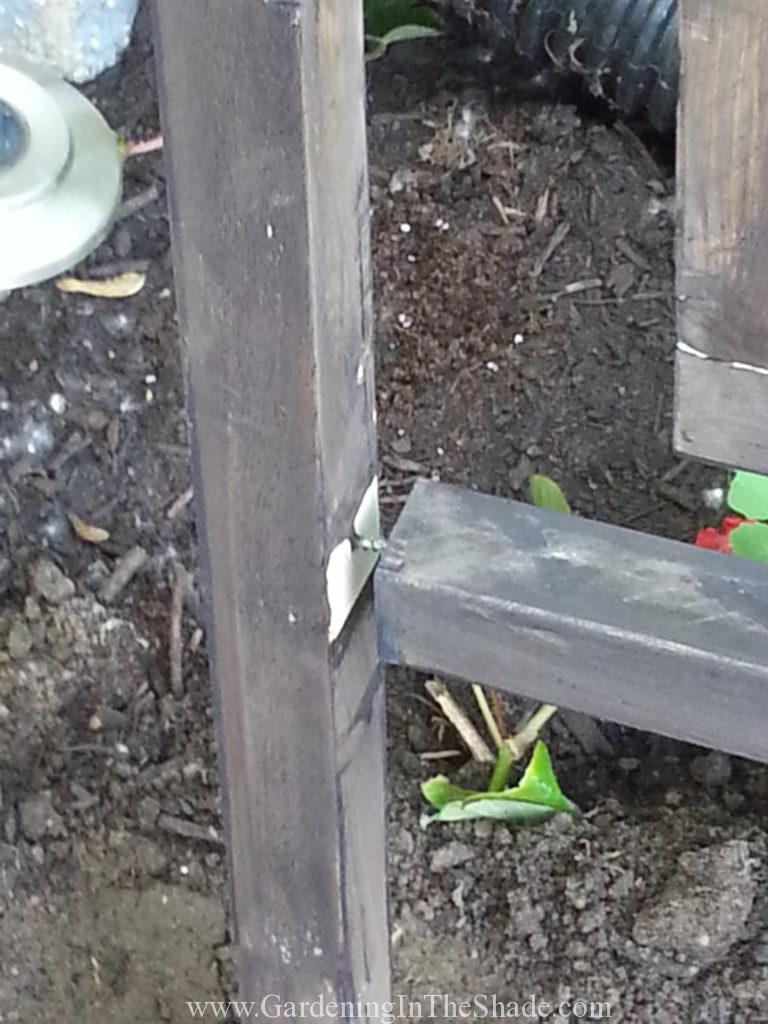
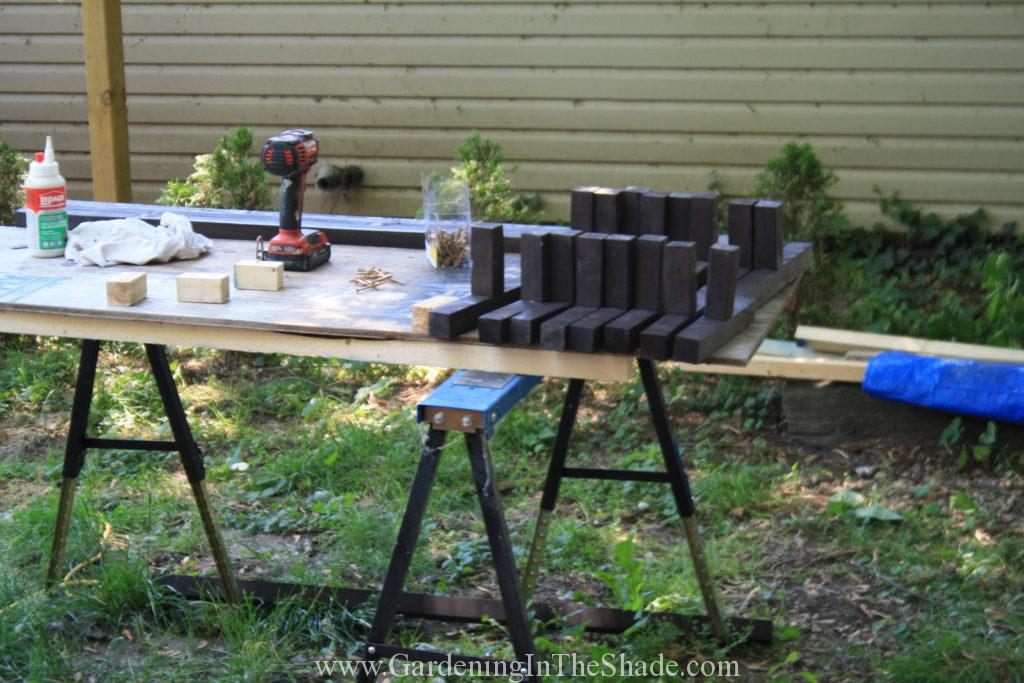
I attached all of my 4″ pieces first. I used some scrap pieces to brace against and keep everything uniform.

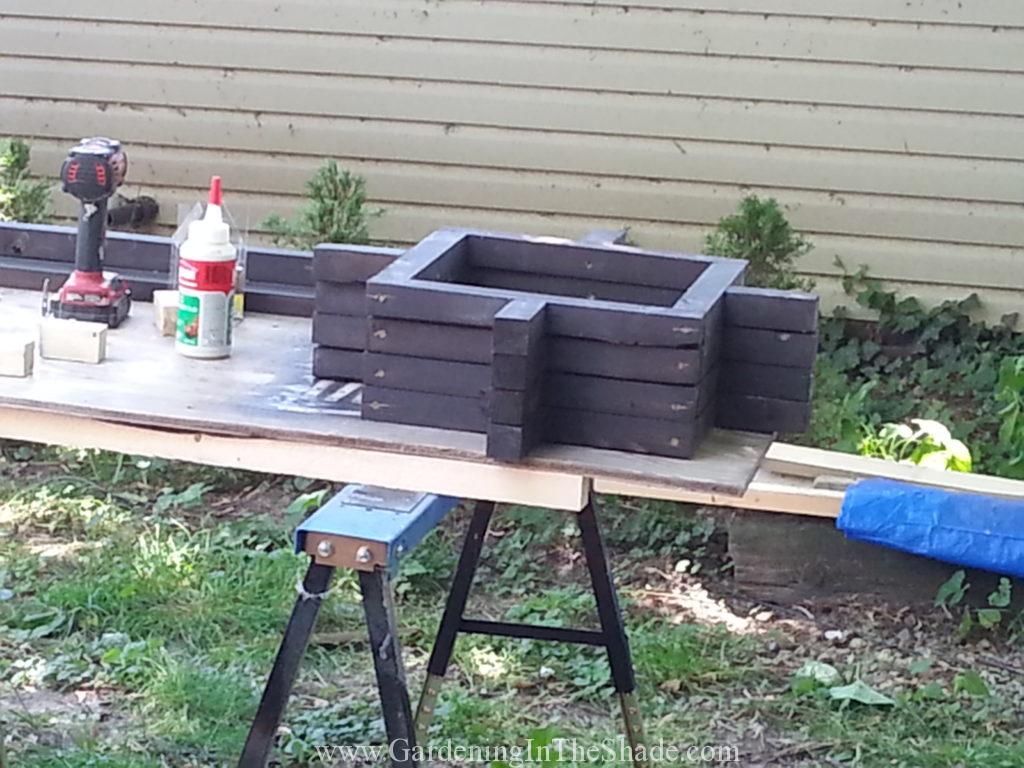
Center Squares assembled

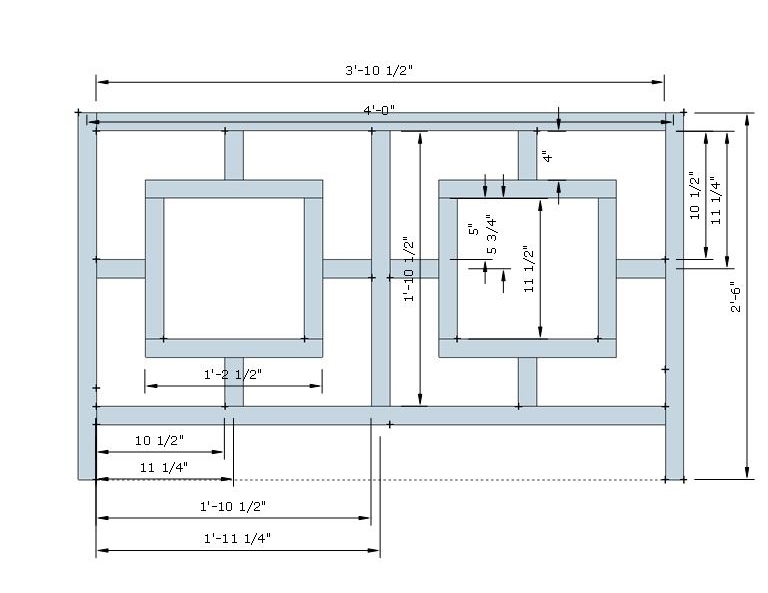
And then I assembled all the middle squares. Which is when the crap hit the fan. It seems someone (me) cut all the 4″ pieces at 4 1/8″, which across the width of the panel adds up to 1/2″. It was enough to really cause a problem, and problems on no sleep are not cool. If everything had been measured properly, or at least checked and fixed before starting to put it together, I probably would have finished both sections today. Maybe I’ll get the next one put together one night this week.

Tools Used:

  • Orbital Sander
  • Miter Saw
  • Impact Driver
  • Drill

Materials:

  • Glue
  • 2 1/2″ Screws (attach the two 4″ pieces to the center upright last – they are the only ones that have to be driven in at an angle)
  • 2 x 2 x 8″ lumber. I lost track of how many on this second attempt, I think it took 7 for two sections. I used spruce, but would look for something better if I were to do it again. Whatever I saved in cost, I wasted in time sanding.
Garden Fence Panel
Don’t forget to add whatever length will be in the ground to each end piece!

Fretwork Garden Fence

After spending two weekends on this idea it’s so nice to have something I’m happy with!

If you enjoyed this post, don’t forget to share it with your friends! For more just like it follow me on Pinterest, Facebook and Twitter or sign up for regular updates by email.

If you have ever thought about starting a garden or craft blog of your own see how easy it is >>here<<.
 

Save

Save

Save

Save

Save

Save

Save

Save

Save

Save

Save

Save

Planter Tweaks and Mr. Toad

All of my planters are filling in nicely, but that doesn’t stop me tweaking things here and there. Here are a couple of the planter tweaks I’ve made and an introduction to my new gardening buddy.

Shyly Hiding…

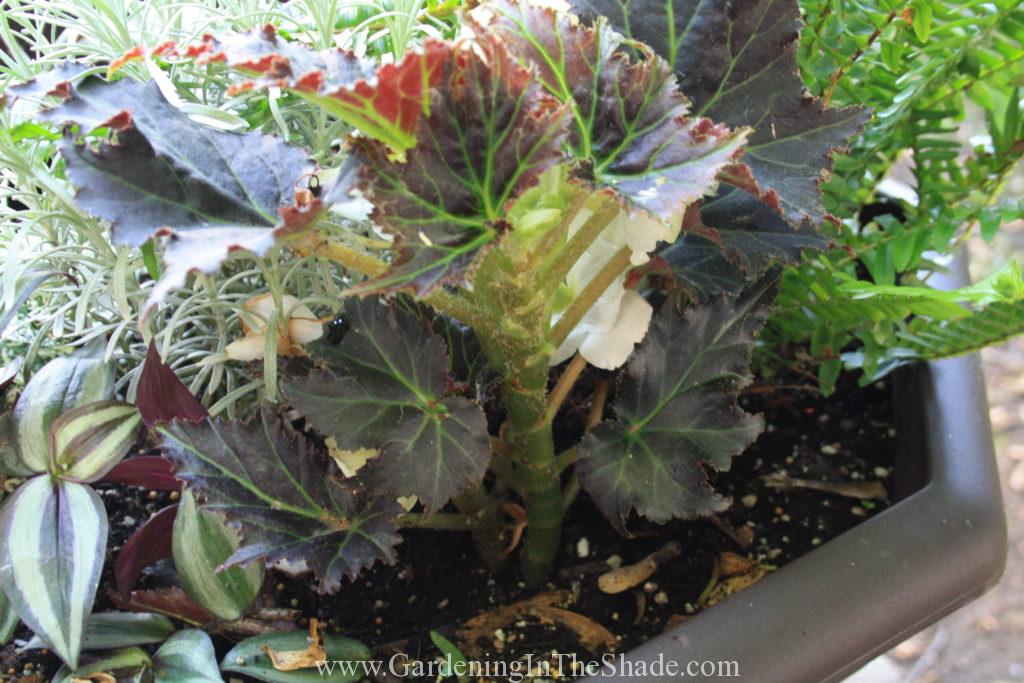
Begonia Flowering on the wrong side
Non Stop Begonia hiding it’s flowers

This Non Stop Begonia in one of my Black & White planters has been flowering steadily but for whatever reason, all the flowers were on just the one side and hidden behind everything else. I was hoping that eventually it would start flowering on the outside, but with no branching at all on that side it was seeming less and less likely.

Planter Tweaks Non Stop Begonia
Much better

Yesterday I got out my trowel and turned it.

Maybe Third Time is the Charm?

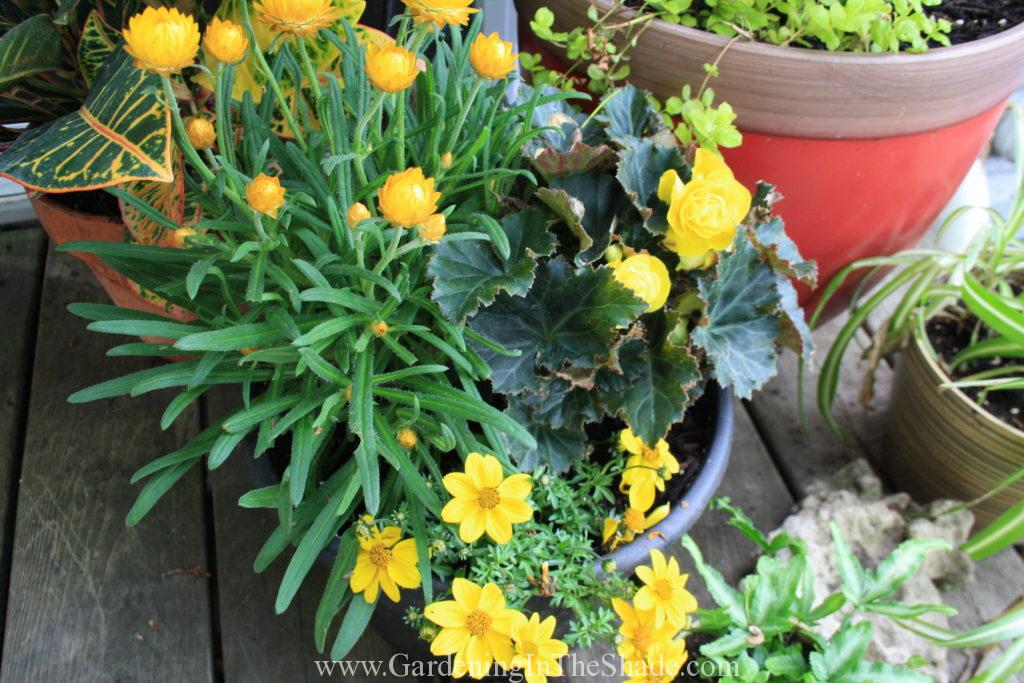
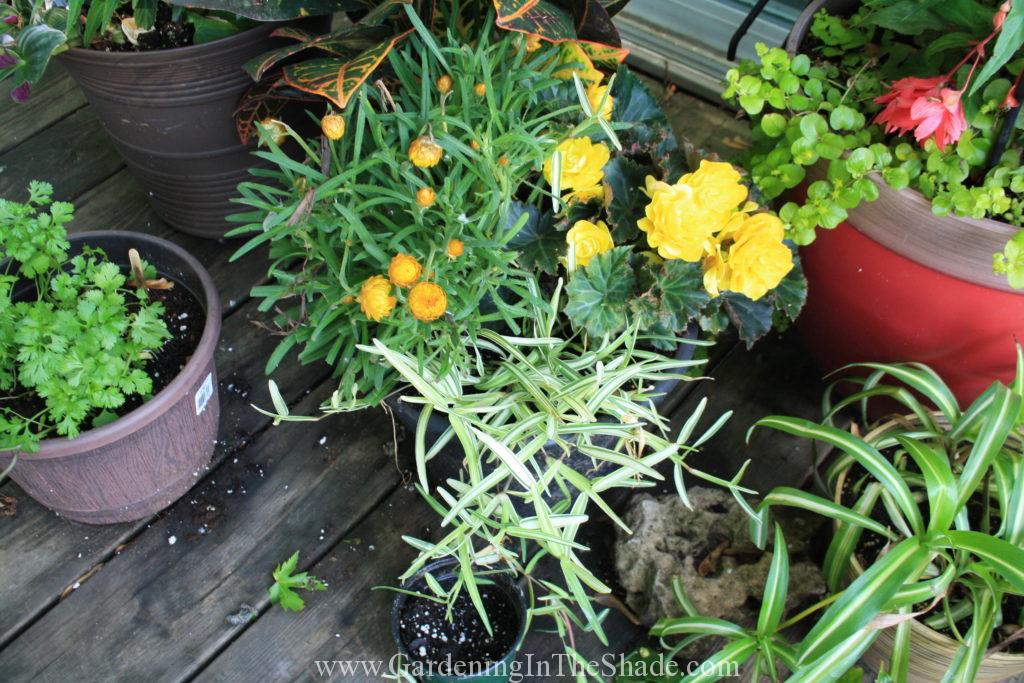
Sunny Yellow Planter with Bidens

I first planted this Sunny Yellow Planter with Bidens. The Bracteantha and Non Stop Yellow begonia did fabulously but the Bidens died.

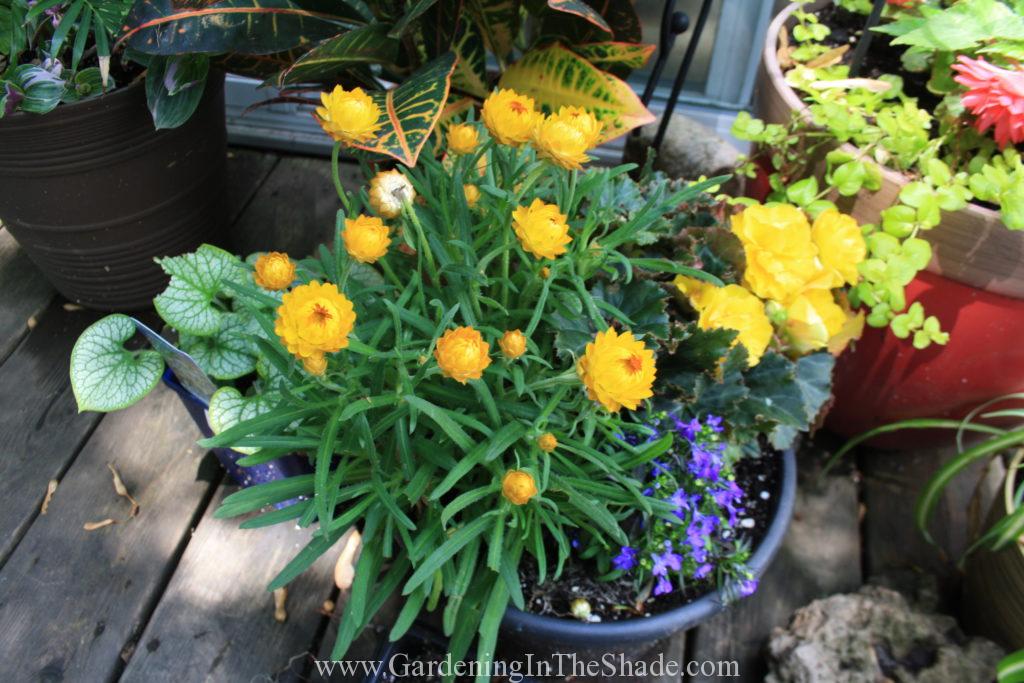
Planter Tweaks Blue Lobelia added
Tweak it Once

So I pulled out its body and planted a blue lobelia in its place. That died too.

Mr. Toad

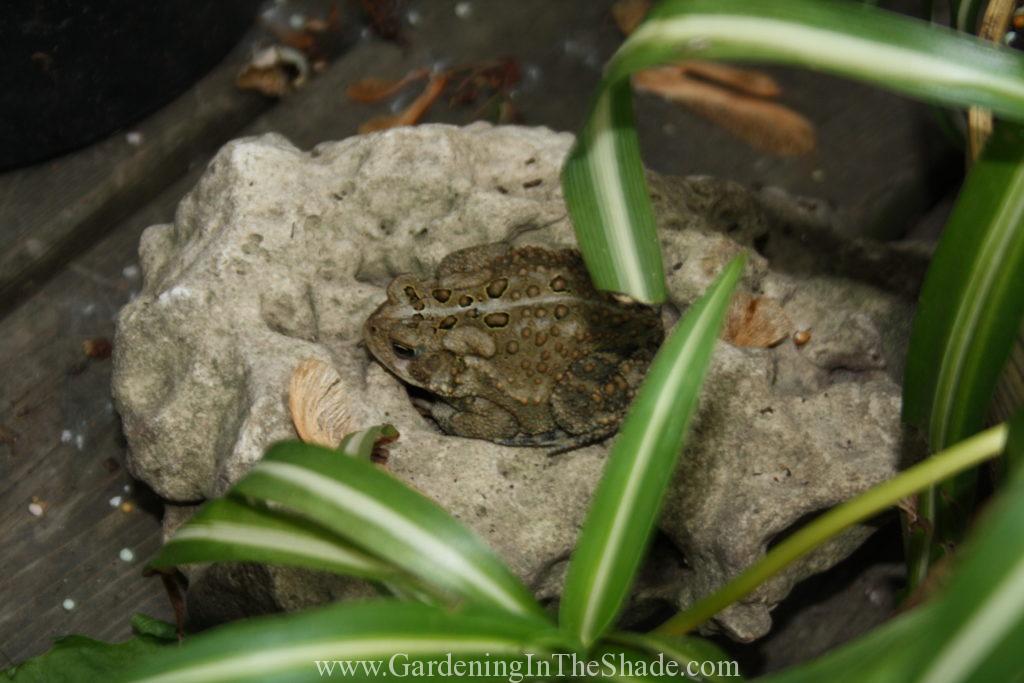
Usually it’s the dogs eating my plants and pulling them out that causes me problems. This time I suspect this little guy is to blame. He’s built himself a burrow in nearly every pot in that corner, or at least in the shorter ones. I’m not sure what happened to the giant toad that used to live on my deck and occasionally get in the house, but apparently I have a new tenant.

Mystery Annual

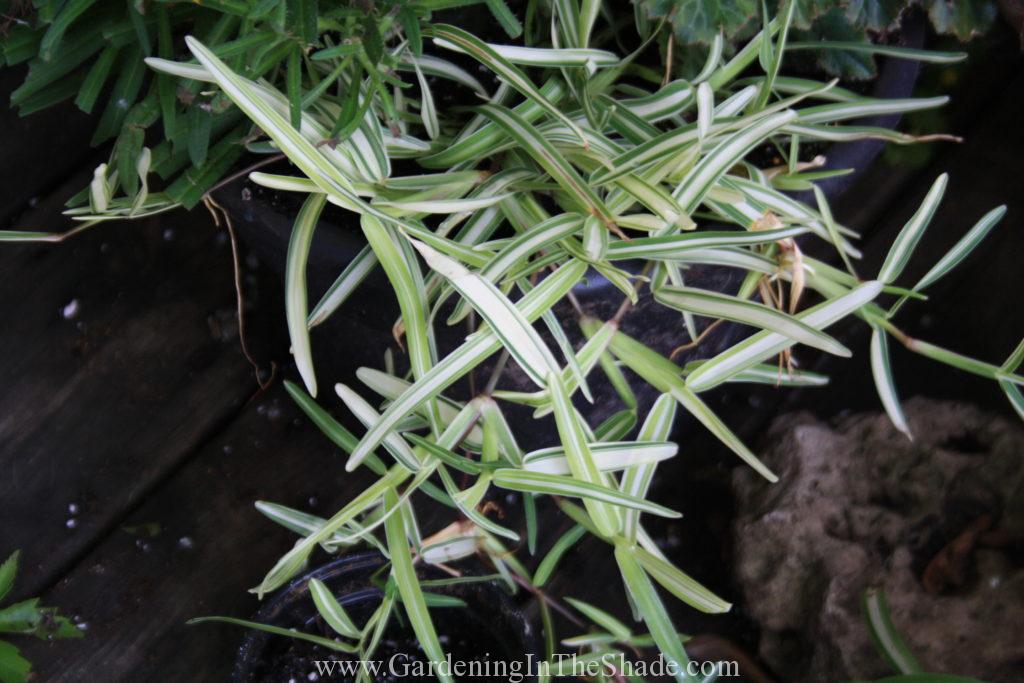
So on Tuesday while I was out and about I saw this cool untagged trailing plant. At the garden center, they assured me it is an annual, but looking at all the air roots at each joint I decided it was best if I kept it off of the ground.

Tweaked Planter
Tweak it Twice

I haven’t seen Mr. Toad in a couple of days, but maybe he’s living in the Cilantro now.

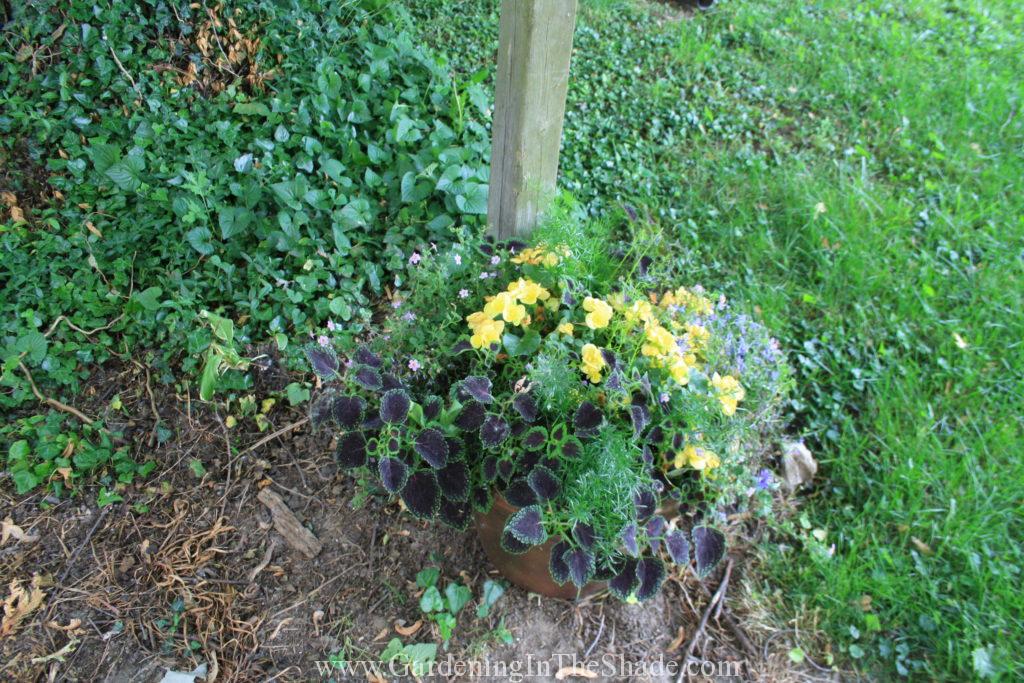
Instant Patio Planter

Planters from garden centers sometimes need tweaking here and there too. The coleus in my Instant Patio Planter was outgrowing the rest of the planter so I gave each branch a hard pinch.

Coleus Pinches

These are the pieces I broke off so you can see it was a very hard pinch. The lobelia and bacopa are dying off as expected and I’m not sure what to replace them with. Creeping jenny would look nice, but I don’t like to plant it where there is a chance for it to touch ground and take off. That’s how I got the English Ivy that is everywhere over there.

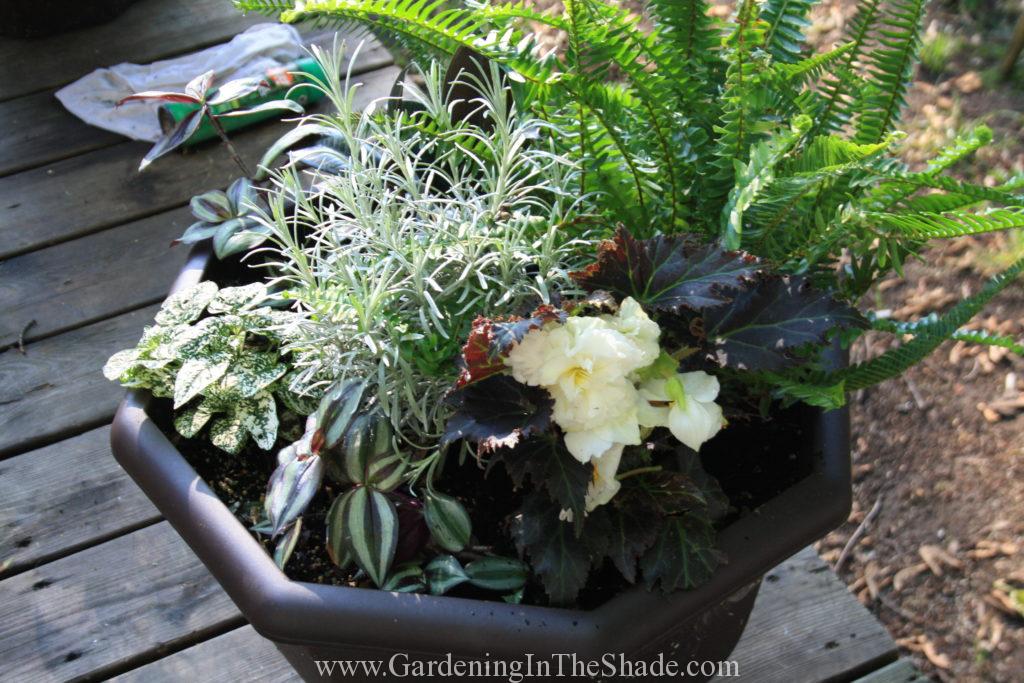
The Silver and Green Planter

Silver & Green Patio Planter

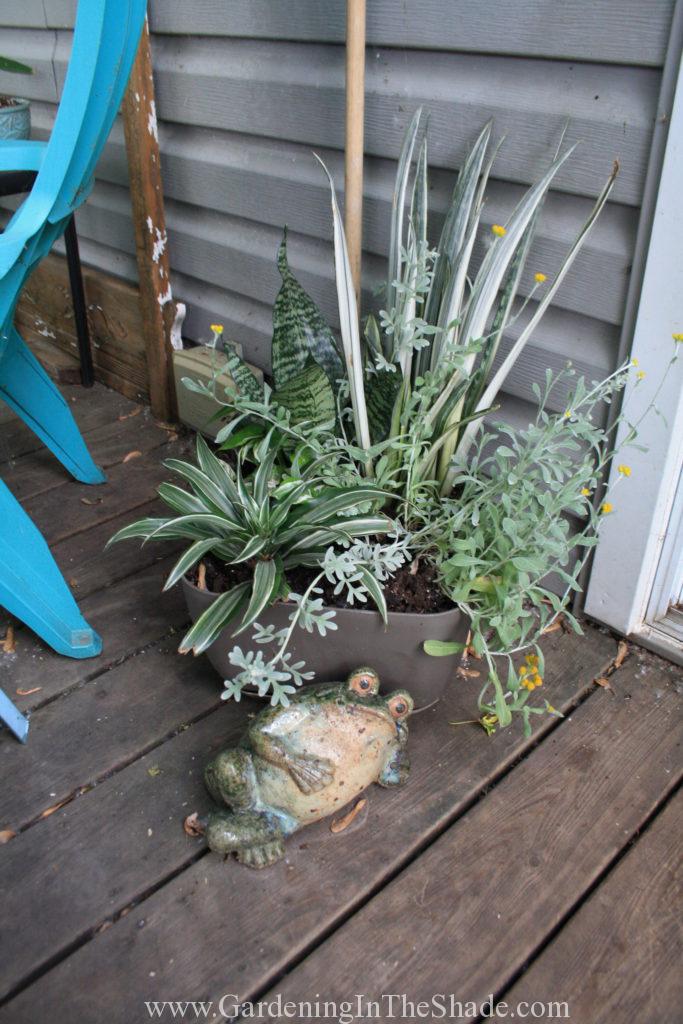
No tweaks here, I’m still happy with this planter. The Artemisia Silver Brocade and PW FlambĂ© chrysocephalum in my Silver and Green planter are looking a little leggy, but I like the way they sprawl among the other plants. The one bare corner at the front is another of Mr. Toad’s hidey-holes.

Other than those few planter tweaks I’ve picked the odd spent bloom, but I’ve done very little watering so far. That’s why I like the big pots!

If you enjoyed this post, don’t forget to share it with your friends! For more just like it follow me on Pinterest, Facebook and Twitter or sign up for regular updates by email.

If you have ever thought about starting a garden or craft blog of your own see how easy it is >>here<<.
Save

Save

Save

Save

The New Garden

Dogwood 'Prairie Fire'
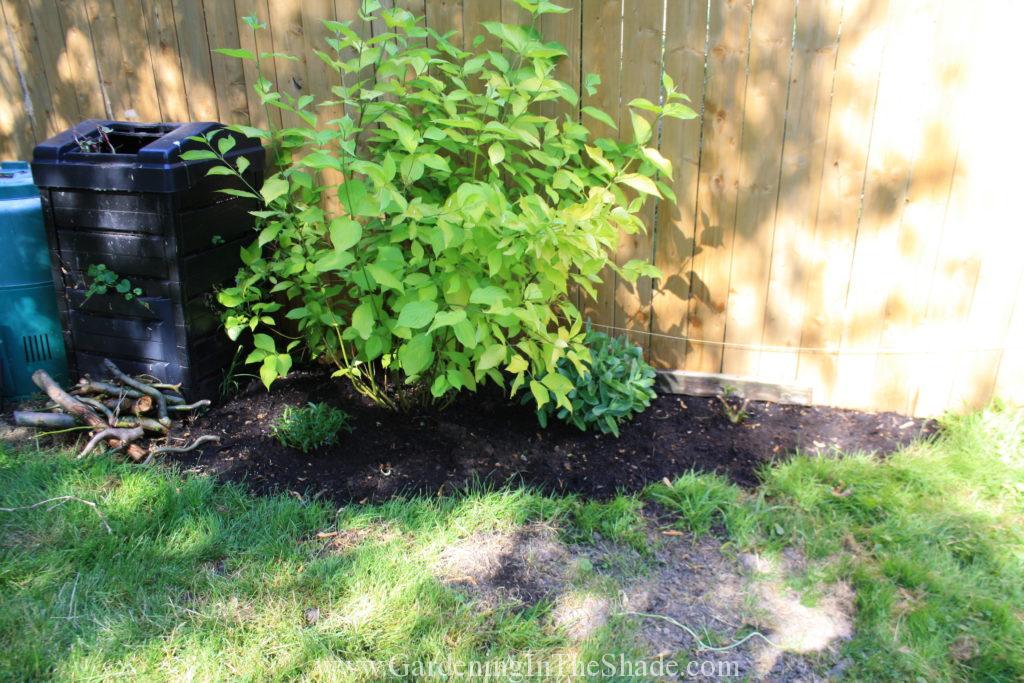
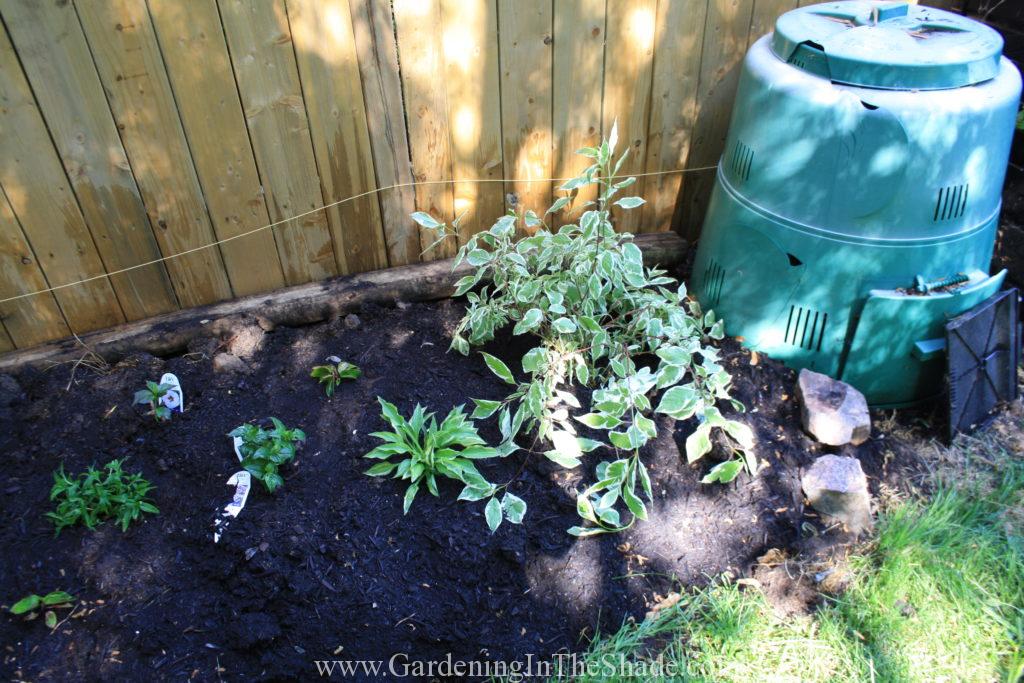
Dogwood ‘Prairie Fire” and Sedum ‘Lemon Jade’ with Veronica ‘Magic Show’ White in the foreground.

It started last year with the Dogwood ‘Prairie Fire’ that I just had to have when I saw it at one of the Nurseries I was visiting. I meant it for the garden along the house, but I set it by the composter when I brought it home. After a week of seeing its sunny leaves every time I stepped off the deck, a new garden was born.

New Garden

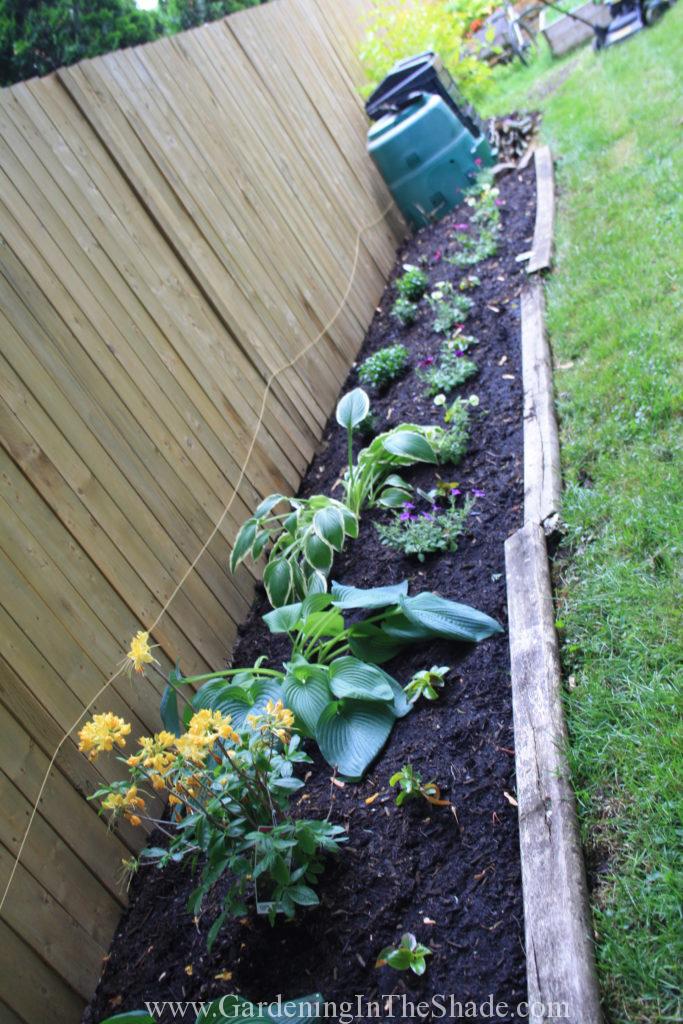
This year I extended the garden – a lot. This is what it looked like last week right after bringing in a yard of compost for it. The bright yellow flowers of the Golden Lights Azalea make me very happy but the overly linear look of those plants marching along in a row wasn’t working for me.

The Garden Reworked

Aaand since I came home with last night with what is for me at least, a very extravagant number of new plants, I’ve now reworked the garden. I have rearranged it into five groupings of plants, each with their own shrub or tree.

New Garden Bed - From the Top

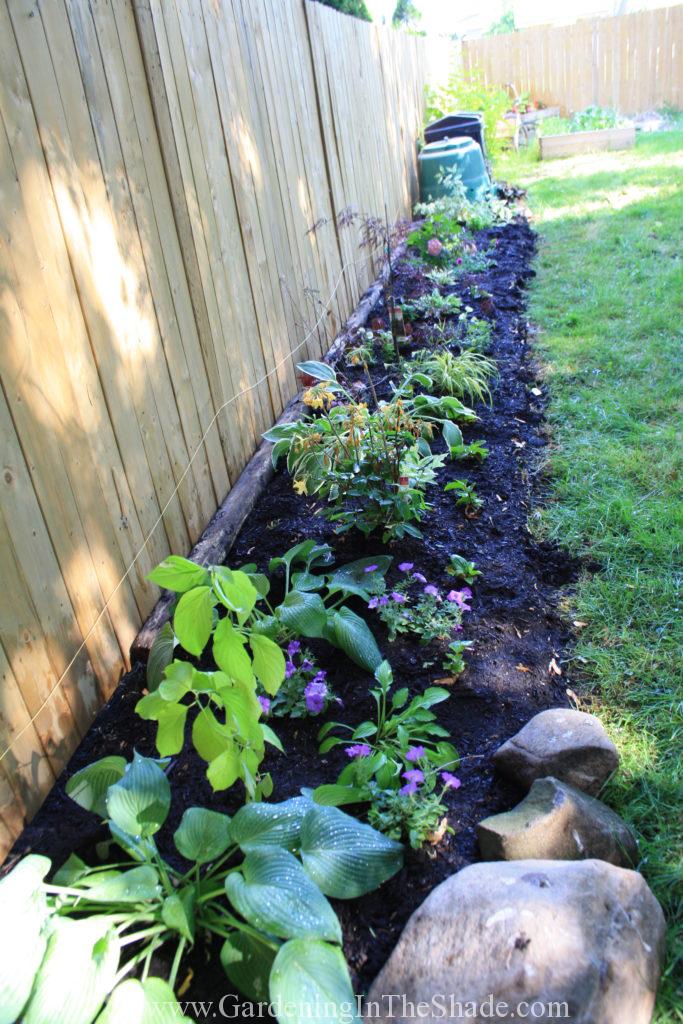
Here it is from the top. I like the more organic and free-form look of rocks as edging, but I’ve been burned by rock edging in the past. Keeping the grass from growing up and between them is nearly impossible.

Using rocks as edging would let me add some curves to this garden and curvy is good, so I might still go for it. I’ll just lay some landscape fabric under the rocks and put a strip of gravel or pea stone between the rocks and the grass.

The mini ties are in rough shape but for now they are against the fence. It’s a bit of a low spot here so to keep the garden soil off of the fence I’m going to need something behind it. I’ll probably just use pressure treated 2 x 6″ lumber.

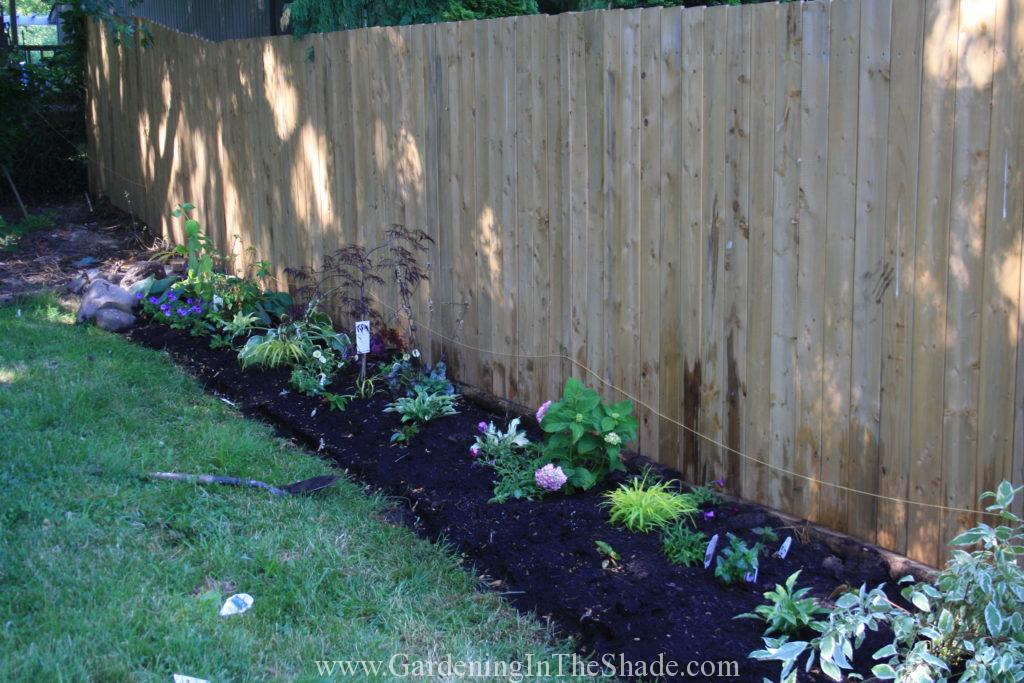
New Garden Bed - From the Bottom

Here’s the view from the bottom. The best part about photographing as I go along is it reminds me I need to do things like put my shovel away. I’m notorious for leaving my garden tools out and the weather doesn’t do their handles any favors.

First Grouping

Silverleaf Dogwood

It starts with a Silverleaf Dogwood. Right next to it, a Hosta called Hanky Panky. The group of three to the left is Hibiscus ‘Perfect Storm’ at the back, moving clockwise is Monarda ‘Leading Lady Lilac’ and then Phlox ‘Opening Act Blush’.

Eventually it is my goal here to have a page or post for each named plant variety I talk about. Personally I find it frustrating when gardening sites mention plants without any information about the plant’s growth and care. It probably won’t happen until over the winter though.

Second Grouping

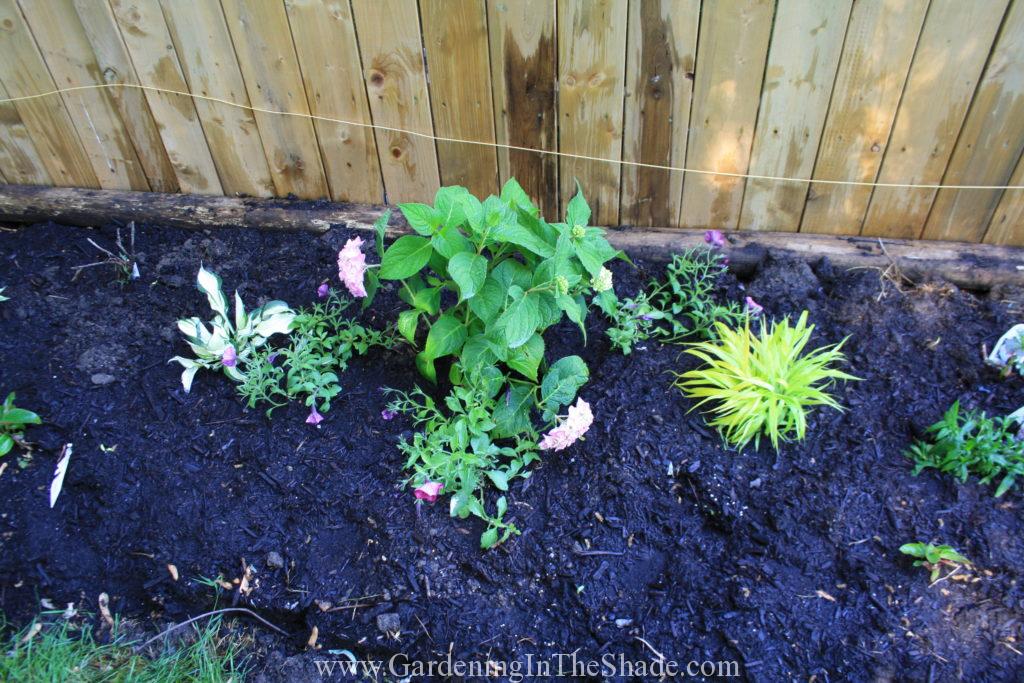
Hosta 'Fire and Ice', Hydrangea 'Endless Summer', Japanese Forest Grass and Petunia 'Shock Wave' Deep Purple

Still moving towards the top of the garden, here is a Hydrangea ‘Endless Summer’ in pink, Japanese Forest Grass ‘All Gold’, and a ‘Fire and Ice’ Hosta. The petunias are Shock Wave Deep Purple. It’s not the best light for petunias, but the more suitable areas in my yard are already in use for veggies.

Third Grouping

Japanese Maple 'Tamukeyama', Heuchera 'Silver Scrolls' Japanese Forest Grass, Monarda 'Lilac Lollipop'

Here I have a small Japanese Maple ‘Tamukeyama’, two Heuchera ‘Silver Scrolls’ and Japanese Forest Grass ‘Aureola’ along with Shock Wave Yellow petunias. To the right in the very back there is a Perovskia ‘Denim ‘n Lace’ that looks like a stick or dead leaf. It just a bare root when I got it at the end of May, so it’s just starting to break dormancy and green up.

Azalea 'Golden Lights' , Hosta 'London Fog'

Hosta ‘Hillbilly Blues’ in the background, Azalea ‘Golden Lights’ center stage and the small hosta is ‘London Fog’. Just to the left of where the picture ends is another ‘Prairie Fire’ Dogwood that I started last year from the first one and behind it is another ‘Hillbilly Blues’ Hosta. The petunias here are Shock Wave Denim.

Mingled in among all of it are Dragon Wing Begonias. They should be red, but there’s also a chance they might be pink. Hopefully I didn’t end up with a mix of red and pink but whichever color they end up being, they’ll be gorgeous once they get going.

Save

Save

Save

Save