Topiary Care – Inside and Outside

One thing that I have not discussed here is topiary care. A lot depends on what you’ve planted your topiary with, but topiary are unusual planters with their own logistical quirks.

Topiary care outside
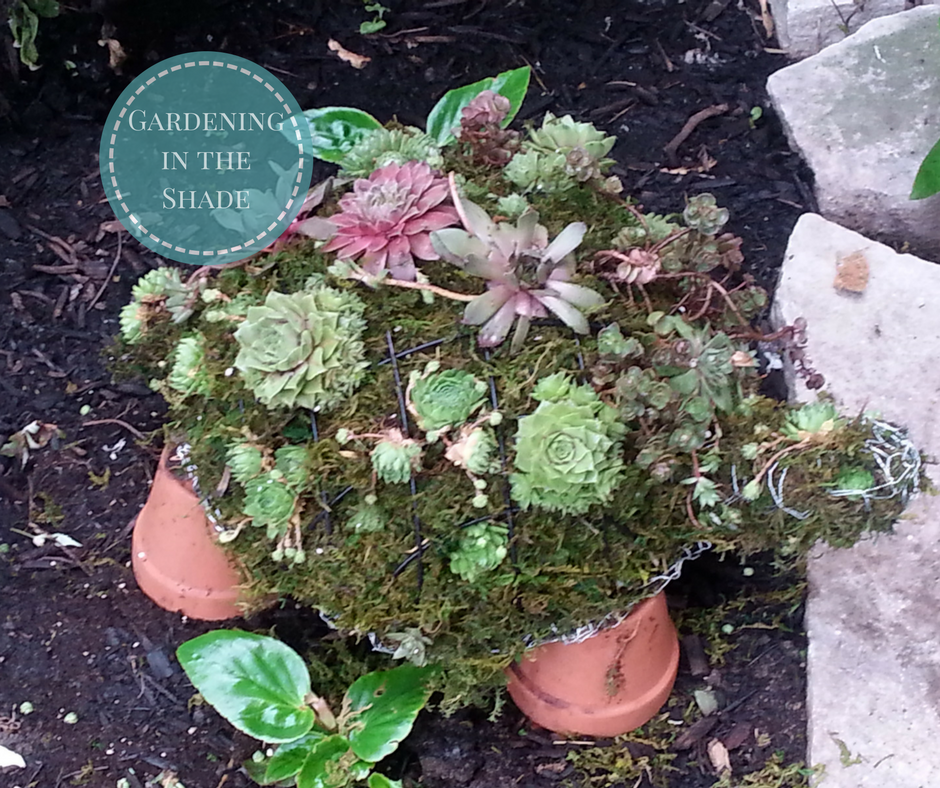
Larger topiary, like Fred, can live in your garden as long as you’ve planted them either with annuals, or with winter hardy succulents like Hens & Chicks. I’ve seen rose cones suggested as a winter cover, but since these guys are kind of big, maybe a Styrofoam cooler would work. Either way, you’ll want to keep it in an area where it’s protected from snow and rain for the winter.

Watering outdoor topiary is as simple as a spray with the hose. One of the fabulous things about sphagnum moss is how readily it will absorb water. Plenty of commercial potting mixes are near impossible to re-wet once they’ve dried out, but moss always soaks it right up. The flip side of that is if you have a long rainy stretch, and you’ve planted your topiary with succulents you may need to move it to a more sheltered spot.

Topiary Care Inside
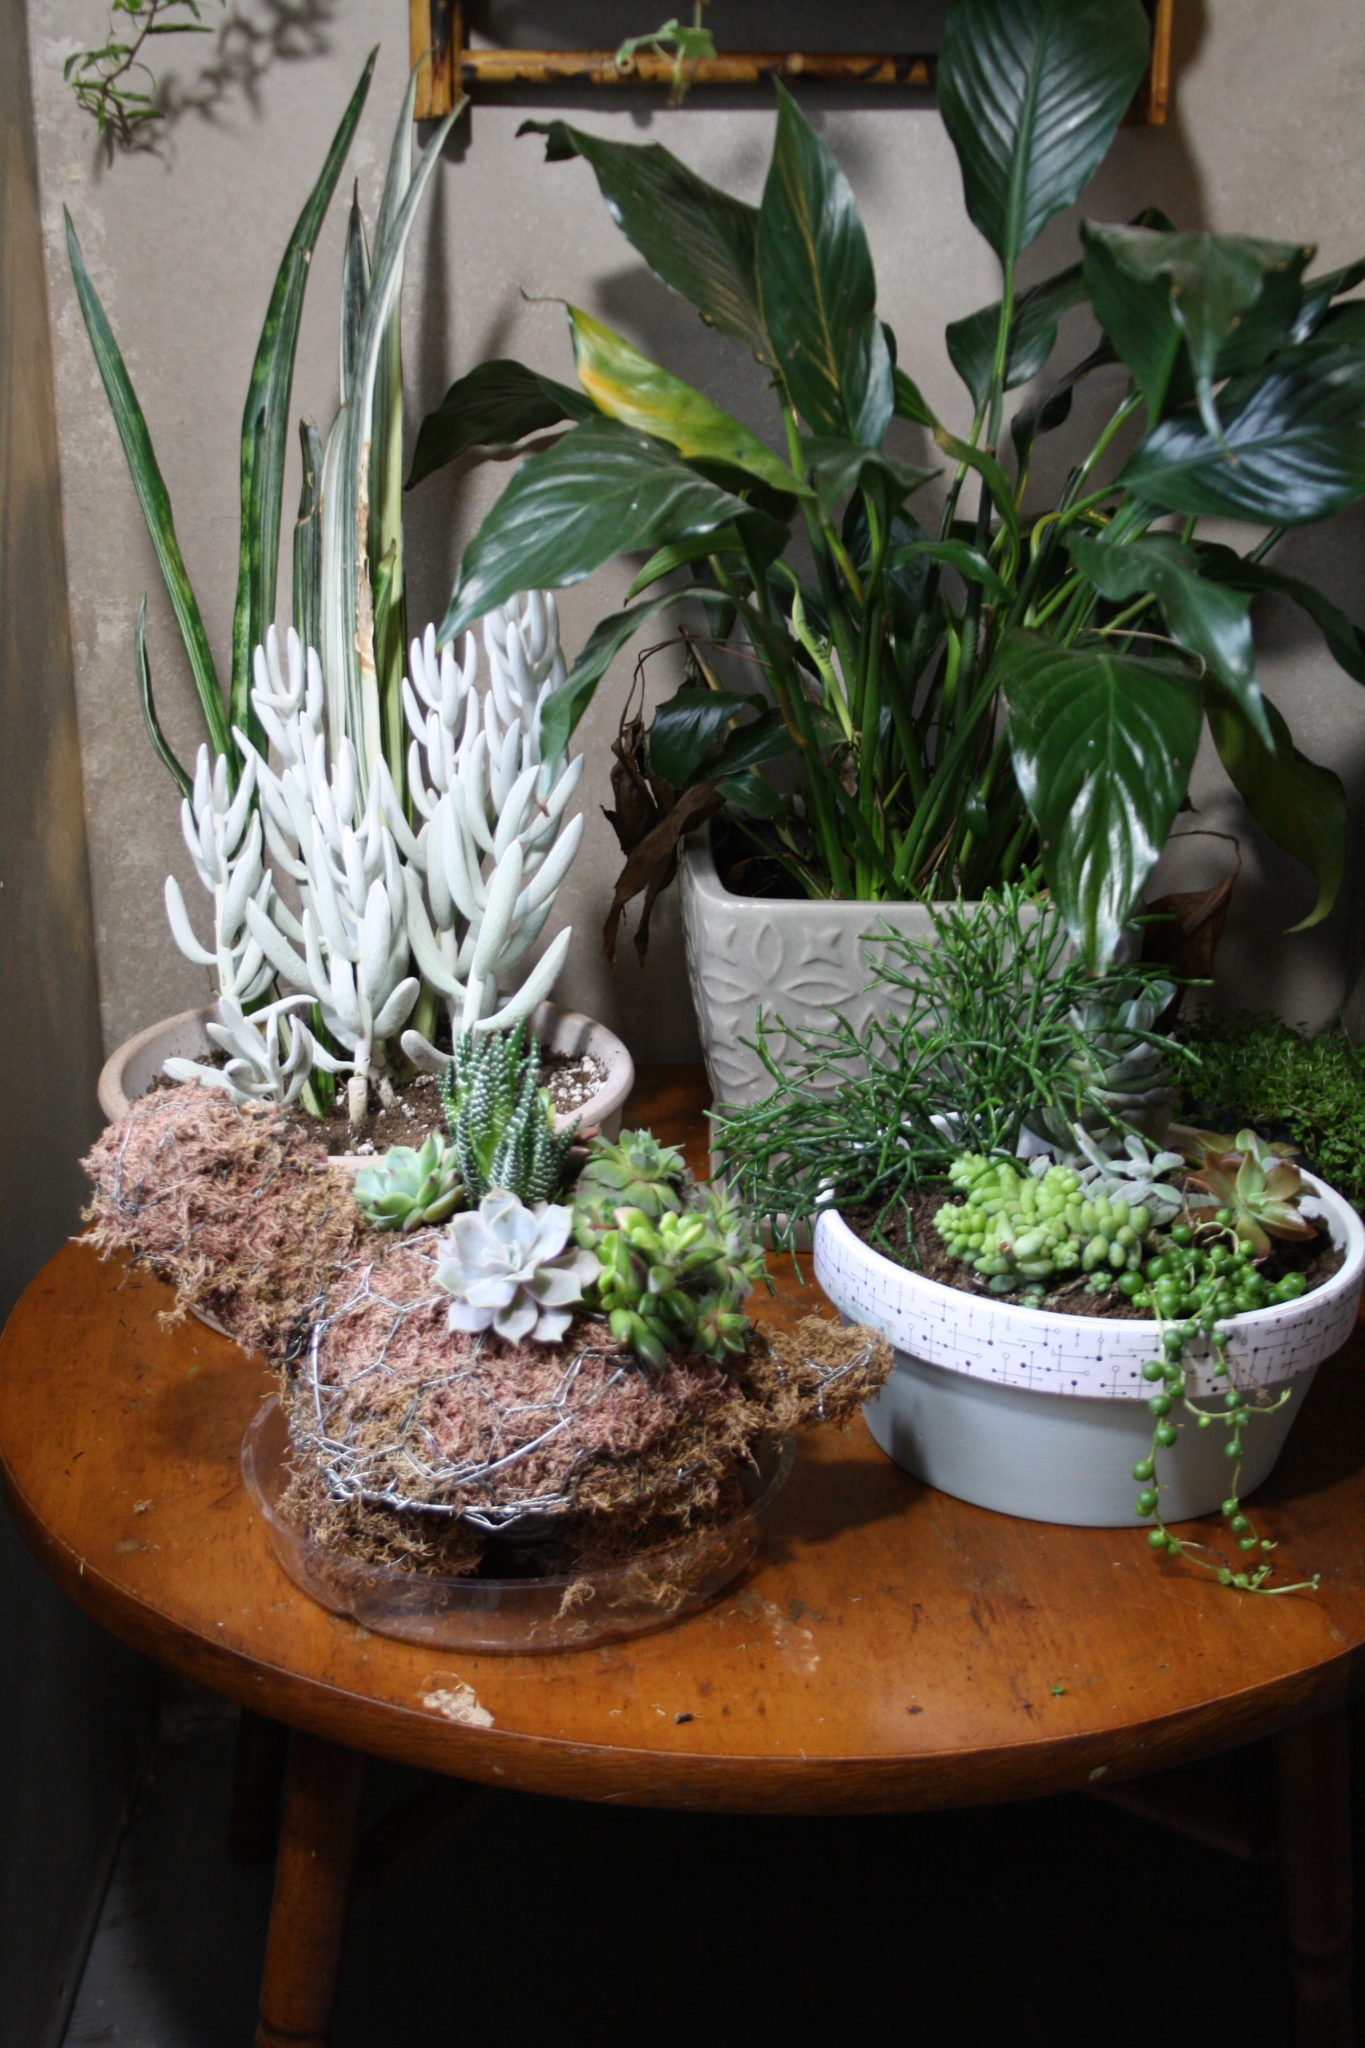
with the mini turtle

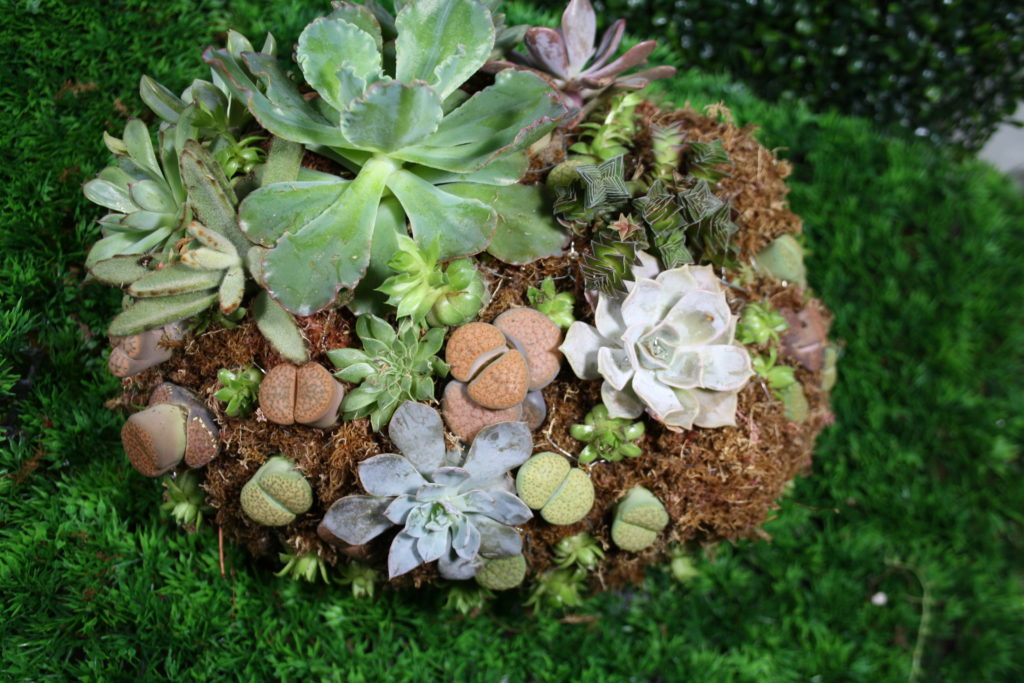
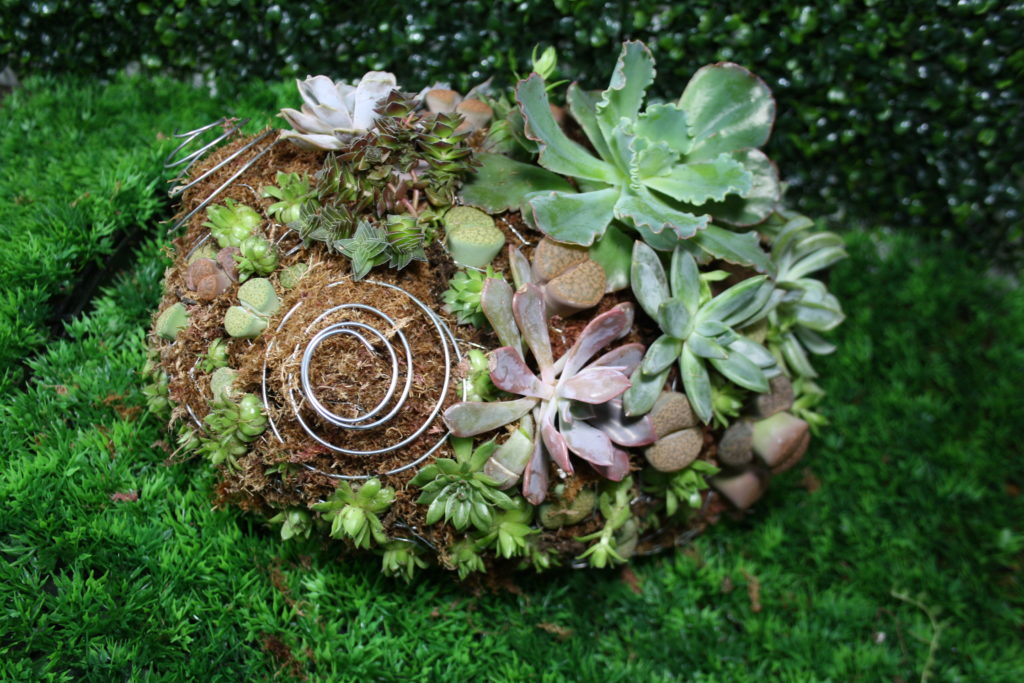
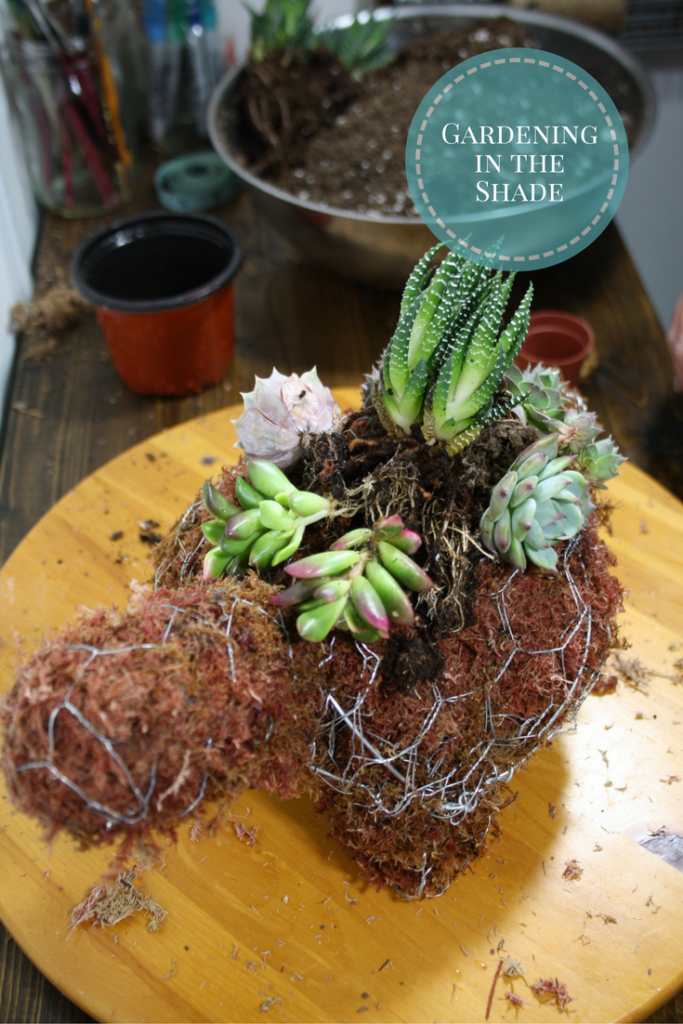
One thing worth pointing out first is that not all succulents tolerate being grown in moss. The spiky green one I originally planted in this planter quickly rotted, and again when I replaced it with another the same. Since then I’ve replaced it with a different upright succulent that does fine growing in the moss.

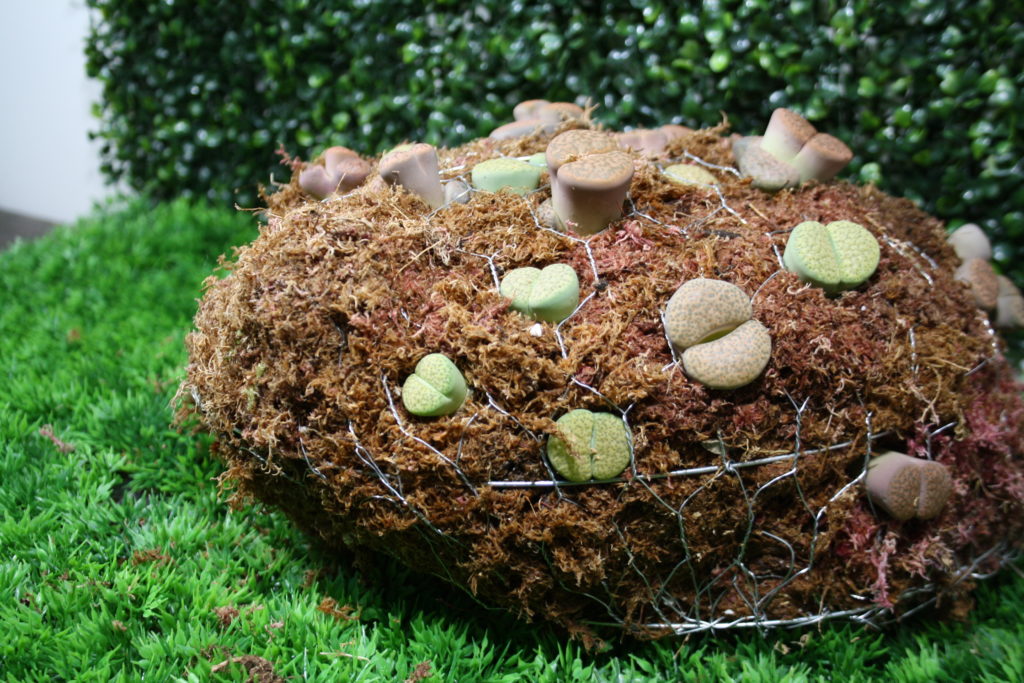
In a newly planted topiary – like the toad – I check on the plants often to make sure they aren’t showing any signs of rot, especially that one because I’ve never grown stone plants before.

Indoors, just like most pots, chicken wire topiary can mark surfaces so you will need a tray or saucer. I like the cheap clear plastic saucers and size my topiary to fit them. I let the topiary I keep dry out completely before watering, and when I do water them I just fill the saucer. The water gets soaked up through the feet without saturating the moss.

Planting your topiary

Please don’t think you’re limited to succulents when you plant your topiary! Any low-growing plant will work, I can’t wait to try seed begonia in my outdoor turtles as soon as the garden centers open. Indoors, I’ve planted one with mini African Violets. You could try Baby Tears, creeping thyme, English Ivy or even a snake plant. Use whatever plants grow well for you and make you happy!
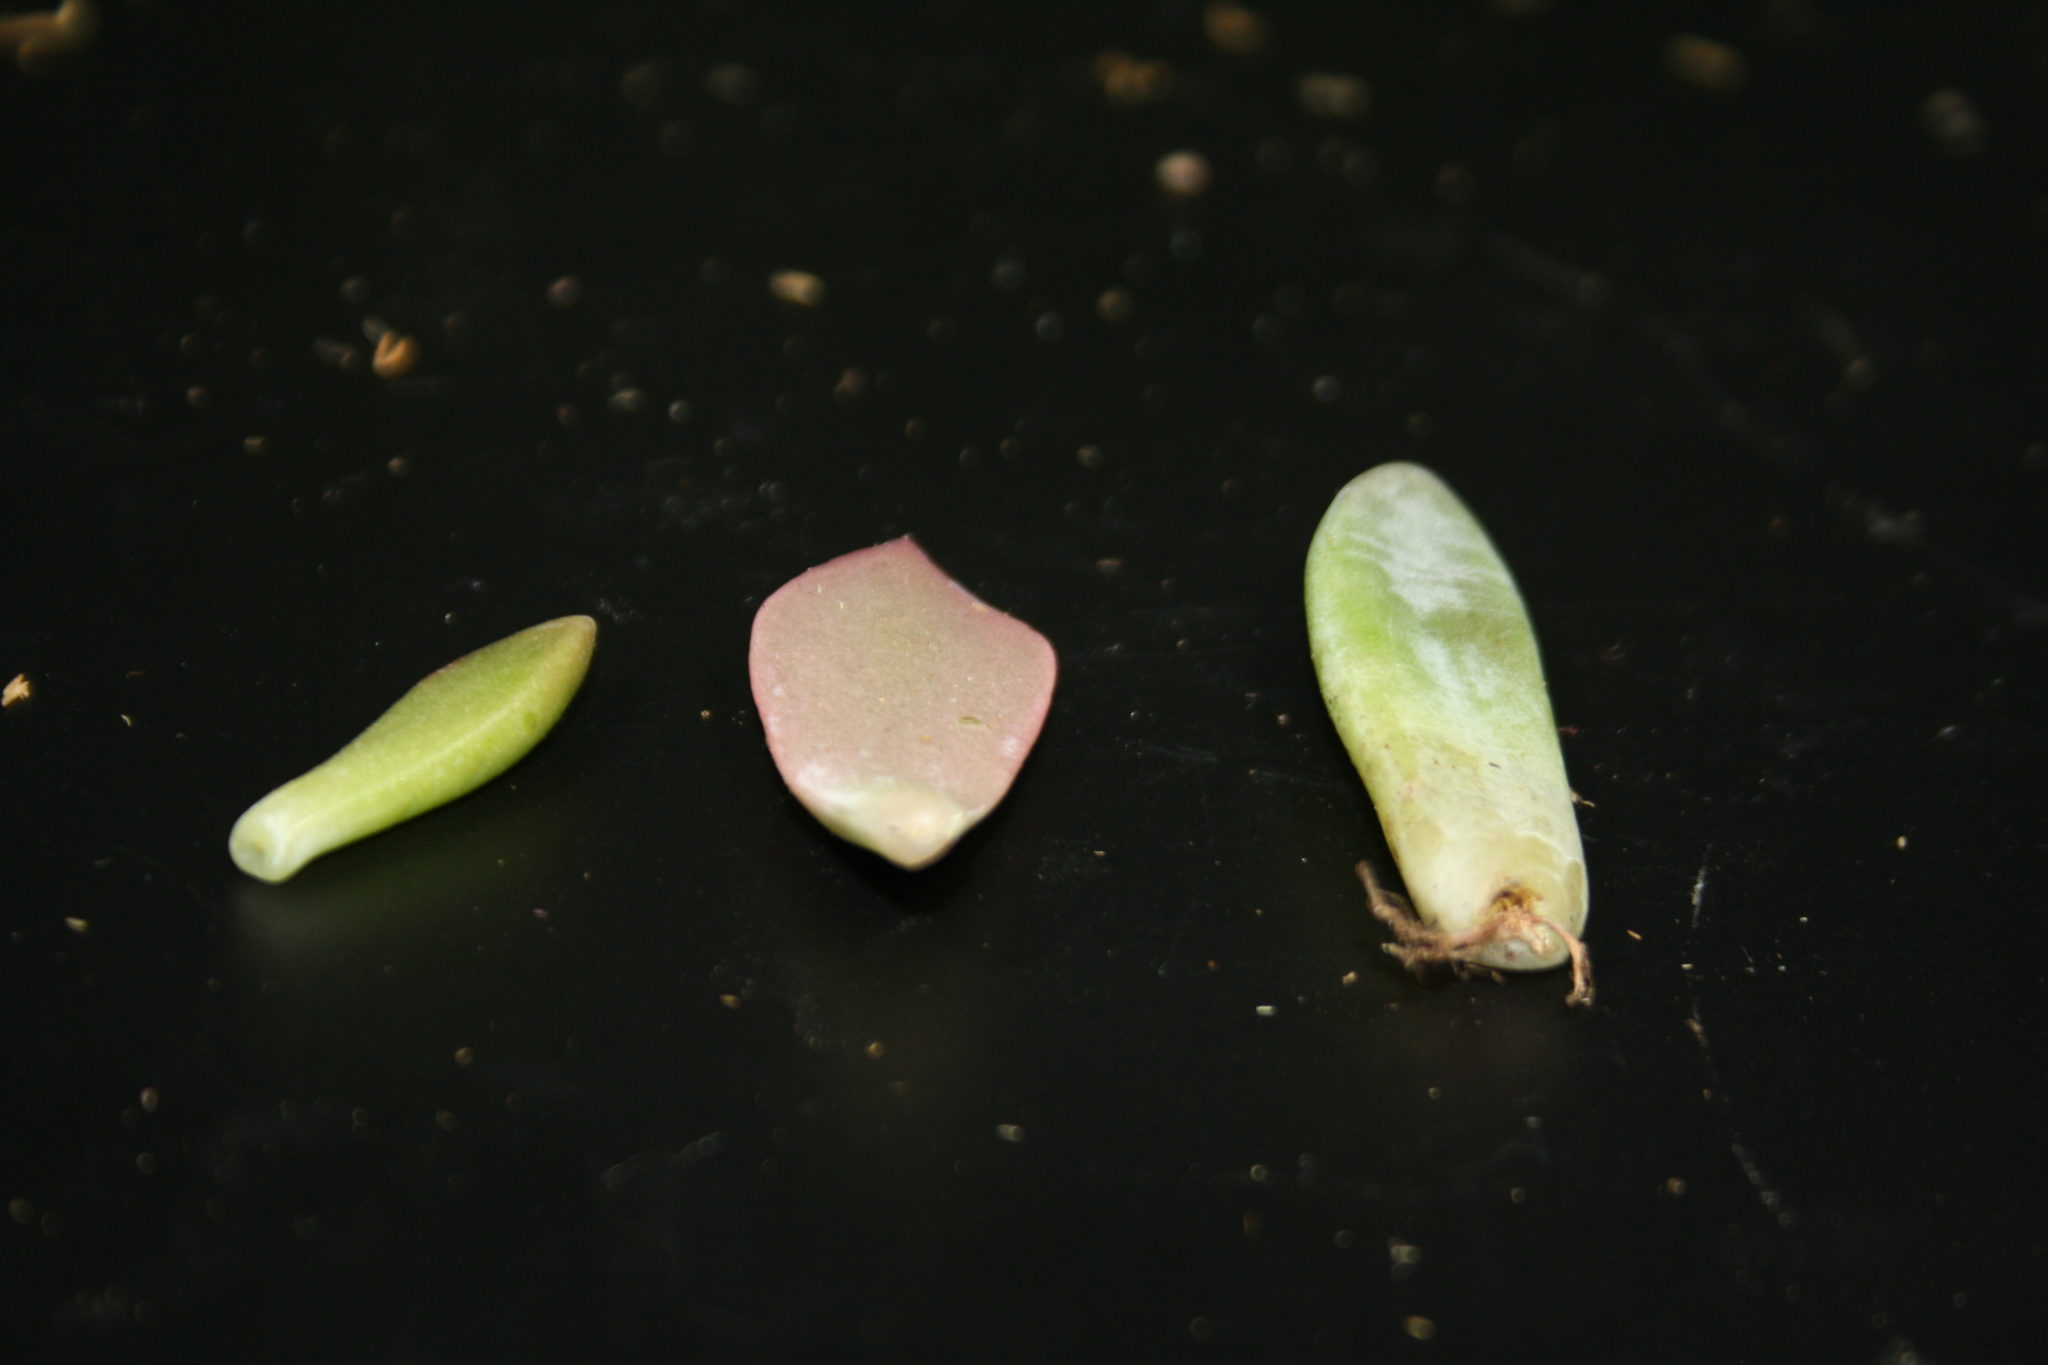
When I’m planting my topiary some leaves will get knocked off, succulents almost seem designed to drop their leaves easily. I take any leaves in good condition and allow them to dry out for a bit. Once the stem end dries, I lay them on top of some soil and wait to see if they’ll start a new plant. I’ve had some successes but they take a long time to grow!

If you do happen to make a topiary from one of my tutorials I would love to hear about it. You could even post a photo to twitter and give me a shout – @shadegarden.
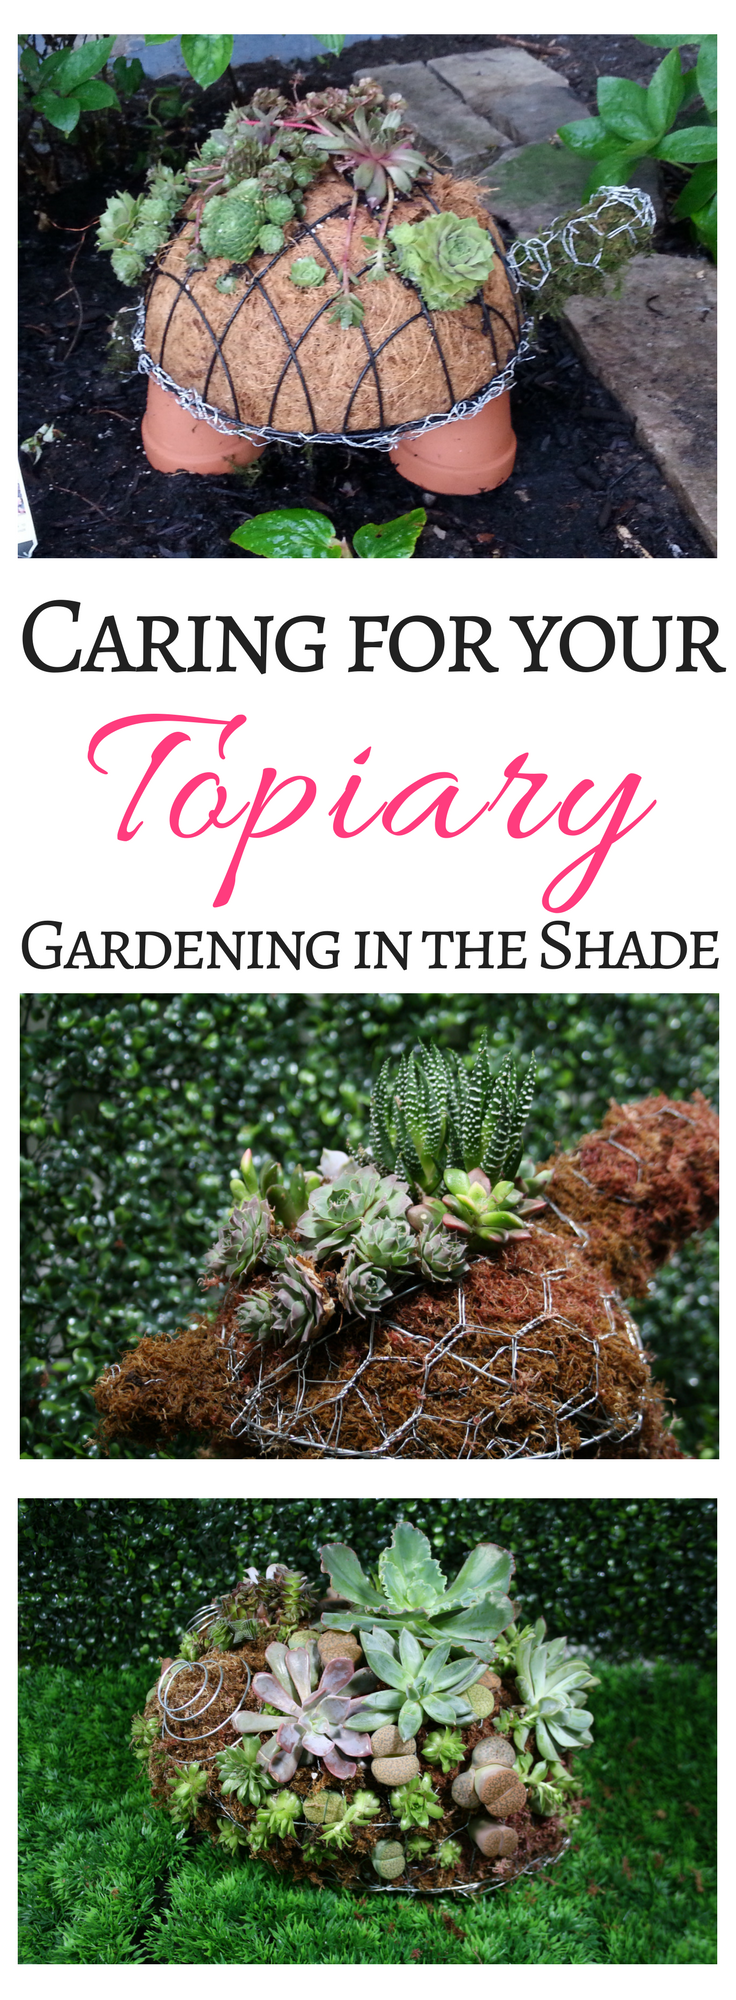
Some tips to help you care for your topiary once it's planted!If you enjoyed this post, don’t forget to share it with your friends! For more just like it follow me on Pinterest, Facebook and Twitter or sign up for regular updates by email.

If you have ever thought about starting a garden or craft blog of your own see how easy it is >>here<<.

Save

Save

Save

Save

Save

Topiary Toad

Check out this adorable topiary toad made from chicken wire and succulents!

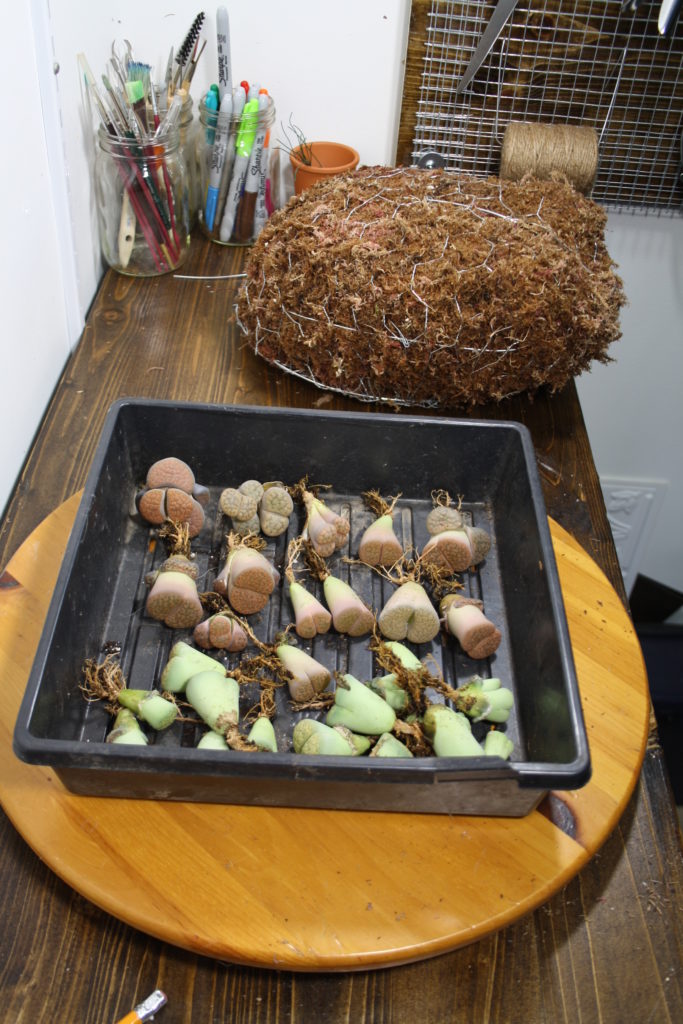
I did not set out to create a topiary toad this week. The plan was actually to create a hanging planter that looked like a purse. But then I saw a bunch of stone plants, aka Lithops and plans suddenly changed.

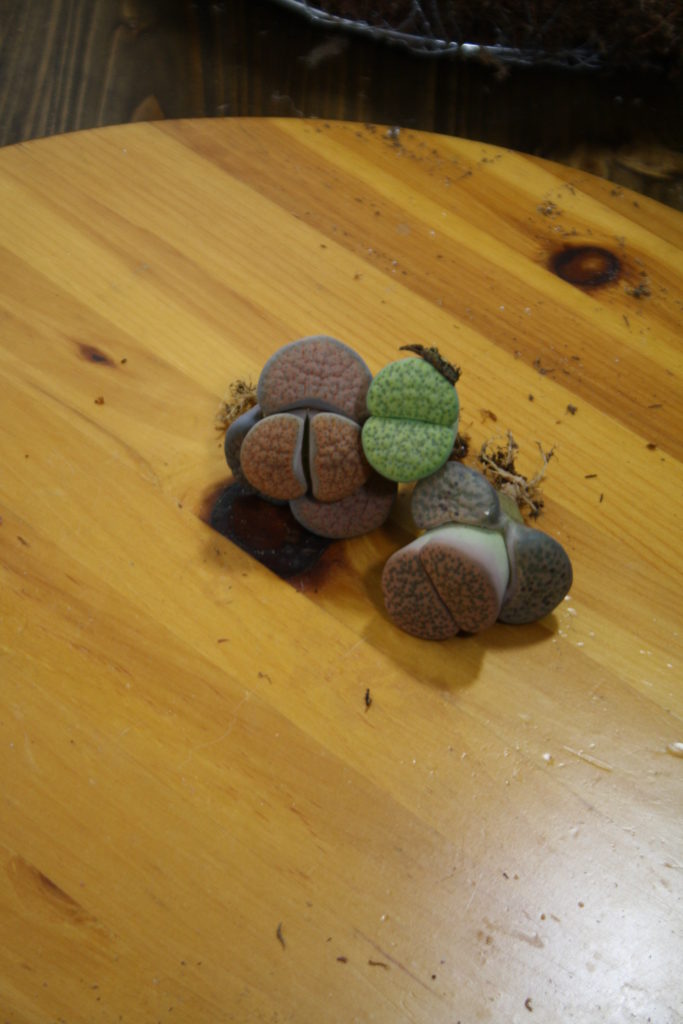
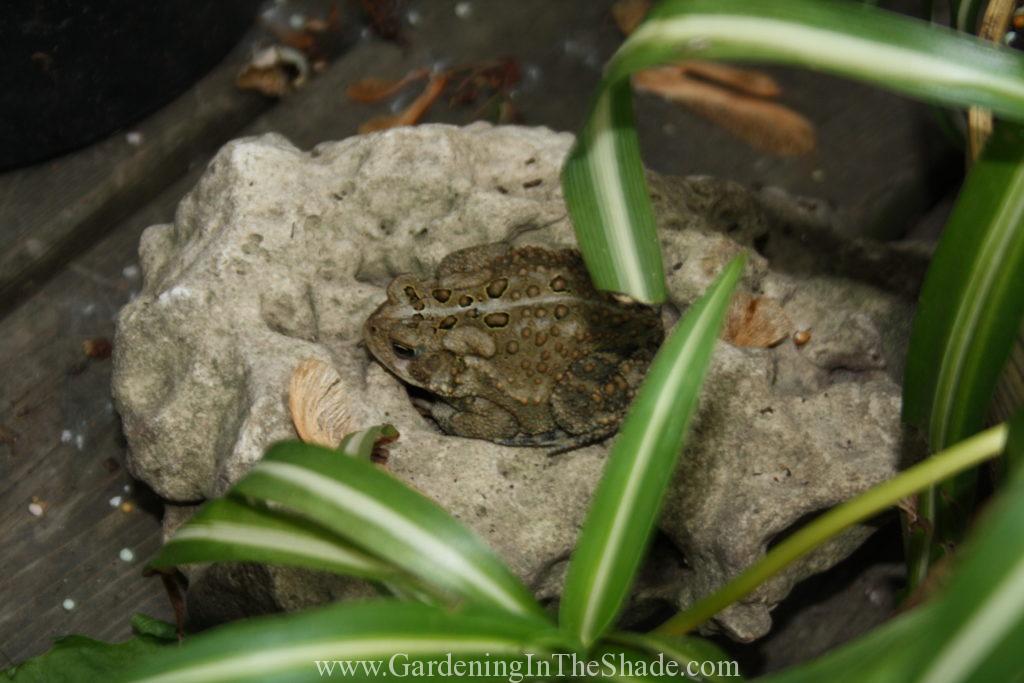
Stone plants are pretty cool looking in a warty kind of way and since toads are warty too – we now have a topiary toad to join the turtles. The little guy above was my ‘muse’.

A bit about stone plants

With succulents that form clumps or mats, it’s easier (and cheaper) to plant them if I separate the individual plants as much as possible. These came apart fairly easily, so instead of paying $2.99 each for a lot of pots, I bought a few pots at $3.99 and wound up with more plants.

When I read up on the care of these odd little plants, I learned in their native habitat, most of the plant is underground to conserve moisture and avoid being lunch. So the surface is actually little solar collectors to feed the plant. They call for no watering from fall to spring, so they’ll need watching to see if they tolerate growing in moss.

Making the Topiary Toad

I’m still brushing up on my video skills, but I did make this one as short as I could. I also avoided talking during it so it could play faster. I do hope you enjoy it!

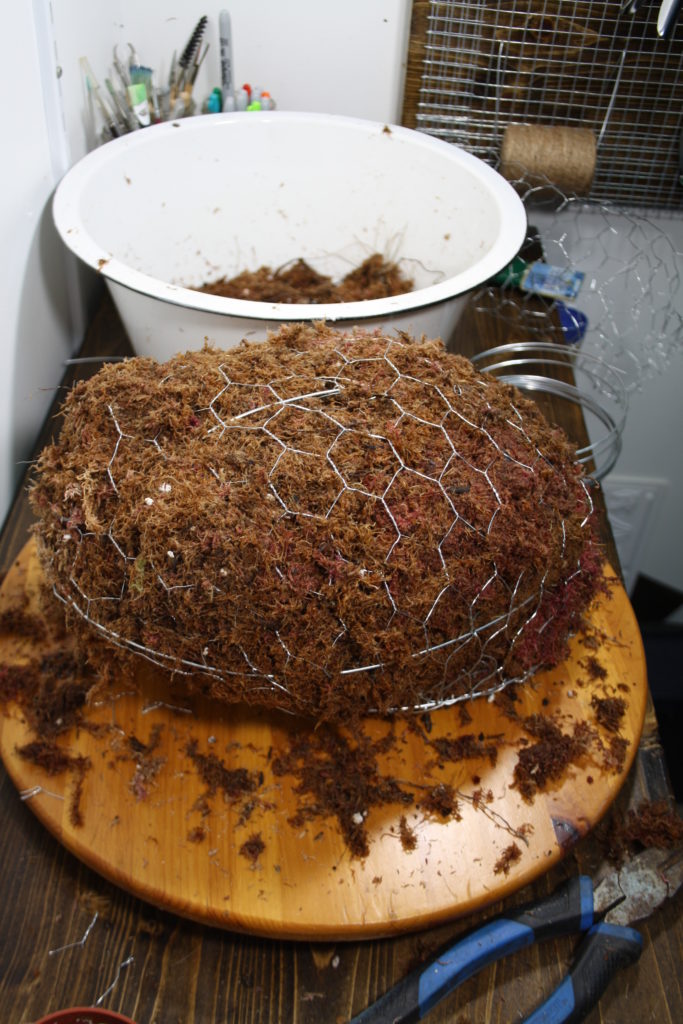
Here’s how the form looks stuffed with moss and ready for planting. You can see where I’ve made bulges to represent the eyes.

I’ve taken so many pictures of this little toad, but none of them showed how amazingly cute he really is. He looks just like a toad hunkered down in the garden would.

So I added more succulents. Better, but he was still missing something.

He needed eyes! The bumps just weren’t cutting it, but those springy looking eyes did the trick! What do you think? Did the eyes finish him off or does he need more something to go from Toad to Frog Prince?

If you enjoyed this post, don’t forget to share it with your friends! For more just like it follow me on Pinterest, Facebook and Twitter or sign up for regular updates by email.

If you have ever thought about starting a garden or craft blog of your own see how easy it is >>here<<.
Save

Save

Atomic Style Planters for Fellow MCM Geeks

For the MCM geeks - Atomic Style Planters!

I’m just going to say it – I’m a complete geek for all things MCM, especially the Atomic style patterns of the day. Fortunately for me, so are Joe and Angie of Ambient Wares and Joe created two amazing patterns you can download for free >here<!

I have so many ideas for these patterns, but the first thing I did with them was make some darling planters for my growing collection of succulents.

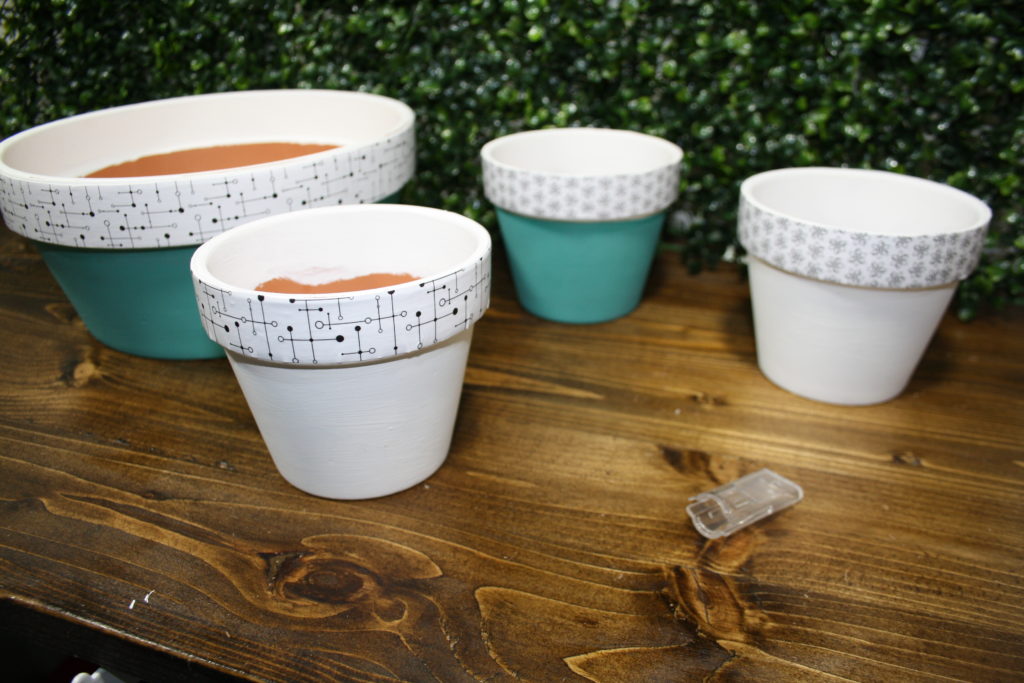
Clay pots with an amazing Atomic graphic

Initially, I painted two pots white and another two turquoise. I decoupaged Joe’s pattern to the rims of my pots. Unfortunately, when I sprayed them with sealer, the color of the clay bled through the white paint, making it appear dirty next to the bright white patterned rims. So I masked off the decorative rim and hit them all with the spray paint – Rustoleum Chalked in Serenity Blue – which turned out to be a perfect MCM color.

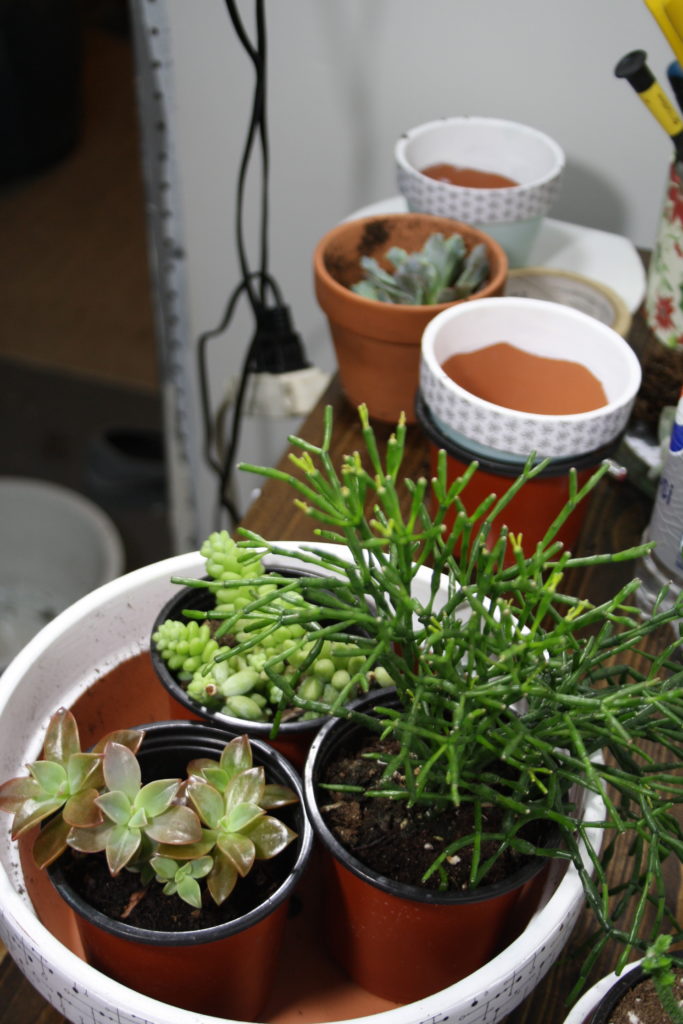
Planting a Dish Garden with Succulents

Choose a pleasing arrangement for your plants

Once everything was dry and sealed time for the fun! The thriller, filler, spiller rule applies to dish gardens as well as outdoor planters. I created a pleasing arrangement, then I used my favorite planting trick.

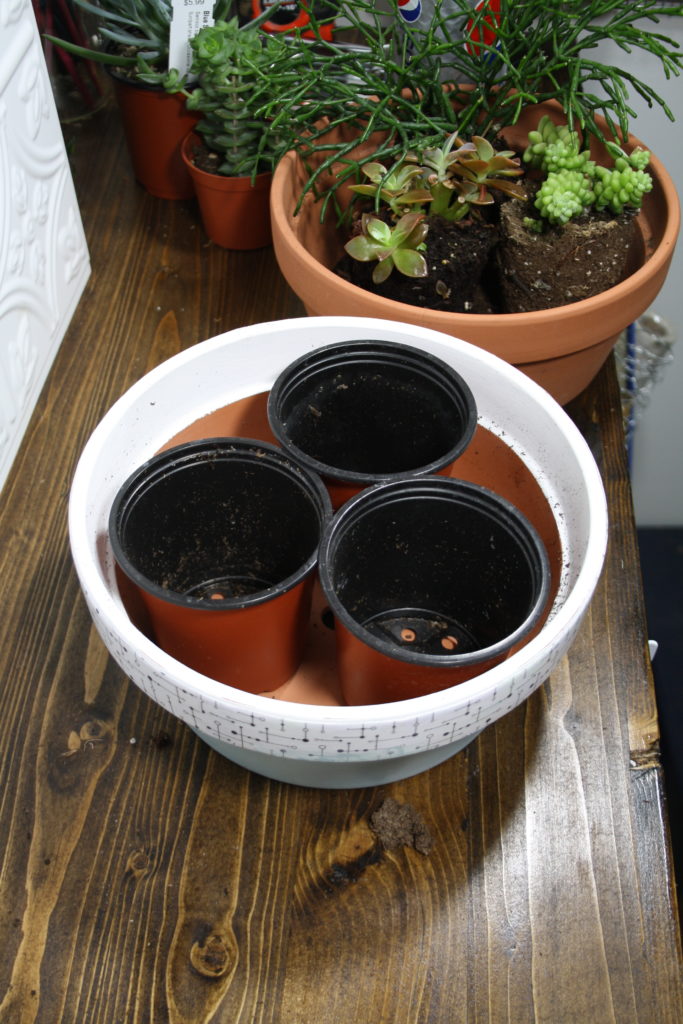
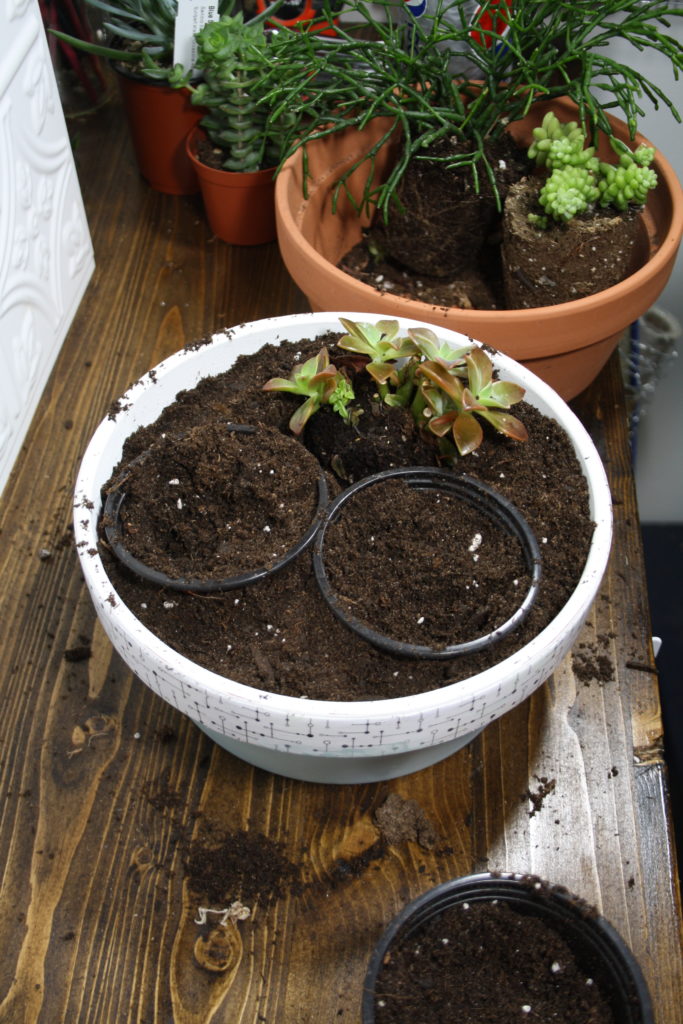
Place empty pots in planter as space holders

Gently remove the plants from their pots and then place the empty pots as space holders.

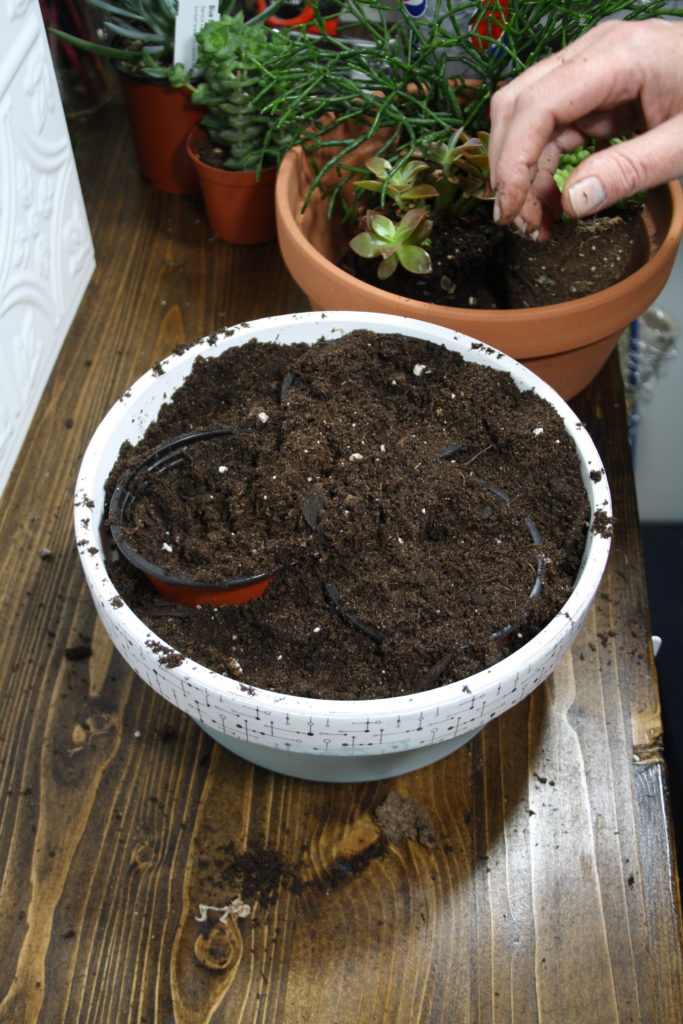
add soile and tamp down

Add soil and tamp in place around the empty pots.

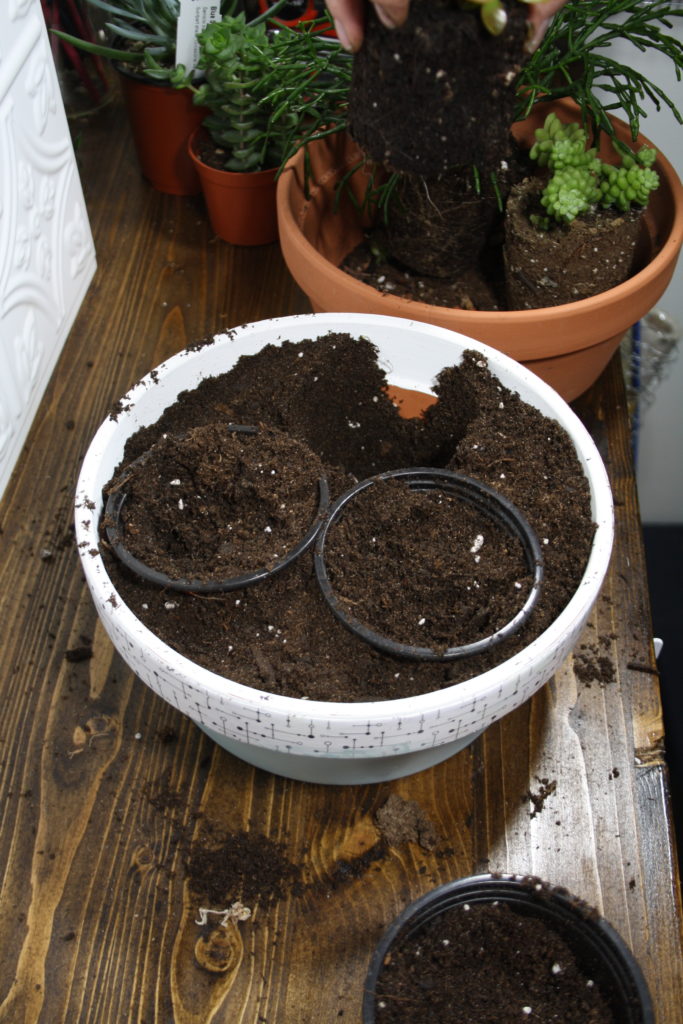
Remove the pot leaving a planting hole

Take out one of the pots and there’s your planting space.

pop a plant in

Pop a plant in and move to the next ‘space’.

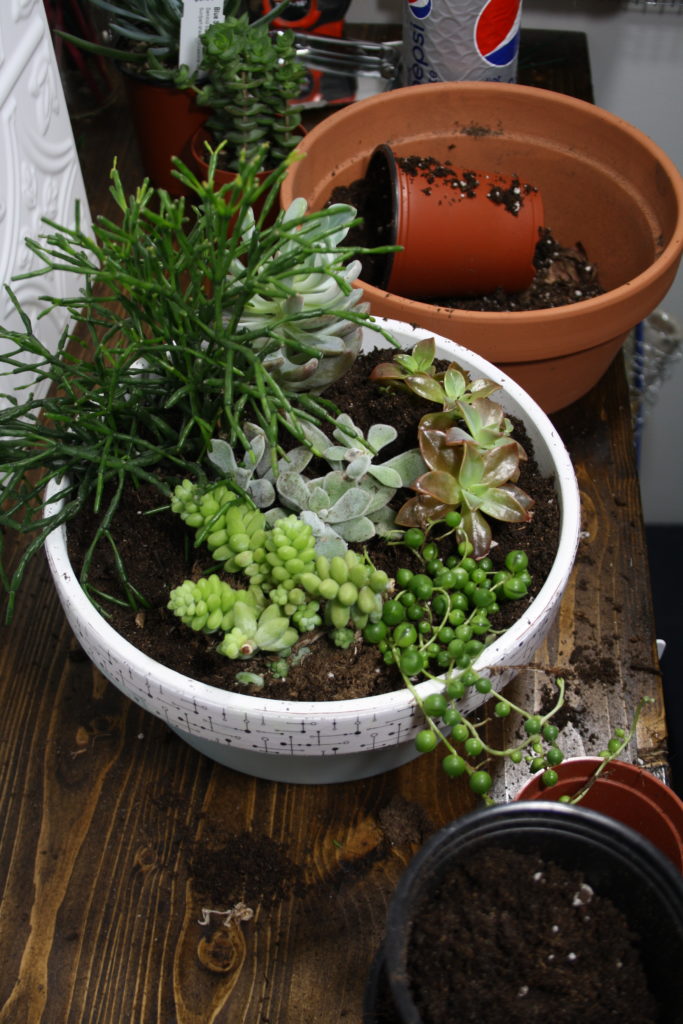
Continue until it's all planted

Here you can see the finished arrangement with a few more plants added in.

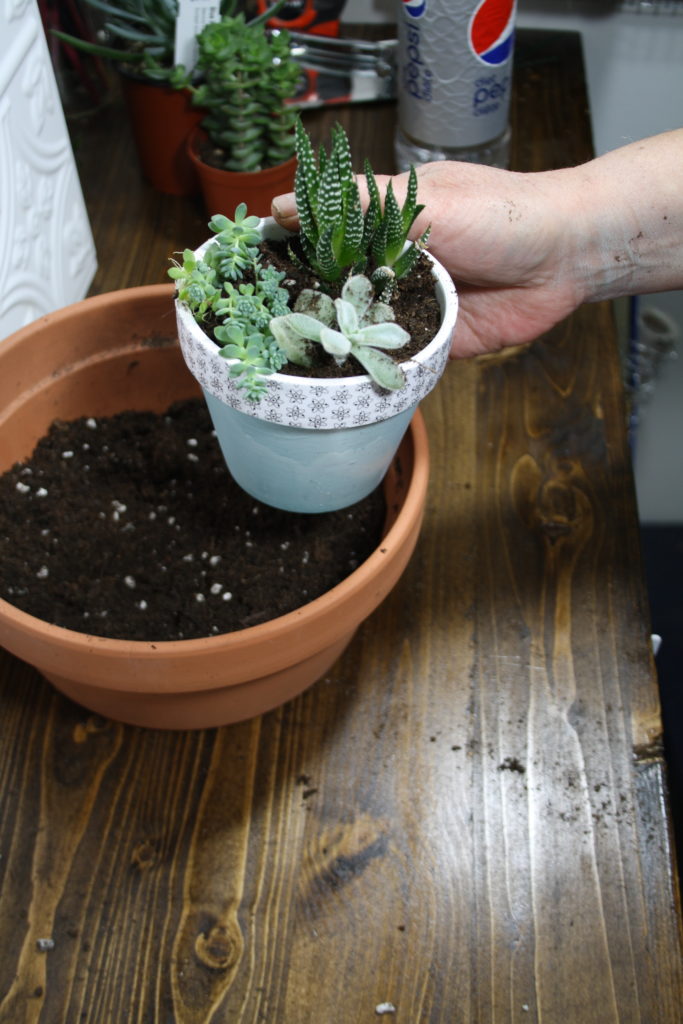
Small planter

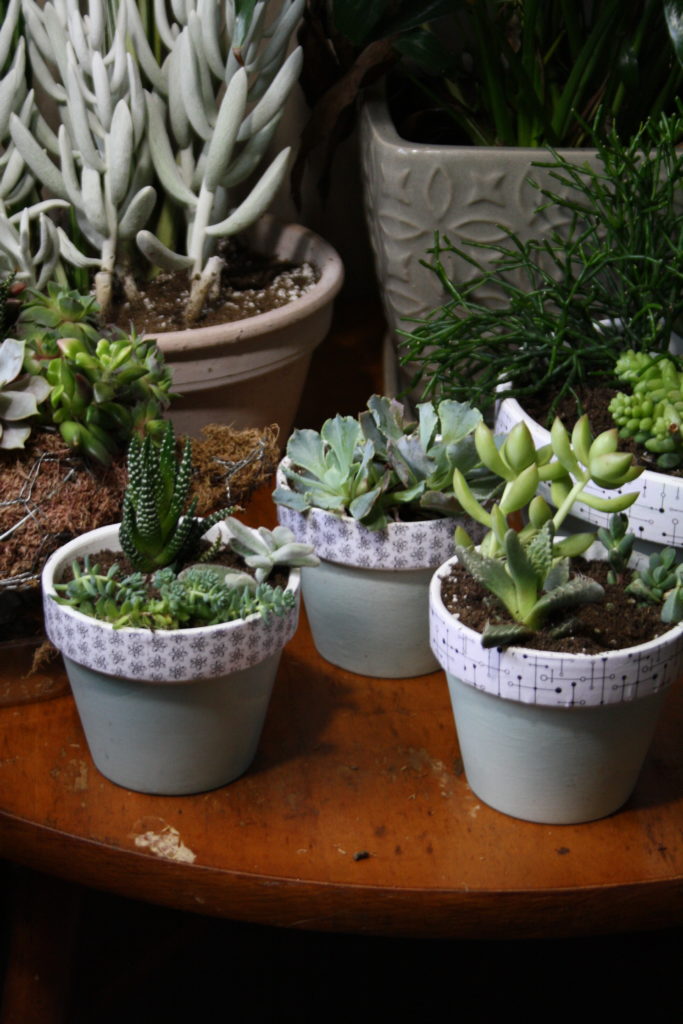
One of the smaller pots, still using the formula of thriller, filler, spiller. I love the way this little pot came together with the delicate blue trailer, the fuzzy leaves of the filler and the spiky dark green height behind.

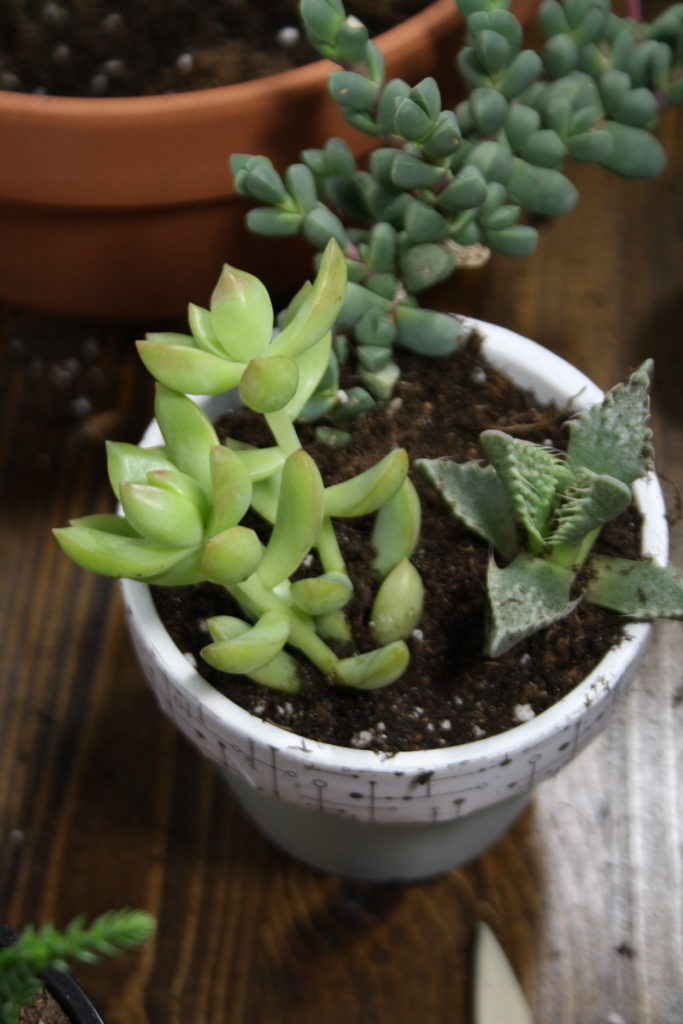
Another small planter

Here is another small pot. Check out Jaws in there!

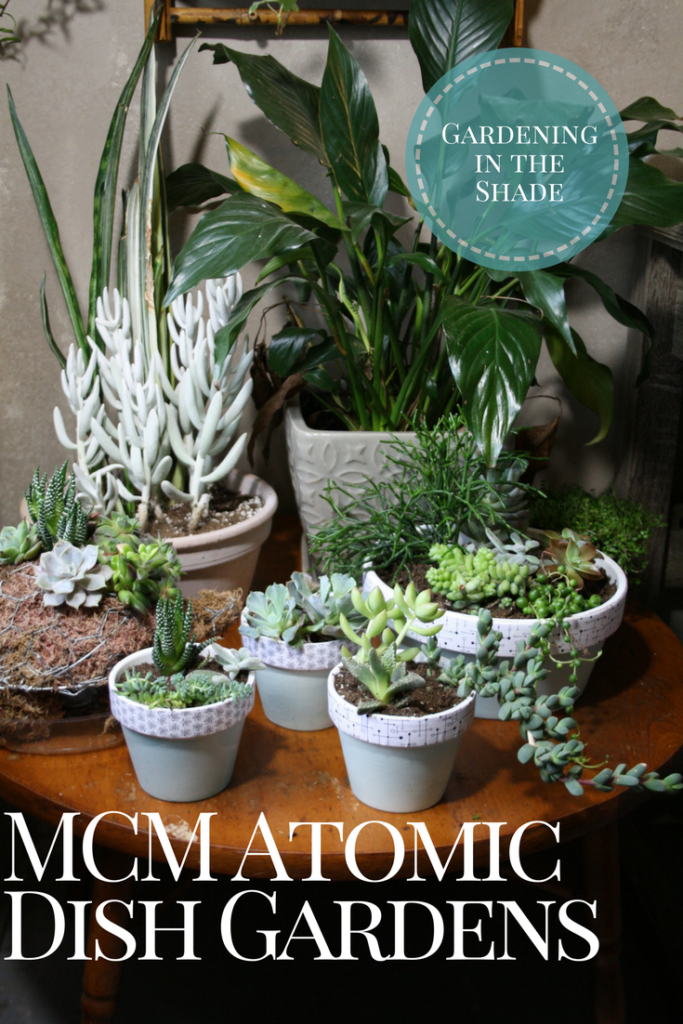
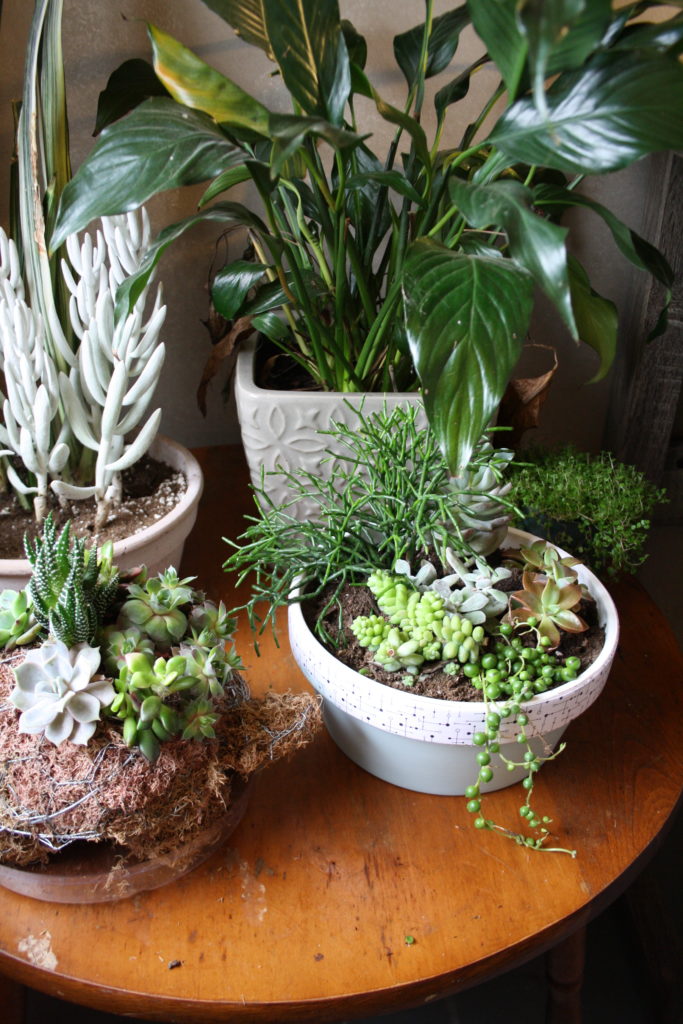
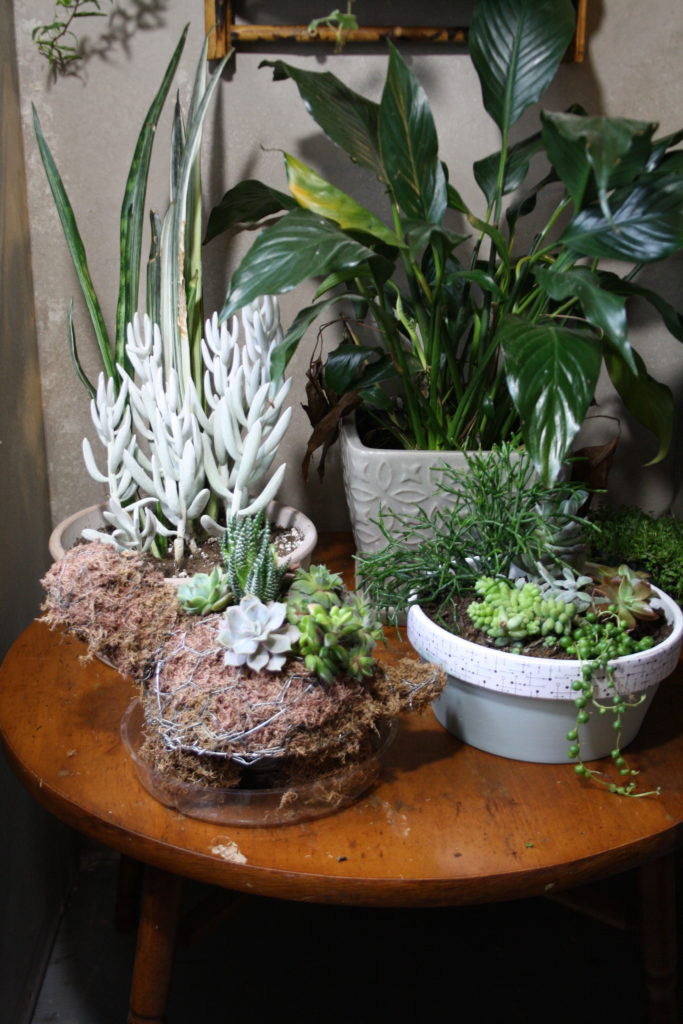
Some of my collection

This little table used to be my play table as a kid. Now it sits beside my desk under a window.

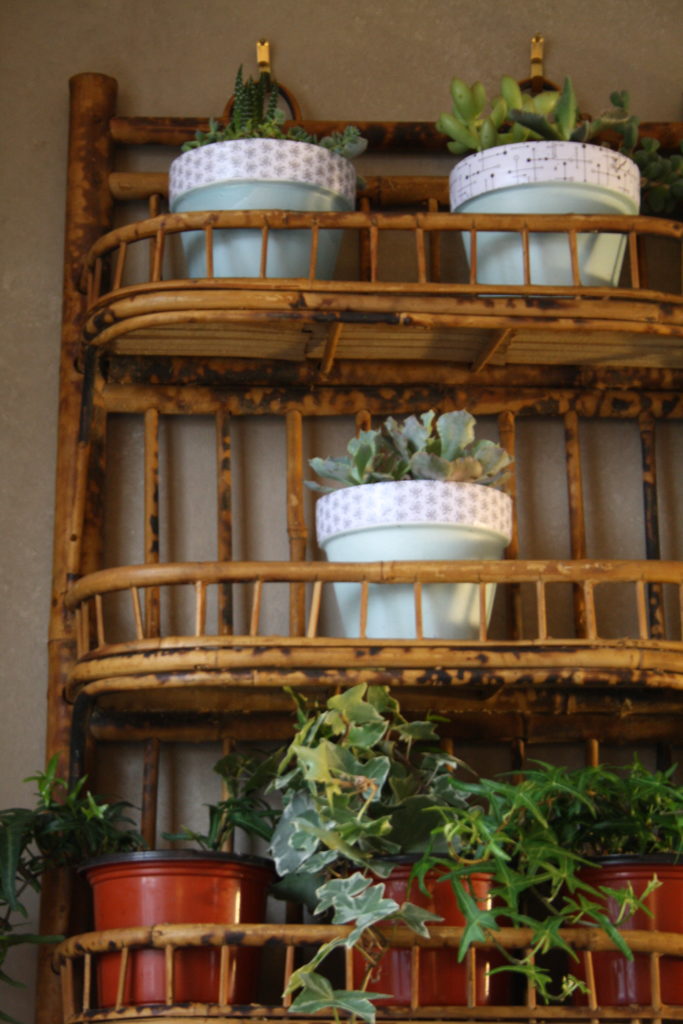
the smaller pots in my wicker shelf

This little wicker thrift store shelf hangs above.

with the mini turtle

It’s also home to my mini turtle topiary.

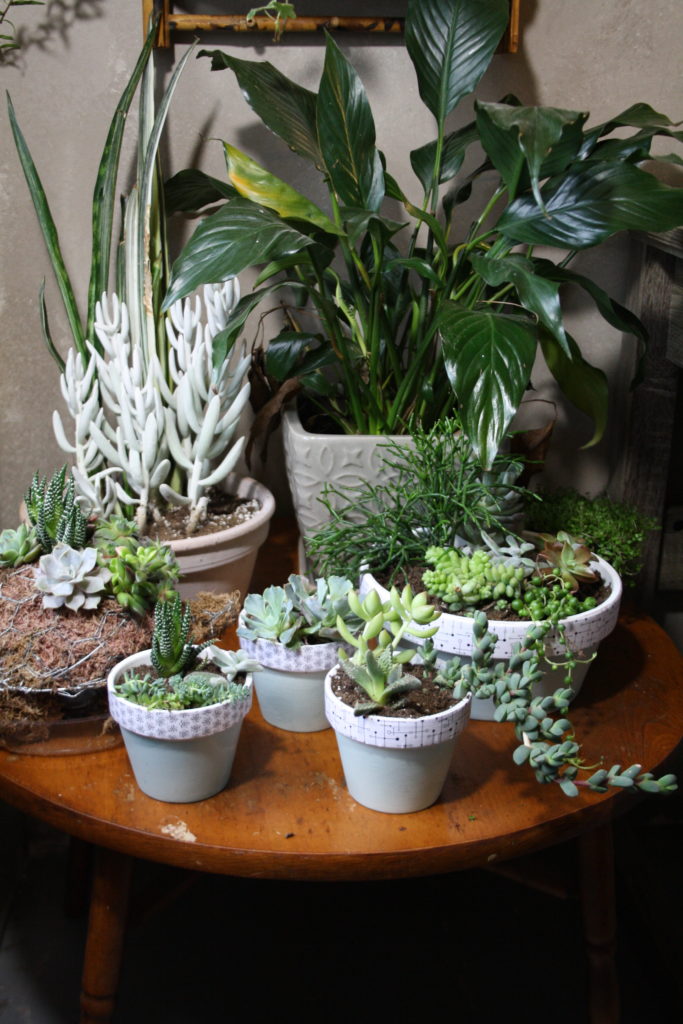
All together now

these little pots make me happy

These little pots with their ‘Atomic’ patterned rims make me happy.

If you enjoyed this post, don’t forget to share it with your friends! For more just like it follow me on Pinterest, Facebook and Twitter or sign up for regular updates by email.

If you have ever thought about starting a garden or craft blog of your own see how easy it is >>here<<.

Save

Save

Save

Owl Topiary

Owl-Topiary

I was pretty excited to get started on this owl topiary but now that it’s finished I don’t like it. I’m finding if it’s a more vertical topiary, they are harder to plant. The more horizontal ones – like the turtles are easier. It doesn’t help either that for some reason getting the photos to my computer and then uploaded to here did not go as usual.

When I’m working with pictures, I usually change all of my file names to more descriptive titles before uploading. I may even include their order in the file name. Unfortunately each time I attempt to do any of that, my computer freezes up, so here we are. I’ll attempt to make the best of it but this won’t be a proper tutorial.
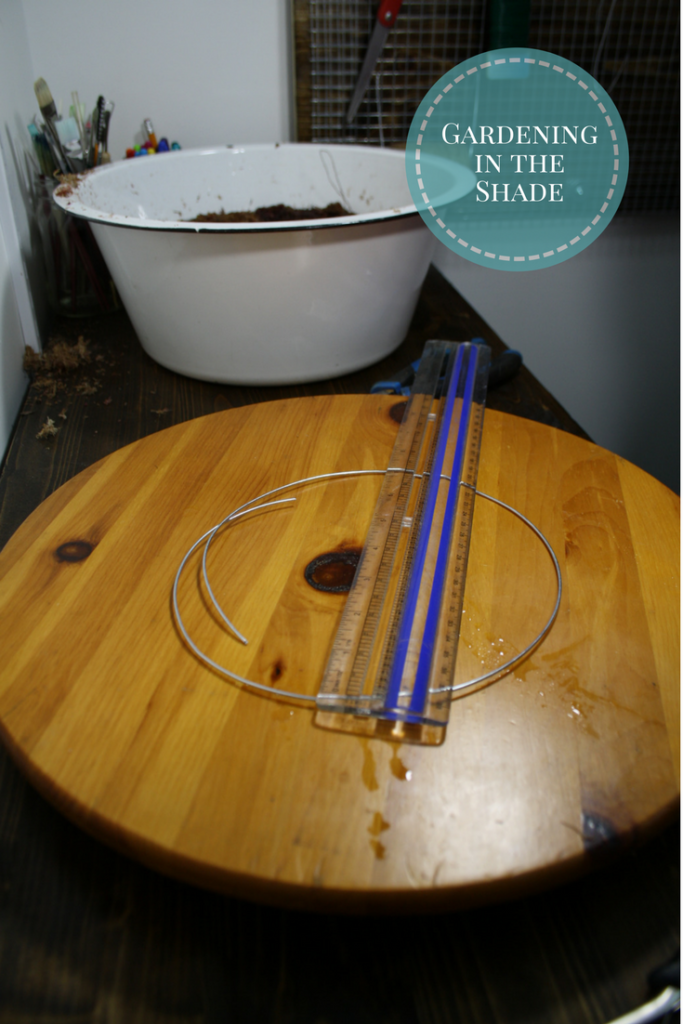
Circle of wire and beginning of body

For the base of the owl, I made a circle of wire about 7″ across. From there I attached two somewhat egg-shaped pieces of wire, crossed at the center. You can see I twisted them together and then wrapped it with finer wire to secure them. These are then attached to the base with all wire ends facing into the body of the owl.

Forming owl beak and ear tufts

This next piece of wire forms the beak and ear tufts.

completed frame for owl topiary

Before wrapping the frame in mesh, I added a third wire to support the center of the beak. I’m not sure it was necessary, but I do know it made planting in that area tricky.

attaching mesh to base of owl topiary form

The chicken wire is formed into a tube again, and the bottom edge securely attached to the base of the owl form.

Wire mesh over owl form

I’ve mentioned shaping the chicken wire in other posts. It’s surprisingly easy. If you compress the hexagons of the mesh one way, they get longer the other way. So when I want the ‘belly’ of the owl larger than the base, I shorten the hexagons and it gets wider. At the top of the owl’s head the mesh gets overlapped and wired close.
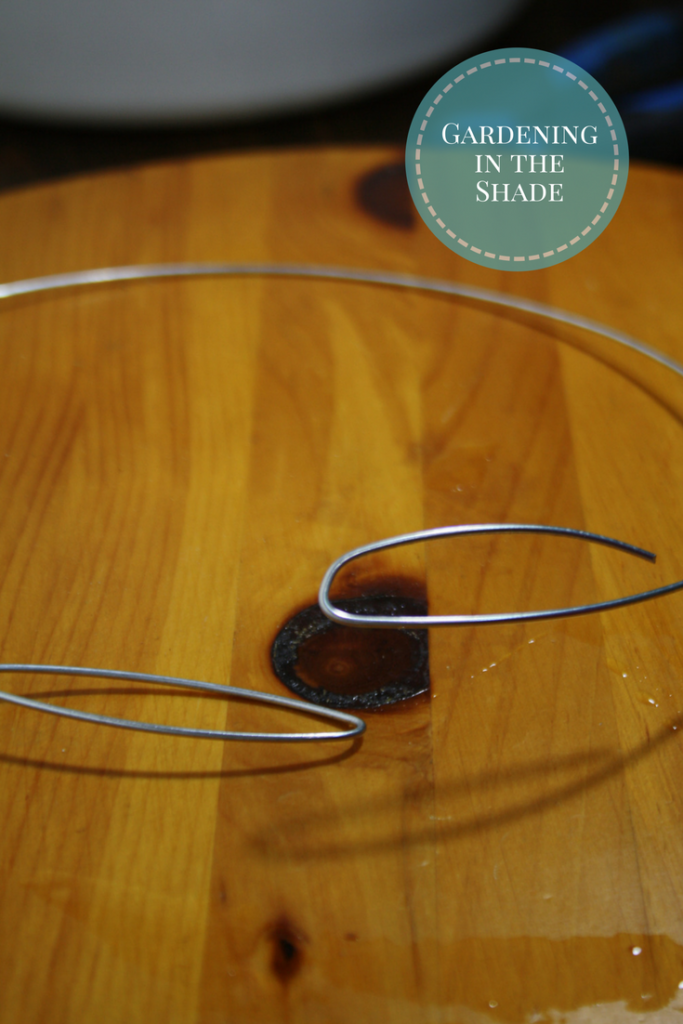
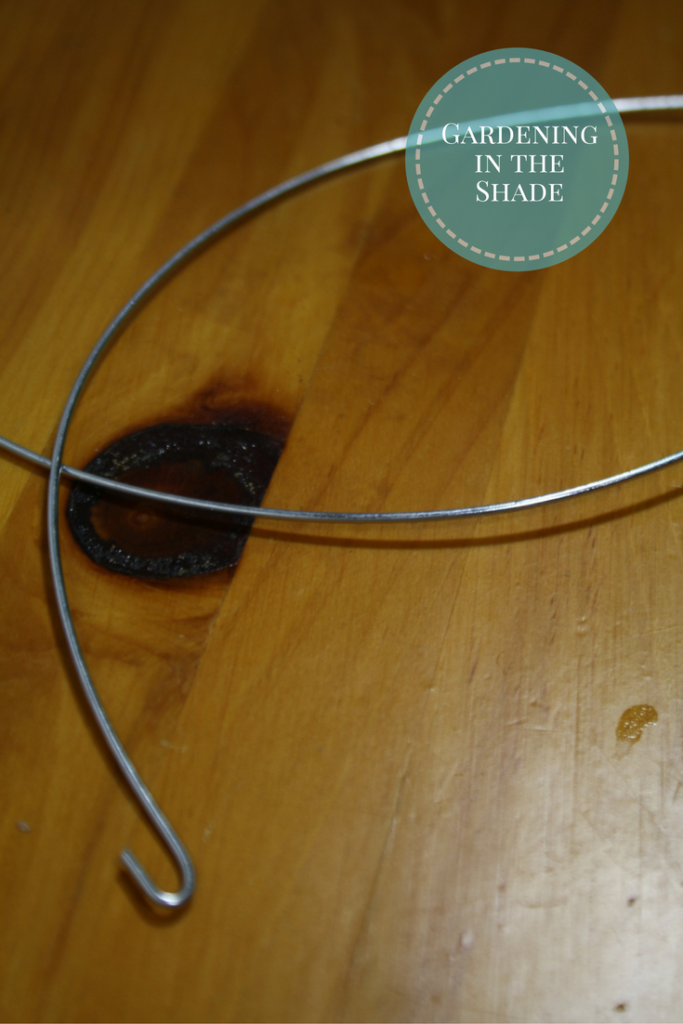
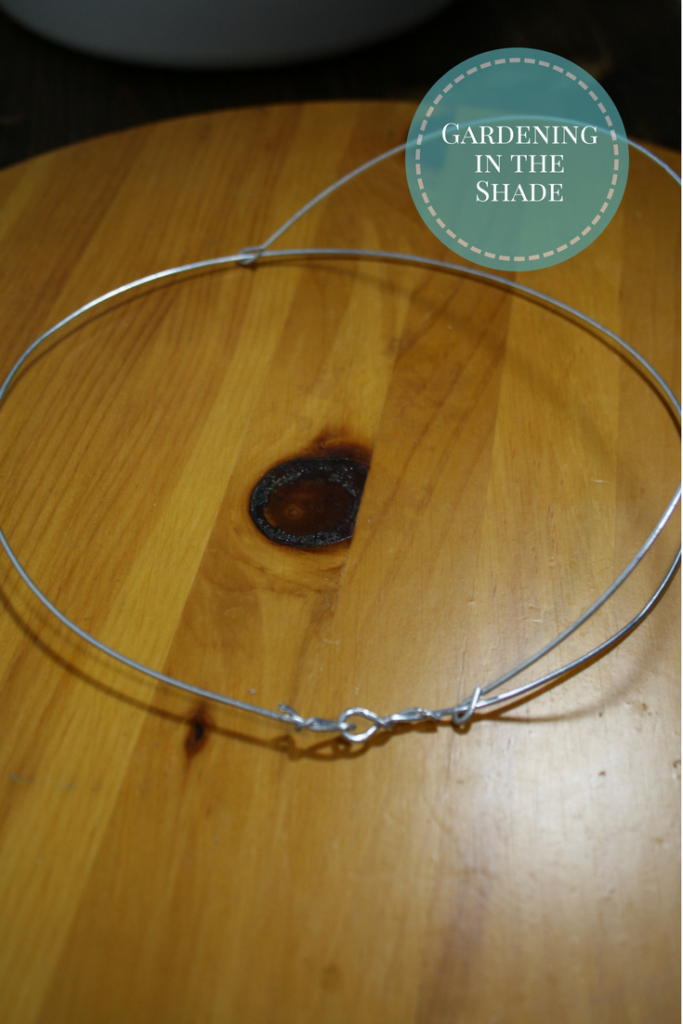
squeeze extra water from moss and fill frame

From there I started stuffing the owl. Squeeze out the moss as much as possible, and fill the owl topiary. The ear tufts took special attention to make sure they were completely filled. The entire owl took a surprising amount of moss to fill – it needs to be firmly packed in because it seems to shrink as it dries.

Planting the Owl Topiary

Until this point, I was pleased with my owl. It looked like an owl and more important, it looked like the picture in my head. Then I started planting it.

two large rosette shaped succulents for eyes

I’ve had these two rosettes set aside for a while. All along I knew they were going to be my owls eyes.

Tufts added and belly planted

I used florist wire to secure the plants, they can be taken out once everything roots into the moss.

planted owl topiary take one

At this point, I left the owl over night. Sometimes ideas need to simmer.

planted owl topiary take two

Eventually I added more Sempervivum (hens & chicks), thinking that would improve the look of the owl.

It did not.

I’m going to set him in a sunny window for now, we’ll see if time and plants growing improves him a bit but I honestly prefer the look of the mini turtle from last week.

If you want to see how I eventually used this owl click here for an update – The Owl Herb Planter

What do you think? Which is your favorite? Click >>here<< to see what I eventually did with this topiary.

If you enjoyed this post, don’t forget to share it with your friends! For more just like it follow me on Pinterest, and Facebook or sign up for regular updates by email.

If you have ever thought about starting a garden or craft blog of your own see how easy it is >>here<<.


Save

Save

Save

Save

Topiary Mini Turtle – Tutorial

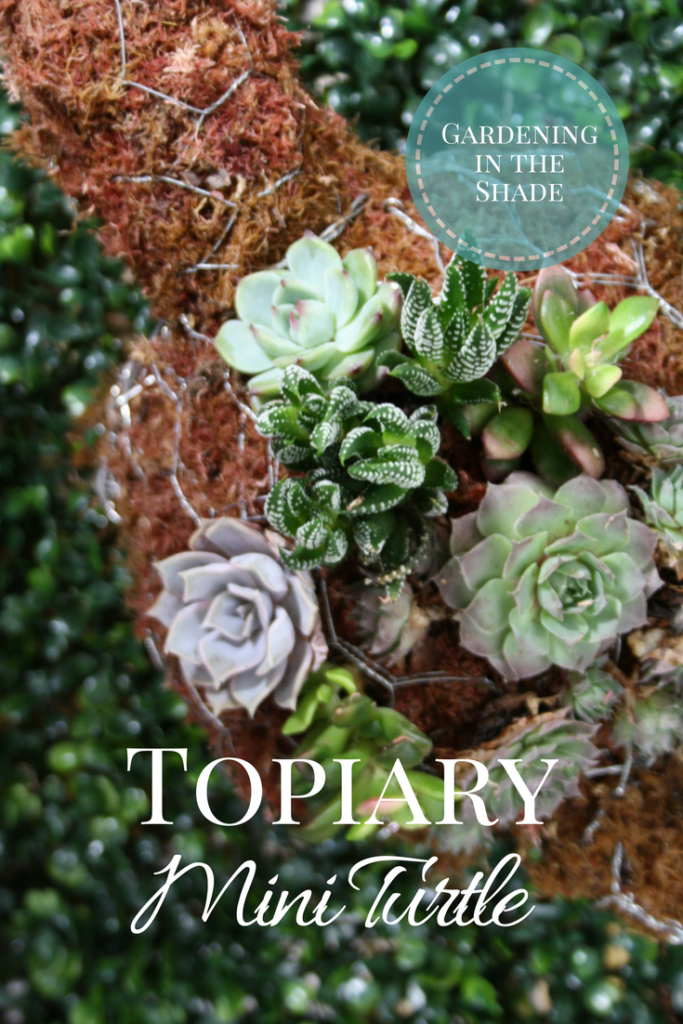
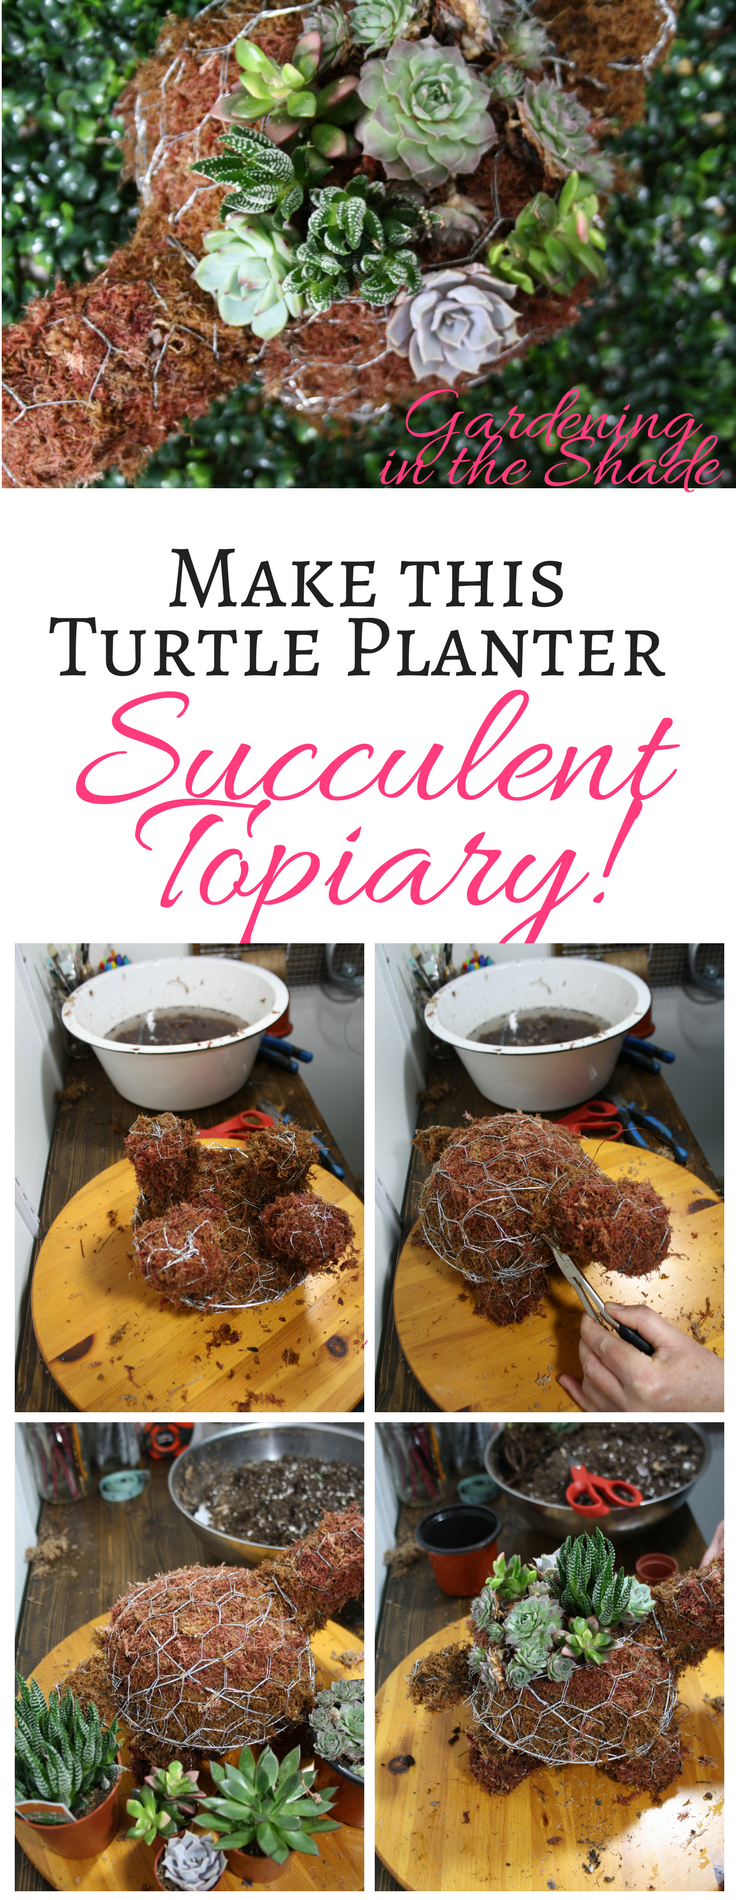
Topiary Mini Turtle

I decided it was time for a topiary mini turtle. Fred, my other turtle, is adorable, but just a little to big for the house. And what better project to launch my new craft space? Let me tell you, having a designated spot to work on my projects is a dream! I was able to take my time with this little guy, knowing I wouldn’t have to tidy up part way through so I could use my kitchen table as a table.

If you’re reading this, I hope you won’t think making topiary is hard. It’s mainly just twisting wire, and anyone can do that! That said, just a couple of cautions. Chicken wire is stabby, in fact all wire is. When you are forming your topiary, twist all of your sharp ends towards the inside where the moss will cover them. Be sure to clean up all the little bits of wire after, nobody enjoys pulling a piece of wire out of their foot. Never place your finished topiary directly on furnishing. His feet are scratchy, sometimes they’re wet too.

Please note, some of the links below are affiliate links. If you make a purchase through these links, this site earns a small commission at no extra cost to you.

Mini Turtle – what you’ll need.

  • Snips, Pliers and wire cutters. I’ve been using my snips to cut the wire, they are easier to use and less flying bits to worry about.
  • A basin or pail of water to soak your moss.
  • Chicken wire.
  • Galvanized wire in a heavy enough gauge to hold its shape but still bend.
  • Florist wire.
  • Sphagnum moss. Look for one used for growing orchids.
  • Plants. I used succulents again, but I would love to make one of these and use mini Hosta. Ivy would work too.

Let’s get started!

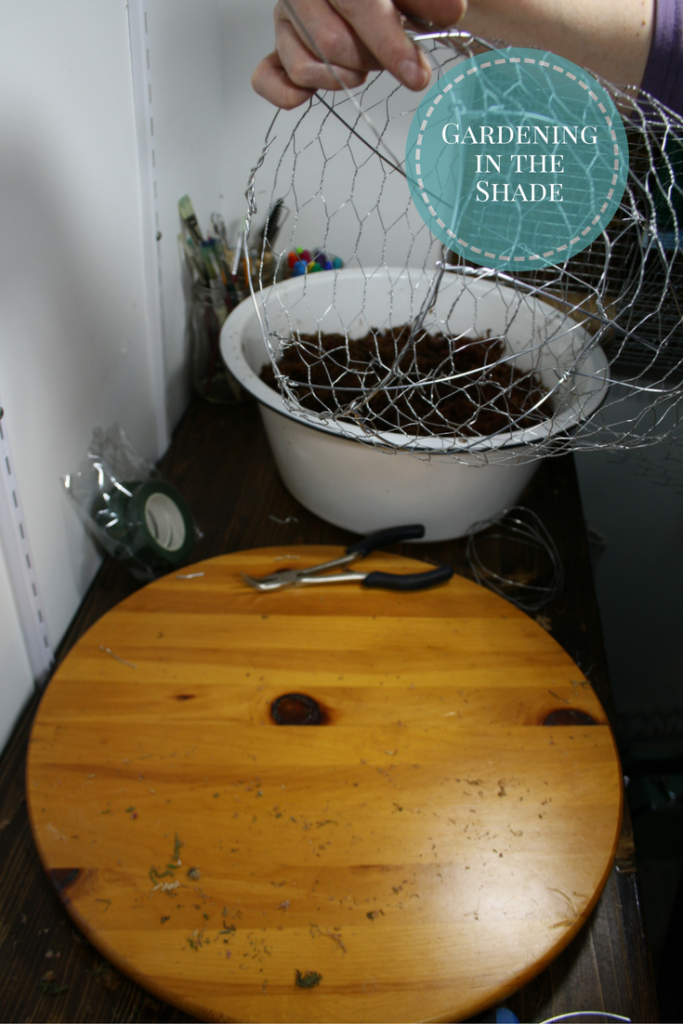
Place your moss in a bucket of water to soak.

For the shell:

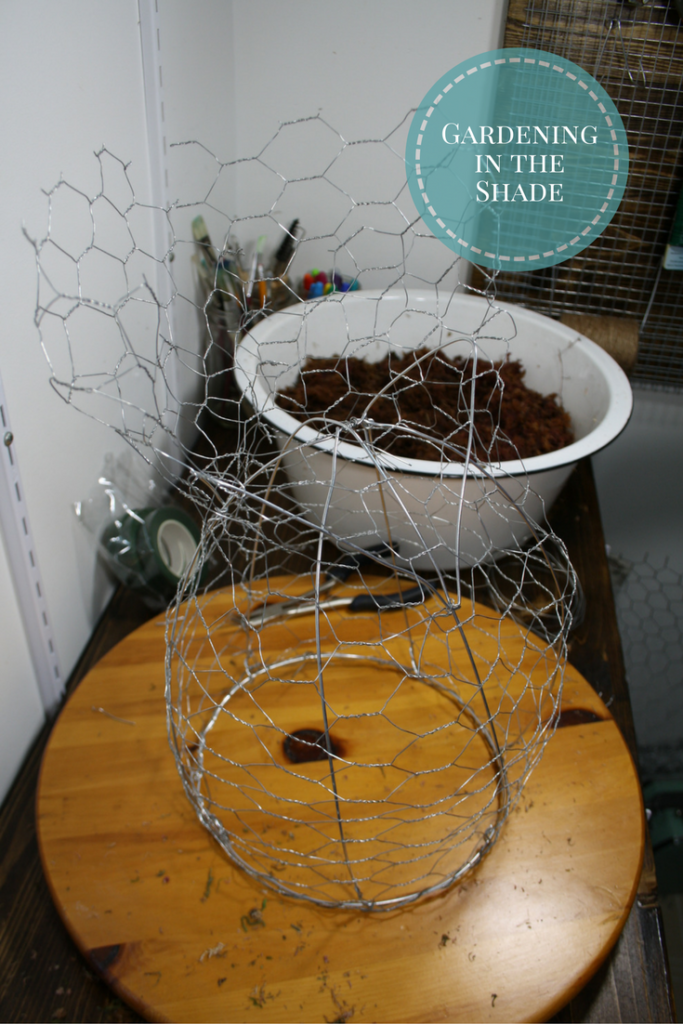
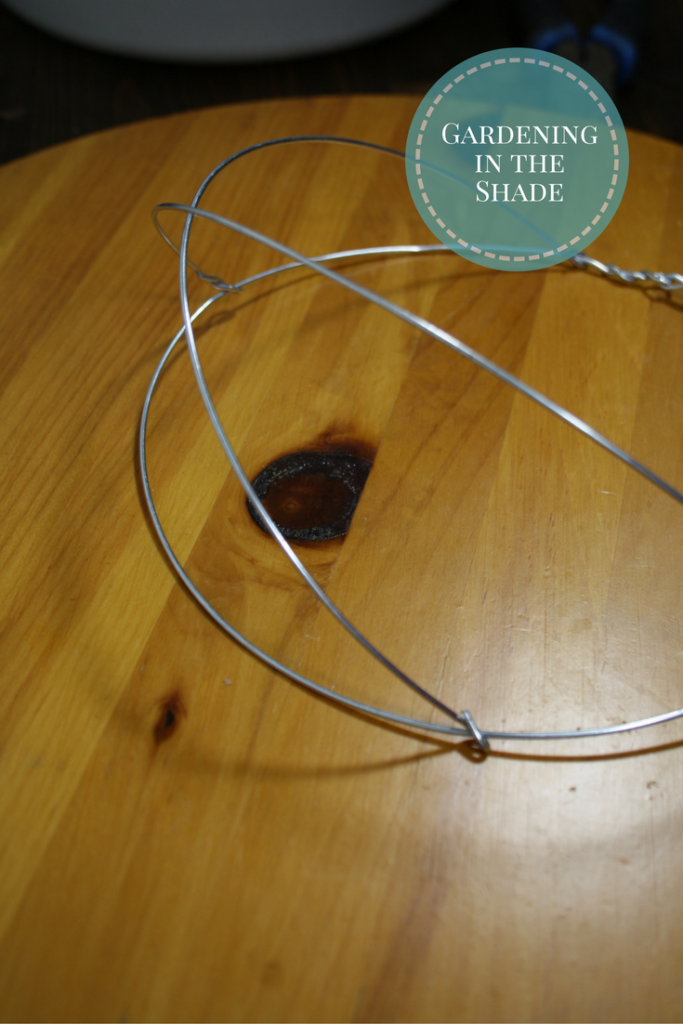
From the heavier wire, cut a piece long enough to make a circle 7″ across with a bit of overlap. This will be the rim of your turtle’s shell.

Fold back each end to make a hook, join together and twist tightly.

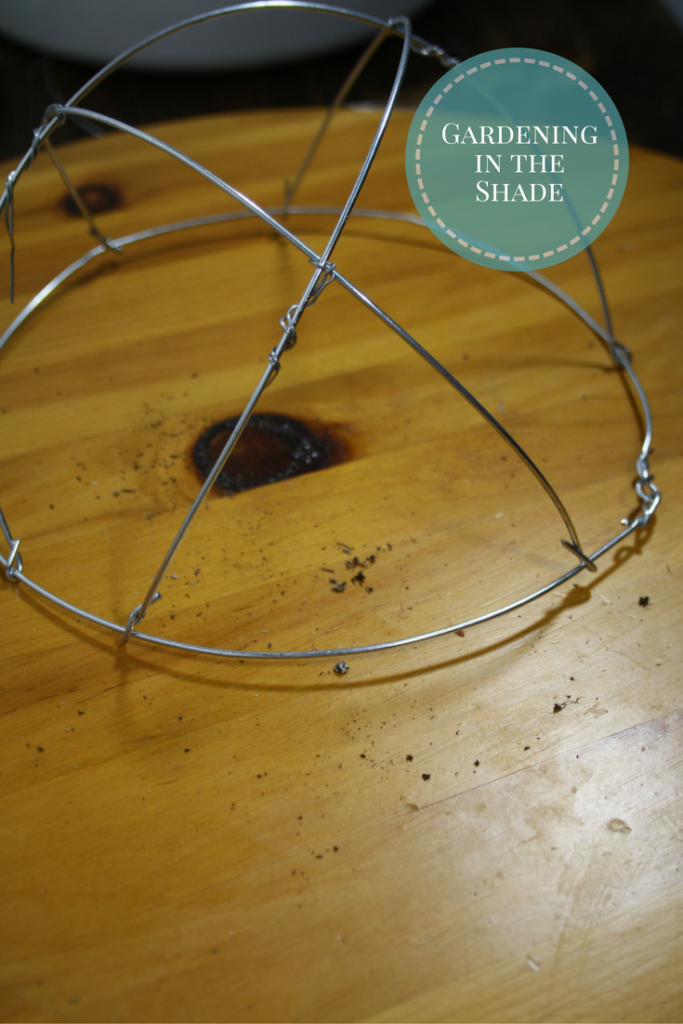
To make the dome of the shell, you will need 3 half circles of the heavier wire. Form a hook in each end.

Use the hook to attach the half circle to your rim.

Repeat with the other two, arranging them around your rim so they intersect.

Where the wires of the shell intersect, tie them with some florist wire.

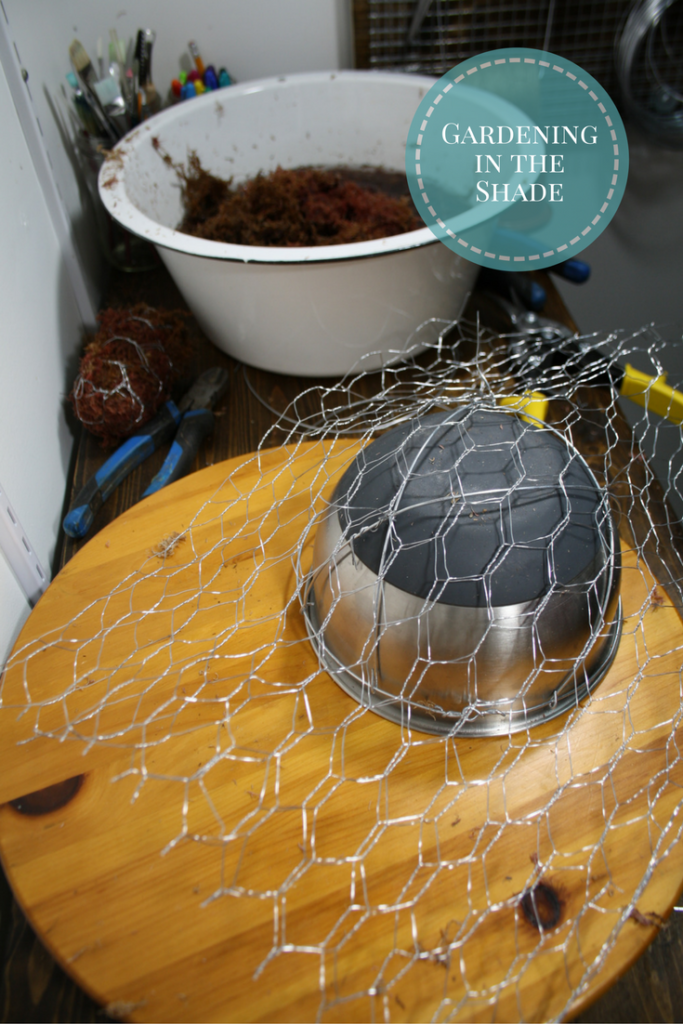
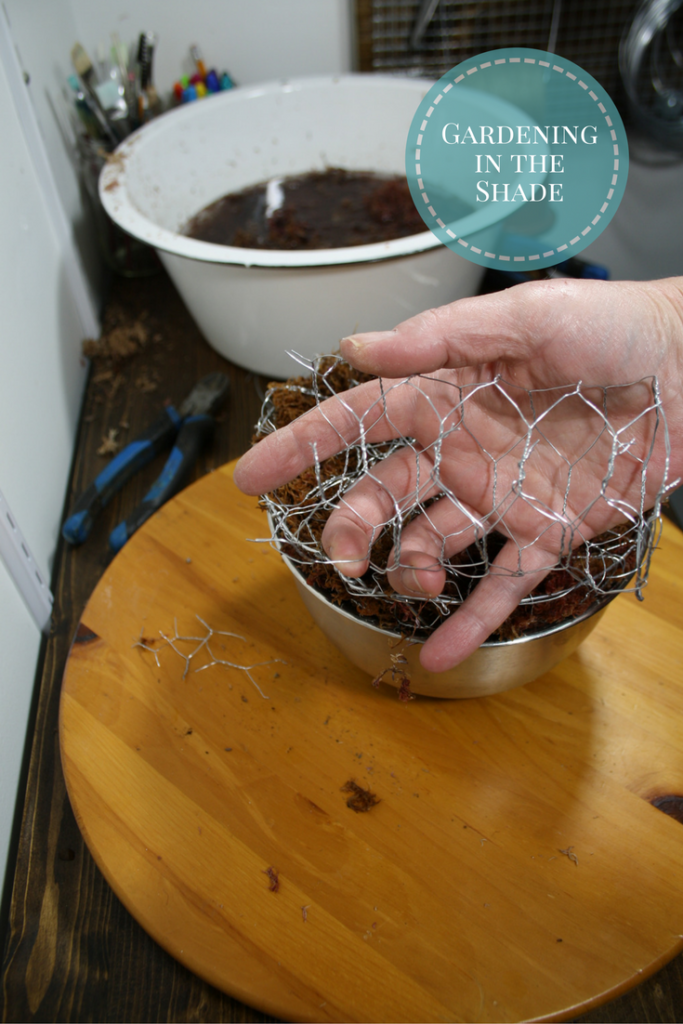
Lay a double layer of chicken wire over your frame. I used an inverted bowl to avoid flattening my shell.

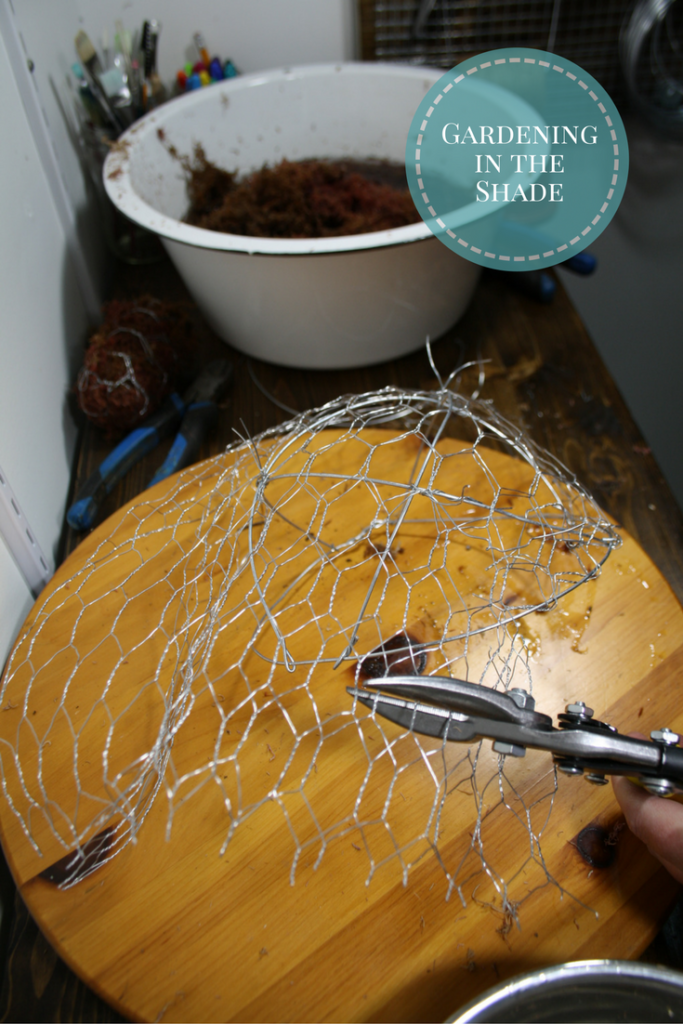
I’ve done this two ways before, you can either fill the shell with moss and fold over the wire to hold it in, or you can attach the mesh to the rim and use a second piece to hold your moss in. I get a tidier look with the second method, so trim away your excess.

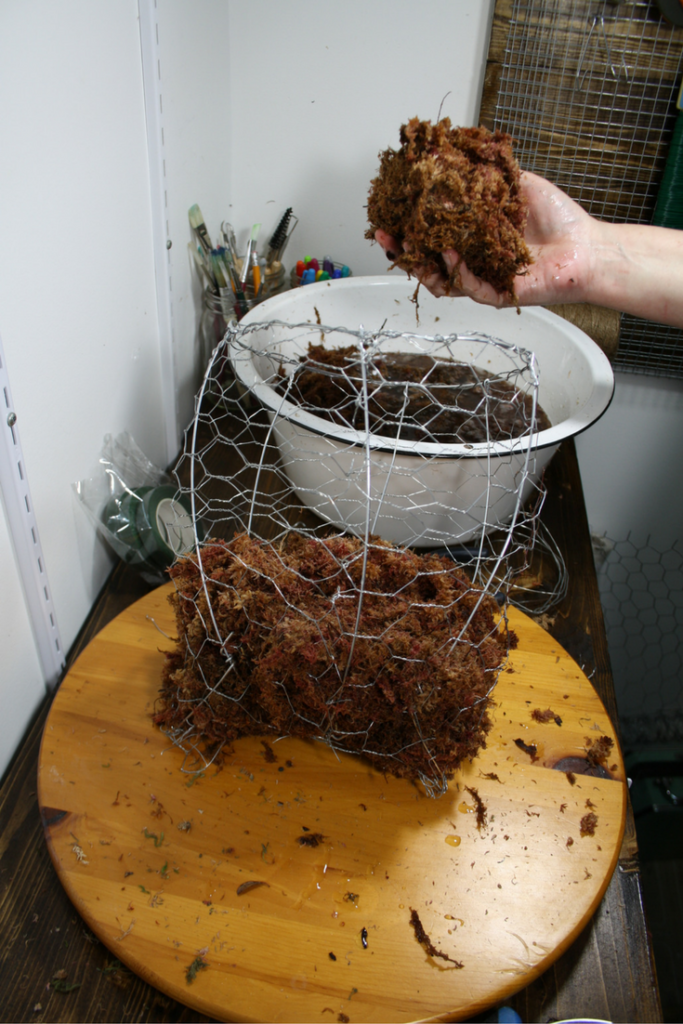
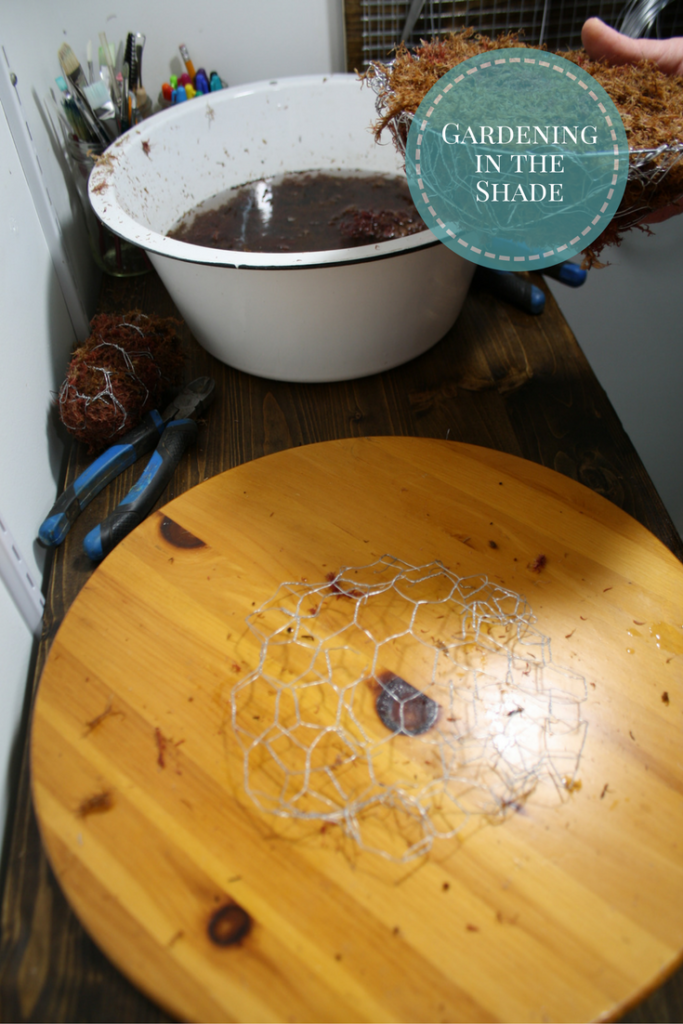
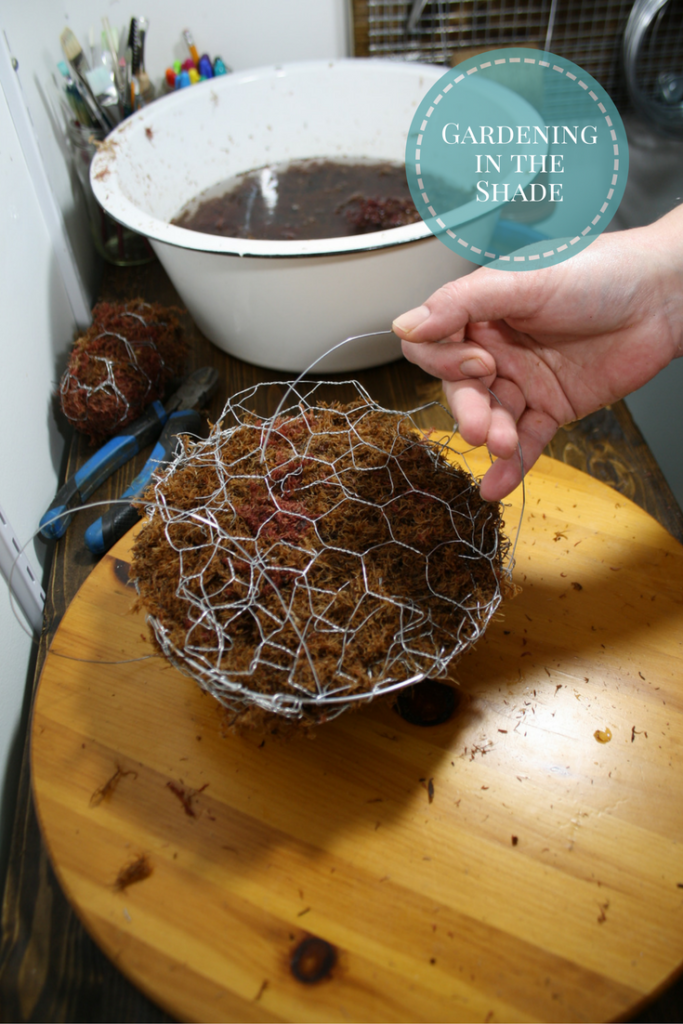
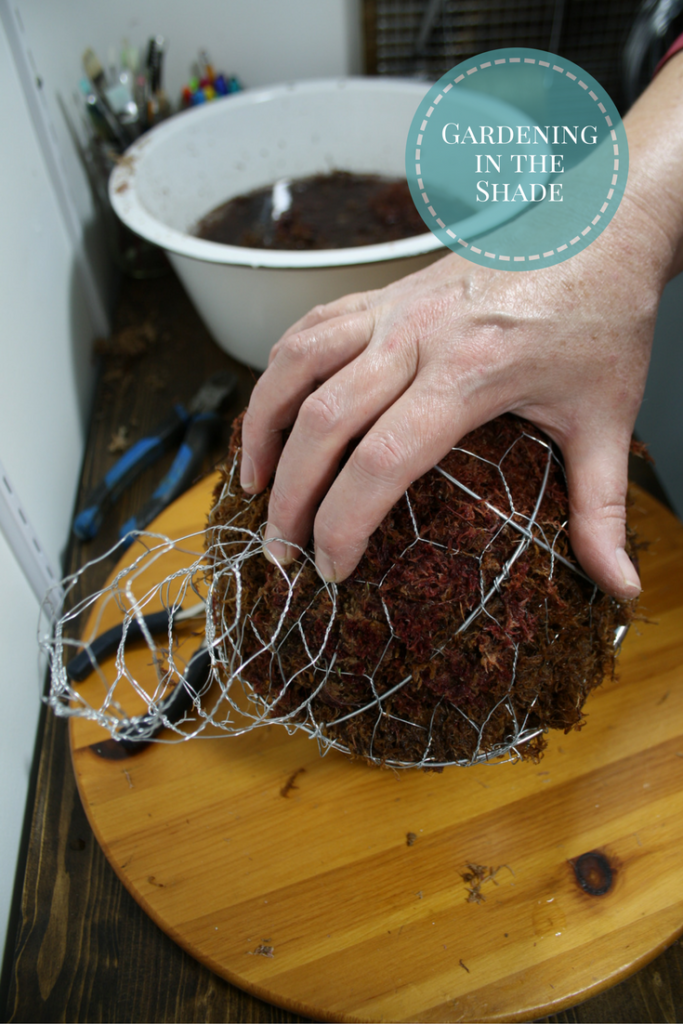
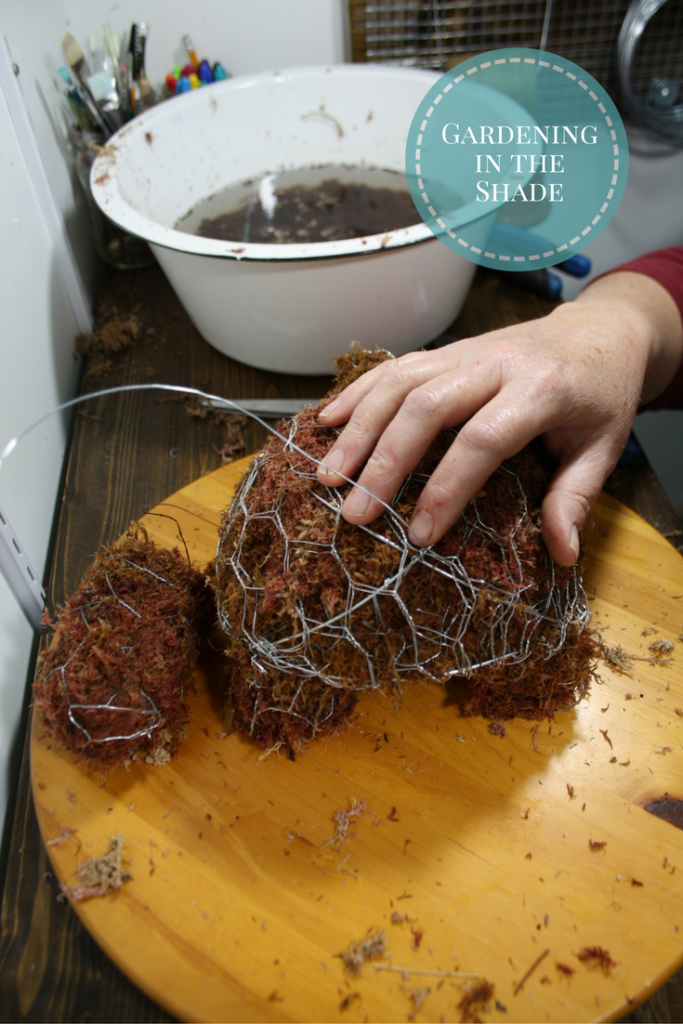
Fill the bowl of the shell with moss, squeezing out the water as you go. Use another piece of chicken wire to shape a lid – the belly of your shell.

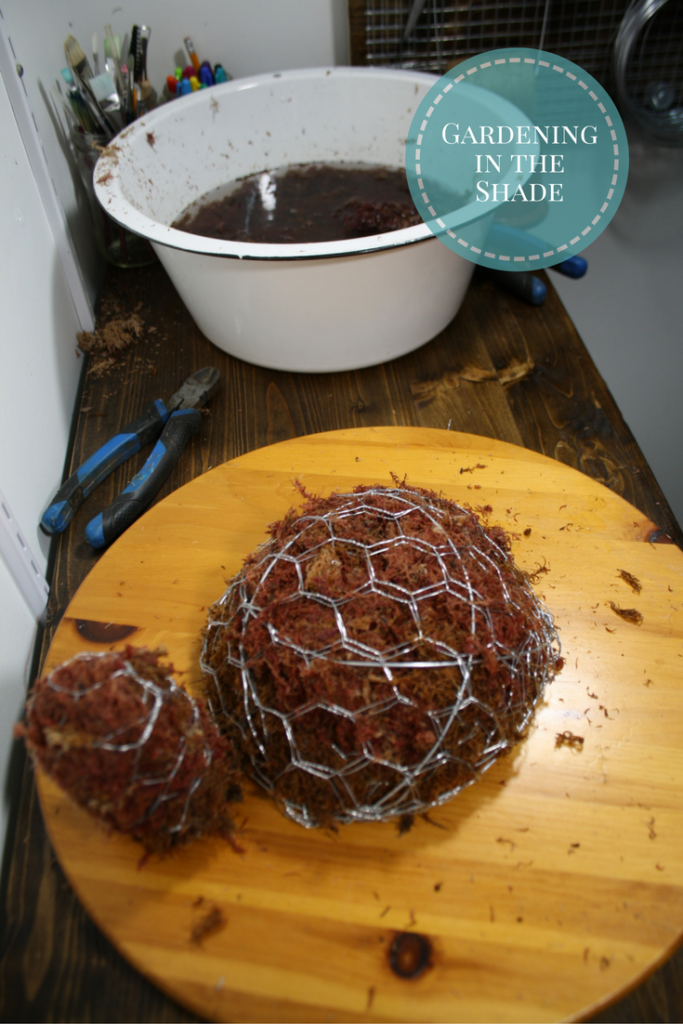
Use florist wire to ‘sew’ everything together.

For the head, tail and feet:

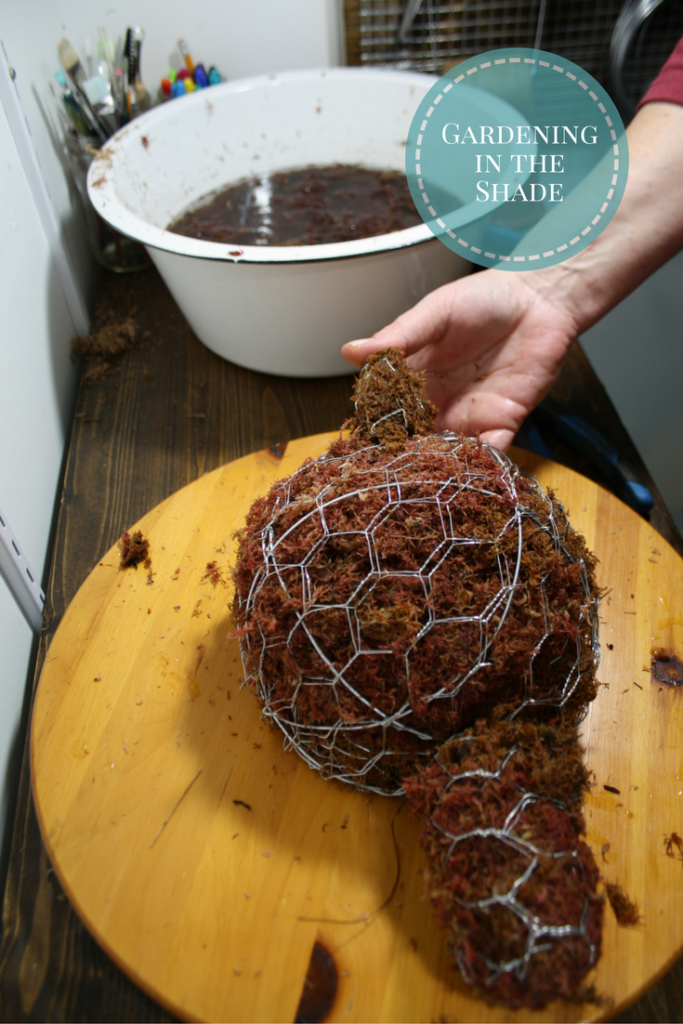
To make the head and neck, make a tube from chicken wire and close on end.

Test it against your turtle and adjust until you are happy with how it looks.

Fill the head with moss and set aside.

Shape and fill the tail. Everything is just chicken wire tubes with one end closed.

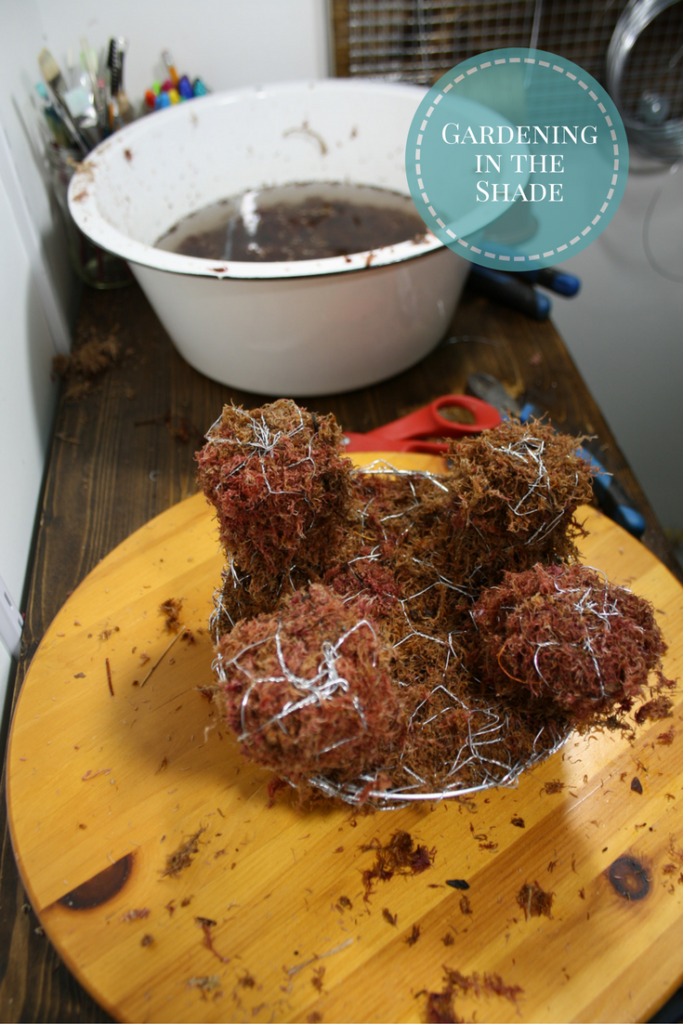
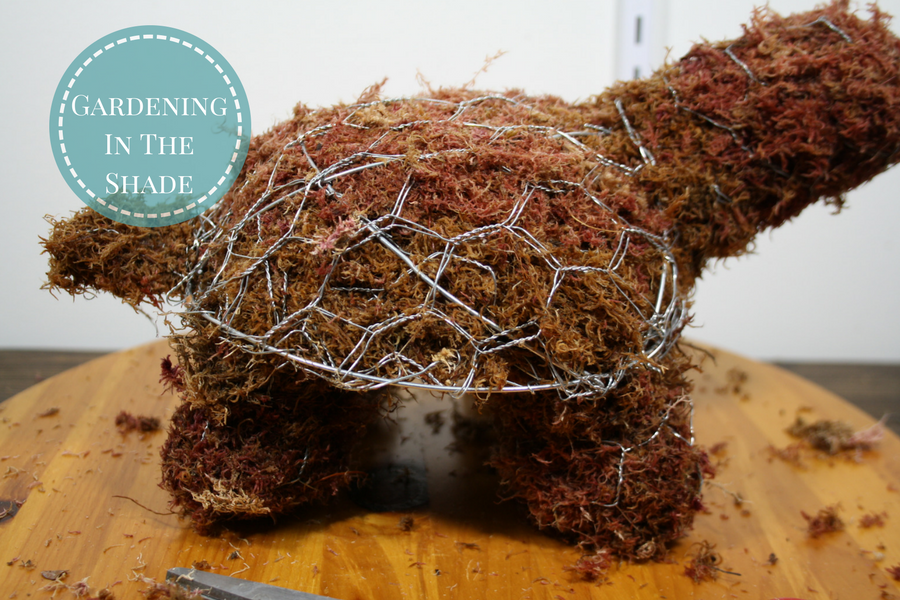
Shape the 4 feet. Stuff them firmly with the moss so they don’t collapse with the weight of the turtle. When you are positioning the feet, imagine the head is 12 o’clock, the tail pointing at 6. The front feet are at 10:30 and 1:30. The back feet are 5 & 6. Use florist wire to firmly attach the feet.

For the head, I like to have more than the chicken wire to attach it too. Here I chose a spot where the frame of the shell crosses.

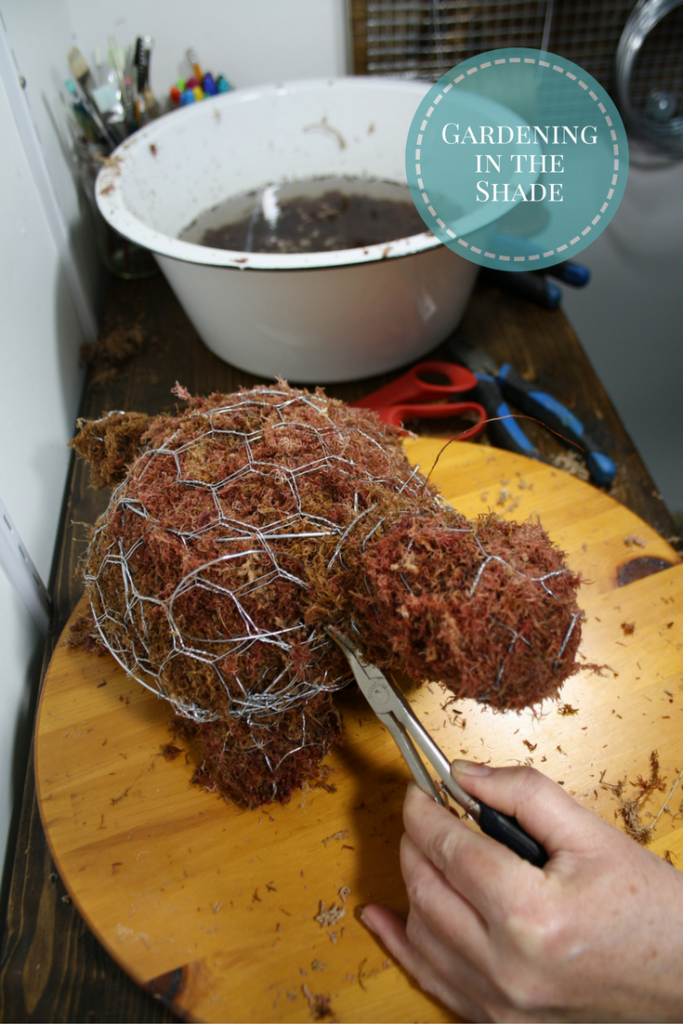
Attach the tail and the head with more florist wire. Make sure the head is well secured and not wobbly.

Your topiary frame is complete!

Planting your topiary.

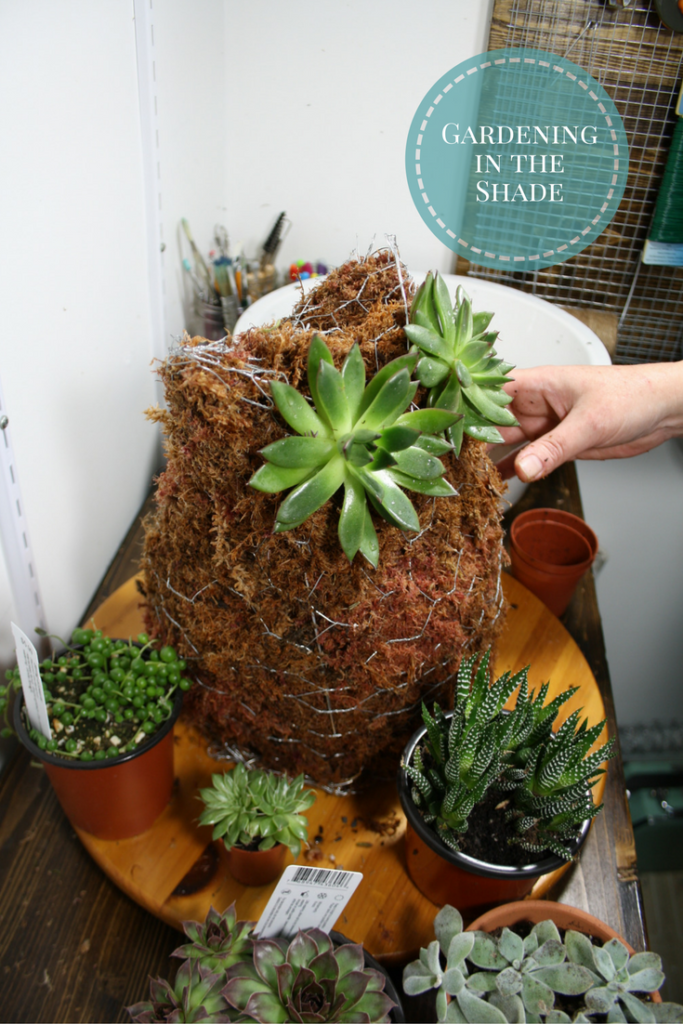
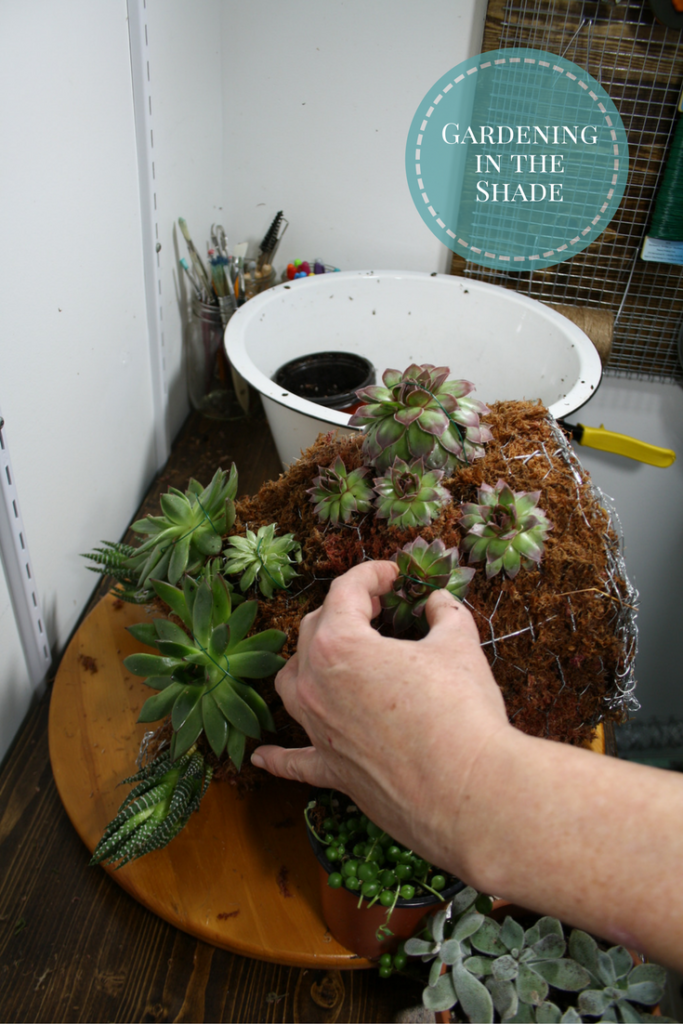
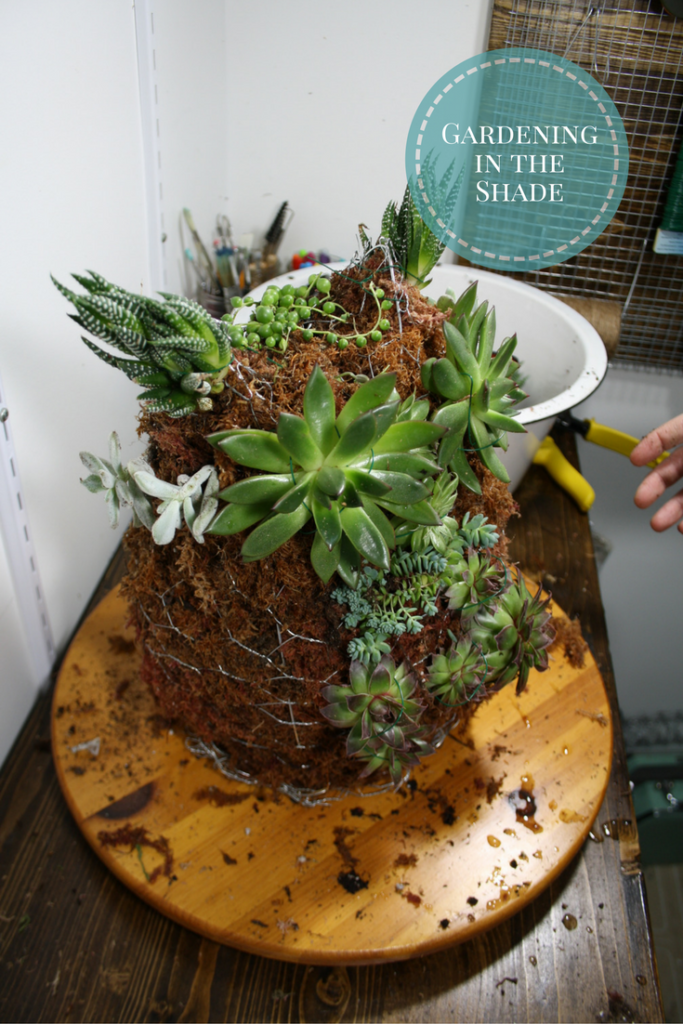
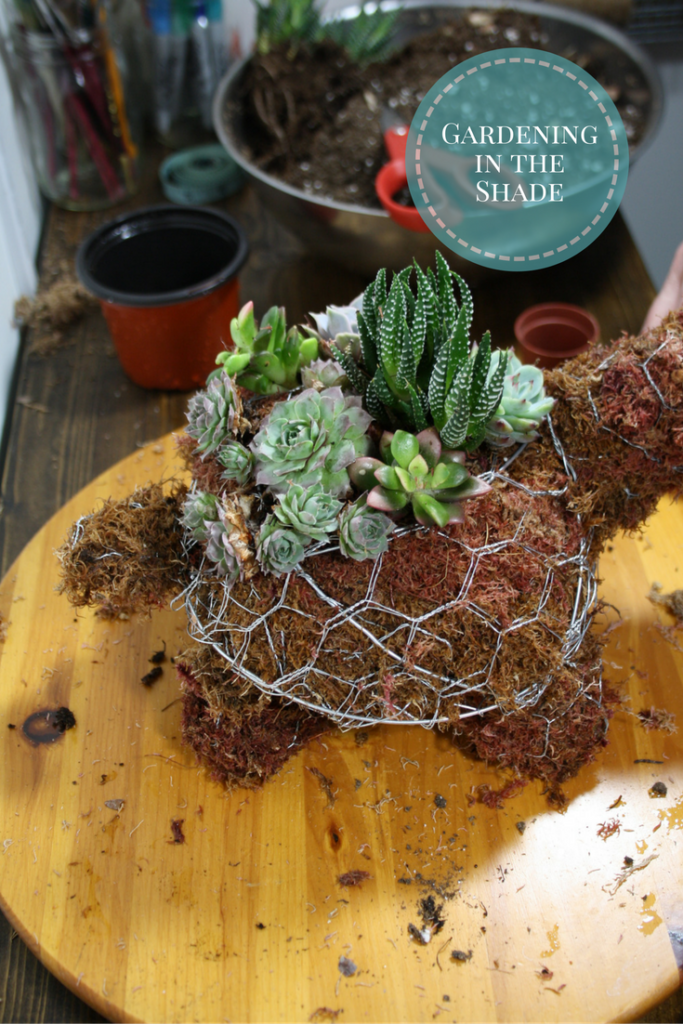
I learned my lesson planting my bunny topiary. These small guys look best with just a few plants.

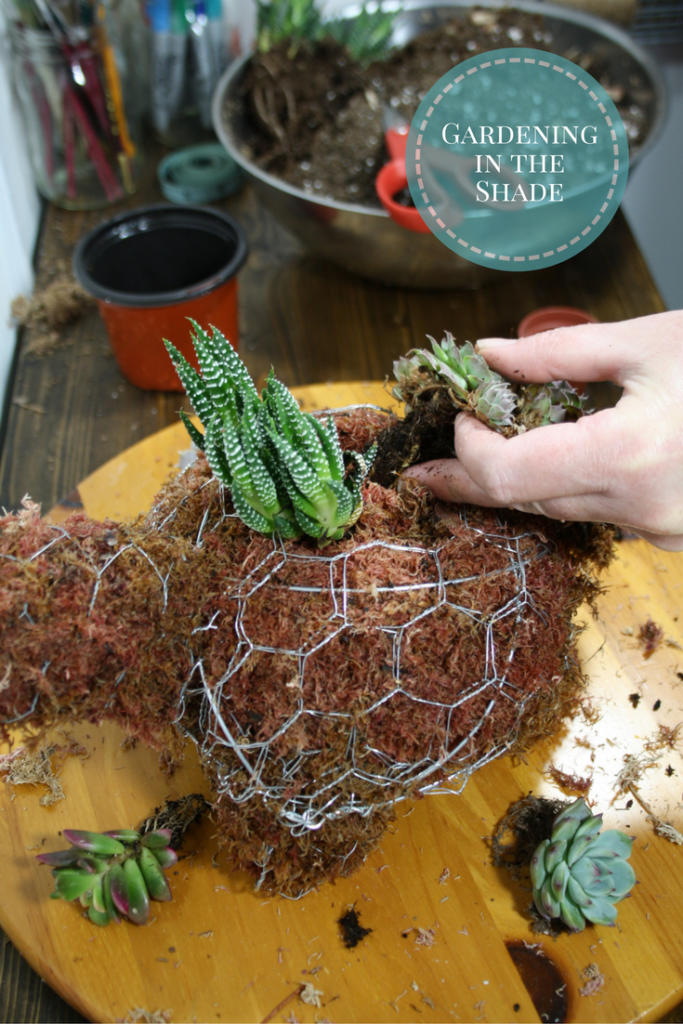
After removing as much of the soil as possible without damaging the roots, work out a pleasing arrangement.

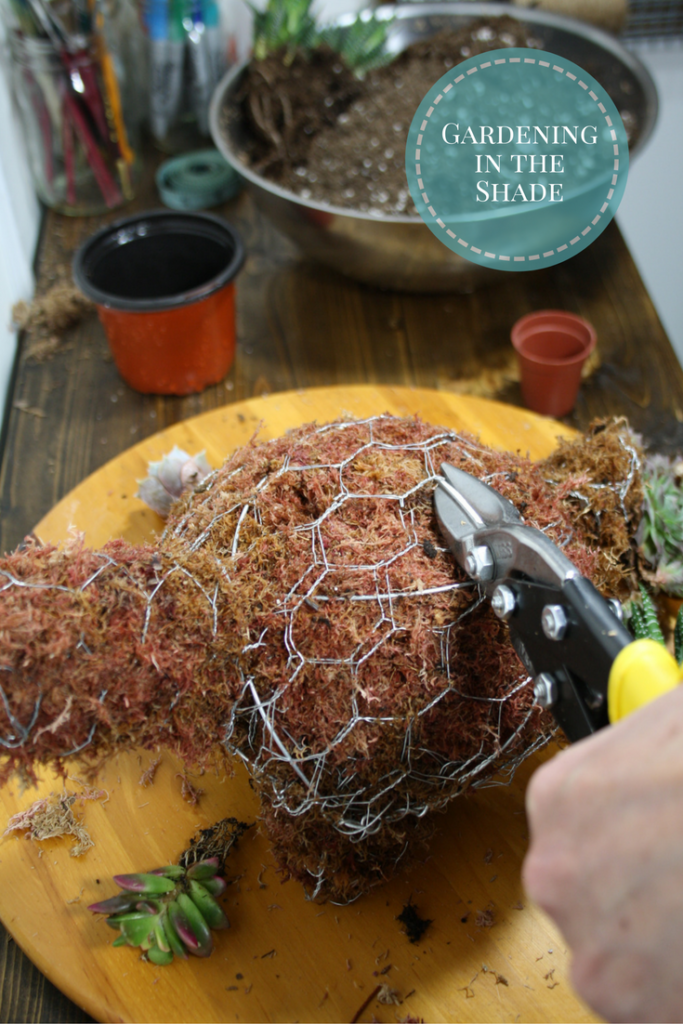
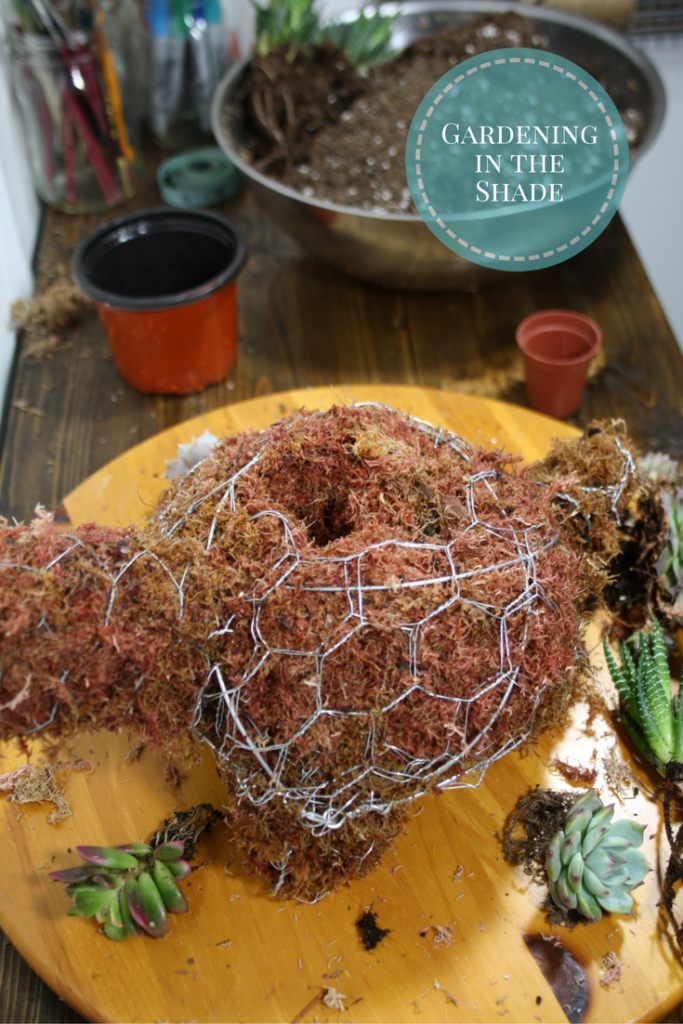
I used snips to remove a small section of the chicken wire so it would be easier to plant.

Use your fingers to make a hole in the moss.

As you plant, use your fingers or a pencil to push the roots into the moss.

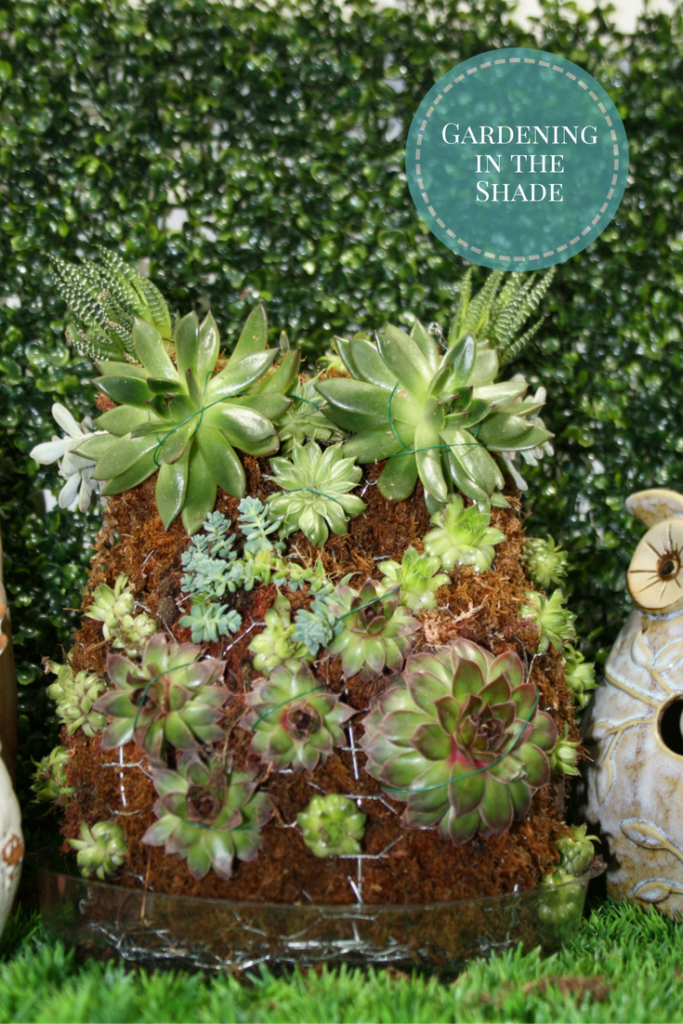
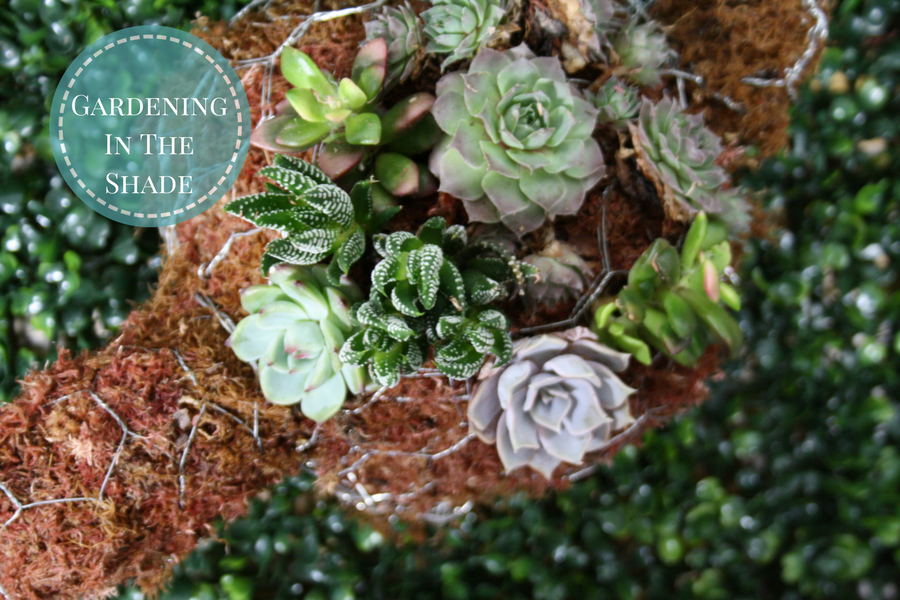
Sticking with my less is more mantra, this turtle is finished.

Photo shoot!

One of the best parts about my new crafting space is the lighting for pictures is so much better!

The two clamp on lights of the shelf above with the LED floods are perfect for getting well-lit pictures in my house.

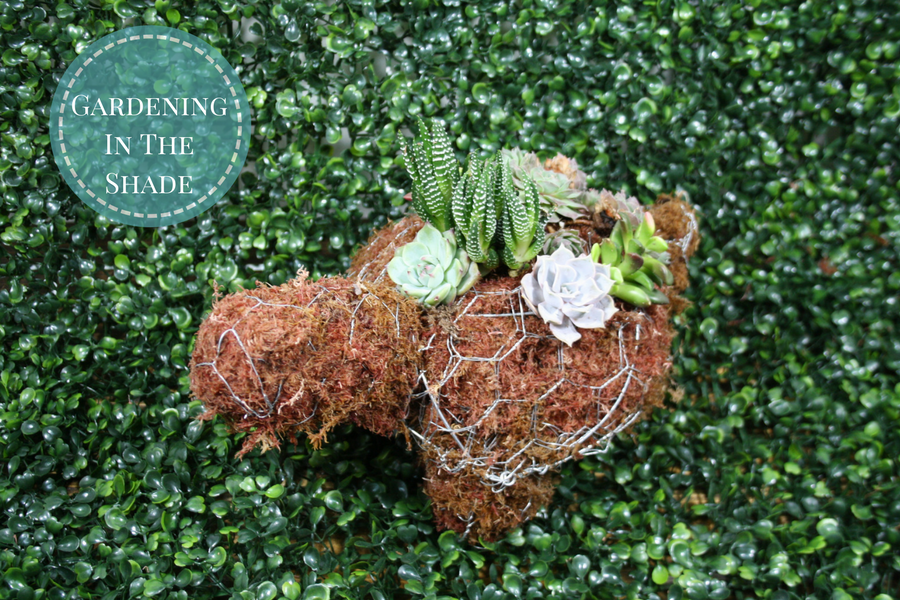
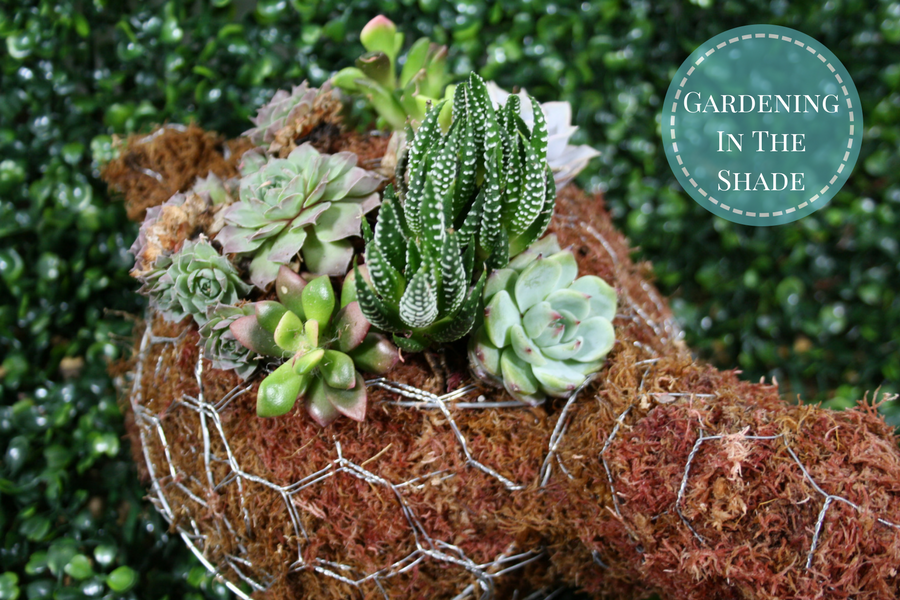
The greenery underneath is fake boxwood ’tiles’ from the dollar store! Perfect for a mini turtle’s début!

If you enjoyed this project, please share it on Pinterest. Let me know in the comments if you make or plan to make one of your own!

If you enjoyed this post, don’t forget to share it with your friends!

Make a mini turtle topiary to plant with your favorite succulents!For more just like it follow me on Pinterest, Facebook and Twitter or sign up for regular updates by email.

If you have ever thought about starting a garden or craft blog of your own see how easy it is >>here<<.


Save

Save

Save

Save

Save

Save

Save

Save

Save

Save

Save