For a while now I’ve wanted to make myself a planted dress form but looking at prices for those wire mannequins that wasn’t working for me. So I made my own from tomato cages. Keep reading if you would like to see how to make a tomato cage mannequin for your garden.
Tomato Cage Mannequin Materials
Please note – some of the following links are affiliate links. This means if you make a purchase through my link, I will receive a small commission at no extra cost to you.
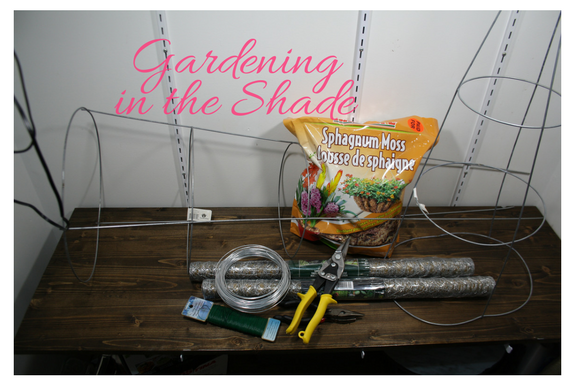
For the frame you will need:
- 2 tomato cages, one smaller than the other. The most critical part is that the middle hoop of the smaller cage is the same size as the bottom hoop of the larger cage.
- Chicken wire. I’ve included a link, but try your local dollar store or hardware store. I get mine at the dollar store for $3 for a small roll.
- Galvanized wire
- Florist wire
- Snips and Pliers
- A Dremel tool with a cut-off is very helpful.
If you are mossing and filling your frame to plant, it takes a lot of moss. I used 5 of the 1/2 lb bags to moss my frame plus a large bag of potting soil. You don’t have to moss your frame if you decide you just want an ornament for your garden.
Making the Tomato Cage Mannequin
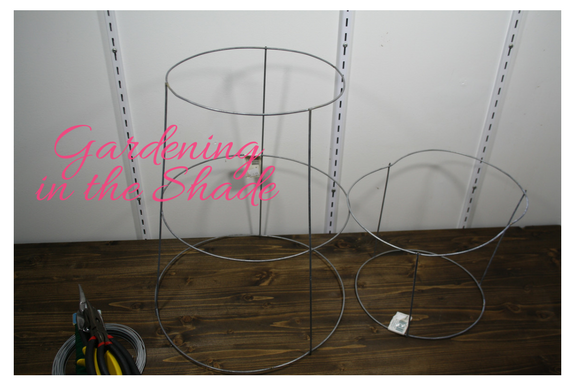
To make the frame, you will trim the large cage below the bottom ring and the small cage below the middle ring (leaving the middle ring and top largest ring). The large cage becomes the skirt of your mannequin and the small one is the bodice or torso.
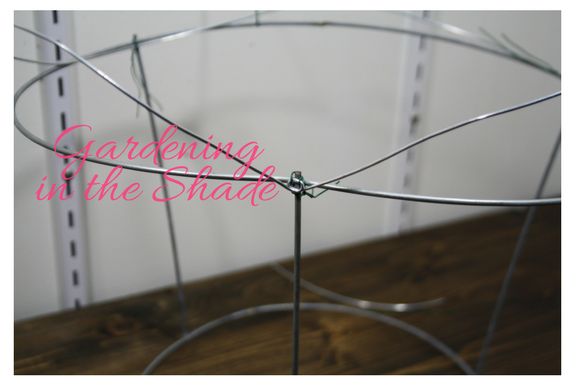
To give your mannequin a bit more definition, bend the top hoop of the small cage into an oval. Use one of the vertical wires as the center of the front and bend the top ring so it starts to suggest a bust. Then add a ring of heavier wire to further define the bust. If you make an eyelet in the ring, it is easier to fasten securely to the tomato cage.
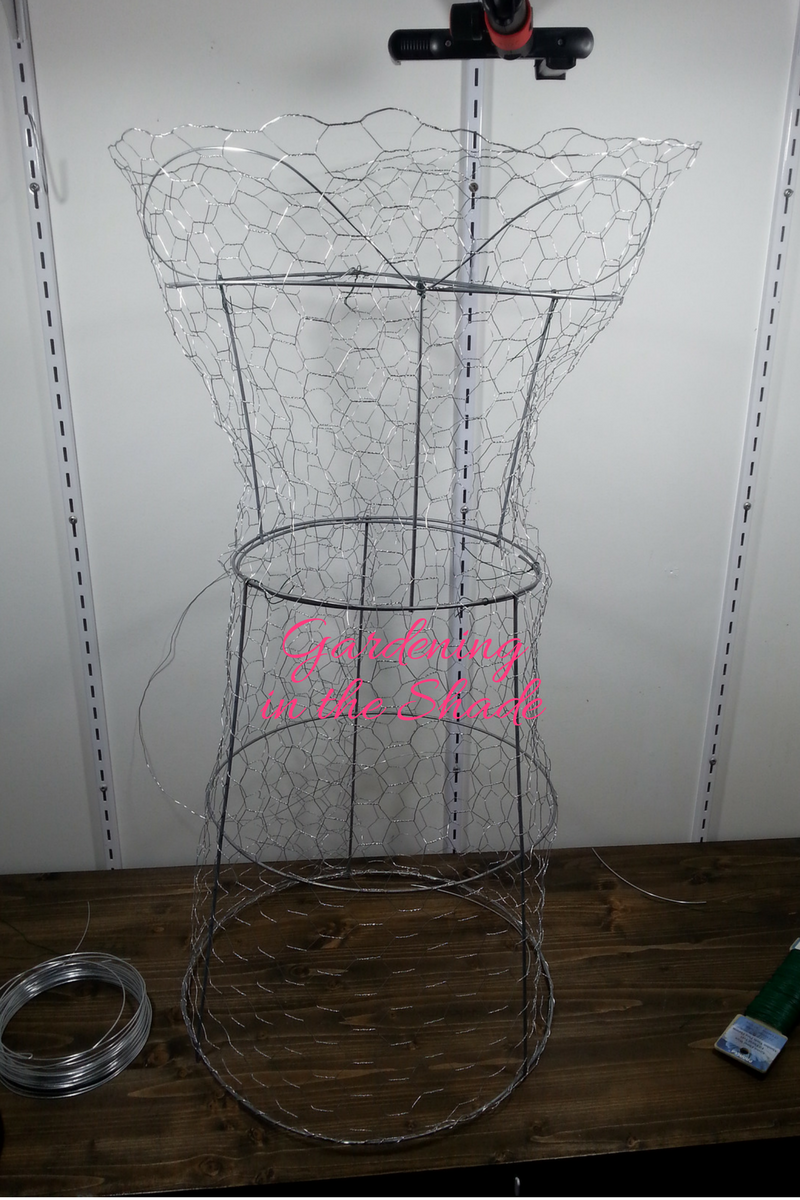
My original plan was to make a two-part frame, but once I started adding the chicken wire, it seemed better to cover it all as one.
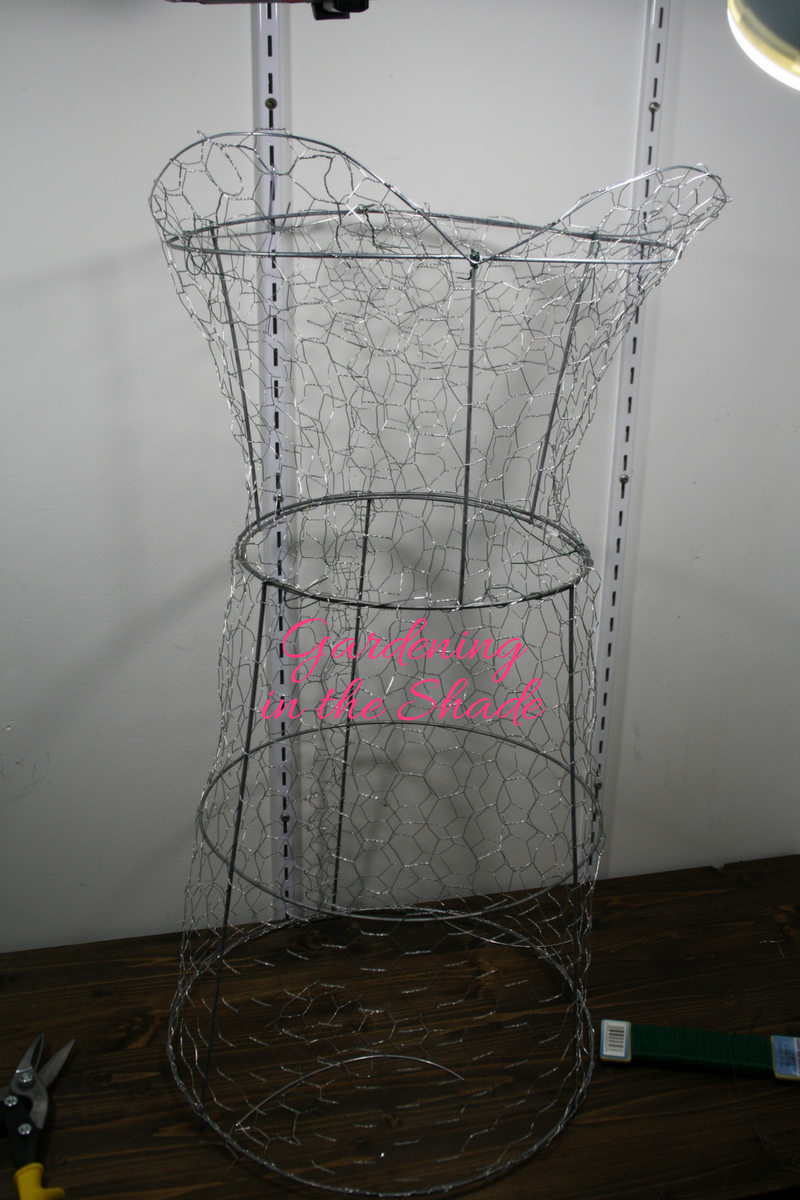
Here you can see the fully covered frame. My topiary was going into a pot, so I did not cover the bottom. If aren’t putting yours in a pot you will need to cover the bottom and probably reinforce it by running some galvanized wire across the opening. (see my succulent turtle instructions for how to do this)
Mossing and filling the mannequin
If you decide to moss your mannequin to use it as a planter, you will need a lot of moss.
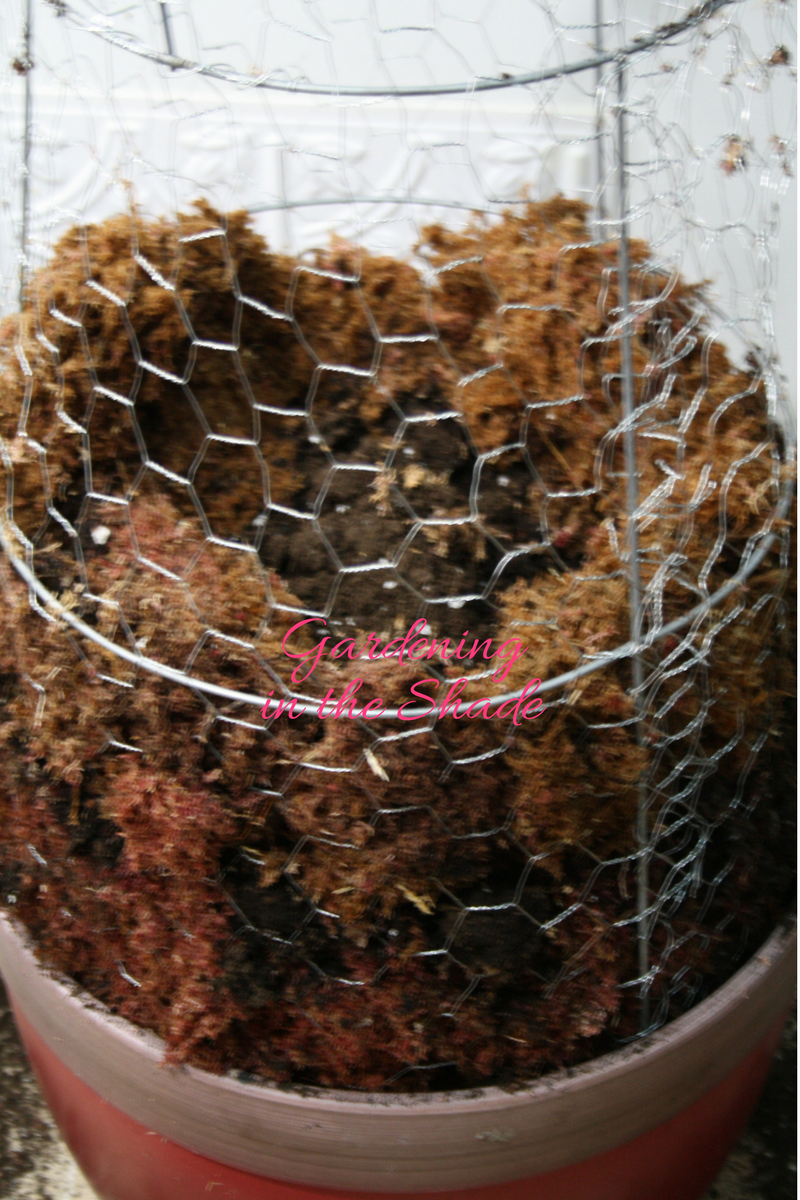
Sorry for the blurry photo, but the way I did this is I would moss a little way up the sides and then add soil to that part before moving up to the next section. Or that’s how I did it after a couple of hours avoiding doing it.
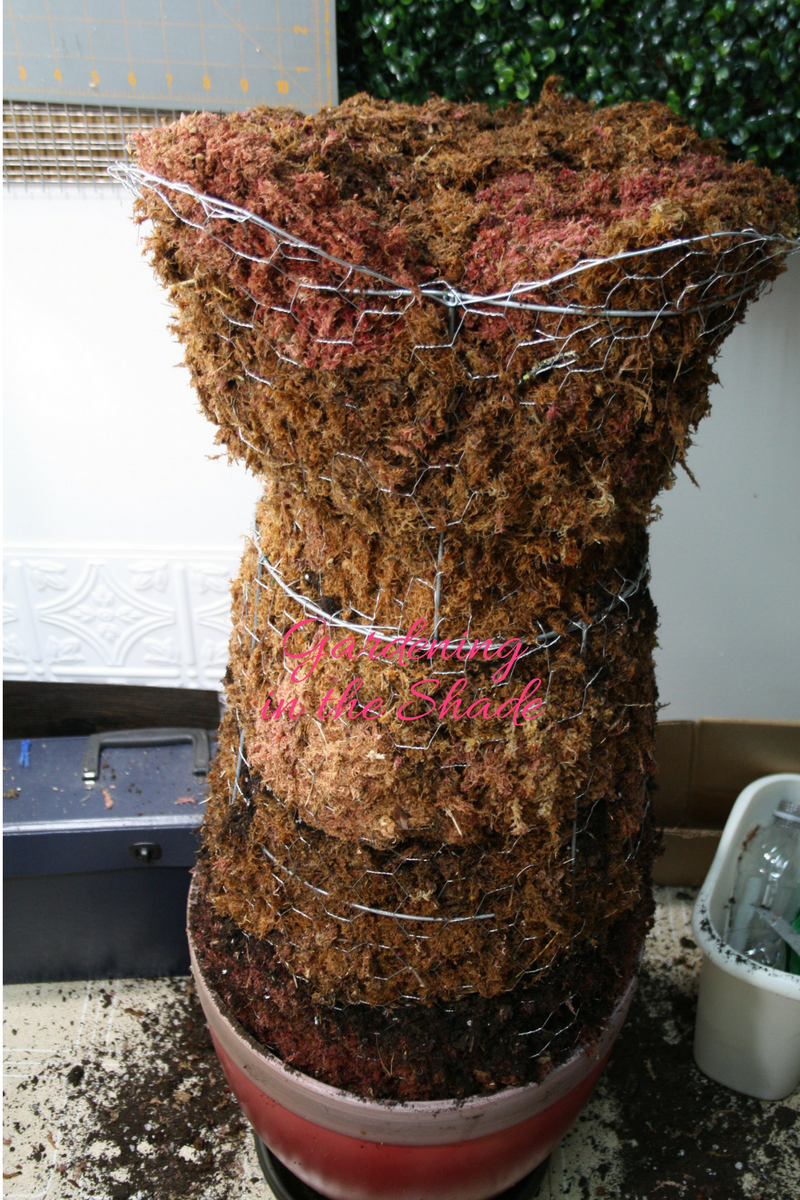
In this photo you can see that I filled it in layers. I still have to close up the top with a piece of chicken wire and plant her. She is about 3 feet tall (not including the pot) and I’m satisfied with how she turned out. I was a bit worried that my mannequin would end up like the owl or the bunny and I wouldn’t like it planted. So before planting my mannequin, I spent some time on Pinterest for inspiration and ideas. I think most are done by floral designers and worth looking at first.
Choosing plants for your mannequin
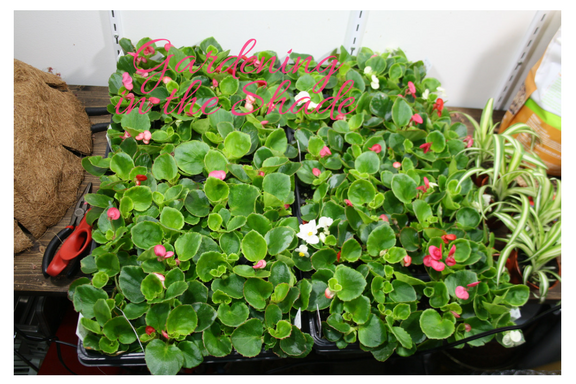
I planted my mannequin with 2 flats of seed begonias and four small spider plants. When I couldn’t decide what color of begonia to use, I picked the mixed trays. I’ve always been a bit of a sucker for mixed flats of flowers anyhow, I just love seeing the colors all jumbled together.
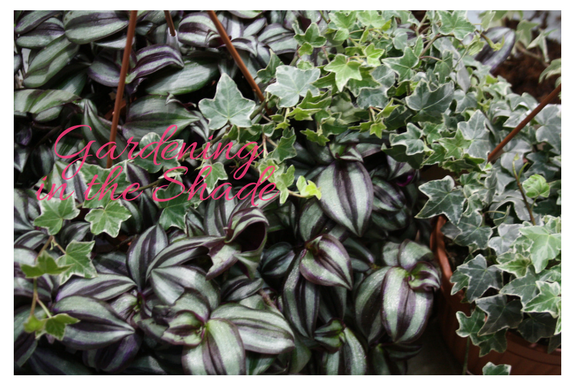
I also used a bunch of Tradescantia (Wandering Jew) and a pretty small-leaved English Ivy. All of these are plants that do well at my house, where it’s very shaded. Which plants you choose should take into account your own climate and conditions.
Planting the Mannequin
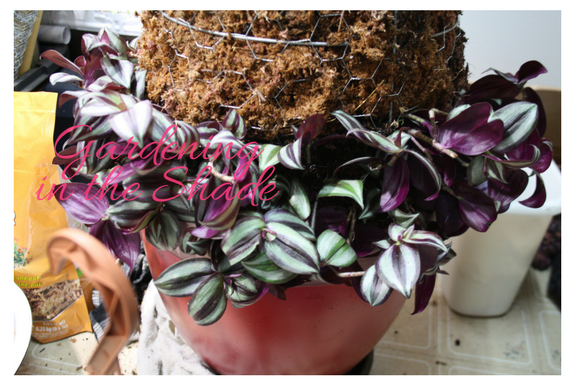
For the bottom of my mannequin, I used cuttings of the Wandering Jew. It roots so easily, that I just stuck them right into the moss.
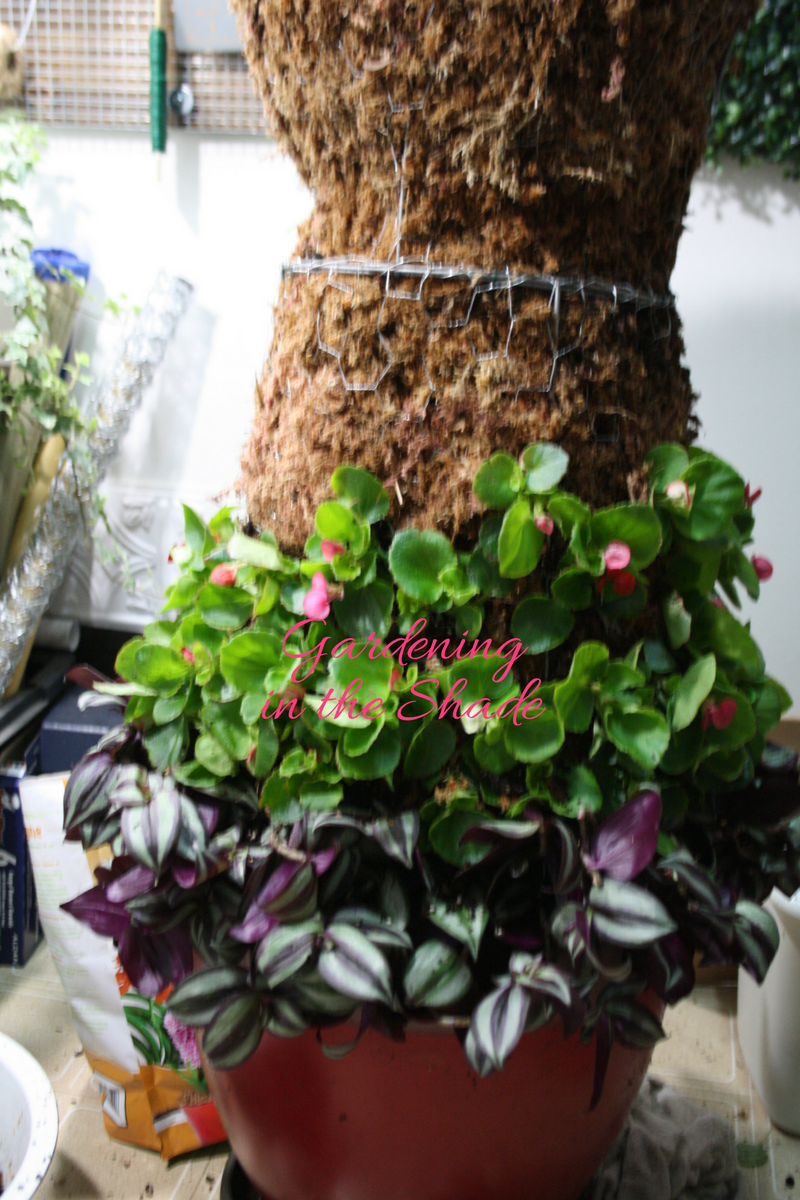
It seems like there always has to be that one blurry picture in the bunch, but here she is with the first flat of begonia.
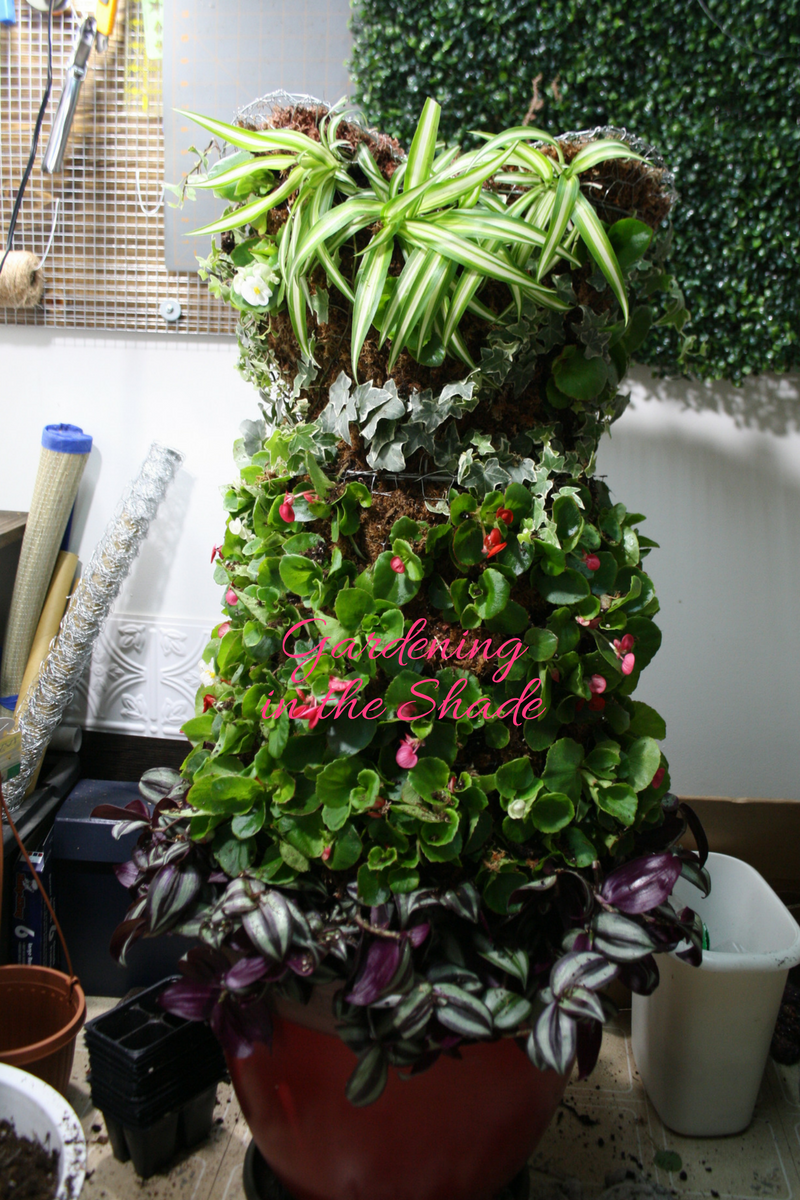
And here she is finished! I pulled the ivy apart and separated the plants. I used florist wire to ‘pin’ it where I wanted it. Ivy has aerial roots, so it should eventually settle into the moss where I’ve pinned it. For anyone disappointed that I did not use succulents, there are 92 begonia plants in her skirt. If I had used succulents, that would be over $200 worth of succulents.
When I started the mannequin I was pretty set that she was going to be my last topiary for a while, but of course I’ve already got another idea swirling around in my head. All told, I spent 3 evenings on this topiary and even planted she cost less than a pre-made mannequin.
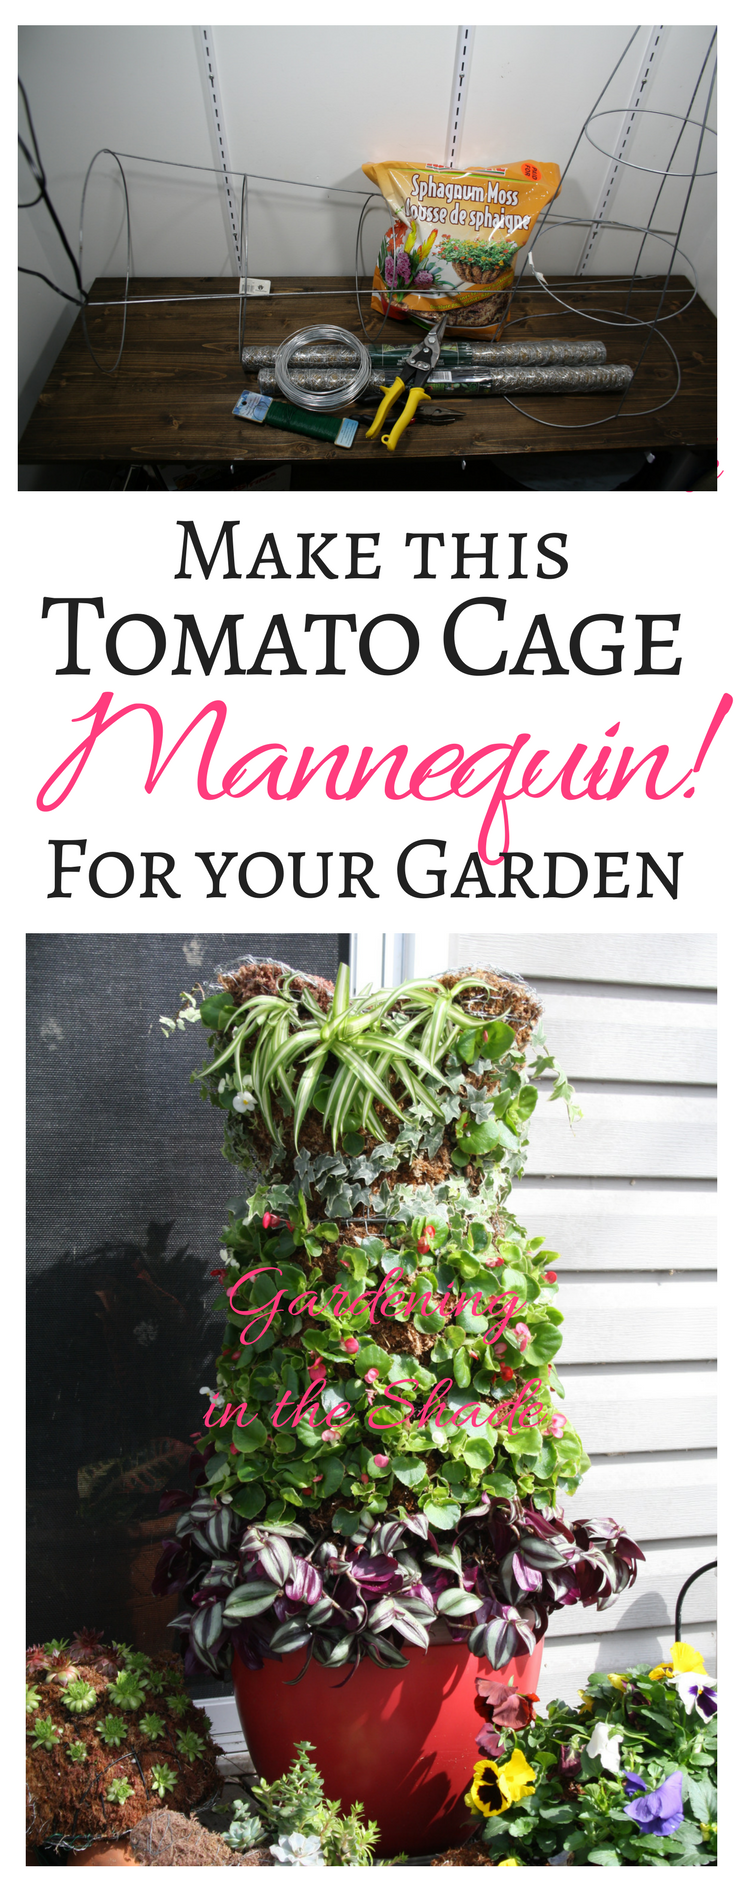
Let me know what you think of her in the comments!
If you enjoyed this post, don’t forget to share it with your friends! For more just like it follow me on Pinterest, Facebook and Twitter or sign up for regular updates by email.
If you have ever thought about starting a garden or craft blog of your own see how easy it is >>here<<.


Loved the turtle can’t wait to make one
thanks.. I may do this for my garden, I love your choice of plants for her dress
Thank you, I’m glad you enjoyed her.
This is darling! Love the plants you’ve chosen. You know I’m a pushover for your topiaries too. I’ve saved a frame for the turtle topiary for year now to make one! I’m hoping to make it (for real) in the next few weeks! LOL Pinned your project to my garden board for a future project!
I’ve really been enjoying creating these different topiarys but this one was a big project. She’s going to look fabulous this summer though, so it was worth it.
Love it, so creative and pretty to boot. Looks quite expensive. I need this on my yard. Pinned and shared!
(I hope I didn’t double comment lol, sometimes I am hopeless with comment forms).
I think the biggest expense was the moss to line it, other than that with careful plant choices she was pretty cheap! Thank you so much for sharing her!